

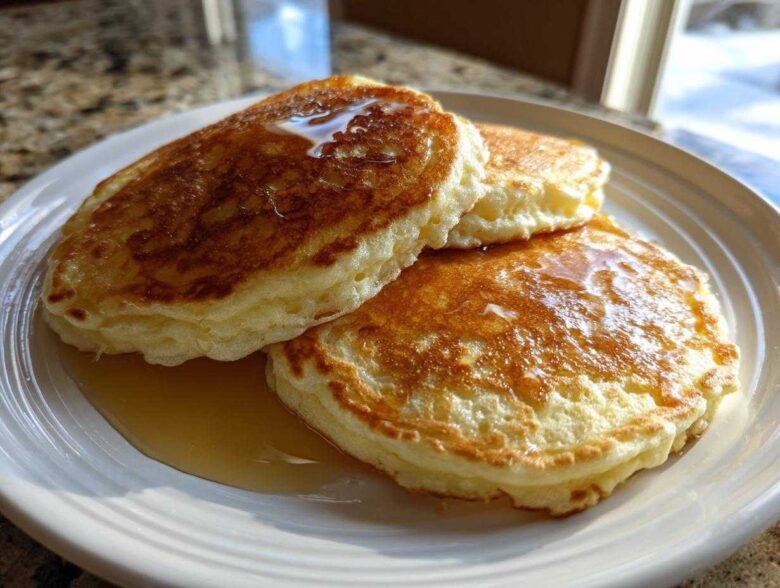
I swear, there is nothing that smells better than Saturday morning with a stack of truly magnificent, towering pancakes on the griddle. For years, I struggled with flat, rubbery breakfast disappointments. I tried every mix on the shelf! But then I stopped listening to the box and went back to basics. Trust me when I say, mastering the buttermilk pancakes from scratch is shockingly easy, and the result is pure morning magic. These aren’t just good; they are the absolute fluffiest pancakes you’ll ever flip. It took me a few tries, but I finally nailed the technique that yields thick, tender clouds of breakfast joy, and I’m sharing that secret with you right now!
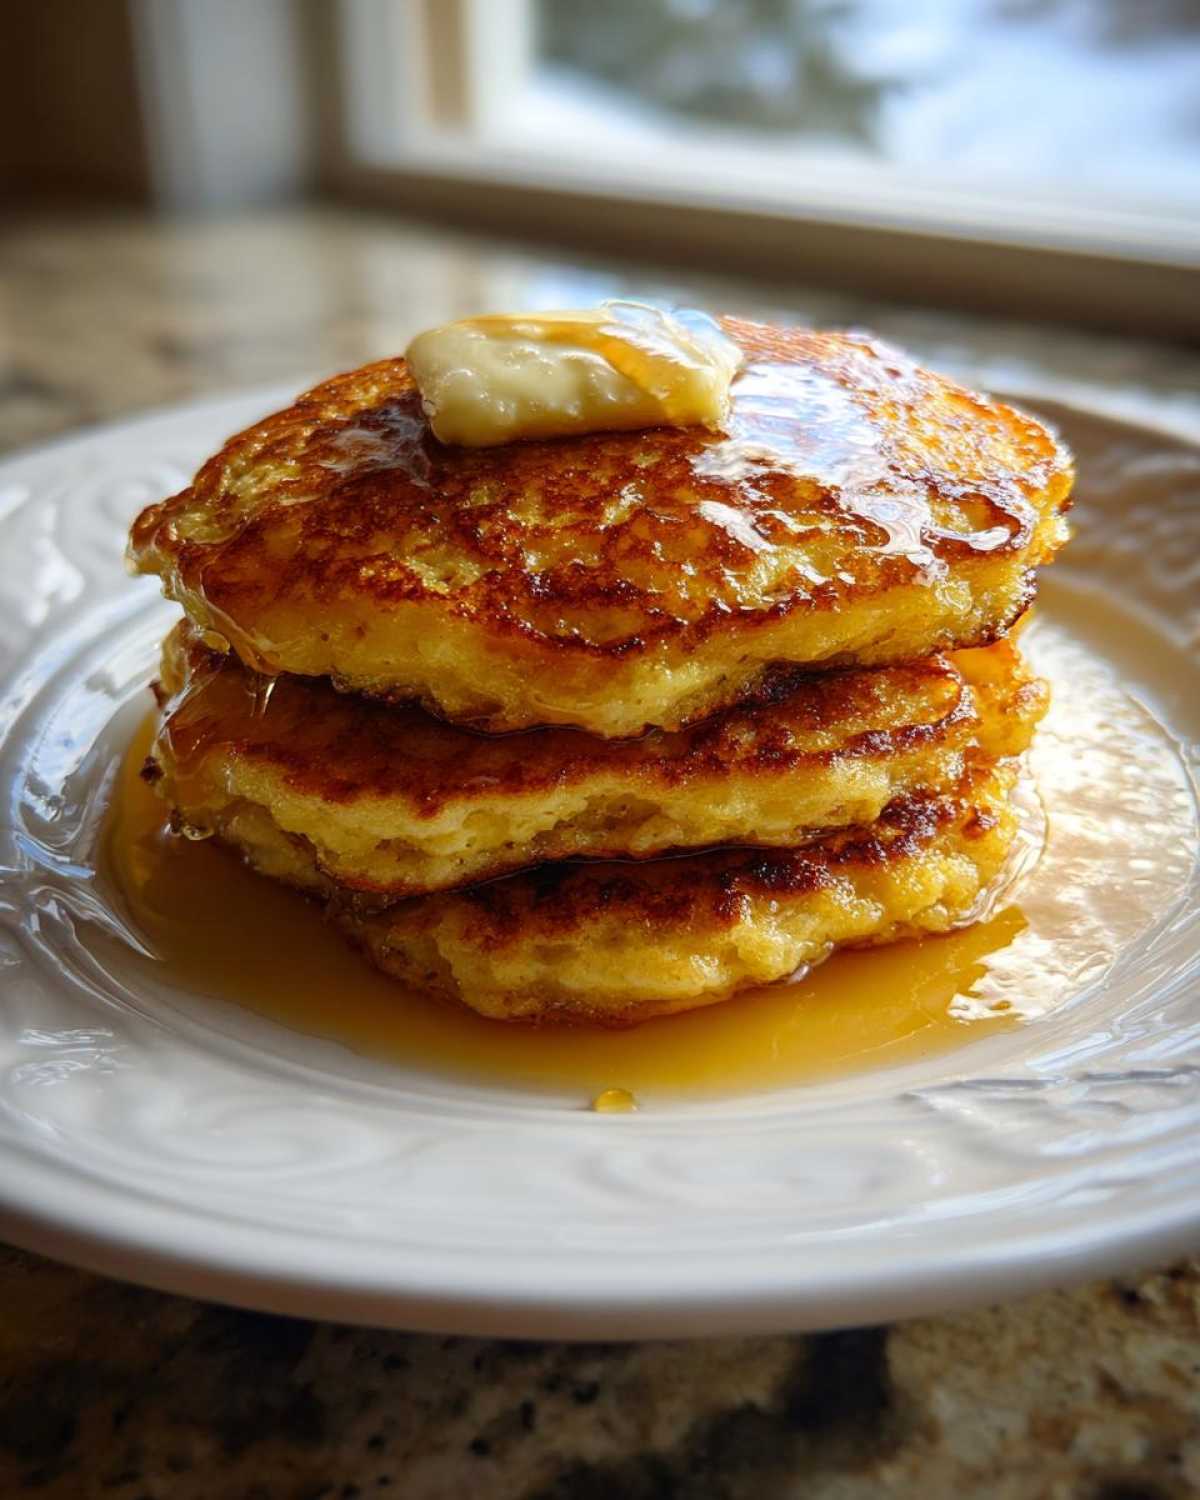
I remember the first time I made a batch where they actually stood tall without collapsing the second they hit the syrup. That moment changed my breakfast game forever! If you follow these simple steps, you’ll have restaurant-quality, perfectly cooked pancakes in less than 30 minutes. Seriously, that’s faster than driving to the diner!
If you’re curious about who I am and how I got into sharing all my kitchen secrets, you can pop over and read a little bit about me here! But don’t linger too long—the batter is waiting!
Why These Are the Best Buttermilk Pancakes You Will Ever Make
Okay, so why should you trade that boxed mix for my simple scratch method? It all comes down to chemistry, my friend! These fluffy pancakes are superior because we are playing smart with the acid in the buttermilk. When the acidic buttermilk hits the baking soda in the dry mix, you get an immediate, powerful lift—that chemical reaction is what gives you those beautiful, thick layers.
We aren’t just dumping everything together, either. The precision helps create tender pancakes that absolutely melt in your mouth. Forget tough, chewy failures; this recipe is foolproof if you pay attention to just two major steps. I promise these will become your go-to classic breakfast recipe, beating anything you buy out there.
Achieving Maximum Fluffiness in Your Buttermilk Pancakes
The biggest secret for height is resisting the urge to stir! Once the wet hits the dry, you mix until it’s *just* shaggy. I mean it—leave those little lumps in there. Over-mixing develops the gluten in the flour, which equals tough, flat discs. Seriously, stop stirring when you still see streaks of flour. Also, give that batter just five minutes on the counter before ladling it onto the pan. That short rest lets the flour fully hydrate, giving you those amazing, sky-high thick pancakes recipe results.
Gathering Ingredients for Classic Buttermilk Pancakes
Pulling together these items is the easiest part of your morning, I promise! The ingredients are all basic, dependable pantry staples that turn into something amazing. Don’t forget your whisk for blending the wet ingredients smoothly! I always try to let my eggs sit on the counter for about 15 minutes before I crack ‘em in. Room temperature eggs mix in much better and create a more uniform batter, which helps with that beautiful lift we are aiming for!
You’ll need 1 3/4 cups of flour, usually standard all-purpose works perfectly. Then comes the sugar (just two tablespoons!), the leaveners—baking powder and baking soda—and salt. For the wet side, grab your buttermilk, two large eggs, a splash of vanilla extract, and four tablespoons of melted unsalted butter. Don’t use salted butter unless you cut back on the salt called for!
Ingredient Notes and Simple Buttermilk Substitutions
If your fridge is empty and you’re staring down a recipe that calls for buttermilk, don’t panic and run to the store! You can make a fantastic quick substitute right now. Just take 1 3/4 cups of regular whole milk and stir in one tablespoon of either white vinegar or fresh lemon juice.
Let that sit on the counter for five minutes. It will start to curdle slightly, and voilà—you have acid ready to react with the baking soda! That reaction is key, remember? The baking soda is your powerful base, and the buttermilk (or your DIY version!) is the acidic partner needed to create those gorgeous, light bubbles. This little trick guarantees fantastic lift every time, even if you’re out of the real stuff.
Step-by-Step Instructions for Perfect Buttermilk Pancakes
This is where the magic happens, but seriously, stay calm and don’t rush the mixing! Since your prep time was only about 10 minutes, you can afford to be gentle during this final assembly. The goal here is to combine the wet and dry mixtures quickly without wrestling with the batter. Think soft folding, not intense beating. We are aiming for those cloud-like results, remember?
Once everything is combined, you can let the batter rest for a few minutes while you get your cooking surface ready. This short rest time pays huge dividends in fluffiness. Then, it’s straight to the hot griddle for that classic breakfast we’ve been dreaming about!
Mixing the Batter: The Key to Tender Pancakes
Take your dry ingredients bowl and make a little well in the center, then pour in your perfectly whisked wet ingredients. Now, grab a whisk or a wooden spoon and mix *just* until you see the flour disappear. If you see lumps—good! Those lumps are tiny air pockets waiting to expand. Stopping mixing at this stage is the absolute key to securing tender pancakes instead of flat, chewy ones. Don’t worry about a single streak of flour remaining, because it will incorporate as the batter rests.
Griddle Heat and Cooking Technique for Diner Style Pancakes
Heating the griddle correctly is crucial—too low, and they spread out like crepe batter; too high, and they burn before the inside cooks. Test it by flicking a tiny drop of water onto the surface; if it sizzles and dances away immediately, you’re golden. Pour about 1/4 cup of batter for each one. You’ll know it’s time to flip when those little bubbles breach the surface and hold their shape, and the edges look like they are setting up. Flip quickly to achieve those perfect golden-brown sides we love in diner style pancakes!
Making Your Buttermilk Pancakes Ahead of Time
Who says perfect pancakes are only for when you have an hour to stand over the stove? I get it; sometimes you want that amazing buttermilk breakfast feeling on a Tuesday morning without the effort!
The good news is these store surprisingly well, which really supports any easy breakfast ideas plans you have for the week. Once your pancakes are cooked, you need to cool them completely before stacking, or they’ll steam and get gummy in the container. Lay them out on a cooling rack for about 15 minutes.
After they are totally cool, stack them with a small square of parchment paper between each one. Store the stack in an airtight container in the fridge for up to three days. Then, when you’re ready to eat? Pop them in the microwave for about 30 seconds, or give them a quick crisp-up in a dry skillet. They taste almost as good as fresh!
Serving Suggestions for Your Homemade Pancakes
Once you have your beautiful, thick stack ready, the fun really begins! While quality maple syrup and a big square of melting butter are non-negotiable for a classic experience, don’t stop there. If you’re pulling out all the stops for a weekend brunch ideas spread, try whipping up a quick fruit compote.
I adore warming up some frozen berries with just a tiny splash of water and a sprinkle of sugar until they burst. That slightly tart sauce poured over the sweet cakes is divine. Also, a dollop of fresh whipped cream with a tiny pinch of cinnamon takes these right over the top.
Frequently Asked Questions About Buttermilk Pancakes
I know you’re going to have questions once you start whipping up your own batter, because making truly great homemade pancakes is all about the little details. Here are some things people ask me all the time about getting the perfect batch!
Can I use regular milk instead of buttermilk?
You absolutely can, if you absolutely have to, especially if you need a quick fix for easy breakfast ideas! As I mentioned earlier, you can make a solid substitute at home. Just measure out 1 3/4 cups of whole milk and stir in one tablespoon of white vinegar or lemon juice. Let it sit for about five minutes until it looks a little chunky. This mixture gives you the acid needed to activate the baking soda, which keeps your pancakes light and fluffy, rather than dense.
How do I keep my pancakes warm while I cook the rest of the batch?
This is where having an oven handy saves the morning! If you are making a big breakfast for the family, preheat your oven to a very low temperature—around 200°F (93°C). Lay a wire rack on a baking sheet. Once a pancake is perfectly cooked, place it on the rack in a single layer inside the warm oven. This keeps them warm and surprisingly fresh without continuing to cook them!
Can I freeze these buttermilk pancakes?
Yes, and this makes them amazing make ahead pancakes! Once they are fully cooled after cooking, stack them with a small piece of parchment paper between each one. Place the stack in a freezer-safe, airtight bag. They freeze beautifully for up to two months. When you want one, just microwave it for about 30-45 seconds, or better yet, toast it right from frozen in your toaster for a perfectly crisp edge!
If you’ve got more burning questions, or if you want to leave a rating on how fluffy your scratch made pancakes turned out, feel free to check out my disclaimer page for general site info, and then leave a comment below!
Estimated Nutritional Breakdown for These Buttermilk Pancakes
I know some of you are tracking macros, or maybe you’re just curious about what exactly is in all that fluffy goodness! While I whip these buttermilk pancakes up purely based on taste and texture, I did run the numbers through a calculator to give you a general idea of what you’re consuming when you make a batch.
But honestly, these are morning comfort food first and foremost, so don’t stress too much about the details when you’re grabbing that second helping! It all depends on how big your ladle is when you pour!
Nutrition Disclaimer
Please treat any numbers you see floating around for recipes like this one as a rough suggestion only. The final calorie count, fat content, or protein level is going to wildly change based on the exact brands of flour, milk, and butter you use. We don’t guarantee these figures are actual, so just enjoy these amazing buttermilk breakfast treats!
For all the details on how we handle site information and data, you can always see the official privacy policy.
Share Your Fluffy Buttermilk Pancakes Experience
Okay, now that you’ve mastered the light, high-flying technique, I absolutely want to hear from you! Did these turn out to be the fluffy pancakes you’ve always dreamed of? Don’t be shy—tell me everything!
Take a picture of your gorgeous stack—did you pile them high with blueberries, or are you a simple maple syrup purist? Drop a comment below and let me know how your first batch of scratch made pancakes turned out. I love connecting with all of you and seeing how you put your own spin on classic breakfast recipes.
If you ran into any snags or if you have a brilliant topping idea I missed, please share that too! Hearing about your successes keeps me inspired to keep sharing all my favorite kitchen secrets. If you ever want to get in touch directly with a question that’s not covered here, you can always reach out via my contact page. Happy flipping!
PrintThe Absolute Fluffiest Buttermilk Pancakes from Scratch (Quick & Easy)
Make thick, tender, and incredibly fluffy buttermilk pancakes using this simple recipe. Perfect for a classic weekend brunch.
- Prep Time: 10 min
- Cook Time: 15 min
- Total Time: 25 min
- Yield: About 10 pancakes
- Category: Breakfast
- Method: Griddling
- Cuisine: American
- Diet: Vegetarian
Ingredients
- 1 3/4 cups all-purpose flour
- 2 tablespoons white sugar
- 2 teaspoons baking powder
- 1 teaspoon baking soda
- 1/2 teaspoon salt
- 1 3/4 cups buttermilk
- 2 large eggs
- 4 tablespoons unsalted butter, melted, plus more for the griddle
- 1 teaspoon vanilla extract
Instructions
- In a large bowl, whisk together the flour, sugar, baking powder, baking soda, and salt.
- In a separate medium bowl, whisk the buttermilk, eggs, melted butter, and vanilla extract until combined.
- Pour the wet ingredients into the dry ingredients. Mix gently with a whisk or spoon until just combined. Do not overmix; a few lumps are fine and help create fluffier pancakes.
- Heat a lightly oiled griddle or large non-stick skillet over medium heat. The griddle is ready when a drop of water sizzles immediately.
- Pour 1/4 cup of batter onto the hot griddle for each pancake.
- Cook for 2 to 3 minutes per side. You will see bubbles form on the surface and the edges will look set when it is time to flip.
- Flip the pancakes and cook for another 1 to 2 minutes until golden brown and cooked through.
- Serve immediately with your favorite toppings.
Notes
- For extra thick pancakes, let the batter rest for 5 minutes before cooking.
- If you do not have buttermilk, mix 1 3/4 cups of whole milk with 1 tablespoon of white vinegar or lemon juice. Let it sit for 5 minutes before using.
- Keep cooked pancakes warm in a single layer on a baking sheet in a 200°F oven while you finish the batch.
Nutrition
- Serving Size: 1 pancake
- Calories: 180
- Sugar: 5
- Sodium: 350
- Fat: 7
- Saturated Fat: 4
- Unsaturated Fat: 3
- Trans Fat: 0
- Carbohydrates: 25
- Fiber: 1
- Protein: 6
- Cholesterol: 55