

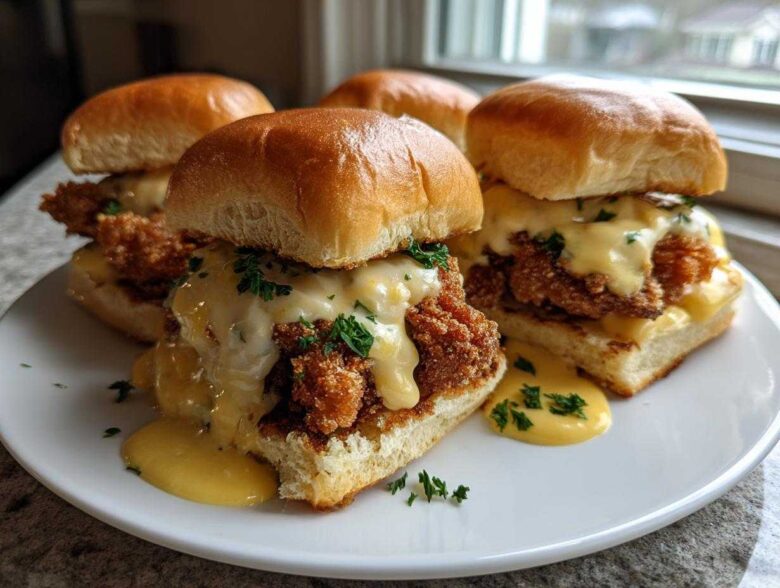
Oh my goodness, are you ready for the best crunch you’ve ever experienced in a tiny package? I’m talking about a shatteringly crisp coating that gives way to juicy chicken, all drowning in the richest, gooiest garlic sauce known to humankind. Forget flimsy burgers; these Crispy Chicken Sliders with Garlic Sauce are what your game day spread—or lonely Tuesday night—deserves. I developed this recipe because grabbing those pre-made sliders just never delivered the *crunch* factor I wanted. We’re talking bakery-quality buns, hand-breaded chicken, and a sauce so good you’ll want to eat it with a spoon. If you’re ever curious about the philosophy behind all these crazy experiments in my kitchen, you can read a bit about our kitchen mission here. Trust me, once you try this specific combination, you’ll understand why this is my absolute go-to party food!
Why These Crispy Chicken Sliders with Garlic Sauce Are Essential
I know, I know, there are a thousand tiny sandwiches out there, but these Crispy Chicken Sliders with Garlic Sauce hit different. They truly live up to the name—the crunch is non-negotiable! They are fast, unbelievably satisfying, and they disappear the second I set them out. You won’t believe how quickly you can pull these together, which is why they are one of my top-tier game day slider recipes.
What makes these a must-try? Let me break it down:
- The ultimate payoff: That perfectly audible crunch from the panko coating.
- Speedy assembly time; we’re talking under 40 minutes total for these Easy Mini Chicken Sliders.
- The homemade garlic sauce elevates standard mayo into something spectacular.
- They are perfect party food, but honestly, they’re fantastic for a quick weeknight dinner too!
Gathering Ingredients for Crispy Chicken Sliders with Garlic Sauce
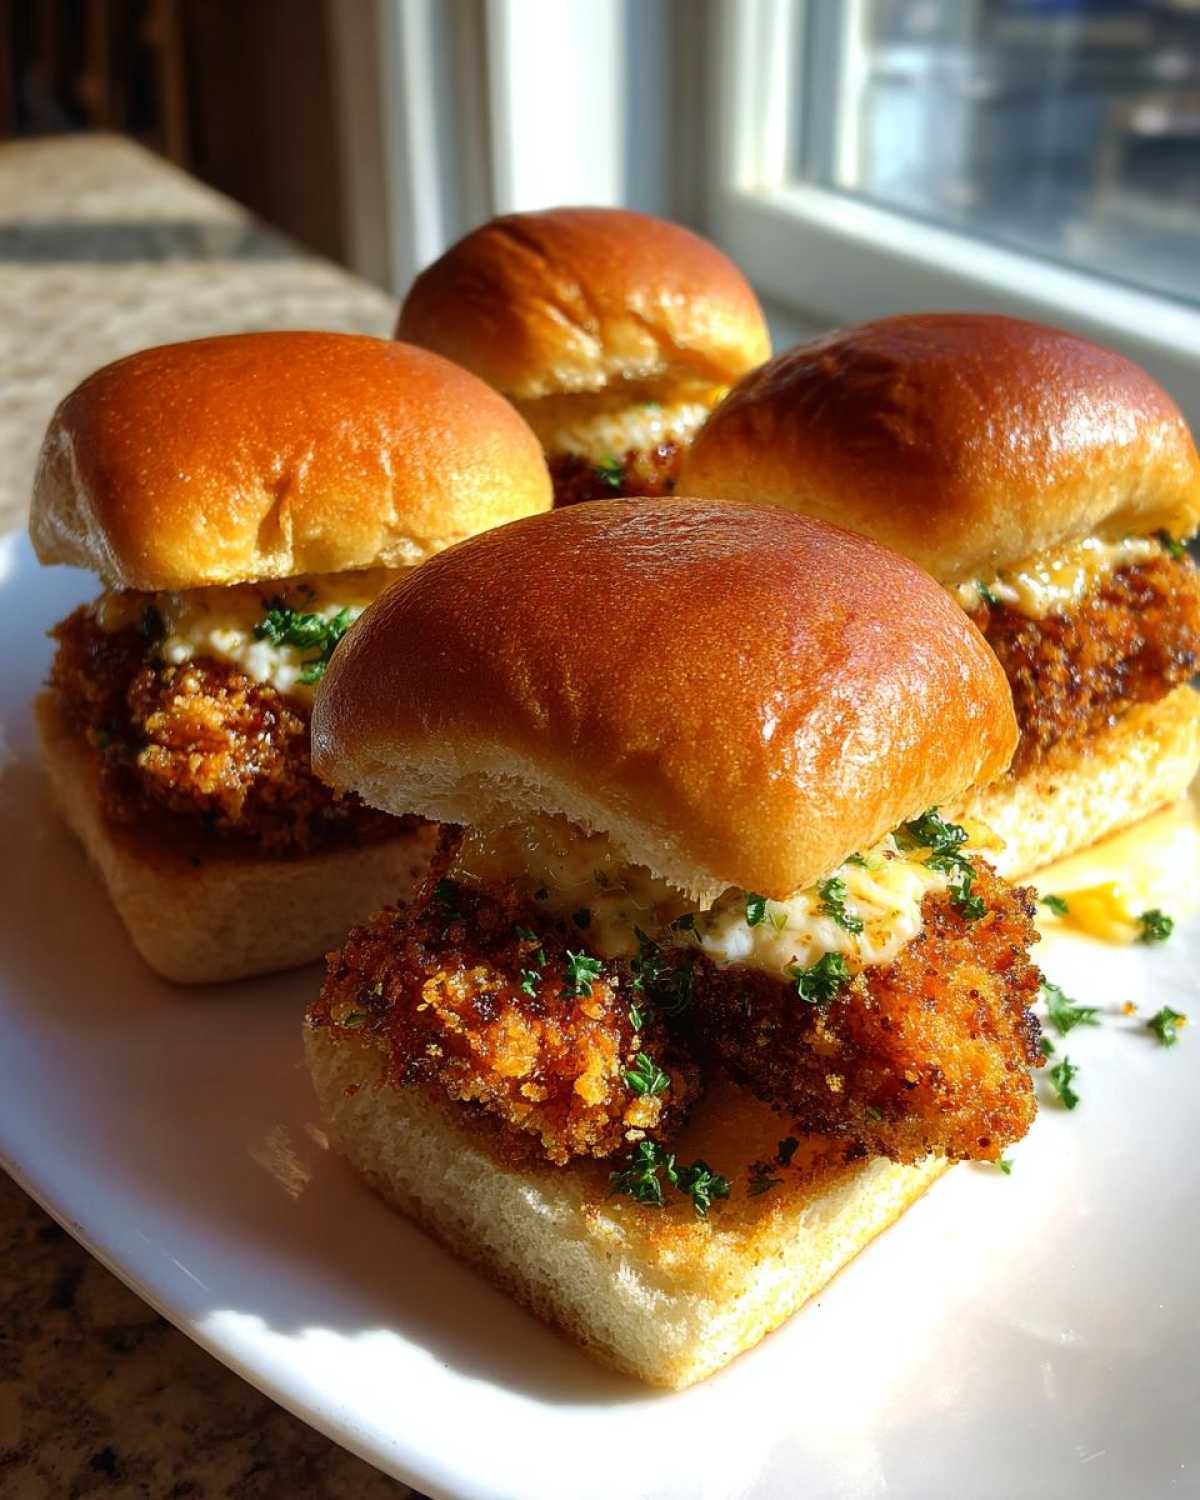
Okay, before we start making magic happen, we need our lineup ready to go. These Crispy Chicken Sliders with Garlic Sauce rely on quality components, especially when it comes to that crunch factor. I always lay everything out assembly-line style, just like my mom taught me. It saves SO much time when you’re trying to keep the chicken hot and the patties moving through the breading station!
Don’t even think about using regular breadcrumbs here; we need the light, airy Panko—that’s non-negotiable for true crispiness. Also, make sure your garlic is freshly minced; the jarred stuff just doesn’t have the same punch for our amazing sauce. If you’re heading out to the store, remember you need enough chicken ready for 12 individual Homemade Crispy Chicken Sandwich portions! For more on prepping the chicken perfectly, I have a whole breakdown right here on getting that crunch.
Essential Components for the Crispy Chicken Sliders with Garlic Sauce
Here’s the full rundown of what you need to pull these beauties together:
- 1.5 lbs boneless, skinless chicken breasts, cut into 12 small pieces
- 1 cup all-purpose flour
- 1 teaspoon salt
- 1/2 teaspoon black pepper
- 1/2 teaspoon paprika
- 2 large eggs, beaten
- 1 cup panko breadcrumbs
- Vegetable oil, for frying (or cooking spray for air frying)
- 12 slider buns
- 1/4 cup mayonnaise
- 2 cloves garlic, minced
- 1 tablespoon lemon juice
- 1 teaspoon Dijon mustard
- 1/4 cup finely chopped fresh parsley
- 12 thin dill pickle slices
- 1/2 cup shredded lettuce
Mastering the Best Garlic Sauce for Chicken Sliders
Listen, the crispy chicken is only half the battle. If the sauce isn’t singing, the whole slider falls flat! That’s why we spend a minute perfecting what I truly believe is the Best Garlic Sauce for Chicken Sliders. It’s tangy, it’s rich, and it has that fresh bite from the parsley that cuts through the fried goodness perfectly. It’s so simple, but don’t skip the fresh ingredients!
My big expert tip here is about intensity. Two cloves of garlic sounds like a small amount when dealing with 12 sliders, but it’s plenty for that classic flavor. If you are absolutely obsessed with garlic, you can carefully add one more small clove, but taste as you go! Also, if you’re low on mayo for whatever reason, you can totally substitute half with thick Greek yogurt for a lighter base. You’ll get a tangier, slightly less rich texture, which is sometimes exactly what you need!
Making the Creamy Garlic Aioli Slider Sauce
This is where we turn our simple sauce into a glorious Garlic Aioli Slider Sauce. You’re just whisking everything together in a bowl. Make sure you get that Dijon mustard fully incorporated—it helps emulsify everything nicely. I always use a fork rather than a spoon because it seems to blend the minced garlic paste into the mayo better.
Whisk the mayonnaise, minced garlic, lemon juice, Dijon mustard, and parsley together until everything is completely smooth. Don’t stop until you see no streaks of white mayo remaining! I always give it a quick taste test—if it tastes dull, splash in a tiny bit more lemon juice for brightness. It’s so good you might want to drizzle this same sauce over roasted veggies!
Step-by-Step: Preparing Crispy Chicken Sliders with Garlic Sauce
Alright, this is where everything comes together, and you get that magnificent crunch! Getting the chicken breaded correctly is seriously important; I always tell people that the crust is what makes these Crispy Chicken Sliders with Garlic Sauce worth the effort. We need three shallow dishes set up perfectly before we even touch the chicken pieces. I remember the first time I tried making fried chicken, I just dumped the pieces in the oil—oops! That’s how you get sad, soggy chicken. We won’t make that mistake today! You definitely want to check out my guide on making perfect homemade nuggets for background on breading technique!
The Three-Step Breading Process for Maximum Crunch
First up, we dredge. In dish one, we mix up the flour with our salt, pepper, and paprika so the chicken base layer is already seasoned. Give those chicken pieces a thorough coating and then really *shake* off the excess flour—we don’t want clumps! Next, dip it quickly into the beaten eggs for coating adhesion. Then, the magic step: the panko breadcrumbs in dish three. When placing the chicken into the panko, you absolutely must press down firmly with the palm of your hand. You need to squeeze that panko onto the chicken so it sticks tight. That firm press ensures a beautiful, solid crust that won’t fall off in the hot oil.
Cooking Methods: Frying vs. Air Frying Your Crispy Chicken
Now for cooking! If you’re frying, heat your oil in a heavy skillet to 350°F (175°C). Be careful when placing the pieces in; don’t overcrowd the pan, or the oil temperature will drop! Fry them for about 3 to 4 minutes on each side until they hit that perfect golden brown color and are cooked through (165°F internal heat). If you’re using the air fryer trick—which I love for quick cleanup—set it to 400°F (200°C) and cook them for 12 to 15 minutes, remembering to flip them halfway through. For extra pointers on getting that perfect air-crisp, check out my air fryer tips. Either way, drain them immediately on a wire rack to let any extra oil escape!
Toasting Buns and Final Crispy Chicken Sliders with Garlic Sauce Assembly
While the chicken drains, take those slider buns and lightly butter the cut sides. Toast them quickly in the dry pan or pop them under the broiler for just a minute until they look slightly golden and toasted—this seals in the soft texture and stops the bun from getting soggy too fast. Ready for that Ultimate Crispy Chicken Slider Assembly? Start by spreading a generous layer of that incredible garlic sauce on *both* the top and bottom buns. Next, place your hot, crispy chicken on the bottom. Layer on a couple of those thin dill pickle slices, add just a sprinkle of shredded lettuce, and crown it with the top bun. Perfection!
Tips for Success with Crispy Chicken Sliders with Garlic Sauce
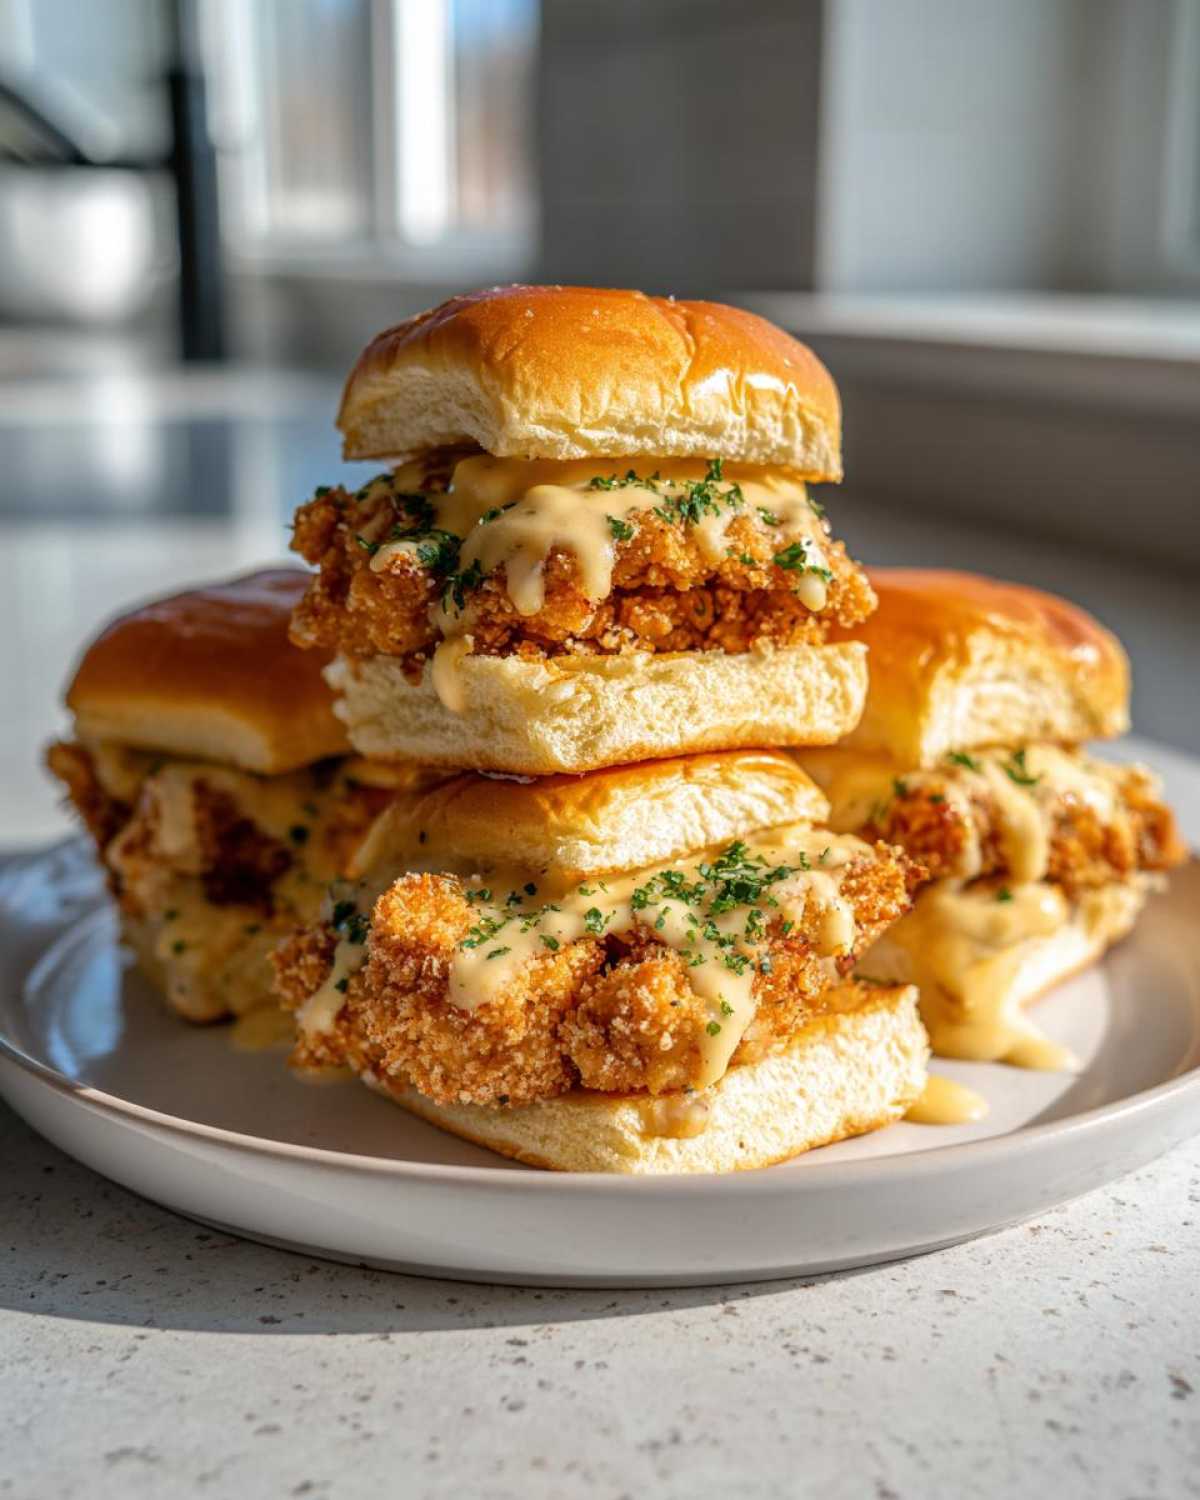
Making these sliders is easy, but if you want that next-level experience—the kind where the chicken stays crisp even after sitting out for a bit—you need to know these little secrets. Honestly, getting the perfect Crunchy Chicken Slider Buns ready is important, but keeping that chicken texture is the real magic trick!
I found that the biggest leap in crispiness comes from something very simple, which I listed in my notes but have to stress here: chilling the breaded chicken! Yes, you have to wait 15 minutes, but it is so worth it. Chilling your coated patties for about 15 minutes lets that panko coating cement itself to the chicken. When it hits the hot oil, it just locks in, creating that unbeatable crust.
Also, don’t skimp on draining the chicken after frying. Patting them quickly with a paper towel after they come off the rack helps immensely, especially right before assembly. If you want to get really fancy with your additions, you might want to check out how I make my savory sides, like this amazing brown gravy, which makes a surprisingly great dip!
Variations for Your Crispy Chicken Sliders with Garlic Sauce
While I stand by the original recipe for the ultimate Crispy Chicken Sliders with Garlic Sauce, sometimes you just need to jazz things up a little, right? These sliders are super flexible! If you like a little kick with your crunch, I highly recommend mixing about half a teaspoon of cayenne pepper right into your flour dredge. That little bit of heat contrasts beautifully with the cool, creamy garlic sauce.
Another great swap is the bread! While brioche gives you that sweet contrast, try using pretzel buns for a salty, chewy texture that pairs amazingly with our other Savory Garlic Slider Toppings. You can even switch up the topping layer instead of pickles—maybe some crispy fried onions or even a thin slice of pepper jack cheese melted on top right after frying. If you’re into a spicier vibe, check out my recipe for Buffalo Chicken Sliders, though you could certainly drizzle our garlic sauce on those, too!
Serving Suggestions for Party Food Chicken Sliders
These Party Food Chicken Sliders are the star of any show, but what do you serve alongside them? Because the flavor profile is so rich—hello, garlic sauce!—you want sides that offer a nice counterbalance. Think crisp and bright is the way to go! They are absolutely fantastic for any major sporting event.
Since these are winners for any Game Day Slider Recipes lineup, I usually pair them with something vinegary, like a quick coleslaw or some tangy baked beans. If you need another easy appetizer that keeps the dipping theme going, you should look at my recipe for slow-cooker cranberry meatballs—they are crowd-pleasers!
Storage and Reheating Crispy Chicken Sliders with Garlic Sauce
This is that crucial part where we talk about leftovers, if you even have any! Because these little guys are so crispy, you absolutely cannot store them fully assembled. Trust me, putting sauce on a bun and storing it overnight guarantees sadness.
For the best results in keeping that crunch on your Crispy Chicken Sliders with Garlic Sauce, you have to keep everything separate. Store the cooked chicken pieces in an airtight container, and keep the garlic sauce completely separate, too. The buns are best left alone on the counter or wrapped tightly.
When you’re ready to eat the next day, the best approach is reheating the chicken! Skip the microwave entirely—it’s the enemy of crispiness. Pop the chicken in a toaster oven or a regular oven set to about 400°F for maybe 5 to 8 minutes until it’s piping hot again. Then, you toast fresh buns, slather on that delicious sauce, and assemble! It’s almost as good as fresh. If you’re looking for more make-ahead magic that freezes well, check out my post on freezer-friendly recipes.
Quick Answers About Crispy Chicken Sliders with Garlic Sauce
I know you probably have a few last-minute thoughts circling around before you dive into making these masterpieces. That’s totally fine! The difference between a good batch of Crispy Chicken Sliders with Garlic Sauce and a truly *great* one often comes down to solving those nerdy little kitchen questions first. I’ve heard all the variations people try, so let’s clear up the last few things. If you have other burning questions, don’t hesitate to reach out via my contact page!
Can I make these Crispy Chicken Sliders with Garlic Sauce in the Air Fryer?
Absolutely, you bet you can! I included the air fryer instructions right in the main steps because sometimes we just don’t want to deal with deep frying. It’s wonderful for cutting down on oil, and you still get fantastic results. Just remember, you’re cooking them around 400°F (200°C) for about 12 to 15 minutes total, making sure to flip them halfway so both sides get beautifully crunchy for your Homemade Crispy Chicken Sandwich!
How long does the homemade Garlic Sauce last in the refrigerator?
Since our Garlic Aioli Slider Sauce is mayo-based, it keeps quite well, which is great if you’re prepping for a big crowd. I usually feel comfortable using it within 4 to 5 days when stored sealed tight in the fridge. The flavor actually deepens slightly overnight, which is lovely, but fresh is always best to capture that bright lemon zest!
What is the best way to keep the chicken crispy before assembly?
This is the million-dollar question when dealing with any fried meat that’s going onto a soft bun! If you aren’t assembling right away, the absolute best tip is to let the cooked chicken drain completely on a wire rack—not paper towels alone—to allow air circulation. Better yet? Use that chilling trick I mentioned: 15 minutes in the fridge coated in panko lets that crust set firm. That’s the secret weapon for maximum crunch before assembling your Best Garlic Sauce for Chicken Sliders pairings.
Share Your Delicious Small Chicken Sandwiches Experience
Okay, now that you have the secret to the best Crispy Chicken Sliders with Garlic Sauce right in your hands, I seriously want to hear about it! Did the crunch live up to the hype? Did your family even leave you any leftovers? I absolutely live for comments and feedback from you all!
Please take a minute to leave a star rating below—it really helps other home cooks find this recipe. And if you snapped a picture of your gorgeous spread of Delicious Small Chicken Sandwiches, tag me on social media! You can always find my latest kitchen flops and wins, and I love seeing your take on my favorite comfort recipes. Don’t forget to check out our privacy policy if you have any questions about submitting your thoughts!
PrintCrispy Chicken Sliders with Garlic Sauce

Make flavorful, crunchy chicken sliders topped with a simple, rich garlic sauce, perfect for a quick meal or party food.
- Prep Time: 20 min
- Cook Time: 15 min
- Total Time: 35 min
- Yield: 12 sliders
- Category: Lunch
- Method: Frying
- Cuisine: American
- Diet: Low Fat
Ingredients
- 1.5 lbs boneless, skinless chicken breasts, cut into 12 small pieces
- 1 cup all-purpose flour
- 1 teaspoon salt
- 1/2 teaspoon black pepper
- 1/2 teaspoon paprika
- 2 large eggs, beaten
- 1 cup panko breadcrumbs
- Vegetable oil, for frying (or cooking spray for air frying)
- 12 slider buns
- 1/4 cup mayonnaise
- 2 cloves garlic, minced
- 1 tablespoon lemon juice
- 1 teaspoon Dijon mustard
- 1/4 cup finely chopped fresh parsley
- 12 thin dill pickle slices
- 1/2 cup shredded lettuce
Instructions
- Prepare the chicken: In one shallow dish, mix flour, salt, pepper, and paprika. In a second dish, beat the eggs. In a third dish, place the panko breadcrumbs. Dredge each chicken piece first in the flour mixture, shaking off excess. Dip into the egg, then press firmly into the panko breadcrumbs to coat completely.
- Cook the chicken: Heat about 1 inch of oil in a heavy-bottomed skillet over medium-high heat to 350°F (175°C). Carefully place chicken pieces in the hot oil, ensuring not to overcrowd the pan. Fry for 3 to 4 minutes per side until golden brown and cooked through (internal temperature of 165°F or 74°C). Remove and drain on a wire rack or paper towels. (Alternatively, air fry at 400°F (200°C) for 12-15 minutes, flipping halfway.)
- Make the garlic sauce: In a small bowl, combine the mayonnaise, minced garlic, lemon juice, Dijon mustard, and parsley. Mix well until smooth.
- Toast the buns: Lightly butter the cut sides of the slider buns and toast them in a dry pan or under the broiler until lightly golden.
- Assemble the sliders: Spread a generous amount of the garlic sauce on both the top and bottom halves of each bun. Place a piece of crispy chicken on the bottom bun. Top the chicken with 1 or 2 pickle slices and a small amount of shredded lettuce. Place the top bun on the slider.
Notes
- For extra crispiness, chill the breaded chicken pieces in the refrigerator for 15 minutes before cooking.
- You can substitute mayonnaise with Greek yogurt for a lighter garlic sauce base.
- Use small brioche buns for a sweeter contrast to the savory chicken and garlic.
Nutrition
- Serving Size: 1 slider
- Calories: 350
- Sugar: 4
- Sodium: 550
- Fat: 18
- Saturated Fat: 3
- Unsaturated Fat: 15
- Trans Fat: 0
- Carbohydrates: 28
- Fiber: 1
- Protein: 20
- Cholesterol: 75