

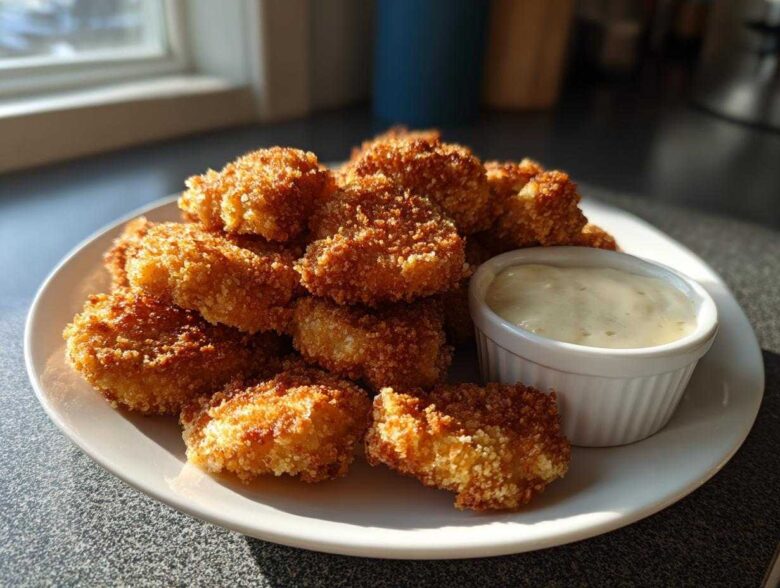
Ugh, you know those days when only the perfect, crispy, golden nugget will do? But then you grab the bag from the freezer and it’s just… sad. Soggy, chewy, and smelling vaguely of cardboard? I’ve been there too many times! That’s why I spent ages perfecting my recipe for Crispy Chicken Nuggets with Garlic Dip, and I’m telling you, these blow the store-bought stuff right out of the water. We’re getting that intense crunch—trust me—using either your air fryer or your standard oven, plus you get that incredible, homemade creamy garlic dip to go with it. Say goodbye to bland, sad frozen chicken forever! For the full breakthrough on homemade texture, check out my deep dive on homemade chicken nuggets recipe basics.
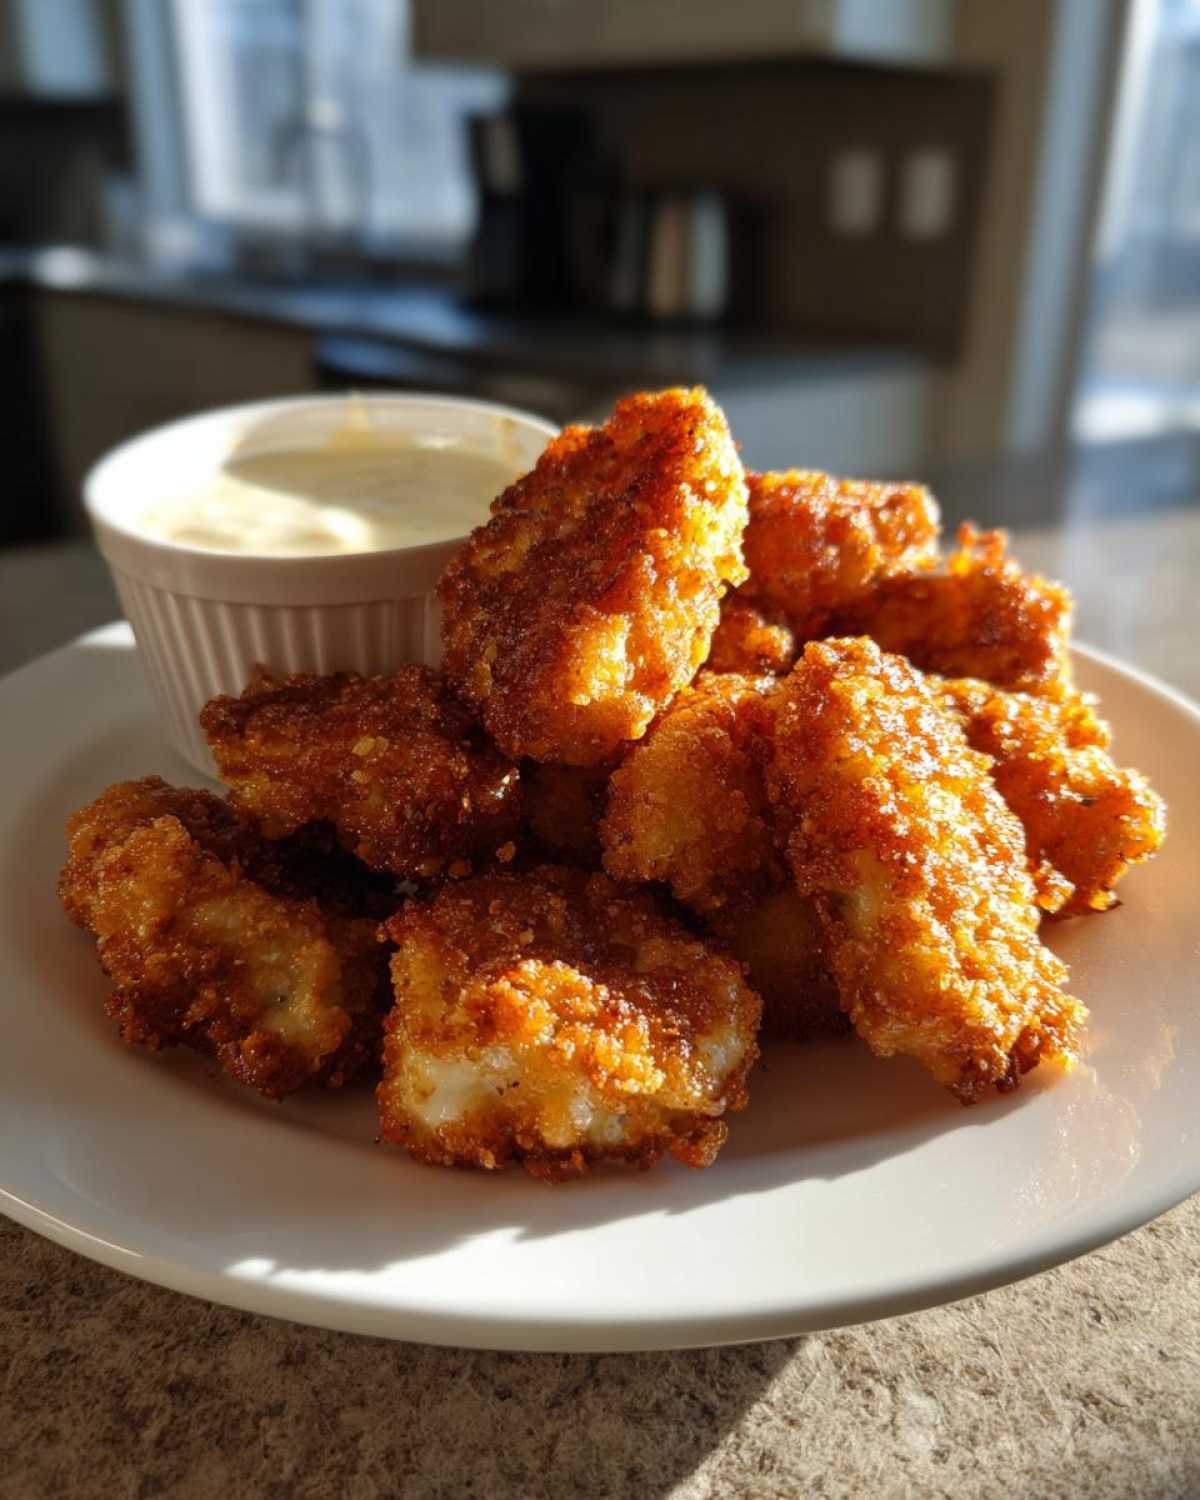
Why This Homemade Crispy Chicken Nuggets with Garlic Dip Recipe Works
Look, the main reason you need this recipe in your life is the texture. We’ve cracked the code for crunch without needing a deep fryer! Plus, since you’re making them yourself, they are fantastic, far healthier homemade chicken nuggets, perfect for picky eaters. It quickly becomes one of those go-to kid friendly chicken recipes you always keep in your rotation. If you want more inspiration that tastes this good, check out the main cooking blog!
- Totally customizable spice blends for little palates or adventurous adults.
- The garlic aioli dip is so easy but tastes gourmet.
- Cooked crisp in under 20 minutes using a quick method.
Achieving Maximum Crunch: The Secret to Crispy Chicken Nuggets
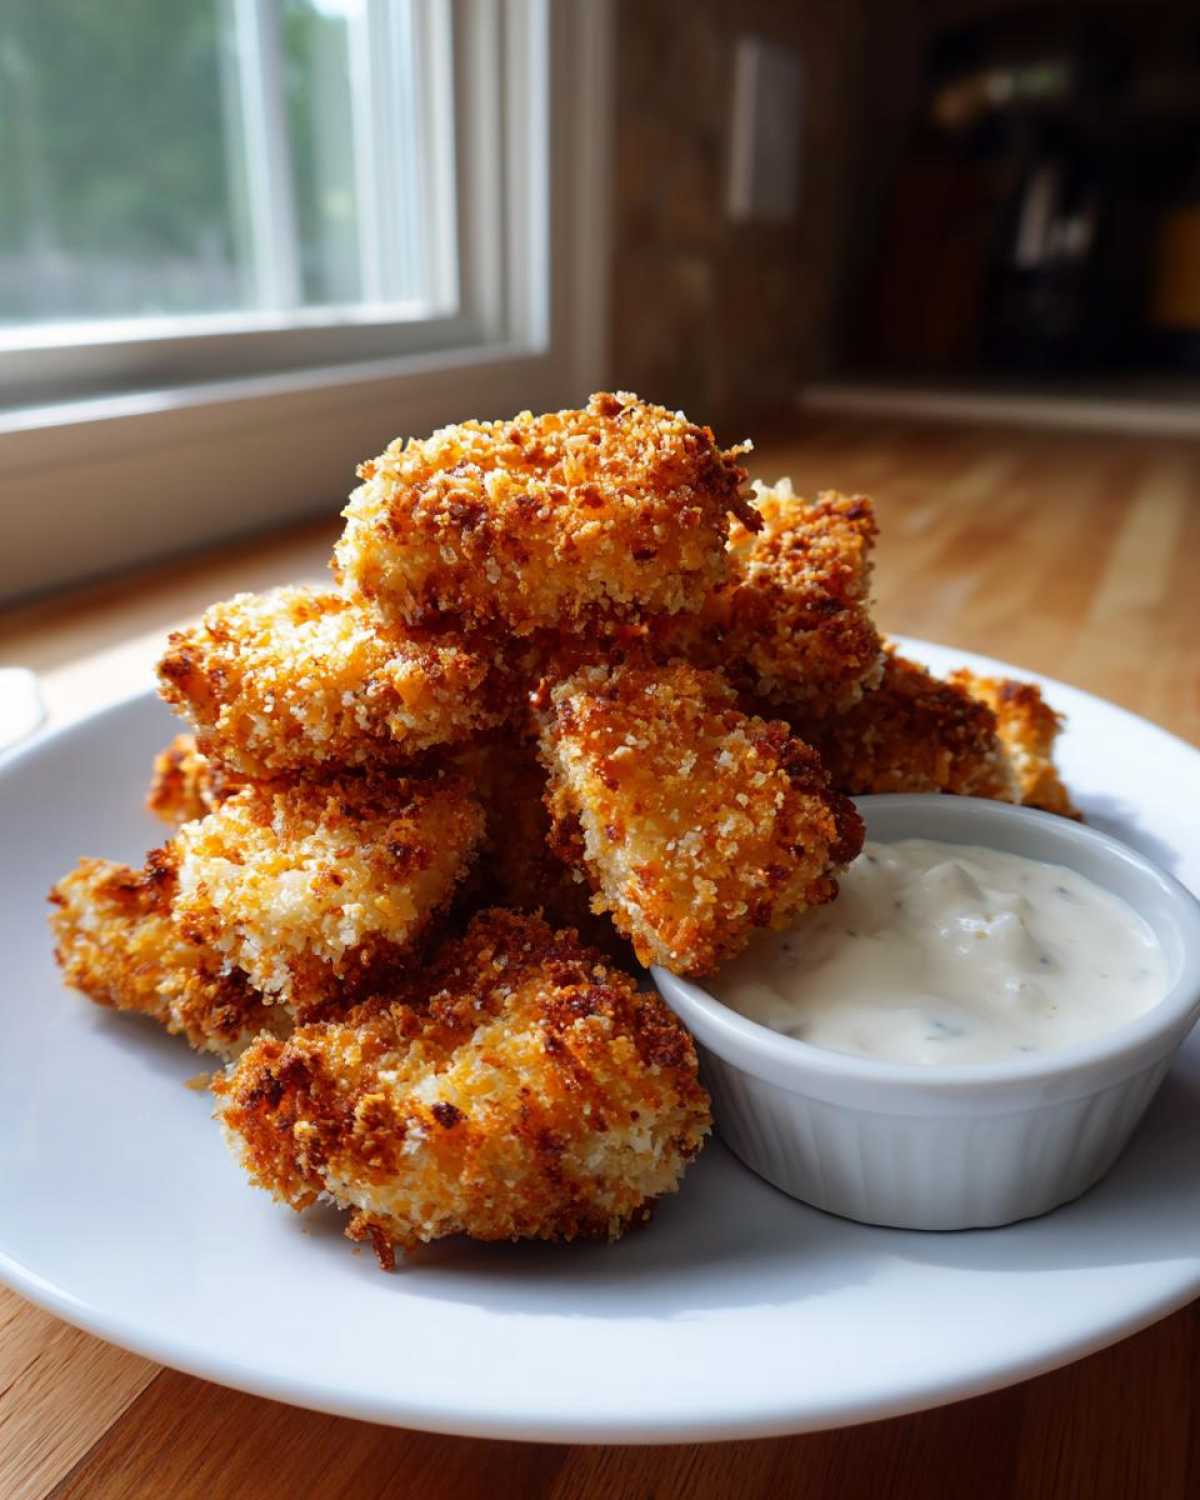
The secret isn’t luck; it’s the panko breadcrumbs! They are flakier and hold their shape better than standard breadcrumbs, which is key for that extra loud CRUNCH. You absolutely must use the three-step dredging process: flour first (to help the egg stick), then the egg wash, and finally, really press that panko onto the chicken. Don’t just roll it; use your hands to flatten the coating on there!
Ingredients for Crispy Chicken Nuggets with Garlic Dip
Okay, grabbing your ingredients is the fun part. It’s super simple, I promise! We keep the chicken classic—a good, lean breast cut into perfect 1-inch nuggets. Then we build up the layers for flavor and crunch. Don’t skip the garlic powder in the flour mix; it flavors the chicken right from the inside out! If you’re curious about making another delicious sauce entirely, check out my recipe for homemade brown gravy recipe from scratch.
For the Ultra-Crispy Chicken Nuggets
You’ll need about 1.5 pounds of boneless, skinless chicken breast cut into those one-inch pieces we love. For the breading itself, get ready for the trio: one cup of flour (that’s where the flavor starts!), two large eggs that are beaten up nicely, and a whole 1.5 cups of Panko breadcrumbs—Panko is essential, remember that!
Now for the seasoning blend you mix into your flour:
- One teaspoon of salt
- Half a teaspoon of black pepper
- Half a teaspoon of paprika
- A full tablespoon of garlic powder
And don’t forget your cooking spray or a little oil for the pan so they don’t stick!
For the Easy Garlic Dipping Sauce
This dip is truly what makes the whole meal special. It’s rich, tangy, and bursting with homemade garlic flavor—definitely an easy garlic dipping sauce that beats any bottle! You just mix these simple things together:
- Half a cup of creamy mayonnaise
- A quarter cup of plain Greek yogurt (this lightens it up!)
- Two cloves of fresh garlic, minced super fine—don’t skimp here!
- One tablespoon of fresh lemon juice
- One teaspoon of Dijon mustard
- Just a tiny pinch of salt and pepper to finish.
Step-by-Step Instructions for Crispy Chicken Nuggets with Garlic Dip
Alright, let’s get down to business. I know the dredging process can seem fussy, but this is where the magic happens! If you watch closely, you’ll see exactly how we lock in that crunch. If you happen to be cooking for a big crowd, you can check out my technique for less messy air fryer chicken wings recipe crispy preparation, which uses a similar logic!
Preparing the Breading Station and Coating the Chicken
First, make sure your three stations are ready to go. That’s your seasoned flour mix, the beaten eggs, and the Panko breadcrumbs. It’s important to coat that chicken well: Flour first—shake off any excess, seriously! Then dip it completely into the egg, letting the drips fall back into the bowl. Finally, the most important part: take that damp piece and press it firmly into the Panko. You want a thick, shaggy coating, so really give it a squeeze to make sure every side is covered before you set it aside on a clean plate.
Cooking Methods: Air Fryer or Oven Baked Crispy Chicken
We have two paths to perfection here! If you’re air frying, crank the temperature up to 400°F (200°C). Give those nuggets a light spray of oil, and cook them for about 10 to 12 minutes total, making sure you flip them halfway. If you’re using the oven, preheat to a slightly hotter 425°F (220°C). Lay them on a wire rack over a baking sheet—don’t crowd them! Bake for 18 to 22 minutes, flipping at the halfway mark. Either way, you’re aiming for that beautiful golden color and an internal temperature of at least 165°F (74°C). Nobody wants undercooked chicken nuggets!
Mixing the Homemade Garlic Dip from Scratch
While those beauties are cooking, whip up the dip. This takes about two minutes. Just dump the mayo, Greek yogurt, the finely minced garlic, lemon juice, Dijon, and salt/pepper into a small bowl. Whisk it until it looks totally smooth and creamy. If it seems too thick, you can add just a tiny splash of milk or water, but honestly, it should be perfect right there. Taste it and decide if you need more lemon tang. That’s it—gourmet dip done!
Tips for Perfect Crispy Chicken Nuggets with Garlic Dip Every Time
Now that you know the basic steps to get these best crispy chicken nuggets, I want to give you a couple of insider tips that really take them from ‘good’ to ‘I might never order takeout again’ territory. Keeping everything dry is half the battle when you’re working on your crispy breading techniques for poultry. If your flour dredge turns wet or gummy, your whole process is going to suffer. I keep a clean, dry paper towel handy just to dab off any extra moisture from the chicken before the flour step.
We’re aiming for that satisfying, shattering crunch, and these little tweaks help you nail it repeatedly!
Ingredient Adjustments for Extra Crunch
If you want NEXT LEVEL crunch—like, you want your nuggets to sound loud when you bite into them—you need to get creative with the breadcrumbs. My favorite trick is swapping out about half of the Panko breadcrumbs for crushed cornflakes. Yes, you heard me! Just put them in a Ziploc bag and crush them up with the bottom of a can until they are fine but still have texture. That extra texture holds up amazingly well.
Also, if you have time, swap the chicken breast for chicken tenderloins if you can find them. They are naturally a bit more tender and thinner, so they cook up faster and stay moister, which is a huge win! Don’t forget to check out my garlic parmesan chicken skewers quick easy post for more ways to punch up the garlic flavor in your weeknight dinners!
Storage and Reheating Instructions for Leftover Crispy Chicken Nuggets
So, you actually had leftovers? Wow, either you have incredible self-control, or your family just got tired of eating amazing food for once! If you do have any of these perfectly crunchy beauties left, we need to do this the right way. You can store them in an airtight container in the fridge for about three days. But listen to me: do NOT reheat these in the microwave! I mean it; that’s a guaranteed ticket to a soft, rubbery tragedy.
To bring back that glorious crispness, you simply must use the oven or the air fryer again. Pop them in the air fryer at 375°F for about five minutes, or in a 400°F oven for eight minutes. They’ll crisp right back up, ready for dipping. If you’re looking for a great way to use up any leftovers in a new recipe, you should definitely check out my idea for quick creamy chicken chili recipe!
Serving Suggestions for Your Crispy Chicken Nuggets with Garlic Dip
Dinner is served! Honestly, the garlic dip is so good you could eat these nuggets plain, but making it a complete meal is always smart. For a super fast and healthy quick weeknight chicken dinner, I pair these bites with something green that cooks while the nuggets are in the oven. Roasted vegetables are my go-to choice.
You absolutely must try my recipe for roasted garlic parmesan broccoli—it uses similar, bright flavors and takes almost no effort. If you need something lighter, a simple side salad tossed with a crisp vinaigrette is perfect for counteracting that savory meat and creamy dip. It’s always about balance in my kitchen!
Frequently Asked Questions About Homemade Chicken Nuggets
I know you might have a few lingering questions after diving into this process. It’s totally understandable! When you’re trying to nail that restaurant-quality crunch at home, details matter. I’ve gathered the questions I get asked most often about my homemade chicken nuggets recipe for you right here. Don’t worry if you need a little extra clarification before you jump in!
Can I deep fry these Crispy Chicken Nuggets instead?
Oh, absolutely, you *can* deep fry them! If you’re looking for that classic takeout texture, frying is the route to go. Just make sure your oil is heated up properly to 350°F (175°C). You don’t want to overcrowd the pot, or the oil temperature will drop, and then you get soggy nuggets—we learned that lesson already! Fry them in small batches for about 3 to 4 minutes, just until they turn that deep golden color. It’s a little messier, but the crisp factor is undeniable if you’re after a true deep fried chicken nuggets guide experience!
What is the best chicken cut for homemade nuggets?
For my recipe, I stick with boneless, skinless chicken breast because it’s lean and easy to cut into consistent shapes, which helps everything cook evenly. That gives you a slightly denser feel, which is great with that thick Panko crust. However, if you prefer a slightly softer, more tender nugget—closer to a chicken tender texture—you can definitely use chicken tenderloins instead! They are naturally smaller and more delicate, so you might need to watch the cooking time carefully just to make sure they don’t overcook under the intense heat of the air fryer.
Can I make the Garlic Dip ahead of time?
Yes, please do! I love making the garlic dip from scratch a day ahead of time. Why? Because the flavors actually meld together sitting in the fridge overnight—that sharp, fresh garlic mellows out just a touch and marries with the tang of the lemon and mustard. Store it in an airtight container in the fridge. It should last a good five days, easily! If it seems a little firm when you pull it out, just let it sit on the counter for about 15 minutes before serving. For more dips inspiration, take a look at my favorite easy soft honey whole wheat bread recipe—it pairs well with savory dips too!
Nutritional Estimates for Crispy Chicken Nuggets with Garlic Dip
I want to be totally upfront with you guys about what goes into these tasty bites. Since we are air frying or baking, these are definitely on the lighter side compared to a deep-fried option, which I love! Keep in mind that these numbers are just estimates, using the ingredients listed above, so yours might vary a little depending on how heavy you are with the cooking spray or exactly how much garlic you mince in your dip. This info is a good guideline for enjoying these healthy homemade chicken nuggets guilt-free!
Here is the breakdown based on a serving size of about 6 nuggets:
- Calories: 350
- Protein: 24g
- Fat: 18g (3g Saturated Fat)
- Carbohydrates: 25g
- Sugar: 2g
- Sodium: 450mg
Share Your Crispy Chicken Nuggets with Garlic Dip Experience
Okay, now it’s your turn! I’ve spilled all my secrets for getting that amazing crunch and that zesty dip right here. Once you’ve made these Crispy Chicken Nuggets with Garlic Dip, I absolutely need to hear about it! Seriously, head down to the comments section below and leave a rating. Tell me if you went the air fryer route or stuck with the oven trick, and, most importantly, how much garlic was in your dip because that’s where everyone gets creative!
If you have any questions or just want to send me a virtual high-five, you can always reach out via my contact page. Happy cooking, everyone!
PrintCrispy Chicken Nuggets with Garlic Dip
Make ultra-crispy chicken nuggets at home using an air fryer or oven, served with a simple, creamy garlic dipping sauce.
- Prep Time: 15 min
- Cook Time: 20 min
- Total Time: 35 min
- Yield: 4 servings
- Category: Main Course
- Method: Air Frying or Baking
- Cuisine: American
- Diet: Low Fat
Ingredients
- 1.5 lbs boneless, skinless chicken breast, cut into 1-inch pieces
- 1 cup all-purpose flour
- 2 large eggs, beaten
- 1.5 cups panko breadcrumbs
- 1 teaspoon salt
- 0.5 teaspoon black pepper
- 0.5 teaspoon paprika
- 1 tablespoon garlic powder (for breading)
- Cooking spray or oil for coating
- For the Garlic Dip:
- 0.5 cup mayonnaise
- 0.25 cup plain Greek yogurt
- 2 cloves garlic, minced
- 1 tablespoon lemon juice
- 1 teaspoon Dijon mustard
- Pinch of salt and pepper
Instructions
- Prepare the chicken: Place the flour, seasoned with salt, pepper, and garlic powder, in one shallow dish. Beat the eggs in a second shallow dish. Place the panko breadcrumbs in a third shallow dish.
- Dredge the chicken: Take one piece of chicken and coat it thoroughly in the flour mixture, shaking off excess. Dip it into the beaten egg, letting excess drip off. Finally, press the chicken firmly into the panko breadcrumbs to ensure full coverage. Repeat for all pieces.
- Cook the nuggets (Air Fryer Method): Preheat your air fryer to 400°F (200°C). Lightly spray the breaded nuggets with cooking spray or oil. Cook in a single layer for 10-12 minutes, flipping halfway through, until golden brown and cooked through (internal temperature of 165°F or 74°C).
- Cook the nuggets (Oven Method): Preheat your oven to 425°F (220°C). Place nuggets on a wire rack set over a baking sheet. Lightly spray the tops with cooking spray. Bake for 18-22 minutes, flipping halfway, until crispy and cooked through.
- Make the Garlic Dip: While the nuggets cook, combine the mayonnaise, Greek yogurt, minced garlic, lemon juice, Dijon mustard, salt, and pepper in a small bowl. Mix well until smooth.
- Serve immediately with the fresh garlic dip.
Notes
- For extra crispiness in the oven, ensure the nuggets are not touching on the baking sheet.
- Use chicken tenderloins instead of breast meat for a slightly more tender result.
- You can substitute half the panko with crushed cornflakes for added crunch.
Nutrition
- Serving Size: 6 nuggets
- Calories: 350
- Sugar: 2
- Sodium: 450
- Fat: 18
- Saturated Fat: 3
- Unsaturated Fat: 15
- Trans Fat: 0
- Carbohydrates: 25
- Fiber: 1
- Protein: 24
- Cholesterol: 90