

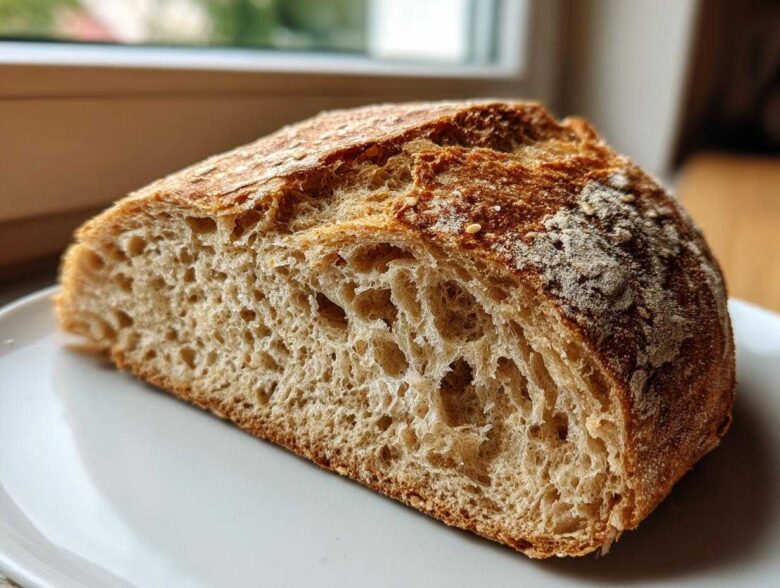
Oh, there is honestly nothing better than pulling a loaf of warm bread out of your own oven, is there? That incredible, yeasty, slightly sweet scent fills the entire house. Forget that slightly dry stuff wrapped in plastic at the grocery store! I spent so many years trying to get my bake right, especially when I wanted that classic sandwich bread texture but using wholesome grains.
Trust me when I say this: I have finally landed on the Soft Honey Whole Wheat Sandwich Bread Recipe that gives you the fluffiest interior and a crust that’s just right for grilling cheese. We have been using this specific whole wheat bread recipe for family lunches for almost a decade now. It’s easy enough for a weeknight project, but special enough that everyone asks for it! You can read more about my baking philosophy over at FlavorZine, but here, we focus on results.
We’ll get into the nitty-gritty below, but this formula—which perfectly balances whole wheat with just a touch of all-purpose flour—is what keeps it wonderfully soft.
Why This Soft Honey Whole Wheat Bread Recipe Works (Best Whole Wheat Bread Recipe)
When you’re making whole wheat bread, you often face a choice: super healthy and dense, or soft and fluffy like the store-bought stuff. We want both! This recipe is designed specifically to deliver on that promise, and it’s why I call it the best method I’ve found.
- Achieving a Fluffy Whole Grain Bread Texture: We use a little secret here—the mix of flours. The whole wheat gives you the nutrition and flavor, but the addition of all-purpose flour lightens the load just enough. That’s what keeps it soft!
- Simple Ingredients for Homemade Whole Wheat Loaf: You don’t need fancy vital wheat gluten or strange conditioners. If you have flour, honey, yeast, and water, you have everything required to start baking this excellent loaf from scratch.
The honey is key, too. It doesn’t just sweeten; it keeps the crumb tender, fighting off the natural tendency of whole grains to dry out.
Achieving a Fluffy Whole Grain Bread Texture
The magic trick here is the ratio. We use 3.5 cups of whole wheat flour but always sneak in half a cup of regular all-purpose flour. This small percentage allows the gluten structure to stretch more effectively while keeping that beautiful, fluffy whole grain bread texture you want for perfect sandwich slices. If you went 100% whole wheat, it would be delicious, but honestly, far too heavy for dipping into soup!
Simple Ingredients for Homemade Whole Wheat Loaf
Seriously, don’t panic when you look at the ingredient list. If you’ve got basic pantry staples, you’re good to go. This is the beauty of beginner bread making—we rely on technique, not complicated additives. I love that I can make an amazing homemade whole wheat loaf using just a handful of things I always keep stocked.
Gathering Your Simple Bread Ingredients for Whole Wheat Bread
Getting ready to bake this whole wheat bread is half the fun! I always lay everything out on the counter first, which means no stumbling around halfway through the kneading process. Keeping track of what goes where is simple when you see it all spread out.
This recipe is designed to be approachable, using ingredients you probably already have for your standard baking projects. Here is exactly what you’ll need for one perfect loaf.
Ingredient Clarity and Preparation Notes
A few quick notes on prep make all the difference in the final rise and texture. First, your water needs to be warm—I mean, perfectly cozy. Aim for that 105 to 115°F range; too hot, and you kill the yeast, too cool, and they get sleepy!
Also, make sure your butter is fully melted before adding it in with the wet stuff. Every bit counts here, especially since we are using a mix: you need exactly 3 1/2 cups of whole wheat flour and just 1/2 cup of all-purpose flour. Don’t swap those amounts around!
Step-by-Step Instructions for Easy Whole Wheat Bread (Beginner Bread Making)
Okay, let’s get mixing! This is where you’ll see just how simple making amazing whole wheat bread truly is. I’ve broken it down so there are no scary surprises. You’ll be amazed at what you can create with just a wooden spoon and strong arms. Anyone can manage this process, making it the perfect entry point for easy whole wheat bread!
Activating Yeast and Initial Mixing
First things first: wake up that yeast! Get your warm water ready—and I mean that perfect warm temperature, 105 to 115°F, like a lovely warm bath. Sprinkle in your yeast and the honey, give it a little swish, and just let it sit untouched for five minutes. If you see foam—that beautiful foamy cap—you are golden! If nothing happens, dump it and start over with warmer water. Then, stir in your melted butter and salt before dumping in all the flour. Mix it all until it looks like a big, shaggy mess. Don’t worry about it looking perfect yet!
Kneading Time for Your Homemade Whole Wheat Loaf
Time to get your hands dirty for this homemade whole wheat loaf! Turn that shaggy dough out onto a lightly floured counter. You need to knead this for a solid 5 to 7 minutes. Whole wheat dough feels different than plain white dough; it stays a bit stickier, so don’t add tons of extra flour unless you absolutely have to. You’re looking for a dough that’s smooth enough to handle but still has a bit of tackiness to it. That friction builds the structure we need for that lovely, fluffy texture.
First and Second Rise Times
Once you’ve kneaded it until it feels just right, pop it into a greased bowl, cover it up snuggly, and let it go for its first official nap. It needs about 1 to 1.5 hours for this first rise, giving it time to double in size. After you gently punch the air out, shape it neatly into your 9×5 loaf pan. Now, it needs a second rest—this one is quicker, maybe 30 to 45 minutes. You know it’s ready for the oven when the dough has crowned about an inch above the rim of the pan. Perfection!
Baking and Cooling Your Soft Sandwich Bread Recipe
Now for the truly rewarding part—seeing your beautiful loaf emerge from the oven! You want your oven nice and hot, set to 375°F (that’s 190°C in metric land). Slide that loaf pan right into the center rack and let it bake away for about 30 to 35 minutes. I know it looks golden, but you want to be sure it’s cooked all the way through, right?
My secret for foolproof bakes is checking the temperature. If you have a quick-read thermometer, stick it gently into the center of the loaf—you’re looking for an internal temperature of 200°F (93°C). That guarantees that fluffy interior we’ve been working so hard for. If you lift it out and knock on the bottom, it should sound satisfyingly hollow too!
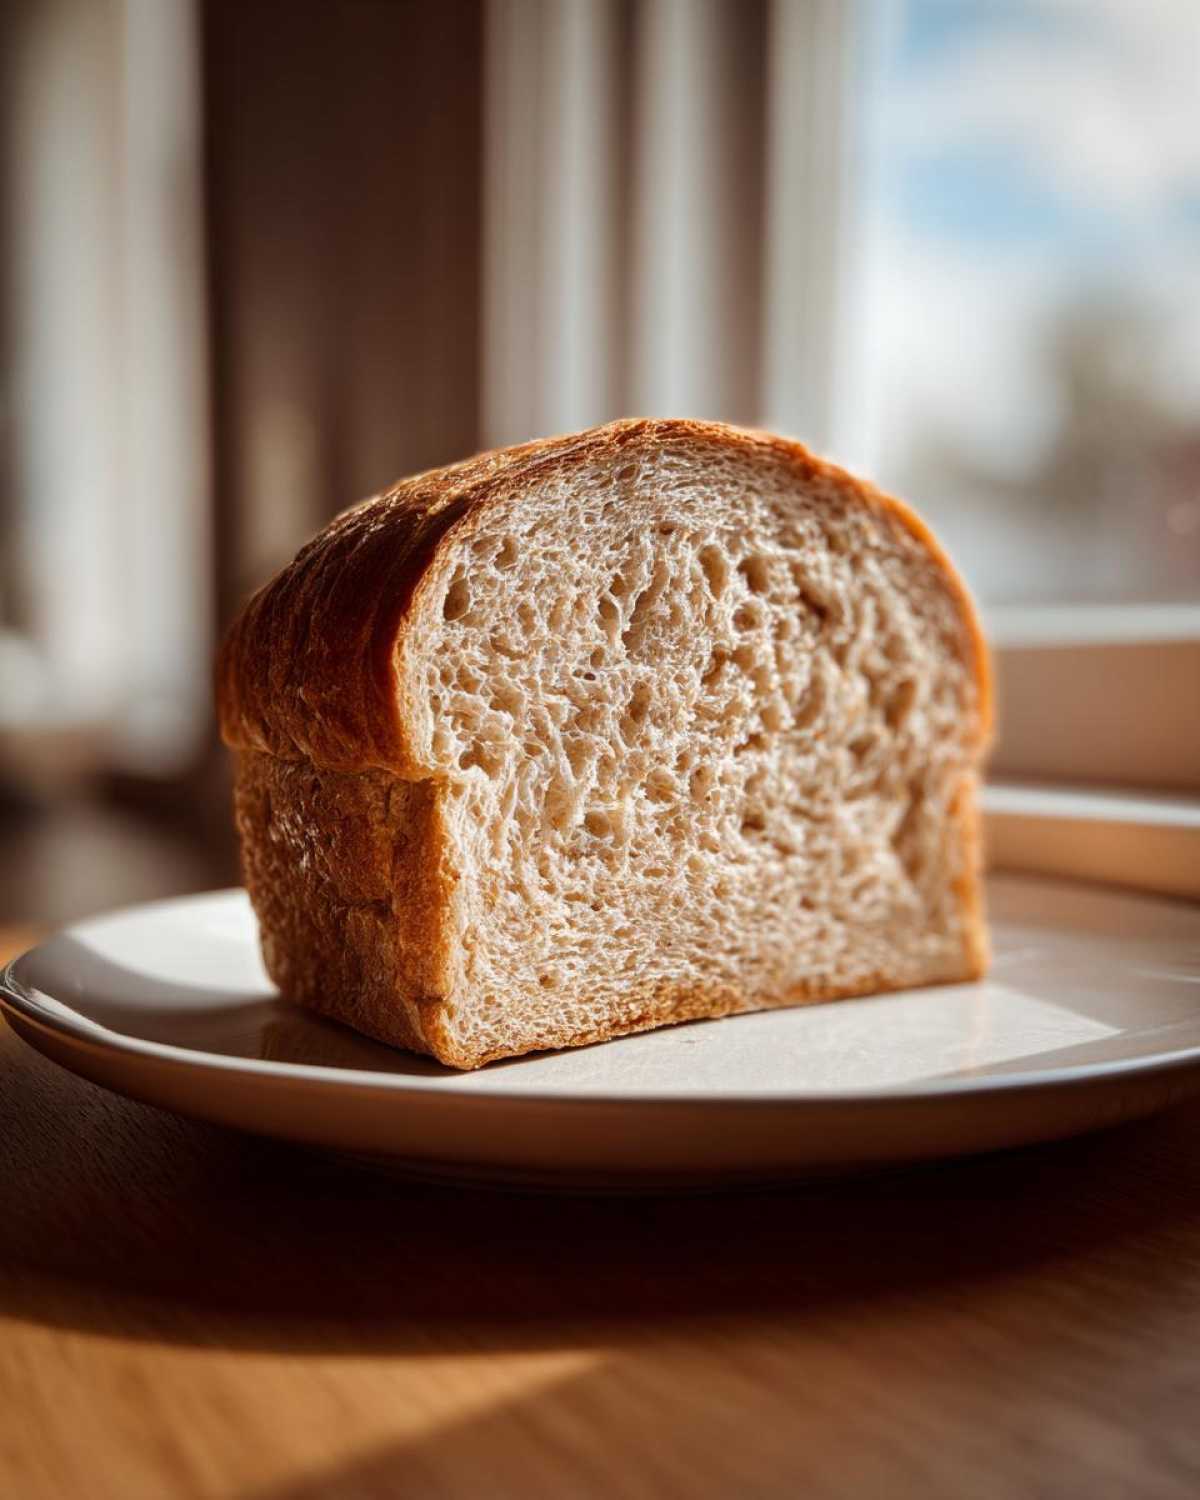
Tips for Achieving a Golden Crust on Whole Wheat Bread
As soon as that timer goes off, you need to work fast! Don’t let your whole wheat bread sit in that hot metal pan for even five minutes; it will steam itself soggy. Carefully turn the loaf out onto a wire cooling rack immediately. This allows air to circulate all around it so the bottom doesn’t get damp.
If you prefer a softer crust—which I usually do for sandwich bread—here’s a little trick: grab a tablespoon of melted butter and brush it lightly right over the hot crust as soon as it comes out of the pan. It soaks right in and keeps the texture tender. Seriously, patience while cooling is required, but once it’s completely cool, you can slice into the best whole wheat bread you’ve ever made at home.
Ingredient Notes and Substitutions for Whole Wheat Baking
Look, I know everyone asks about substitutions because sometimes you just don’t have every single thing hanging around. When tackling whole wheat bread, some things you just can’t mess with, but others are flexible! The main sticking point is the flour balance; sticking close to that 3.5 cups whole wheat to 1/2 cup all-purpose ratio keeps the structure sound.
If you’re out of honey? Maple syrup works beautifully as a substitute. It brings a slightly deeper flavor, but it performs the same job of keeping those starches soft. Just use the same measurement. Don’t substitute out the salt, though—that controls the yeast, and without it, your bread can over-proof or taste flat!
Tips for Success When Making Whole Wheat Bread at Home
Even when you’re following a great recipe, sometimes the environment fights you! If you find your kitchen is a little chilly—maybe winter time—your dough takes forever to rise. My favorite trick is to heat a mug of water in the microwave for about a minute until it’s steaming hot, then I put that mug in the empty oven, place the dough bowl right next to it, and close the door. That little blast of warmth creates a perfect little tropical environment for proofing your dough.
Also, remember that kneading technique we talked about? Stick with it! Too little kneading leads to a crumbly Homemade Whole Wheat Loaf, and we certainly don’t want that! A little patience during that 7-minute knead pays off huge later.
Storing Your Family Favorite Bread Recipe
Okay, the hardest part is over: you’ve baked it! Now, we need to store this gorgeous loaf of whole wheat bread so it stays fresh for sandwiches all week. Honestly, try to resist slicing into it right away—it cures as it cools, which helps a lot.
Once it’s completely cool, wrap it tightly in plastic wrap or tuck it into an airtight bag. Store it on the counter, not in the fridge, which dries bread out faster. If you’re making a big batch for amazing whole wheat toast bread mornings, slices freeze beautifully, too! Just pop them straight into the toaster when you want one.
Frequently Asked Questions About Making Whole Wheat Bread
I always get so many questions after people try this recipe for the first time! It’s normal to have a few concerns, especially when you are venturing into from scratch bread baking for the first time. Here are the common things folks ask me about achieving that perfect loaf.
Can I make this a No Knead Whole Wheat recipe?
That’s a great question if you’re looking for ultra-convenience! You absolutely *can* try making this a No Knead Whole Wheat recipe, but you have to accept a trade-off. Kneading develops the structure that holds up to the heavier whole grain flour. If you skip it, your dough will still rise thanks to the yeast, but the final texture will be much more rustic, denser, and probably a bit more uneven inside. For this specific soft sandwich bread recipe, I really suggest that 5 to 7 minutes of kneading to keep it fluffy!
What is the best flour ratio for 100 Percent Whole Wheat?
If you want to go for 100 Percent Whole Wheat, you can certainly try that! However, you should plan on needing a little extra liquid—maybe an extra quarter cup of water—because whole wheat flour absorbs water much faster than white flour. Also, be prepared for a much heartier loaf. This recipe uses the 3.5 cups whole wheat to 1/2 cup all-purpose blend because that combination truly creates the most beautiful, fluffy whole grain bread that still feels healthy.
Why did my whole wheat bread not rise properly?
This usually boils down to two things, and both relate back to happy little yeast bugs! First, check your water temperature. If it was too hot when you added the yeast, you might have stunned or killed them before they even started eating the honey. Second, check your proofing environment. If your kitchen is chilly, the yeast just gets sluggish—that’s why I always recommend that trick of putting the bowl near a pan of hot water in the turned-off oven. Make sure your yeast is fresh, and your rising spots are warm, and you’ll get that perfect rise next time!
For more information on how we handle content on this site, please review our disclaimer located here. Happy baking!
Share Your Homemade Whole Wheat Loaf Experience
Now for the best part! I genuinely want to hear about your baking adventure. Did this whole wheat bread turn out just as soft and fluffy as you hoped? Did you slather the warm slices with butter right away? Don’t be shy!
Please leave a star rating below so I know if this recipe is still making the cut for you. And if you snapped a picture of your beautiful homemade whole wheat loaf cooling on the rack, I would absolutely love to see it! Tag me on social media or shoot me a message using the contact form located here. Baking bread should be a community thing, so let’s celebrate your success!
PrintSoft Honey Whole Wheat Sandwich Bread

Make a soft, fluffy whole wheat loaf at home perfect for sandwiches and toast using simple ingredients and an easy mixing method.
- Prep Time: 20 min
- Cook Time: 35 min
- Total Time: 2 hours 30 min
- Yield: 1 loaf
- Category: Baking
- Method: Kneading and Baking
- Cuisine: American
- Diet: Vegetarian
Ingredients
- 1 1/2 cups warm water (105-115°F)
- 2 1/4 teaspoons active dry yeast
- 1/4 cup honey
- 2 tablespoons unsalted butter, melted
- 1 1/2 teaspoons salt
- 3 1/2 cups whole wheat flour
- 1/2 cup all-purpose flour (plus more for dusting)
Instructions
- In a large bowl, dissolve the yeast and honey in the warm water. Let stand for 5 minutes until foamy.
- Stir in the melted butter and salt into the yeast mixture.
- Add the whole wheat flour and all-purpose flour to the wet ingredients. Mix with a wooden spoon until a shaggy dough forms.
- Turn the dough out onto a lightly floured surface. Knead for 5 to 7 minutes until the dough is smooth and elastic. It will be slightly stickier than white bread dough.
- Lightly grease a large bowl. Place the dough in the bowl, turning to coat. Cover the bowl with plastic wrap or a clean towel. Let the dough rise in a warm place for 1 to 1.5 hours, or until doubled in size.
- Gently punch down the risen dough. Shape it into a loaf and place it in a greased 9×5 inch loaf pan.
- Cover the pan loosely and let the dough rise again in a warm place for 30 to 45 minutes, or until the dough has crowned about 1 inch over the rim of the pan.
- Preheat your oven to 375°F (190°C).
- Bake for 30 to 35 minutes, or until the top is golden brown and the internal temperature reaches 200°F (93°C).
- Remove the bread from the pan immediately and cool completely on a wire rack before slicing.
Notes
- For a softer crust, brush the top of the loaf with melted butter immediately after removing it from the oven.
- If your kitchen is cold, place the dough bowl inside a turned-off oven with a pan of hot water on the bottom rack to create a warm environment for rising.
- You can substitute half of the whole wheat flour with all-purpose flour for a slightly lighter texture.
Nutrition
- Serving Size: 1 slice
- Calories: 130
- Sugar: 4
- Sodium: 150
- Fat: 2
- Saturated Fat: 1
- Unsaturated Fat: 1
- Trans Fat: 0
- Carbohydrates: 25
- Fiber: 3
- Protein: 5
- Cholesterol: 5