

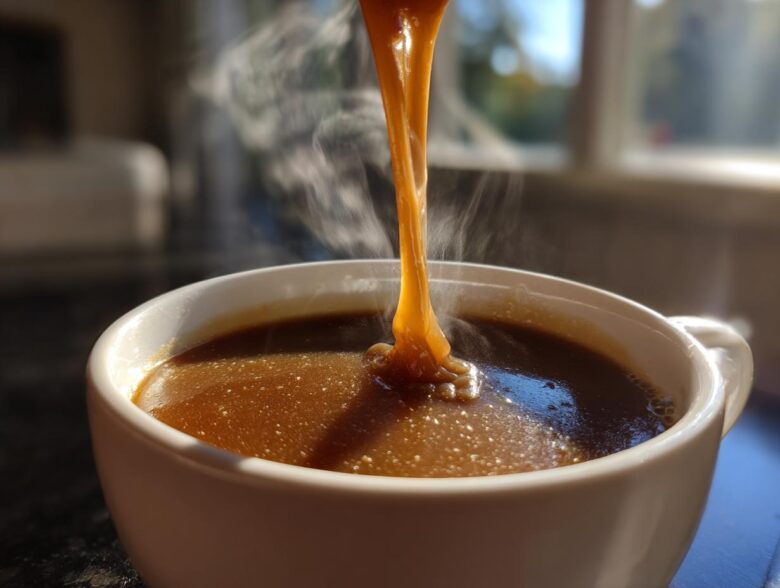
Oh, listen, there is nothing—and I mean *nothing*—that screams comfort food louder than a plate piled high with creamy mashed potatoes just drowning in rich, dark sauce, right? For years, I thought making truly amazing homemade brown gravy meant waiting until I roasted a massive piece of meat and dealing with all those messy pan drippings. Nope! I finally cracked the code on making a velvety, savory gravy completely from scratch, and guess what? It’s quicker than waiting for the oven to preheat!
I struggled with lumpy sauces for ages, honestly. But learning the secret to a perfect roux changed everything. This recipe is my go-to for that essential, rich flavor profile you want on your roast or meatloaf night. It’s so easy, you’ll never buy that powdered junk again, trust me on this one!
Why This Easy Homemade Brown Gravy Recipe Works (Comfort Food Classic)
Honestly, this is the recipe that convinced me making sauces isn’t scary. It’s honestly one of my favorite reasons to cook comfort food because it comes together so fast. You’re going to absolutely adore this homemade brown gravy because:
- Prep time is about five minutes flat, so it’s perfect for weeknights.
- It uses that beautiful, foolproof simple roux gravy method.
- It’s super versatile—perfect for holidays or just Tuesday meatloaf!
- You don’t need any drippings, so you can make it any time you want that rich flavor.
Gathering Ingredients for Your Homemade Brown Gravy
When we’re making this from scratch gravy, we are intentionally skipping the drippings because we want maximum control over the flavor base. That means we rely on quality standard pantry staples to build that savory foundation. I always insist on using low sodium beef broth—it keeps the final gravy from tasting salty once it reduces down a bit. Also, please use actual unsalted butter; margarine just doesn’t give you that same rich mouthfeel, you know?
Essential Components for Rich Beef Gravy
- 3 tablespoons all-purpose flour
- 3 tablespoons unsalted butter
- 2 cups beef broth (low sodium preferred)
- 1 teaspoon Worcestershire sauce
- 1/2 teaspoon onion powder
- 1/4 teaspoon garlic powder
- Salt to taste
- Black pepper to taste
How To Make Gravy Without Drippings: Step-by-Step Homemade Brown Gravy
Making this incredible homemade brown gravy is really all about mastering the roux, which is just a fancy word for flour and fat cooked together. This is where the magic happens, so don’t rush it! I’ve learned that if you whisk this paste correctly, lumps simply won’t exist in your final product. Seriously, keep that whisk moving; constant motion is your best friend here.
Creating the Simple Roux Gravy Base
First up, we melt the butter right there in our saucepan over medium heat. Once it’s happy and shimmering, whisk in your flour quickly. You need to cook this paste—your roux—for about one to two minutes. You’re waiting for a subtle shift; it will smooth out beautifully and start smelling just a little bit nutty, like toasted grain. Stop right there! We don’t want it to get dark brown since this is a *brown* gravy, not a dark roast gravy.
Achieving a Velvety Brown Gravy Texture
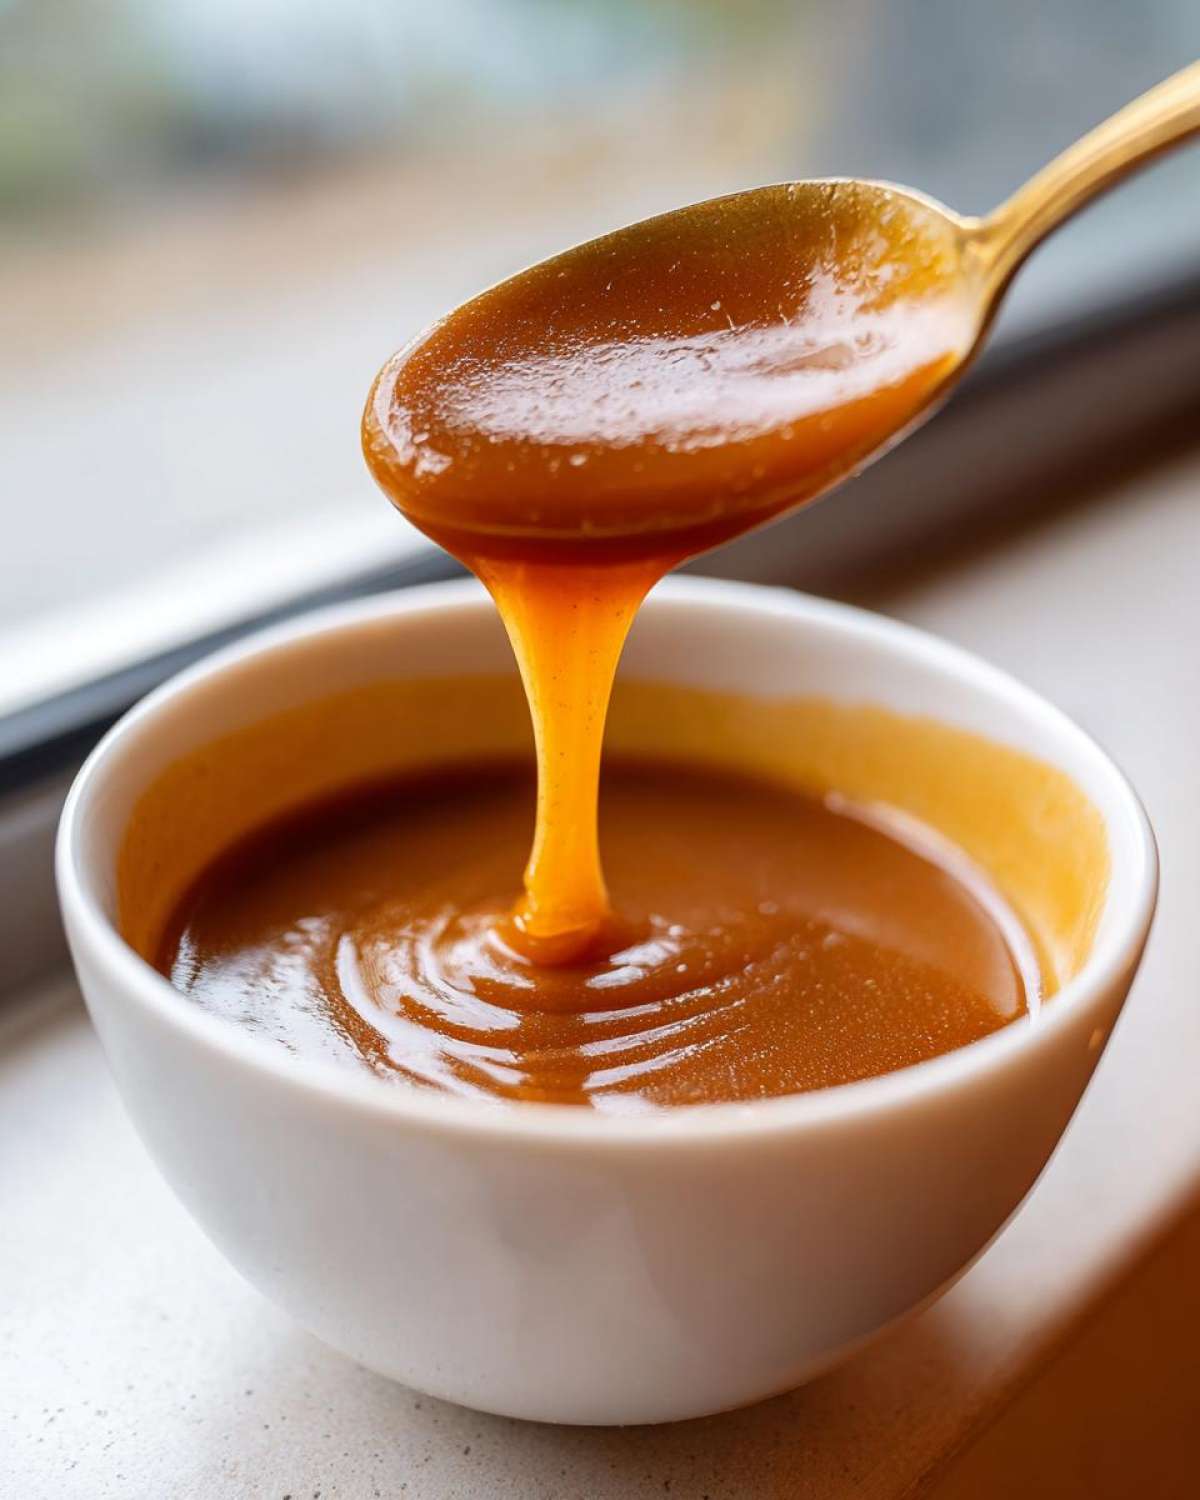
Now for the trickiest part, but you’ve got this! While you are whisking without stopping, drizzle in that gorgeous beef broth really slowly. Pouring it fast guarantees lumps, and we simply won’t stand for lumpy gravy in this house. Once all the broth is in, bring it up to a gentle simmer. As it heats up, it starts getting thick—that’s the starch working its magic! Once it’s simmering nicely, toss in the Worcestershire, onion powder, and garlic powder. Let it bubble quietly for about three to five minutes until it coats the back of a spoon perfectly. If you check out the full instructions, I even walk you through how to thin it out if you accidentally go too thick!
Tips for Success When Making Your Savory Gravy Sauce
Even though this recipe for homemade brown gravy is already simple, there are a couple of little tricks I picked up over the years that make it truly restaurant-quality. Seriously, this takes it from good to “Where did you buy this sauce?” level.
If you want a really deep, moody color—think the gravy that comes out when you roast a big holiday prime rib—you can cook that butter-flour paste (the roux) for just an extra minute or two until it hits a light peanut butter shade. Just don’t burn it! That extra time really toasts the flour and deepens the flavor profile.
Now, for the ultimate velvety texture that defines a perfect thick brown sauce: straining! If you are nervous about tiny flour bits or any spices floating around, just pour the finished gravy right through a fine-mesh sieve before you serve it over your potatoes. Instant, smooth perfection! Trust me, taking that extra 30 seconds makes a huge visual difference.
Variations for Your Classic Brown Gravy
While this base recipe for homemade brown gravy is perfection on its own, sometimes you need to pivot depending on what you’re serving or what’s in the fridge. The beauty of the simple roux gravy technique is that it handles substitutions like a champ!
If you’re pairing this with chicken or maybe some sage stuffing, totally swap out that beef broth for chicken broth. It gives you a lovely, lighter color but maintains that wonderful thickness we worked so hard to achieve. For holiday meals, I sometimes love adding a teensy bit of dried thyme or maybe just a whisper of dried sage right in with the onion and garlic powder. Don’t overdo the herbs, though! We want this to stay a crowd-pleasing, savory gravy sauce, not turn into an herb bomb.
Serving Suggestions for This Thick Brown Sauce
So, now you have this spectacular, ready-to-pour homemade brown gravy! The possibilities are endless, but let’s stick to the classics where this sauce truly shines. Naturally, it is the ultimate mashed potato topping; I mean, what else is there to even say?
But don’t stop there! This Classic Brown Gravy is fantastic drizzled right over slices of roast beef or generously poured over a meatloaf fresh from the oven. If you’re feeling extra ambitious, use it as the liquid base for a quick poutine over fries. It’s just that rich and versatile!
Storage and Reheating Instructions for Homemade Gravy
Making sure your homemade gravy tastes just as good the next day is key! If you have any leftovers, pop that delicious sauce into an airtight container and put it in the fridge. Honestly, it keeps really well for three or four days. Now, when you pull it out later, it’s gonna look more like brown rubber cement than sauce—that’s normal! That’s just the flour and butter setting up.
Don’t panic, though! To bring it back to life, put it in a small saucepan over low heat. You just need to add a splash of liquid—a bit of warm water or extra broth works great. Whisk it slowly as it warms up. If it’s stiff, keep adding tiny amounts of liquid and whisking until you get that perfectly pourable consistency back. Patience while reheating builds great trust between you and your leftovers!
Frequently Asked Questions About From Scratch Gravy
I know when I first started messing around with sauces, I had about fifty questions swirling around in my head. It’s totally normal to wonder about adjustments like texture or flavor depth when you’re making something from scratch gravy for the first time. Here are the ones I get asked the most about this recipe!
Can I make this gravy vegetarian or vegan?
Absolutely! This is a lifesaver for vegetarians or for those nights when you’ve made a veggie roast instead of beef. The roux technique works perfectly with non-meat liquids. For a vegetarian version, just swap out the beef broth for a really high-quality vegetable broth—maybe even a mushroom broth for extra depth. If you need it totally vegan, switch the unsalted butter for a good, neutral-flavored oil, like canola or vegetable oil, when you make your roux. It still gets thick and savory!
How do I fix my homemade brown gravy if it is too thin?
Oh, the dreaded thin gravy! If you followed the instructions and it still won’t thicken up after simmering for that full five minutes, don’t worry, we can fix it fast. You have two great options to get that lovely texture for your savory gravy sauce.
First, you can just let it simmer uncovered on low heat for a bit longer; sometimes it just needs more time to reduce down. If you’re in a hurry, make a quick slurry. Mix about one tablespoon of cornstarch with two tablespoons of cold water in a separate little cup until it’s totally smooth—no lumps allowed! Whisk that slurry right into your simmering gravy. It will thicken almost instantly! Just simmer for another minute after adding the slurry, and you’re good to go. Please remember to only use cold water when mixing your starch!
Feel free to reach out if you have more questions about mastering this recipe; you can always drop me a line over at my contact page!
Understanding the Nutrition of This Savory Gravy Sauce
I know we cook with love, but sometimes it’s good to know what’s in the final result! Since this is a completely homemade sauce, the numbers will shift slightly based on your broth or butter brand, but here’s a general idea for a small quarter-cup serving of our savory gravy sauce. Remember, these figures are just estimates based on the standard ingredients called for in the recipe. You can review my full privacy policy here if you want to know more about how I handle visitor data!
- Calories: About 75
- Fat: Around 5 grams
- Carbohydrates: Roughly 6 grams
- Protein: About 2 grams
Easy Homemade Brown Gravy Recipe (From Scratch, No Drippings Required)

Make a rich, velvety brown gravy from scratch using a simple roux. This recipe does not require pan drippings and is perfect for mashed potatoes or roast meat.
- Prep Time: 5 min
- Cook Time: 10 min
- Total Time: 15 min
- Yield: About 2 cups
- Category: Sauce
- Method: Stovetop
- Cuisine: American
- Diet: Vegetarian
Ingredients
- 3 tablespoons all-purpose flour
- 3 tablespoons unsalted butter
- 2 cups beef broth (low sodium preferred)
- 1 teaspoon Worcestershire sauce
- 1/2 teaspoon onion powder
- 1/4 teaspoon garlic powder
- Salt to taste
- Black pepper to taste
Instructions
- Melt the butter in a medium saucepan over medium heat.
- Whisk the flour into the melted butter. Cook this mixture, stirring constantly, for 1 to 2 minutes until it forms a smooth paste (roux) and smells slightly nutty. Do not let it brown too much.
- Slowly pour in the beef broth while whisking continuously to prevent lumps from forming.
- Bring the mixture to a simmer, still whisking occasionally. The gravy will begin to thicken as it simmers.
- Stir in the Worcestershire sauce, onion powder, and garlic powder.
- Reduce the heat to low and let the gravy simmer for 3 to 5 minutes, or until it reaches your desired thickness. If it is too thick, add a little more broth or water.
- Remove from heat. Season with salt and black pepper to your preference.
Notes
- For a darker color, cook the roux for an extra minute or two until it reaches a light peanut butter color.
- If you prefer a smoother texture, strain the finished gravy through a fine-mesh sieve before serving.
- If you have leftover meat drippings, substitute 1 tablespoon of butter with 1 tablespoon of drippings for added flavor.
Nutrition
- Serving Size: 1/4 cup
- Calories: 75
- Sugar: 0.5
- Sodium: 250
- Fat: 5
- Saturated Fat: 3
- Unsaturated Fat: 2
- Trans Fat: 0
- Carbohydrates: 6
- Fiber: 0.2
- Protein: 2
- Cholesterol: 7