

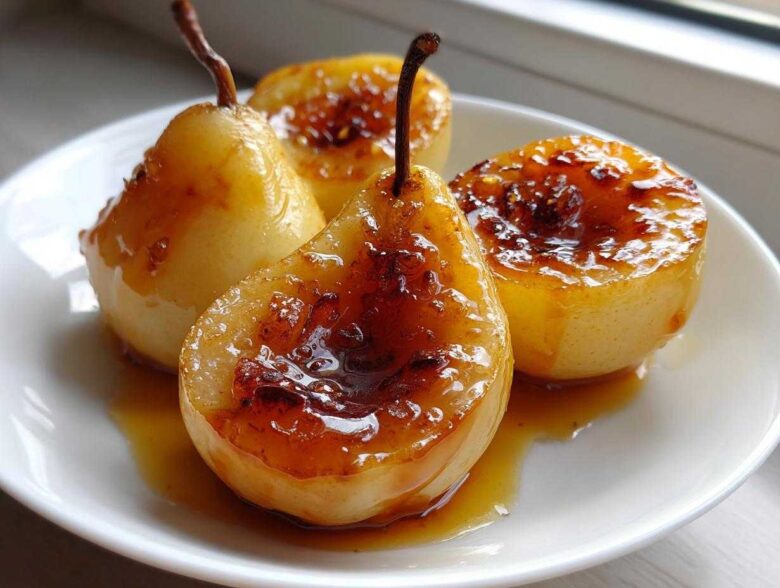
There is just nothing that says ‘cozy comfort’ quite like warm fruit simmering in spices on a chilly evening. When that first cool draft hits in the fall, you know it’s time to dust off the oven, and I have the absolute winner for you today. Forget complicated pastry or fussy fillings! This is the easiest, most satisfying way I know to make incredibly tender baked pears. Seriously, ten minutes of prep and you get this gorgeous, caramelized dessert that smells like heaven. I made these last night when the temperature suddenly dropped, and I swear my whole house felt instantly happier. For more about my kitchen philosophy, you can always check out our About Us page!
Why This Easy Baked Pears Recipe Works So Well
People often overcomplicate baked fruit, thinking they need complicated soaking times or fancy equipment. Not here! This baked pears recipe is pure magic because it relies on simple physics and great ingredients. It’s truly quick, which means you can whip it up even on a busy Tuesday night.
- The water added to the bottom of the dish is key; it steams the pears just enough to get them tender without making them watery.
- Melting the butter *with* the honey and brown sugar creates an immediate, rich glaze that adheres perfectly to the fruit.
- Because we’re not peeling them, the skin holds the shape beautifully while the inside softens.
Selecting the Best Pears for Baking
Picking the right pear is half the battle, trust me. If you go too soft, you’ll end up with pear sauce instead of baked halves! I always look for Bosc or Anjou pears for this. They are the sturdy guys of the pear world.
You want them firm to the touch—just starting to give when you press lightly near the stem, but certainly not squishy anywhere else. That firmness ensures they hold their shape during that bake time, giving you beautifully defined, caramelized wedges when they come out of the oven.
Gathering Ingredients for Your Honey Baked Pears
Okay, let’s talk about what you need to make these stunners! The beauty of these baked pears is that the ingredient list is super short, mostly pantry staples, which is why it’s such a great quick dessert idea. You’ll notice we need four firm pears—I swear by Bosc or Anjou for the structure.
For that rich, warm glaze, grab your honey, two tablespoons of melted butter, one teaspoon of cinnamon, and brown sugar that is nicely packed down. Don’t forget that quarter cup of water for the bottom of the dish! And if you want a great little crunch, have some chopped walnuts or pecans ready to sprinkle on top.
Ingredient Notes and Simple Substitutions
While this recipe is perfect as is, you know I love flexibility! If, heaven forbid, you are out of honey, you can absolutely substitute maple syrup for half of what the recipe calls for. It gives a slightly different, but still delicious, earthy tone. Even though we aren’t using lots of ingredients, knowing you can swap things out is good!
This entire preparation falls under the vegetarian diet umbrella, which is nice for pleasing everyone at the table. The only thing I wouldn’t mess with is the brown sugar; that molasses flavor is essential to the caramelized taste we are aiming for!
Step-by-Step Instructions for Tender Baked Pears
Alright, let’s get baking! Making these baked pears is so straightforward you’ll wonder why you haven’t made them every week. First things first: get that oven cranked up to 375°F (190°C) and make sure you grease whatever small baking dish you’re using. Don’t skip that greasing step, or you’ll be scraping later—trust me on this one!
Next, grab those four pears. Give them a good wash, and then slice them right down the middle lengthwise. This is where your melon baller or small spoon comes in handy for scooping out that little core and all those seeds. Once they are prepped, place them cut-side up in your dish. They should nestle in there nicely, ready for their sweet bath.
Creating the Cinnamon Baked Pears Glaze
Now for the flavor burst! Grab a tiny bowl. We’re mixing up the magic for our cinnamon baked pears glaze right now. Whisk together that honey, the melted butter, the cinnamon, and the brown sugar. You don’t need a marathon mixing session here; just stir it until everything is completely combined and looks gooey. Spoon that rich mixture generously over the open face of every single pear half.
Baking Time and Achieving Caramelized Baked Pears
This is where the transformation happens! Before you slide them in, pour that quarter cup of water into the bottom of the dish, around the pears. That steaming water is what guarantees you get those beautifully tender baked pears. If you’re using nuts, sprinkle them over the tops now.
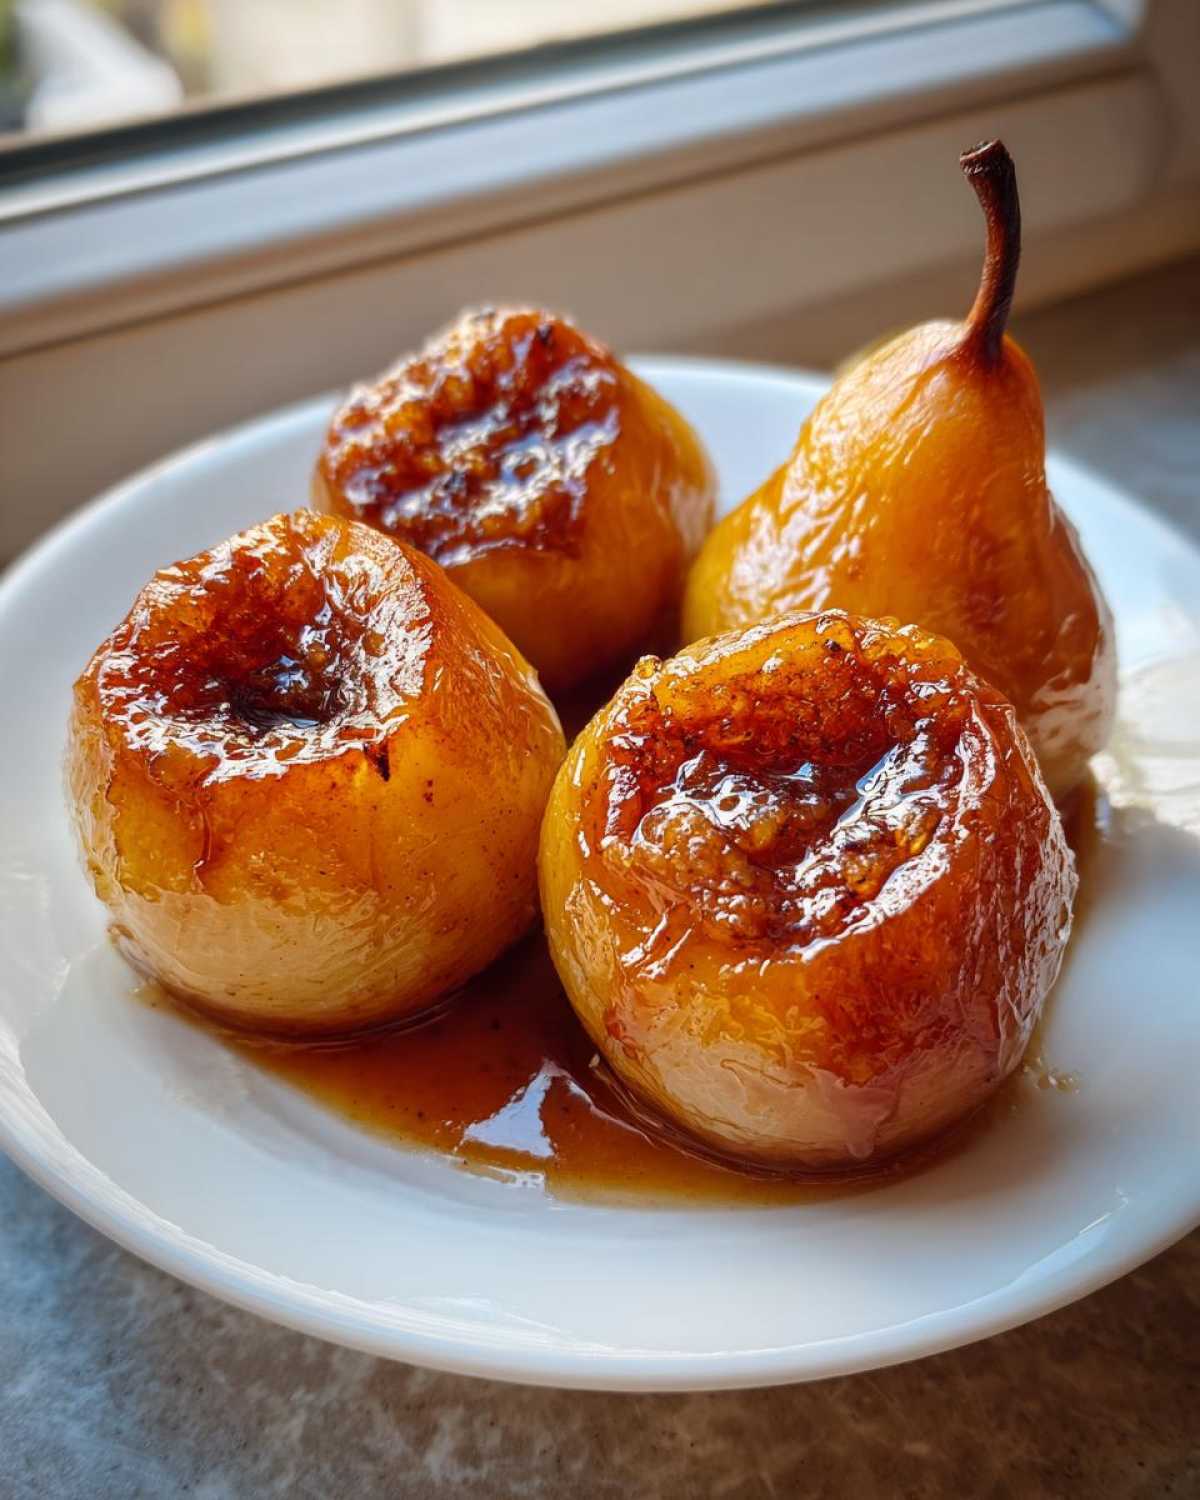
Bake everything for about 30 to 40 minutes. You’ll know they are truly done when you can pierce them easily with a fork; they should feel soft, but not completely collapsed. As they bake, that liquid underneath will reduce down into a gorgeous, thick syrup, giving you that perfect caramelized finish we love on our baked fruit for fall.
Tips for Perfect Baked Pears with Spices
Even though this is an easy recipe for baked pears, a couple of professional tips can take them from great to absolutely incredible. I’ve learned these little secrets over the years just by playing around with fruit in the oven. You want perfection, right?
If you find your pears are browning too quickly on top before the inside is soft—maybe your oven runs a little hot—try covering the baking dish loosely with aluminum foil for the first 20 minutes. This traps the steam and guarantees that soft, juicy interior we are aiming for!
Also, if you are planning a dinner party, these are magnificent when made ahead! You can safely store your perfectly cooked baked pears covered in the fridge for a full day. Just reheat them gently on the stovetop or in the oven before serving so they are warm and syrupy again. For more legal details about what we share here, feel free to check out our disclaimer!
Serving Suggestions for This Warm Spiced Dessert
So, you’ve successfully created these glorious baked pears! Now, how do we enjoy them? The absolute classic, which I stand by every time, is a big scoop of vanilla bean ice cream right next to the warm pear. The contrast between the hot, spiced fruit and the cold cream is just divine.
If you want to keep things a tiny bit lighter, plain Greek yogurt is fantastic—it brings a lovely tang that cuts through all that honey sweetness. Trust me, when you drizzle that thick syrup right over the ice cream or yogurt, these simple baked pears instantly transform into a gourmet baked fruit dessert that looks expensive but took hardly any effort at all!
Storage and Reheating Instructions
Even though these delicious pears disappear fast, sometimes you end up with leftovers, right? Don’t stress about that! You can absolutely make these ahead of time. Just let the baked fruit cool completely, then store the pear halves and any leftover syrup together in an airtight container in the refrigerator.
They hold up beautifully for about two days! When you want to enjoy them again, make sure you reheat them gently. Throw them in a low oven for about ten minutes, or microwave them in short bursts until they are just warmed through. We want them warm, not hot, to keep that wonderfully tender texture intact!
Frequently Asked Questions About Baked Pears
I know you might have questions, because when you find a recipe this simple, you want to make sure you’re doing it exactly right! Here are some things I get asked all the time about these lovely spiced fruits.
For anyone looking for a slightly lighter option, these are naturally one of the best healthy baked pears dessert choices out there, especially if you skip toppings like ice cream. Plus, as I mentioned before, you can prep them entirely ahead of time—they are fantastic as a make ahead baked pears option for parties!
And hey, if you want to skip the sweet and go savory? We can totally manage that transformation!
Can I make baked pears appetizer style?
Oh, absolutely! This is a great way to switch things up. For a savory appetizer twist, leave out the honey and brown sugar. Instead, stuff the centers with crumbled goat cheese or feta, maybe add a sprig of thyme, and bake until tender. Serve them warm; they make the most elegant pear dessert for entertaining!
If you have any more burning questions, please do reach out through our Contact page!
Nutritional Snapshot of Baked Pears
I always love seeing the breakdown once everything is done cooking! Keep in mind these numbers for these wonderful baked pears are estimates based on the ingredients we used, specifically one pear half without any extra toppings like ice cream. I tried my best to calculate this after I finished my last batch!
- Calories: Around 250
- Carbohydrates: About 48g
- Total Fat: Roughly 7g
- Protein: 1g
We use real butter and honey, so you get those natural sugars, but overall, it’s a simple, satisfying treat! For the full rundown on my site policies, take a peek at my Privacy Policy.
Share Your Experience Making Baked Pears
That’s it! You’ve made the simplest, coziest dessert. I really, really want to know what you think of these baked pears! Did you stick to the vanilla ice cream, or did you try something wild?
Rate this recipe below and let me know your favorite topping discovery in the comments. Happy baking, everyone!
PrintSimple Baked Pears with Honey and Cinnamon
Bake pears until tender with a sweet, spiced honey glaze. This recipe makes a simple, warm dessert.
- Prep Time: 10 min
- Cook Time: 35 min
- Total Time: 45 min
- Yield: 4 servings
- Category: Dessert
- Method: Baking
- Cuisine: American
- Diet: Vegetarian
Ingredients
- 4 firm pears (Bosc or Anjou recommended)
- 4 tablespoons honey
- 2 tablespoons unsalted butter, melted
- 1 teaspoon ground cinnamon
- 1/4 cup brown sugar, packed
- 1/4 cup water
- Optional: 1/4 cup chopped walnuts or pecans
Instructions
- Preheat your oven to 375°F (190°C). Lightly grease a small baking dish.
- Wash the pears. Cut each pear in half lengthwise. Use a melon baller or small spoon to remove the core and seeds.
- Place the pear halves cut-side up in the prepared baking dish.
- In a small bowl, mix the honey, melted butter, cinnamon, and brown sugar until combined.
- Spoon the honey mixture evenly over the cut surface of each pear half. If using nuts, sprinkle them over the tops.
- Pour the water into the bottom of the baking dish around the pears.
- Bake for 30 to 40 minutes, or until the pears are easily pierced with a fork and the liquid has thickened slightly into a syrup.
- Serve warm, spooning the pan syrup over the pears. Serve with vanilla ice cream or Greek yogurt if desired.
Notes
- You can prepare these pears up to one day ahead. Store them covered in the refrigerator and reheat gently before serving.
- For a richer flavor, substitute maple syrup for half of the honey.
- If you prefer a softer texture, cover the baking dish loosely with foil for the first 20 minutes of baking.
Nutrition
- Serving Size: 1 pear half
- Calories: 250
- Sugar: 45g
- Sodium: 5mg
- Fat: 7g
- Saturated Fat: 4g
- Unsaturated Fat: 3g
- Trans Fat: 0g
- Carbohydrates: 48g
- Fiber: 7g
- Protein: 1g
- Cholesterol: 15mg