

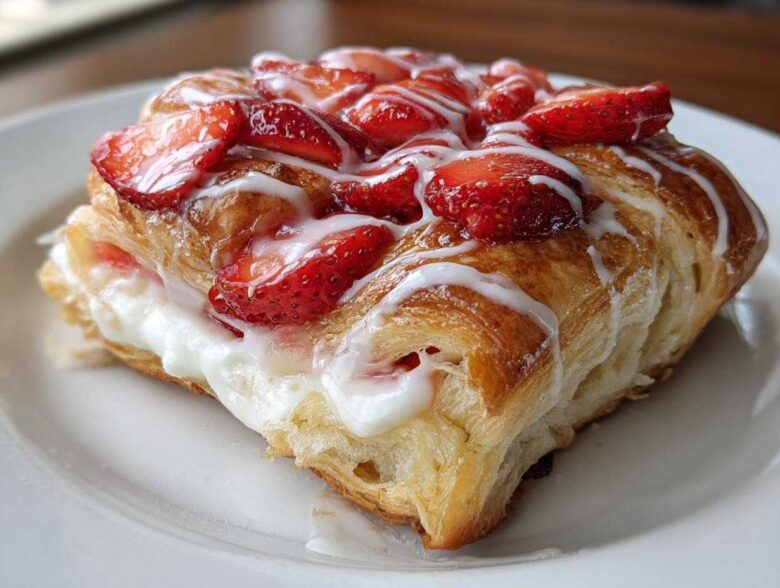
Oh, I know the feeling! That craving hits you—that deep, intense desire for a pastry that’s flaky, buttery, and packed with sweet fruit. You know, the kind that makes you think you need a plane ticket to the nearest artisanal bakery? Well, toss that ticket! I’m here to tell you that making the perfect Strawberry Cream Cheese Danish at home is absolutely achievable, even if you’re busy. Seriously, my favorite part of this recipe is how we cheat a little bit with the dough, but nobody can tell the difference once they take a bite!
This recipe is my go-to when I want something impressive on a weekend morning. It combines that tangy, melt-in-your-mouth cream cheese filling with bright, fresh strawberries nestled in layers of golden, crisp pastry. It’s ridiculously simple, and that’s why it’s earned a permanent spot in my breakfast rotation.
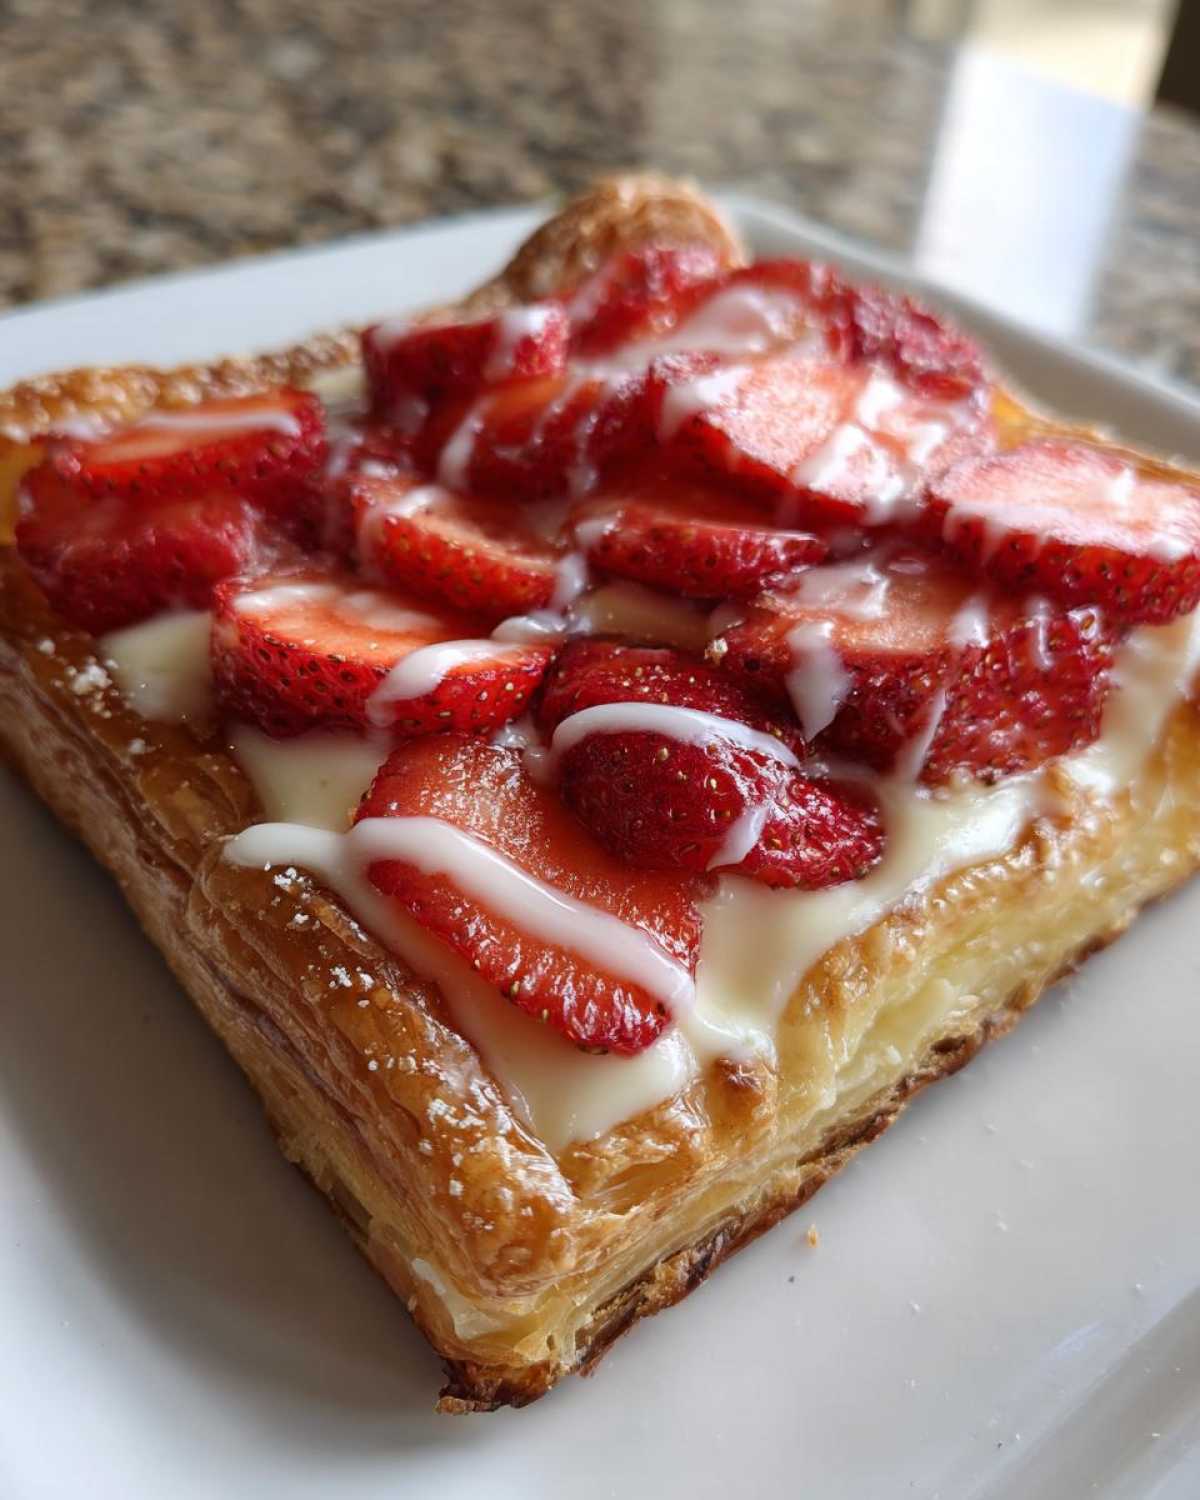
Why You Will Make This Strawberry Cream Cheese Danish Recipe Often
I totally get it—sometimes you want that bakery magic but don’t have three hours to laminate dough. That’s why this recipe is a lifesaver!
- It comes together in under 40 minutes total time, which is unheard of for Danish!
- The combination of tangy cream cheese against sweet strawberries is pure perfection.
- The shortcut dough yields incredibly flaky, golden layers that look way harder to achieve than they actually are.
- They are gorgeous! Seriously, these look stunning dusted with a little glaze on a Sunday brunch plate.
Essential Ingredients for Your Strawberry Cream Cheese Danish
Okay, let’s talk about what you need to make these beauties. Since we are keeping things fast and fun, we are leaning heavily on high-quality store-bought dough. But the filling? That needs your full attention! Getting these components right is the difference between a good pastry and one that disappears instantly.
For the Flaky Pastry Base
Remember, the secret to that lovely puff is starting cold! You are going to need one package (about 14.1 ounces) of refrigerated pie crusts, or heck, use a sheet of puff pastry if that’s what you have on hand. This dough is the canvas for our masterpiece. If you’re looking for other amazingly quick breakfast ideas using great dough, check out my French toast recipe—it’s just as fun!
Crafting the Sweet Cream Cheese Filling for Danish
This filling has to be smooth, or it will tear the dough when you spread it, and nobody wants a dough tragedy! You must start with 8 ounces of cream cheese, and I mean fully softened. Don’t even think about trying to rush this in the microwave; that makes it greasy. Grab your paddle attachment or a sturdy wooden spoon and crush it until it’s dreamy. Then whip in 1/2 cup of granulated sugar, one large egg yolk (the yolk gives it that amazing richness), 1 teaspoon of vanilla extract, and just a tiny pinch of salt to balance the sweetness. If you want more ideas for luscious cream cheese components, you have to try my brownie recipe!
Strawberry Topping and Finishing Glaze for Strawberry Cream Cheese Danish
For the fruit, you’ll need about 1 cup of fresh strawberries, hulled and sliced nicely. If you want them to be extra juicy and sweet, toss them with a teaspoon of sugar while you make the filling; that’s called macerating, and I love the extra flavor boost it gives! You’ll also need one large egg, beaten well for the egg wash—this is what gives us that gorgeous shine. Finally, for the sweet drizzle, just whisk together 1/2 cup of powdered sugar with 2 tablespoons of milk. If strawberries are your jam—literally—you should look at my easier-than-you-think freezer jam recipe, too.
Step-by-Step Strawberry Cream Cheese Pastry Directions
This is where the magic happens! Don’t stress about the precision because we’re working with pre-cut shapes, but you do need to pay attention to the dough edges. If you mess up a score, nobody will know—it’ll just be a unique little pocket of love! It’s similar to getting the puff right on my Yorkshire pudding; you just need a hot, fast start.
Preparing the Dough and Filling Assembly
First things first, get that oven cranked up to 400 degrees Fahrenheit and line two baking sheets with parchment paper. You don’t want sticking, trust me! Now, take your pie crusts or puff pastry and roll them out just a smudge thinner if you can. Then, slice each sheet into 6 neat squares, giving you 12 little guys total. While that’s going, make sure your cream cheese filling is perfectly smooth—remember, fully softened cream cheese, thoroughly beaten until there are zero lumps. We want creamy, not chunky!
Assembling and Baking Your Strawberry Cream Cheese Danish
Take one dough square and gently score a border, staying about a half-inch in from all the edges. Don’t cut all the way through, or your filling will melt right out! Spoon about a tablespoon and a half of that wonderful cream cheese mixture right into the center of that border. Pop a few of those lovely sliced strawberries on top of the cheese. Brush the scored edges *only* with your beaten egg wash—this gives us that gorgeous golden color. Get them into that hot oven for about 15 to 18 minutes. You’re looking for beautiful puff and deep golden brown edges. If you want another guaranteed crowd-pleaser like this, try my apple crisp!
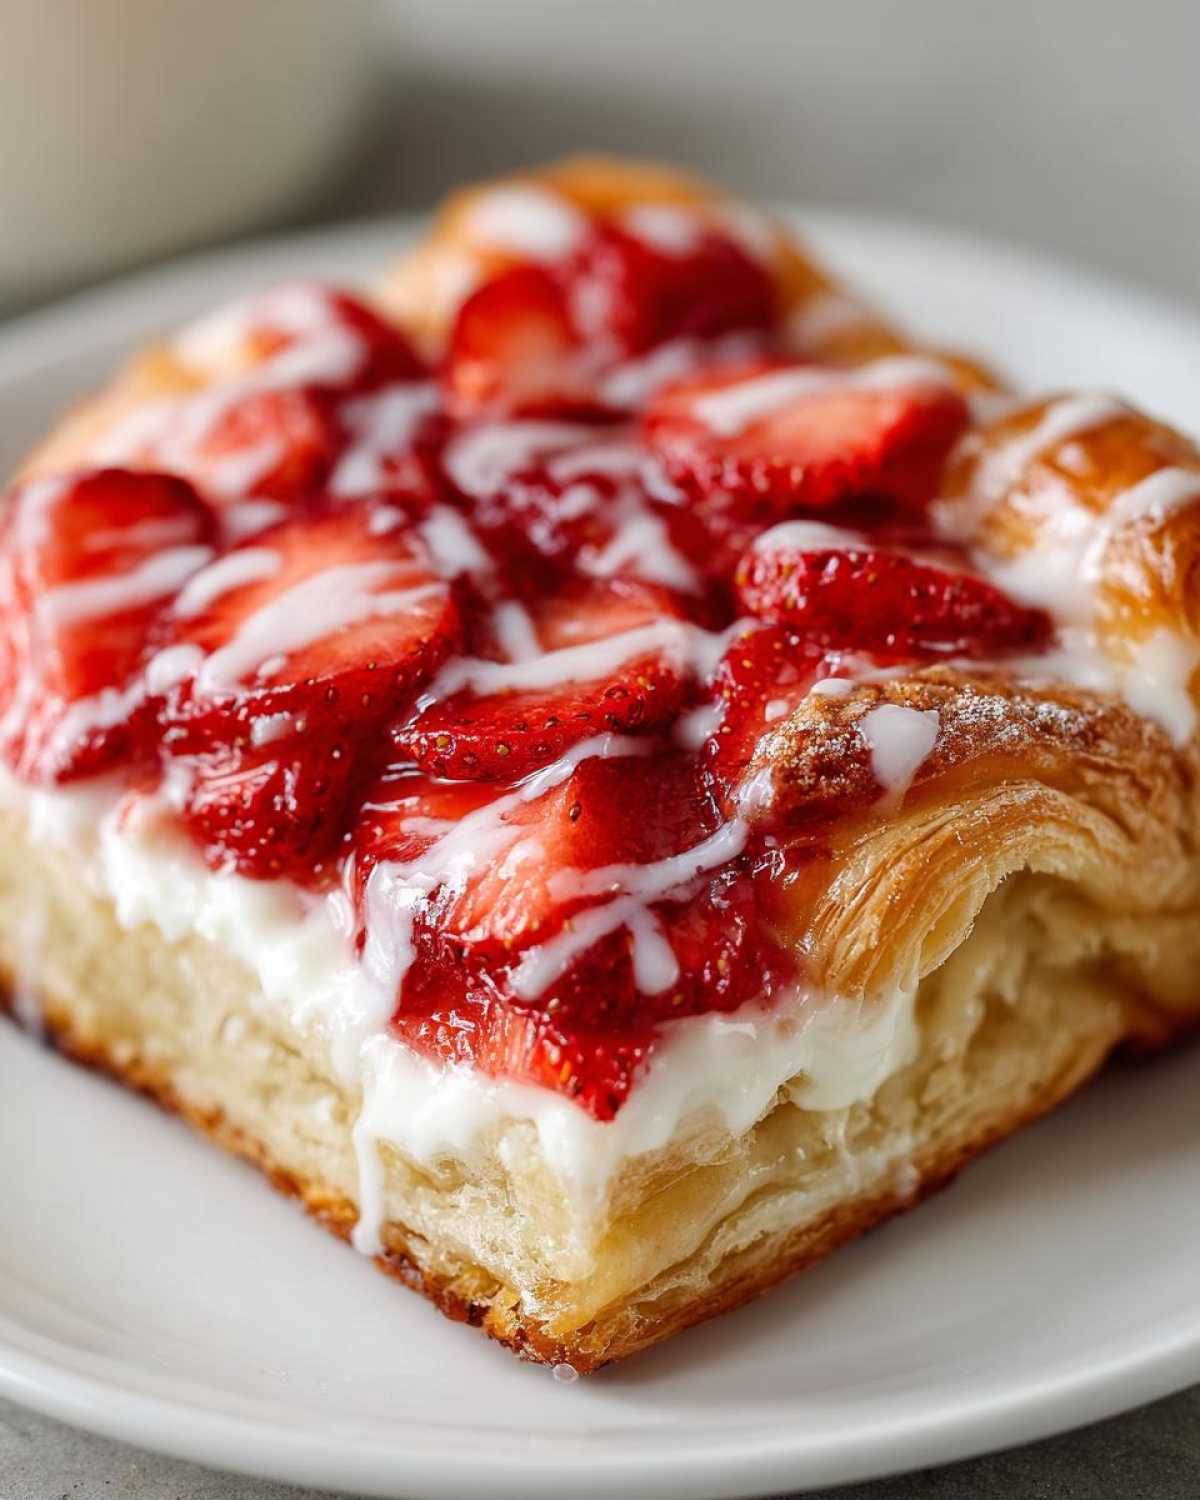
Glazing and Finishing the Flaky Breakfast Pastry with Cream Cheese
While your danishes are cooling down just slightly—and I mean slightly, because we want them warm—whip up that simple glaze. Just whisk the powdered sugar with the milk until it flows nicely. If it’s too thick, splash in a tiny bit more milk until it drizzles beautifully off the whisk. Drizzle that sweet blanket right over the warm pastries. That beautiful finish really seals the deal on this amazing sweet cream cheese fruit braid experience!

Expert Tips for the Best Cream Cheese and Strawberry Danish Tutorial
Getting that authentic bakery texture doesn’t have to be hard, but you do need to respect your ingredients! If you find your cream cheese mixture feels a little too loose before you place it on the dough, don’t panic. Pop the bowl into the fridge for about fifteen minutes; chilling it helps it firm up beautifully so it stays put when baking. That’s one of those little secrets I picked up early on!
Also, when dealing with the pastry, work fast! If the dough starts getting warm and sticky while you’re cutting and filling, pop the whole baking sheet into the freezer for five minutes. Cold dough equals maximum puff and flakiness. That beautiful, flaky result is why this recipe works so well, and keeping the dough chilly makes achieving that the easiest thing ever. Trust me, a quick chill step is worth the minor pause. Head over to my main blog page for tons more quick tips like this!
Ingredient Notes and Substitutions for Your Danish
I always get asked about substitutions, especially when the good fruit isn’t in season yet, or if someone is missing just one tiny thing in their fridge. It’s totally fine! This recipe is flexible, but we need to honor the texture of the filling above all else.
If you only have block cream cheese instead of the standard tub variety, that’s actually often a good thing because it means less added water! Just make sure you let it sit out on the counter until it is completely, utterly soft. If you try to mix cold block cream cheese, you’ll end up with little hard chunks in your sweet filling, and that’s just not the experience we want for our pastry.
If Strawberries Aren’t in Season
Don’t let a little thing like seasonality stop you from baking! If fresh strawberries are just looking sad or cost a fortune, you have a few fantastic alternatives. Frozen strawberries work great, but you absolutely must thaw them completely and drain off *all* the excess liquid before slicing them. Otherwise, you’re making a strawberry soup filling, and that won’t bake right.
Another option I love is using a good quality jam or preserves in a pinch—maybe raspberry or apricot! Just stick to about 2 tablespoons of jam mixed directly into the cream cheese filling instead of fresh fruit on top. It creates a gorgeous swirl through that creamy center when it bakes up.
Working with Different Dough Types
We used refrigerated pie crusts because they are easy to find, but if you happen to find frozen puff pastry sheets, grab those! Puff pastry often gives you a slightly higher rise and more distinct layers. Just remember to work quickly when you unfold it because cold dough is happy dough. If you only happen to have refrigerated crescent roll dough, you can use that too! Just don’t roll it out flat—you’ll need to unroll the triangles and pinch the seams together to make your squares. The texture will be a little softer and less flaky than a true pastry, but it’s still delicious for a quick treat!
Storage and Reheating Instructions for Strawberry Cream Cheese Danish
These pastries are definitely best eaten the very day you bake them—that’s when the pastry is at its flakiest perfection. Seriously, the sound of that crunch when you bite into a fresh one is just unbeatable!
But if you have leftovers (which I usually do because I make a huge batch!), you absolutely need to take a few precautions because we have cream cheese and fresh fruit involved. Do not leave them sitting on the counter for more than a couple of hours, especially in warm weather. That filling needs to stay cool.
Keeping Them Fresh After Baking
Your best bet for leftovers is an airtight container. I try to layer them with a small piece of parchment paper between each layer, just so the glaze doesn’t stick to the pastry tops. If you stack them directly on top of each other, you’ll lose that beautiful texture when you try to separate them later.
Because of that cream cheese filling and the fruit, I strongly recommend storing them in the refrigerator if you plan on keeping them for longer than a day. They will still be good for up to three days stored this way. Just be aware that any pastry that gets refrigerated will lose a little bit of that initial crispness; that’s just how it goes with moisture!
Bringing Back the Flake: Reheating Tips
If you’re pulling them out of the fridge, you have to reheat them to wake up that pastry again. Microwaving them is a huge no-no for texture—it just makes them soft and chewy. We want flaky!
The absolute best way to revive your Danish is in a conventional oven or a toaster oven. Set your oven to a low temperature, like 300 degrees Fahrenheit. Lay the pastries directly on a baking sheet (you don’t even need parchment this time) and warm them up for just 5 to 7 minutes. You’re not trying to cook them; you’re just trying to heat them through and dry the moisture out of the layers again. Pull them out, let them cool for just one minute so they don’t burn your fingers, and enjoy that almost-fresh crunch!
If you’re in a huge rush and only heating one, the air fryer works miracles on low heat too! Try 325 degrees for about three minutes. It’s fast, effective, and gets rid of any lingering sogginess right away.
Troubleshooting Common Issues with Your Strawberry Cream Cheese Danish
Listen, baking is fun, but when something goes wrong, it can feel like the universe is against you! Don’t worry! Every single baking disaster I’ve ever had has a very simple fix, and these danishes are no exception. When you’re aiming for bakery style, sometimes the dough just throws a little tantrum. Let’s talk about the three biggest dramas you might run into and how to fix them before anyone notices!
Fixing the Soggy Bottom Syndrome
Oh, the dreaded soggy bottom! This happens when the moisture from the cream cheese filling—and let’s be honest, fresh strawberries weep a little when heated—seeps down into the pastry before the dough has time to cook through and crisp up. It’s frustrating when you bite into what should be the flakiest part and it’s just… damp.
There are two powerhouse fixes here. First, if you aren’t already using parchment paper (which I pray you are!), you need to start now. Parchment acts as a barrier. Second, if you suspect your dough is struggling to cook through the bottom, try adjusting your oven rack. If you were baking on the middle rack, drop it down to the lower-middle rack for the first 10 minutes of baking. Putting the pastry closer to the direct heat source underneath helps set the bottom layers before the top has a chance to burn. That added crispness from below makes all the difference!
When the Filling Decides to Run Away
You carefully spoon in that gorgeous cream cheese, place your berries, and then half of it spills over the side during baking! That is what the scoring line is there for, but sometimes our knife slips, or maybe we were too gentle with it. When the filling runs out, it mixes with the egg wash and burns a bit, and you lose that perfectly neat square look.
The solution is simple: score deeper and wider. When you are lightly tracing that border on your dough square, use a sharp little paring knife and make your line definite. It should be a clear indentation that runs maybe 6 or 7 millimeters deep—deep enough to create a solid wall border, but not so deep that you actually pierce the dough layer beneath. This wall will hold the filling in place beautifully as the edges puff up around it. Think of it as building a little moat for your cream cheese!
Why Isn’t My Dough Puffing Up?
This is the most common issue when using shortcuts like refrigerated crusts—they sometimes just refuse to act like real puff pastry would. This usually boils down to temperature inconsistency. If your dough or pastry gets too warm before it ever hits the oven, the butter layers melt instead of steaming. When that steam happens, that’s what creates the dramatic layers and lift.
My main advice? Keep it COLD! If you feel like your kitchen is warm while you’re cutting the squares or spreading the filling, stop intermittently and slide the whole baking sheet into the refrigerator for five minutes. Putting that cold dough into a 400-degree oven is the shock it needs to puff up majestically. A cold start leads to a tall pastry every single time. Don’t skip the chill time if your dough feels soft!
Frequently Asked Questions About Making a Perfect Strawberry Cream Cheese Pastry
Can I use crescent roll dough instead of pie crust for this recipe?
Yes, you absolutely can! That’s a fantastic hack! If you use refrigerated crescent roll dough, just unroll the tubes and gently press the triangles together, pinching the seams to form your squares. The texture will be a little softer than true pastry, but it still results in a really wonderful, flaky breakfast pastry with cream cheese, and it’s ready in minutes!
What is the best way to score the dough to keep the filling contained?
This is super important for that bakery style experience at home! You want to use a sharp, small knife to trace a square border about a half-inch in from the edge of your dough. You shouldn’t cut all the way through the bottom layer—only score the top layer deeply enough to create a defined wall. This little barrier ensures your cream cheese filling stays put while the edges puff around it.
Can I use frozen strawberries in my Strawberry Cream Cheese Danish?
You can, but you have to treat them right! Don’t just toss them in straight from the freezer—they will make a watery mess. Thaw the frozen strawberries completely first, and then you need to blot them dry with a paper towel. Seriously, blot them until they feel relatively dry. If you skip this step, you risk a soggy bottom on your pastry; nobody wants that!
How far ahead of time can I make the cream cheese filling?
I usually recommend making the sweet cream cheese filling no more than a day ahead of time. Keep it covered tightly in the fridge. Since it contains an egg yolk, it’s best not to leave it sitting around for days. If you make it the day before, just let it sit on the counter for about 15 minutes to soften up just slightly before you take it out to assemble your pastries so it spreads easily.
Do I have to use the glaze? It looks too sweet.
Oh, I hear you! If the glaze feels like too much sugar on top of the already sweet filling, absolutely skip it. The pastry still browns up beautifully from the egg wash. Alternatively, you can make a thinner glaze—use more milk or even a splash of lemon juice instead of sugar—to give you that pretty white drizzle without overloading the sweetness. If you have any questions at all about technique, feel free to reach out via my contact page!
Estimated Nutritional Data for This Strawberry Cream Cheese Danish
Look, I baked this up using standard store-bought pie crusts and full-fat dairy, so these numbers are just a rough guide, okay? I’m a baker, not a nutritionist! I always say you shouldn’t obsess over the numbers when something tastes this good, but sometimes it’s helpful to have a ballpark idea for your weekend treats.
These figures are based on one single serving—one glorious, flaky danish—and they can change wildly depending on what brand of pre-made pastry you grab. If you use a lighter puff pastry or skip the glaze, naturally, those numbers shift down a bit!
- Serving Size: 1 danish
- Calories: Approximately 280
- Fat: Around 16 grams (Be aware, a lot of that fat comes from that lovely buttery pastry!)
- Carbohydrates: Closer to 30 grams
- Protein: About 5 grams
- Sugar: This runs around 20 grams, mostly from the filling and the glaze.
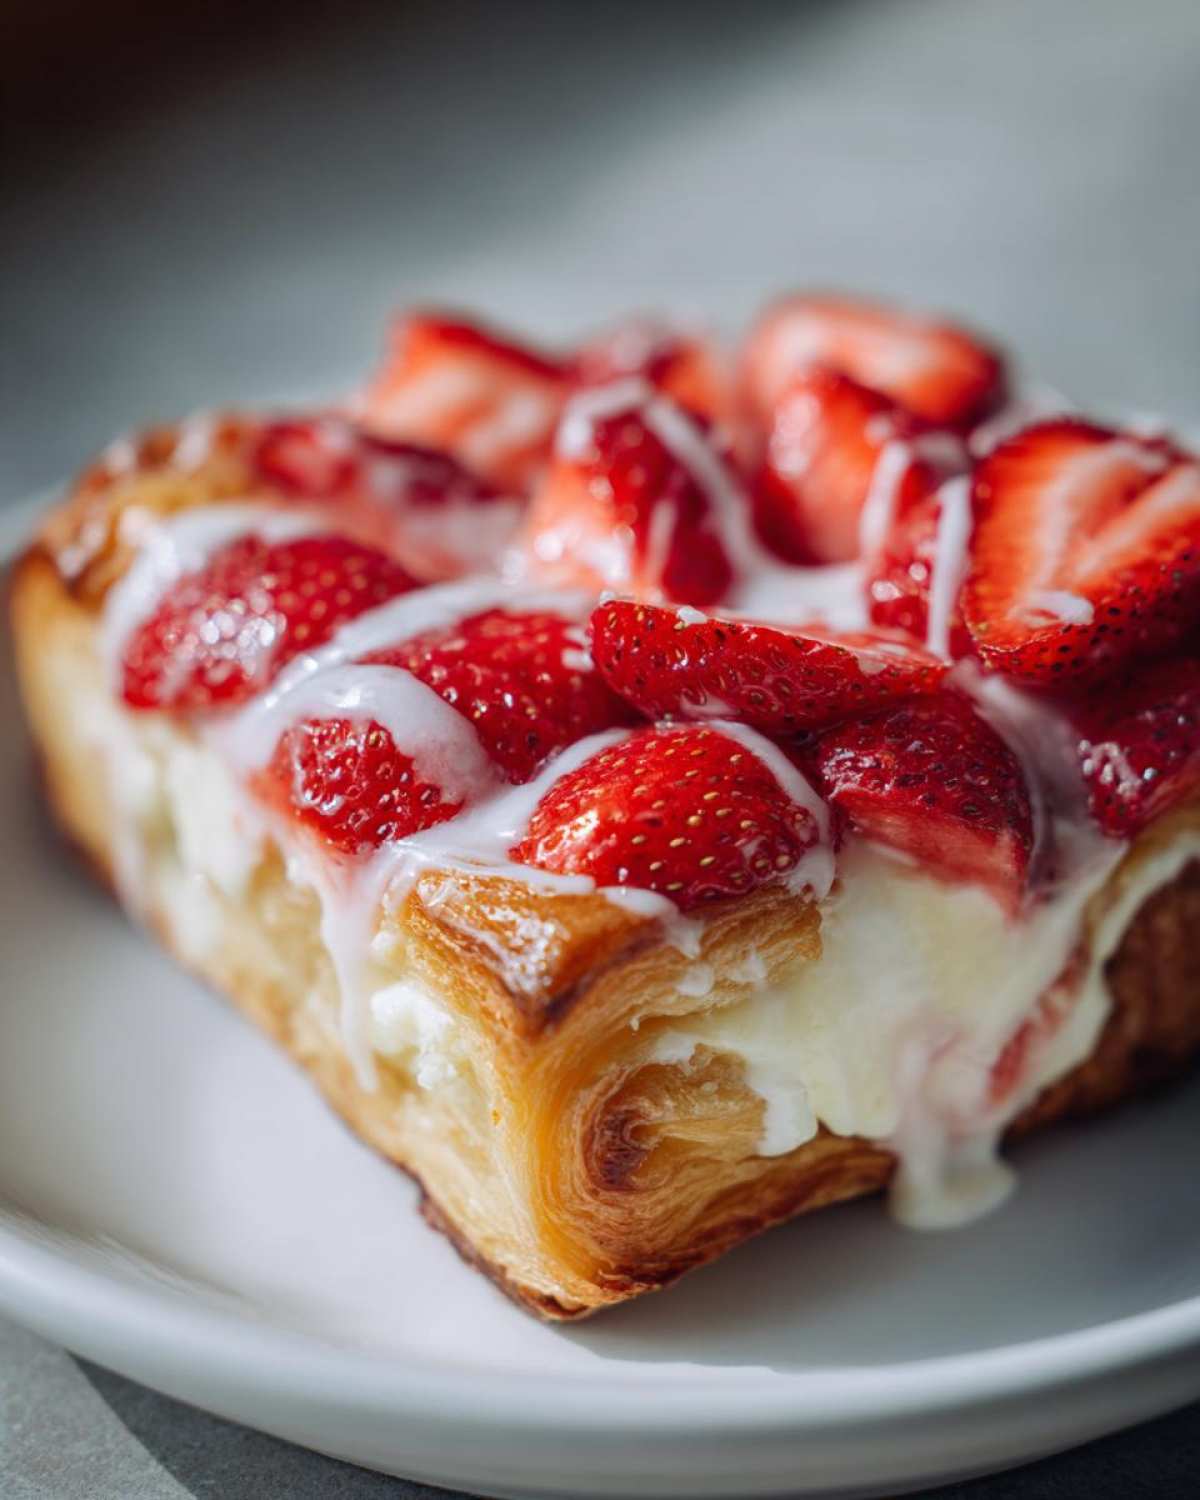
Just a quick note, because I have to cover my bases: these are rough estimates based on my ingredient choices. For precise dietary counts, you’ll want to manually input the specific brands and amounts you use into a reliable nutrition calculator. You can read more about how I approach these figures over on my recipe disclaimer page. Enjoy every bite!
Share Your Bakery Style Strawberry Danish at Home Experience
Well, that’s all there is to it! You have officially conquered the art of the homemade, bakery-style treat. I truly cannot wait for you to pull these out of the oven and fill your house with that incredible smell of warm cream cheese and baked pastry.
Now, this is the best part! I absolutely live to see how everyone’s creations turn out. Did your edges puff up perfectly? Did you use the glaze or keep it simple? Tell me everything!
Please, do me a favor: if you bake these absolutely gorgeous Strawberry Cream Cheese Danish, leave a rating right here in the comments below. Five stars makes my day, but those little written notes about what you loved are even better!
If you snapped a picture, share it! Tag me on social media so I can see your beautiful work. Nothing makes me happier than knowing this recipe traveled from my kitchen right into yours. Happy baking, friends!
PrintStrawberry Cream Cheese Danish

A recipe for making flaky, sweet Danish pastries filled with a tangy cream cheese mixture and topped with fresh strawberries.
- Prep Time: 20 min
- Cook Time: 18 min
- Total Time: 38 min
- Yield: 12 servings
- Category: Breakfast
- Method: Baking
- Cuisine: American
- Diet: Vegetarian
Ingredients
- 1 package (14.1 ounces) refrigerated pie crusts or puff pastry sheets
- 8 ounces cream cheese, softened
- 1/2 cup granulated sugar
- 1 large egg yolk
- 1 teaspoon vanilla extract
- 1/4 teaspoon salt
- 1 cup fresh strawberries, sliced
- 1 large egg, beaten (for egg wash)
- 1/2 cup powdered sugar
- 2 tablespoons milk
Instructions
- Preheat your oven to 400 degrees Fahrenheit. Line two baking sheets with parchment paper.
- If using pie crusts, roll each one out slightly thinner on a lightly floured surface. If using puff pastry, unfold according to package directions. Cut each sheet into 6 equal squares, resulting in 12 squares total.
- In a medium bowl, beat the softened cream cheese until smooth. Add the granulated sugar, egg yolk, vanilla extract, and salt. Mix until the filling is creamy and well combined.
- Place one pastry square on the prepared baking sheet. Using a small knife, lightly score a border about 1/2 inch from the edge of the square, being careful not to cut all the way through the dough. This helps the edges puff up.
- Spoon about 1 1/2 tablespoons of the cream cheese filling into the center of the scored square. Spread it gently within the border.
- Arrange a few slices of fresh strawberry on top of the cream cheese filling.
- Brush the scored edges of the pastry lightly with the beaten egg wash.
- Bake for 15 to 18 minutes, or until the pastry is golden brown and puffed.
- While the danishes cool slightly, prepare the glaze. Whisk together the powdered sugar and milk until smooth.
- Drizzle the glaze over the warm danishes before serving.
Notes
- If you prefer a thicker filling, chill the cream cheese mixture for 15 minutes before assembling.
- For a brighter strawberry flavor, you can lightly macerate the sliced strawberries with 1 teaspoon of sugar for 10 minutes before placing them on the filling.
- You can use frozen, thawed puff pastry for a more traditional flaky texture.
Nutrition
- Serving Size: 1 danish
- Calories: 280
- Sugar: 20
- Sodium: 250
- Fat: 16
- Saturated Fat: 9
- Unsaturated Fat: 7
- Trans Fat: 0.5
- Carbohydrates: 30
- Fiber: 1
- Protein: 5
- Cholesterol: 55