

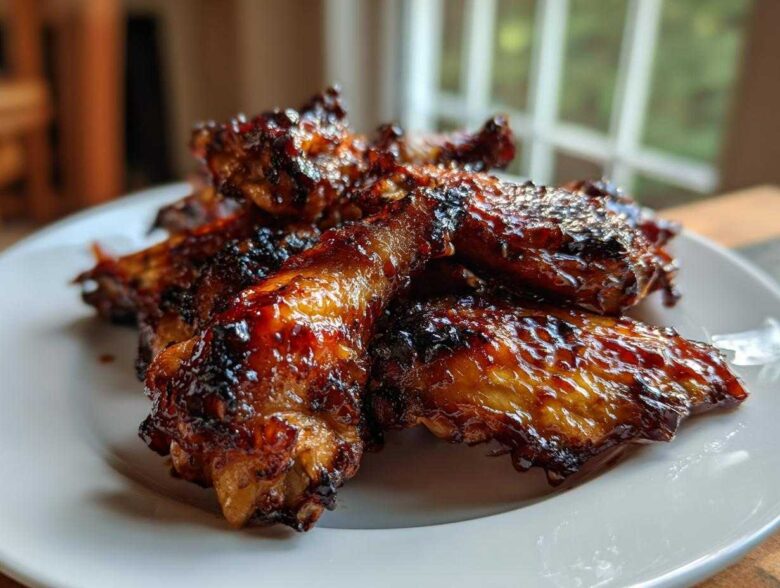
Forget standing over hot oil or dealing with an air fryer that never seems to fit enough! Crispy skin and an ultra-sticky glaze without ever turning on the deep fryer seemed like a myth until I finally nailed the technique. Trust me, getting that sweet, savory honey garlic punch onto perfectly cooked wings right in your regular kitchen oven takes a little strategy, but it’s so worth it. Once you see how easily you can master these Sticky Honey Garlic Wings Oven Baked, you’ll never go back. I spent ages testing temperatures, and I finally cracked the code for that delightful crunch before the glaze hits.
It’s all about timing, my friend. We’re keeping the sticky sauce off until the very end so that honey doesn’t turn into charcoal before the meat cooks through. If you’re ready for the game-changer in your weeknight cooking routine, check out my secret method below, and be sure to look at my quick sticky honey garlic chicken recipe for another angle!
Why You Will Make This Sticky Honey Garlic Wings Oven Baked Recipe Again
Honestly, this recipe changed my life—or at least, my Saturday night! We all want that amazing restaurant texture without the mess, right? Here’s why this batch of Sticky Honey Garlic Wings Oven Baked will become your go-to:
- You get genuinely crispy skin thanks to the baking powder trick. No soggy bits here!
- The glaze is undeniably sticky, sweet, and savory, hitting all those perfect flavor notes.
- Zero fryer required! We use a simple wire rack setup, making cleanup shockingly easy.
- It’s fast enough for a weeknight if you plan ahead, clocking in under an hour total cook time.
- The flavors are intense because we build the sauce separately and set it under the heat at the end.
- It tastes just as good as anything you’d order out, but you control exactly how much garlic goes in!
Essential Ingredients for Sticky Honey Garlic Wings Oven Baked
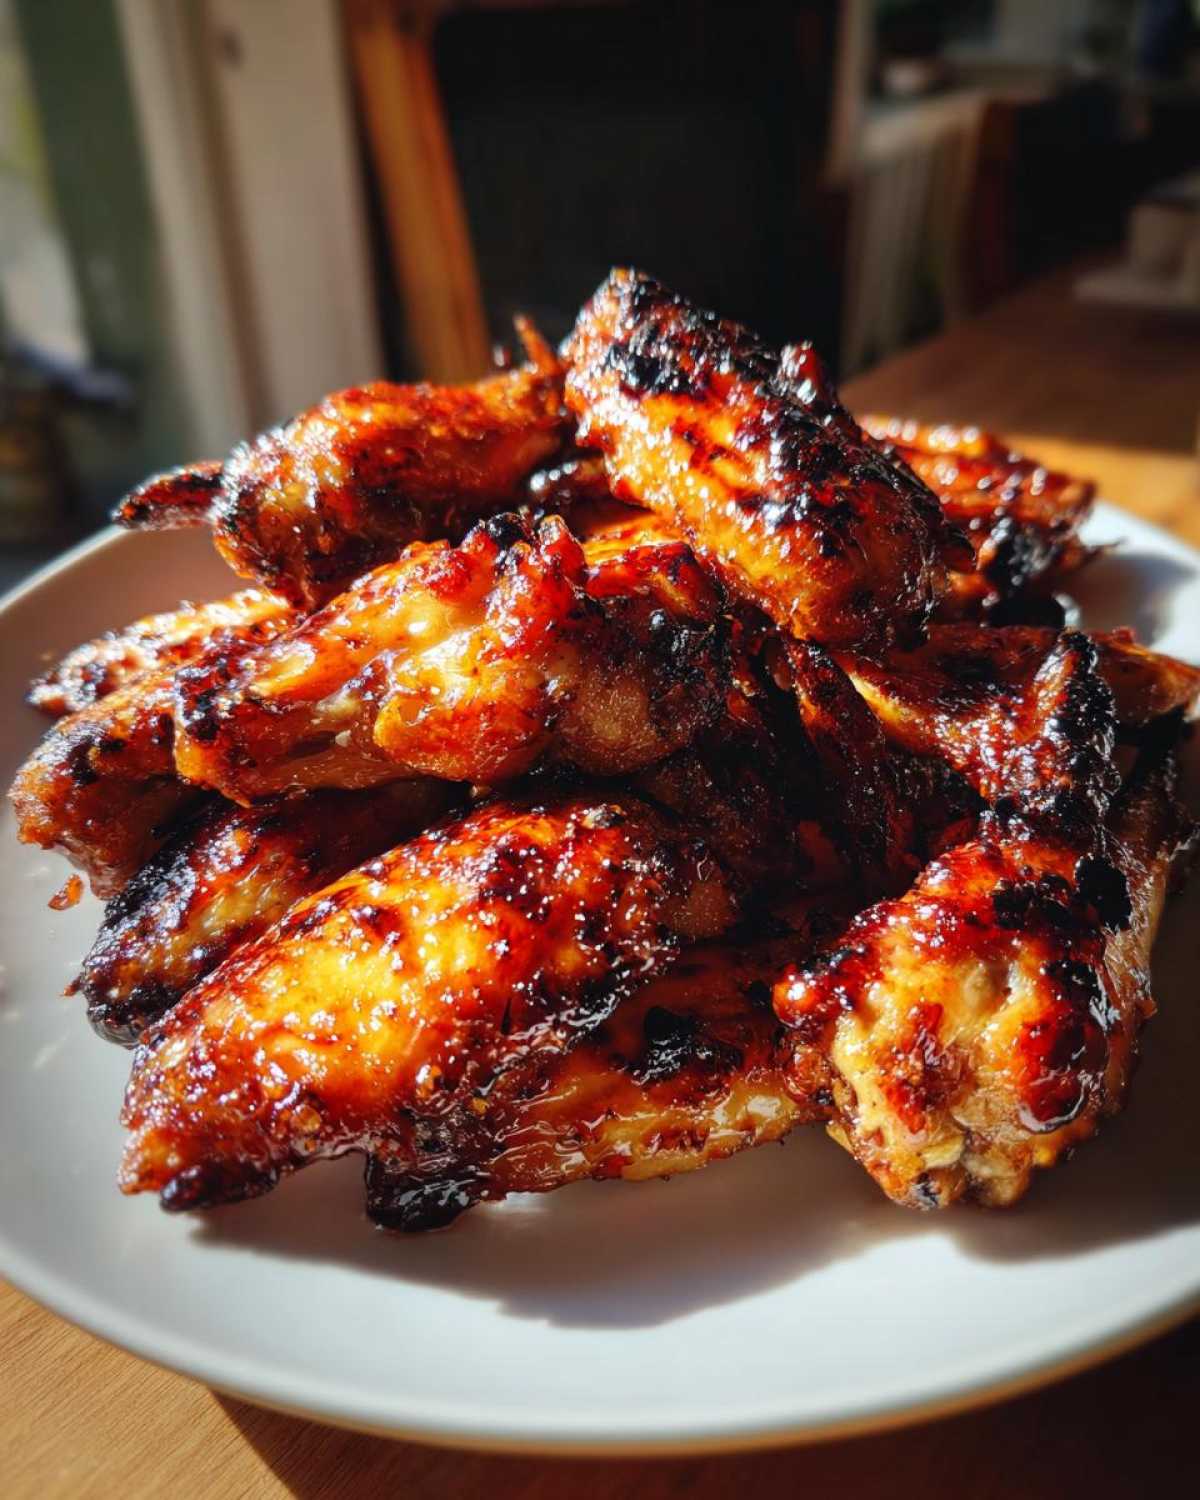
You don’t need a massive grocery shop for this! Everything comes together quickly, and I’ve written the ingredient list exactly as I use it every time. The secret to success here is making sure you have 2 lbs of those chicken wings, broken down into flats and drumettes, ready to go.
- 2 lbs chicken wings, separated into flats and drumettes
- 1 tablespoon baking powder (Trust me on this one!)
- 1 teaspoon salt
- 1/2 teaspoon black pepper
- 1/2 cup honey (the sweet stuff!)
- 1/4 cup soy sauce
- 4 cloves garlic, minced (Don’t be shy with the garlic!)
- 2 tablespoons apple cider vinegar
- 1 tablespoon cornstarch
- 2 tablespoons water (for the slurry)
That’s it! The baking powder is what pulls the moisture out so the skin gets that crisp texture we’re looking for before we even get to the sticky glaze part. Prep time is a breeze with these few items!
Equipment Needed for Crispy Baked Wings Sauce Recipe
You don’t need a fancy deep fryer or counter-hogging air fryer for these, which is why I absolutely love this method. Having the right tools makes the job so much cleaner. I always grab these few essentials before I even start patting down my chicken!
For this oven baked honey garlic wings recipe, you’ll want to make sure you have:
- A sturdy baking sheet. Make sure it’s big enough to hold all your wings without them touching!
- A wire rack that fits perfectly inside that baking sheet. This is non-negotiable for air circulation—it’s how we get the crispy skin!
- A small saucepan for mixing up that incredible glaze.
- A small bowl and a whisk for mixing the cornstarch slurry.
That’s truly all there is to it! Once you have your setup ready—rack on the foil-lined baking sheet—you’re totally set to manage the cook like a pro.
Step-by-Step Instructions for Sticky Honey Garlic Wings Oven Baked
This is where the magic happens! Getting perfectly crispy wings in the oven before they get drowned in that beautiful glaze is the most important part. If you follow these steps exactly, you’ll see why this oven baked honey garlic wings recipe beats takeout hands down. If you want another oven favorite, you should check out my recipe for honey garlic chicken thighs while you wait!
Preparing the Wings for Maximum Crispiness
First things first, crank up that oven to 425 degrees Fahrenheit (that’s 220 Celsius). You need high heat! Line your baking sheet with foil—it catches the drips—and then put that wire rack right on top. Now, grab your wings and blot them. And I mean blot them. You want them bone dry with paper towels. Seriously, moisture is the enemy of crispiness. Once dry, toss them in a bowl with the baking powder, salt, and pepper. That baking powder is the secret; it raises the skin’s pH level, helping it brown wonderfully and release fat, creating that non-fried crunch we love.
Baking the Wings to Perfection
Arrange your seasoned wings in a single layer on that rack. They can’t be crowded, or they’ll steam instead of bake! They go into the hot oven for 20 minutes. After that time, flip every single wing over—this ensures even crisping. Bake them for another 20 to 25 minutes. You’re aiming for an internal temperature of 165°F (74°C), but really, you’re looking for that gorgeous golden-brown color. Remember, we are NOT saucing them yet!
Making the Homemade Honey Garlic Wing Sauce
While the wings are doing their thing, let’s make the glaze. In a small saucepan over medium heat, combine your half-cup of honey, soy sauce, minced garlic, and that apple cider vinegar. Let that bubble slightly until it’s hot and combined. Now for the thickening agent: whisk your cornstarch with the two tablespoons of water until it’s totally smooth—that’s your slurry. Pour that slurry slowly into the simmering sauce while whisking constantly. It’ll thicken up fast, usually in about a minute. Once it’s thick and glossy, pull it right off the heat.
Glazing and Setting the Sticky Honey Garlic Wings Oven Baked
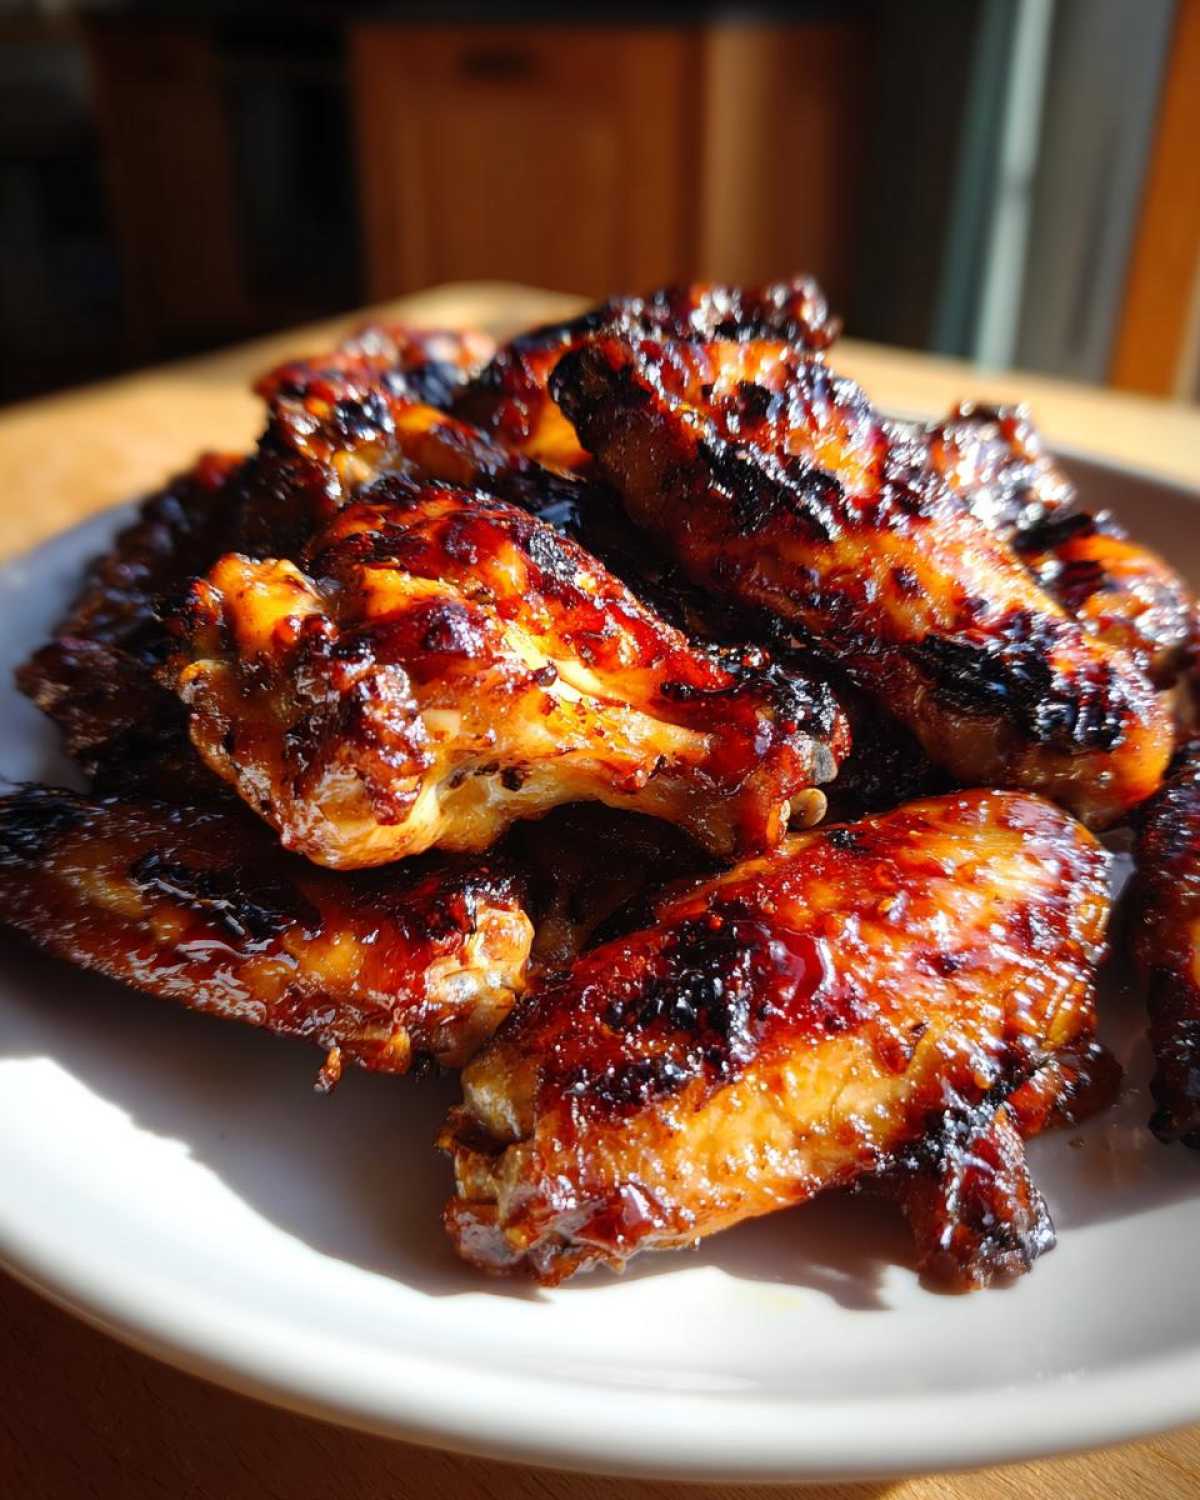
Your wings should be looking perfect now! Pull them out and immediately transfer them to a big, clean mixing bowl. Pour about two-thirds of that amazing homemade honey garlic wing sauce over the hot wings and toss them gently until every piece is coated in that beautiful sweetness. Then, put them right back onto the wire rack. Bake them for just 5 more minutes. This final step melts the sauce onto the skin so it sets into that true, sticky glaze without burning. Toss with the leftover sauce if you want them extra messy, and serve while they’re hot!
Tips for Success with Oven Baked Honey Garlic Wings Recipe
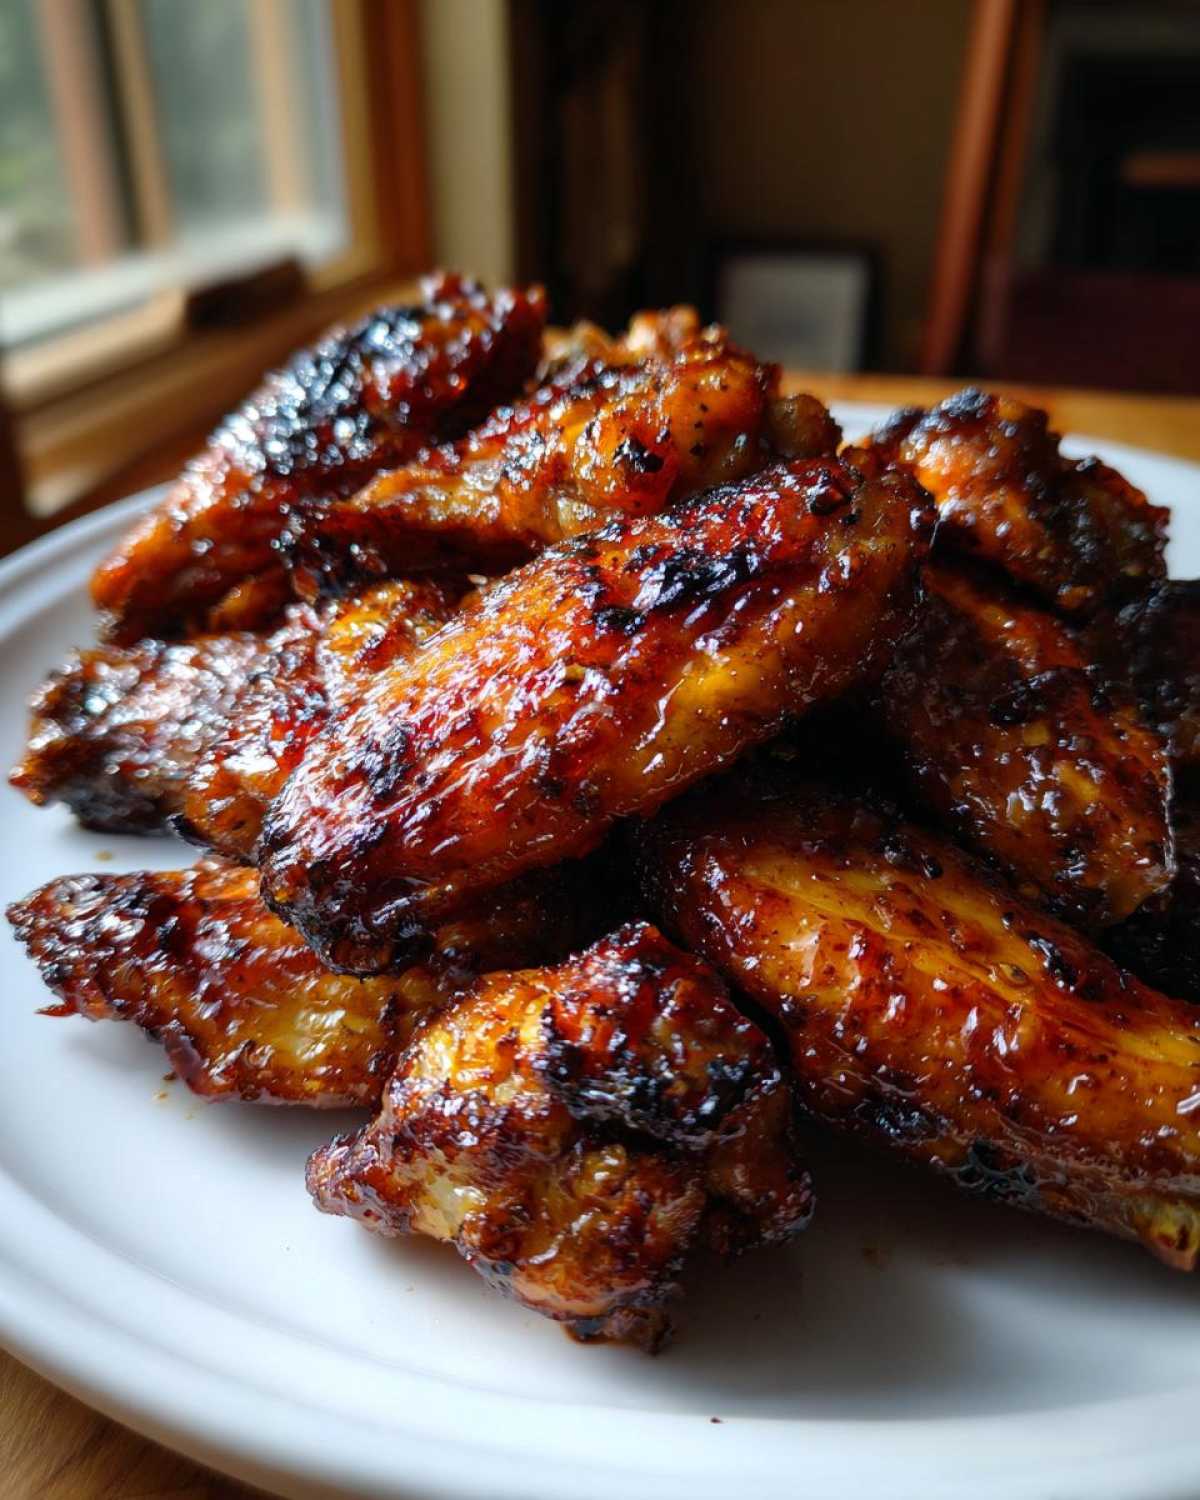
I’m so excited for you to try these! Over the years, I’ve definitely made every mistake possible trying to rush these wings, so let me save you some heartache. The biggest takeaway I have for anyone making this crispy baked wings sauce recipe is patience during the first bake. If you rush that—if you try to sauce them early—you’re going to end up with burnt sugar and chewy skin, and that’s just a tragedy.
Here are the main things you absolutely must keep in mind for that perfect sticky finish:
- Dry, Dry, Dry: I cannot stress enough how important it is to use paper towels until you feel like you’ve patted the soul out of those wings. If there is any surface moisture left, the baking powder won’t do its job, and you’ll get steamed skin instead of crisp skin.
- Don’t Skip the Rack: You need air circulating underneath the wings. If you just lay them on foil, the bottom gets soggy because the rendered fat and juices sit there. The rack lets that cook off. If you absolutely don’t have one, try placing them on an inverted cooling rack, but seriously, invest in one!
- Sauce Late, Glaze Hard: The sauce goes on *after* they hit 165°F—that’s the rule here. We bake them naked to crisp, then sauce them, then give them that 5-minute blast in the oven to set the glaze. That final burst of high heat turns sticky liquid into an actual sticky coating.
- My Personal Observation: I’ve found that if I use a low-sodium soy sauce, the glaze needs just a tiny pinch more salt added right at the end, especially if I’m adding extra garlic. It just brightens everything up.
- Thickening Check: If your sauce seems thin after adding the slurry, just let it simmer for another minute or two *before* you take it off the heat. You want it thick enough to coat the back of a spoon, which means it’ll coat the wings nicely!
Ingredient Notes and Substitutions for Easy Honey Garlic Chicken Wings for Oven
Listen, I fully understand that sometimes you look into your pantry and realize you’re completely out of one specific ingredient. Don’t panic! While I stand by my original list for the absolute best sticky wings recipe no fryer needed, these wings are super forgiving. You just need to make smart trades.
If you’re aiming for a gluten-free version, for instance, that’s easy to manage, and we can swap out that vinegar if needed. These are the straightforward switches I make if I’m missing something:
- For Soy Sauce: If you need gluten-free, swap the regular soy sauce for Tamari. It gives that same salty, umami punch! If you’re just out of soy sauce entirely, coconut aminos would work, but you might need just a touch less honey because they tend to be naturally sweeter. Do a quick taste test before you finalize the sauce volume.
- For Apple Cider Vinegar: The vinegar is there to cut through the richness of the honey and soy, giving the sauce a little bite. If you don’t have ACV, white wine vinegar works beautifully. Rice vinegar is a great option too, though it’s milder, so use the same amount. If you are truly desperate, a squeeze of fresh lemon juice can give you that necessary bright acidity!
- Baking Powder Substitute: If you absolutely cannot use baking powder—and I mean this is your last ditch effort—you can skip it, but you must bake the wings for longer at the high heat (425°F) to get them crisp. You might need an extra 10 to 15 minutes total bake time. Just be wary of the honey, which we aren’t adding until the end anyway!
- Honey Alternatives: If you’re out of honey, maple syrup is a fantastic, slightly richer swap. Use the same amount (1/2 cup). Agave nectar works but is thinner, so you might need to add an extra half-teaspoon of that cornstarch slurry to compensate for the moisture difference when you make the sauce.
I always keep rice vinegar and Tamari on hand because those general Asian-style swaps are super helpful later on. Just remember that any substitution might slightly adjust the final flavor, but these swaps keep the core profile of our sweet and savory baked chicken wings totally intact!
Storage and Reheating Instructions for Glazed Chicken Wings Oven Method
So, the impossible happened: you have leftover sticky glazed oven wings! That’s a good problem to have. If you do manage to have any left over, you need to treat them right so they don’t get sad and soggy overnight. Store them in an airtight container in the fridge for up to three days. Now, here’s the crucial reheating step: forget the microwave! The microwave is the enemy of crispiness.
To bring them back to life, pop those gorgeous wings onto a clean wire rack set over a baking sheet. Heat your oven back up to 375°F (190°C) and bake them for about 8 to 10 minutes. That dry heat will wick away the extra moisture from the glaze and recharge that crispy skin underneath. It makes them almost as good as the first batch! For more quick cooking ideas, take a peek at my garlic parmesan chicken skewers recipe!
Frequently Asked Questions About Sticky Glazed Oven Wings Tutorial
I totally get it! When you’re looking for the absolute best way to make sticky wings in the oven, you often have a few last-minute questions popping up when you’re already standing in the kitchen, apron on. That’s completely normal! Before you mix that final batch of sauce, check out these answers to make sure your wings come out perfectly every single time.
Can I make these Sticky Honey Garlic Wings Oven Baked without a wire rack?
Oh, I wish I could say yes, but for that genuine crispy texture, the wire rack is your best friend! The rack is what lifts the wings so the air can circulate all around them while they bake. This means the fat drips away, and the moisture evaporates instead of steaming the bottom of the wing. If you absolutely, positively do not have a rack, here’s the runner-up method: Grab a sturdy metal cooling rack (the kind you use for cookies) and set it on top of your foil-lined baking sheet. If you have nothing resembling a rack, use a double layer of foil, crumple it up into tight little ‘snakes,’ and lay those snakes down parallel across the tray. Place the wings on top of the foil snakes. It won’t be as perfect as a real rack, but it creates just enough space underneath to help prevent sogginess!
What is the best temperature for baked sticky wings?
For this entire process, we stick firmly to the high heat—425°F (220°C) is the sweet spot for our oven baked honey garlic wings recipe. Why so hot? Because we are trying to mimic the effect of deep frying as much as possible without an actual fryer! A lower temperature will cook the wings through, sure, but it won’t render the fat or crisp up that skin effectively before we sauce them. We need that instant blast of high heat to start caramelizing the chicken exterior. We keep the honey sauce off until the very end so the sugars don’t burn at this high temperature setting.
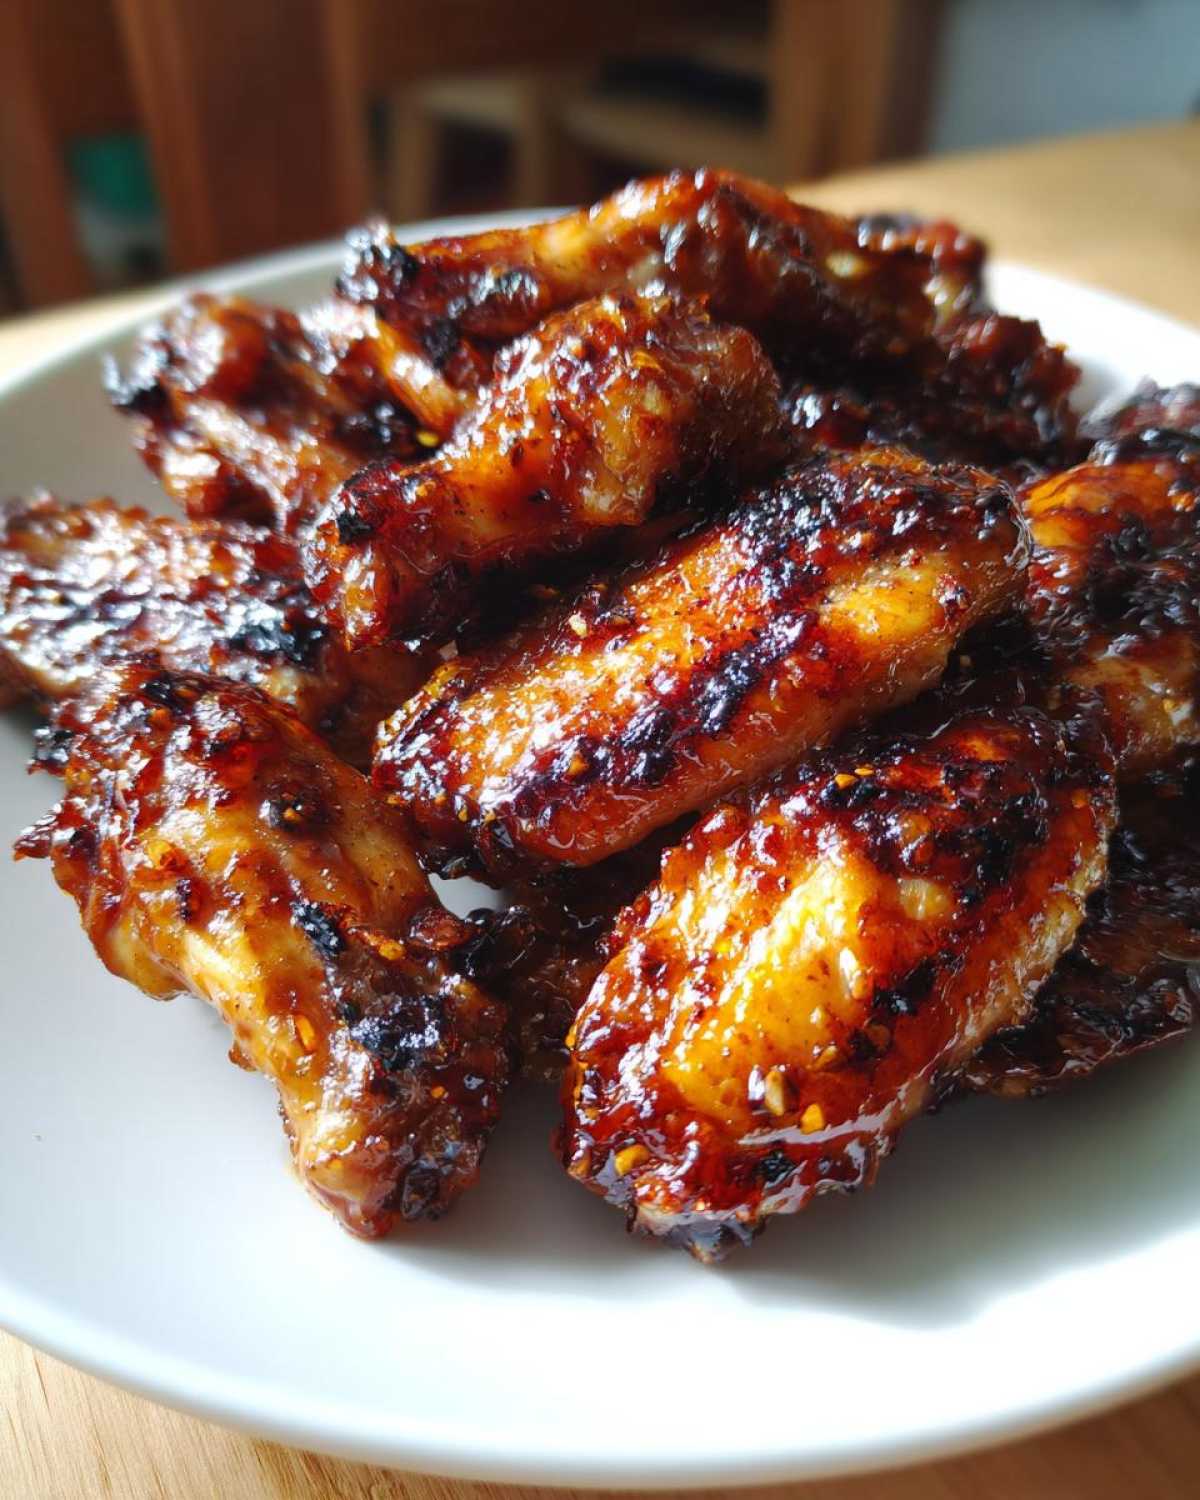
Serving Suggestions for Your Sweet and Savory Baked Chicken Wings
Now that you’ve mastered these sticky honey garlic wings oven baked, you need the perfect sides to balance that intense sweetness! I usually reach for something cool and crunchy because the wings are so rich and sticky. Think simple celery sticks or carrot sticks dipped in a little ranch dressing—the coolness is perfect.
If you want a real meal, a crisp, lightly dressed coleslaw cuts right through the sweetness. And if you’re feeling ambitious, a nice big bowl of plain white rice is fantastic for soaking up any extra glaze that drops off the plate! For something completely different, I sometimes whip up a quick, savory side like my homemade brown gravy to dip some fries into while the wings are cooling down!
PrintSticky Honey Garlic Wings Oven Baked
Follow this recipe to make sticky, sweet, and savory honey garlic chicken wings baked in your oven until the skin is crisp.
- Prep Time: 15 min
- Cook Time: 50 min
- Total Time: 65 min
- Yield: 4 servings
- Category: Main Course
- Method: Baking
- Cuisine: American
- Diet: Low Fat
Ingredients
- 2 lbs chicken wings, separated into flats and drumettes
- 1 tablespoon baking powder
- 1 teaspoon salt
- 1/2 teaspoon black pepper
- 1/2 cup honey
- 1/4 cup soy sauce
- 4 cloves garlic, minced
- 2 tablespoons apple cider vinegar
- 1 tablespoon cornstarch
- 2 tablespoons water
Instructions
- Preheat your oven to 425 degrees Fahrenheit (220 degrees Celsius). Line a baking sheet with aluminum foil and place a wire rack on top.
- Pat the chicken wings very dry using paper towels. This step helps achieve crispier skin.
- In a large bowl, toss the wings with baking powder, salt, and pepper until evenly coated.
- Arrange the wings in a single layer on the prepared wire rack.
- Bake for 20 minutes. Flip the wings over and bake for another 20 to 25 minutes, or until the internal temperature reaches 165 degrees Fahrenheit (74 degrees Celsius) and the skin is golden brown.
- While the wings bake, prepare the sauce. In a small saucepan, combine honey, soy sauce, minced garlic, and apple cider vinegar. Bring the mixture to a simmer over medium heat.
- In a separate small bowl, whisk together the cornstarch and water to create a slurry.
- Pour the slurry into the simmering sauce, whisking constantly until the sauce thickens, about 1 minute. Remove from heat.
- Once the wings are cooked, transfer them to a large bowl. Pour about two-thirds of the honey garlic sauce over the hot wings and toss to coat them completely.
- Return the sauced wings to the wire rack. Bake for an additional 5 minutes to set the glaze.
- Remove from the oven, toss with the remaining sauce if desired, and serve immediately.
Notes
- Drying the wings thoroughly before seasoning is the key to crispy skin without frying.
- Do not add the sauce until the wings are fully cooked to prevent the honey from burning during the initial baking phase.
- If you prefer a thicker glaze, simmer the sauce slightly longer before adding the slurry.
Nutrition
- Serving Size: 4 wings
- Calories: 350
- Sugar: 22
- Sodium: 450
- Fat: 18
- Saturated Fat: 5
- Unsaturated Fat: 13
- Trans Fat: 0
- Carbohydrates: 25
- Fiber: 0
- Protein: 24
- Cholesterol: 90