

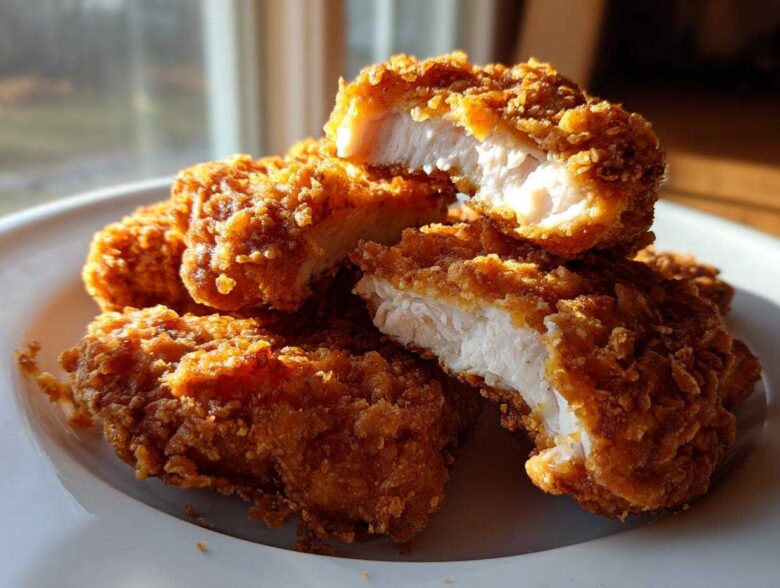
Okay, let’s talk chicken tenders. I know what you’re thinking: oven-baked means pale, soggy disappointment, right? Wrong! For years, I struggled to get that fried crunch without deep-frying, especially when I needed something reasonably healthy for the kids. But trust me, after what felt like a hundred failed attempts, I finally nailed the method for Crispy Oven Baked Chicken Tenders Extra Juicy. This isn’t just another recipe; this is the secret handshake for getting a golden, crackly crust *and* meat so tender it melts. I swear, the first time I pulled these out, I nearly cried because they actually tasted like the real deal! Forget everything you thought you knew about baking chicken strips; check out my recipe for homemade chicken nuggets if you want another winner. This technique changes everything.
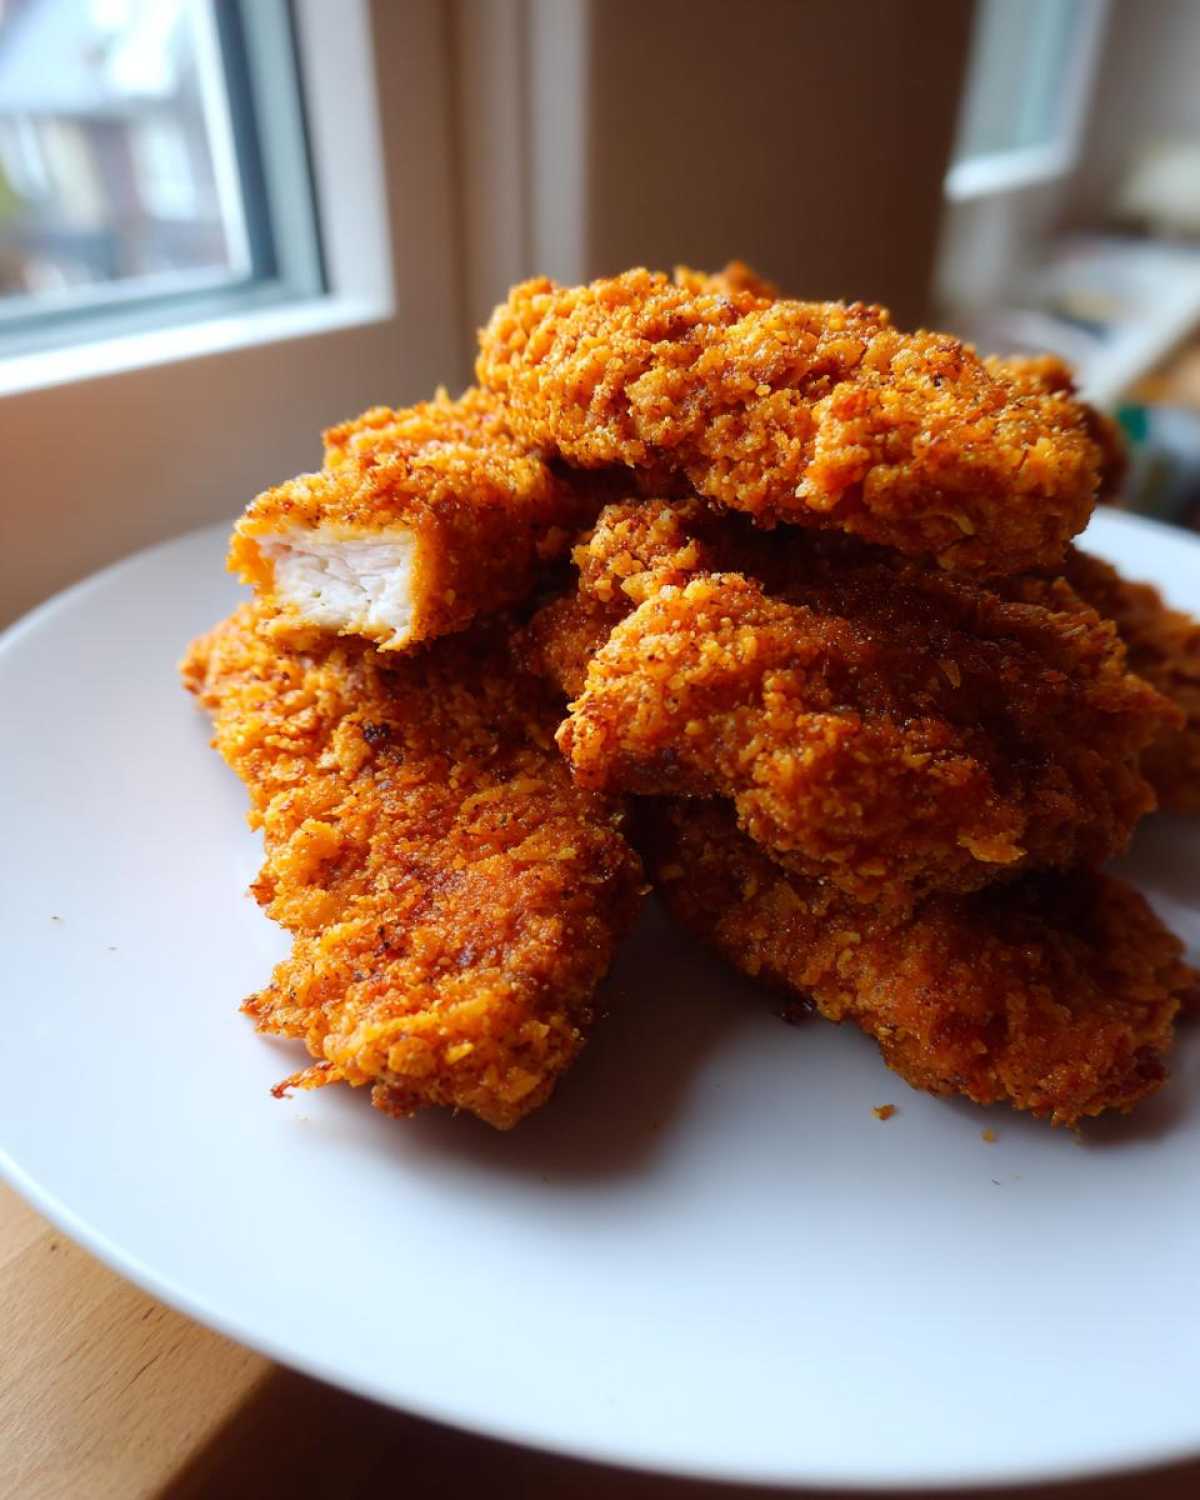
Why This Crispy Oven Baked Chicken Tenders Extra Juicy Recipe Works (The Science of Crisp)
You want crispiness without the oil bath, and I totally get that! The reason this method shines above others is because we treat the chicken and the coating like they need totally different environments to succeed. We aren’t just tossing things in a bowl; we are building a high-heat crunch machine. The secret triangle for success here is three things: extreme dryness, elevation, and that little bit of kitchen wizardry in the Panko mix. If you follow these structural steps, you get that perfect result where the outside snaps and the inside stays tender. Believe me, mastering the Crispy Oven Baked Chicken Tenders Extra Juicy standard took practice, but now it’s my go-to weeknight dinner! If you’re looking for another showstopper, you have to check out my homemade chicken nuggets recipe.
The Essential Role of Baking Powder in Your Breading
This is my favorite trick, and honestly, it’s the main reason you don’t need a separate oil spritz. When you add a teaspoon of baking powder to the Panko breadcrumbs, you’re introducing a small chemical reaction when it hits the oven heat. It creates tiny little air bubbles right in the coating. Those bubbles puff up fast, drying out the surface and transforming what would be a dense crumb into something lighter and crunchier. It really is the simplest baking powder trick for crispy chicken you’ll ever try!
Techniques for Juicy Baked Chicken Breast Strips
Crispy is only half the battle; dry chicken is a tragedy we must avoid. To ensure you get those juicy baked chicken breast strips every time, remember two things. First, you must pat the chicken strips bone dry—wet chicken steams, it doesn’t crisp. Second, use that wire rack! Allowing air to constantly circulate underneath prevents the bottom from getting that dreaded soggy layer. And please, don’t overlap them, or they’ll steam each other senseless!
Ingredients for Crispy Oven Baked Chicken Tenders Extra Juicy
Gathering your supplies is easy, but don’t skip any steps on the prep! Having everything ready in little bowls makes the dipping process fast and mess-free. We are keeping this simple since the technique is doing the heavy lifting. Here is exactly what you need for this oven baked chicken tenders recipe.
- 1.5 lbs boneless, skinless chicken breasts, cut into 1-inch thick strips
- 1 cup all-purpose flour
- 2 large eggs, lightly beaten
- 1 tablespoon water
- 1.5 cups Panko breadcrumbs
- 1 teaspoon baking powder (Don’t forget this!)
- 1 teaspoon salt
- 0.5 teaspoon black pepper
- 0.5 teaspoon garlic powder
- 0.25 teaspoon paprika
- Cooking spray or 1 tablespoon olive oil (for that final spritz)
It’s amazing how few things you need to make something this delicious. Check out my main blog page for more kitchen staples like this!
Step-by-Step Instructions for Perfectly Cooked Oven Tenders
Okay, time to get your hands dusty! Getting the prep right here ensures everything goes smoothly when the heat hits. We need everything organized before those tenders even see the oven. This process is quick, maybe fifteen minutes max, but doing it right means you score that perfect look and texture on your Crispy Oven Baked Chicken Tenders Extra Juicy.
Preparing the Chicken and Setting Up for Crispy Oven Baked Chicken Tenders Extra Juicy
First things first: blast that oven up to 425°F (220°C). Heat retention is key! While that’s warming up, grab your baking sheet and line it with parchment paper. Then, put a wire rack right on top of the paper and give that rack a generous coat of cooking spray. Why the rack? Because air needs to touch the bottom of the chicken! Next, take your chicken strips and use paper towels to pat them aggressively dry. I mean, dry, dry, dry! Any moisture left clinging to the meat will turn your lovely coating into mush halfway through baking.
The Three-Step Breading Process for Best Breading for Oven Fried Tenders
Set up your three little stations: flour in the first dish, the egg wash (egg plus that teaspoon of water) in the second, and your crunchy Panko mix in the third. Remember, the Panko station needs to have all that glorious baking powder mixed in for that awesome texture! Dredge one strip in the flour first—shake off the excess so it’s just a light dusting. Then, quickly dip it into the egg, letting the extra slide off. Finally, press that strip *firmly* into the seasoned Panko. You really need to cement that coating on there to get the best breading for oven fried tenders!
Place the newly coated tenders on your wire rack, making sure none of them are touching each other. We need space for the hot air to work its magic!
Baking Method for Maximum Crispiness
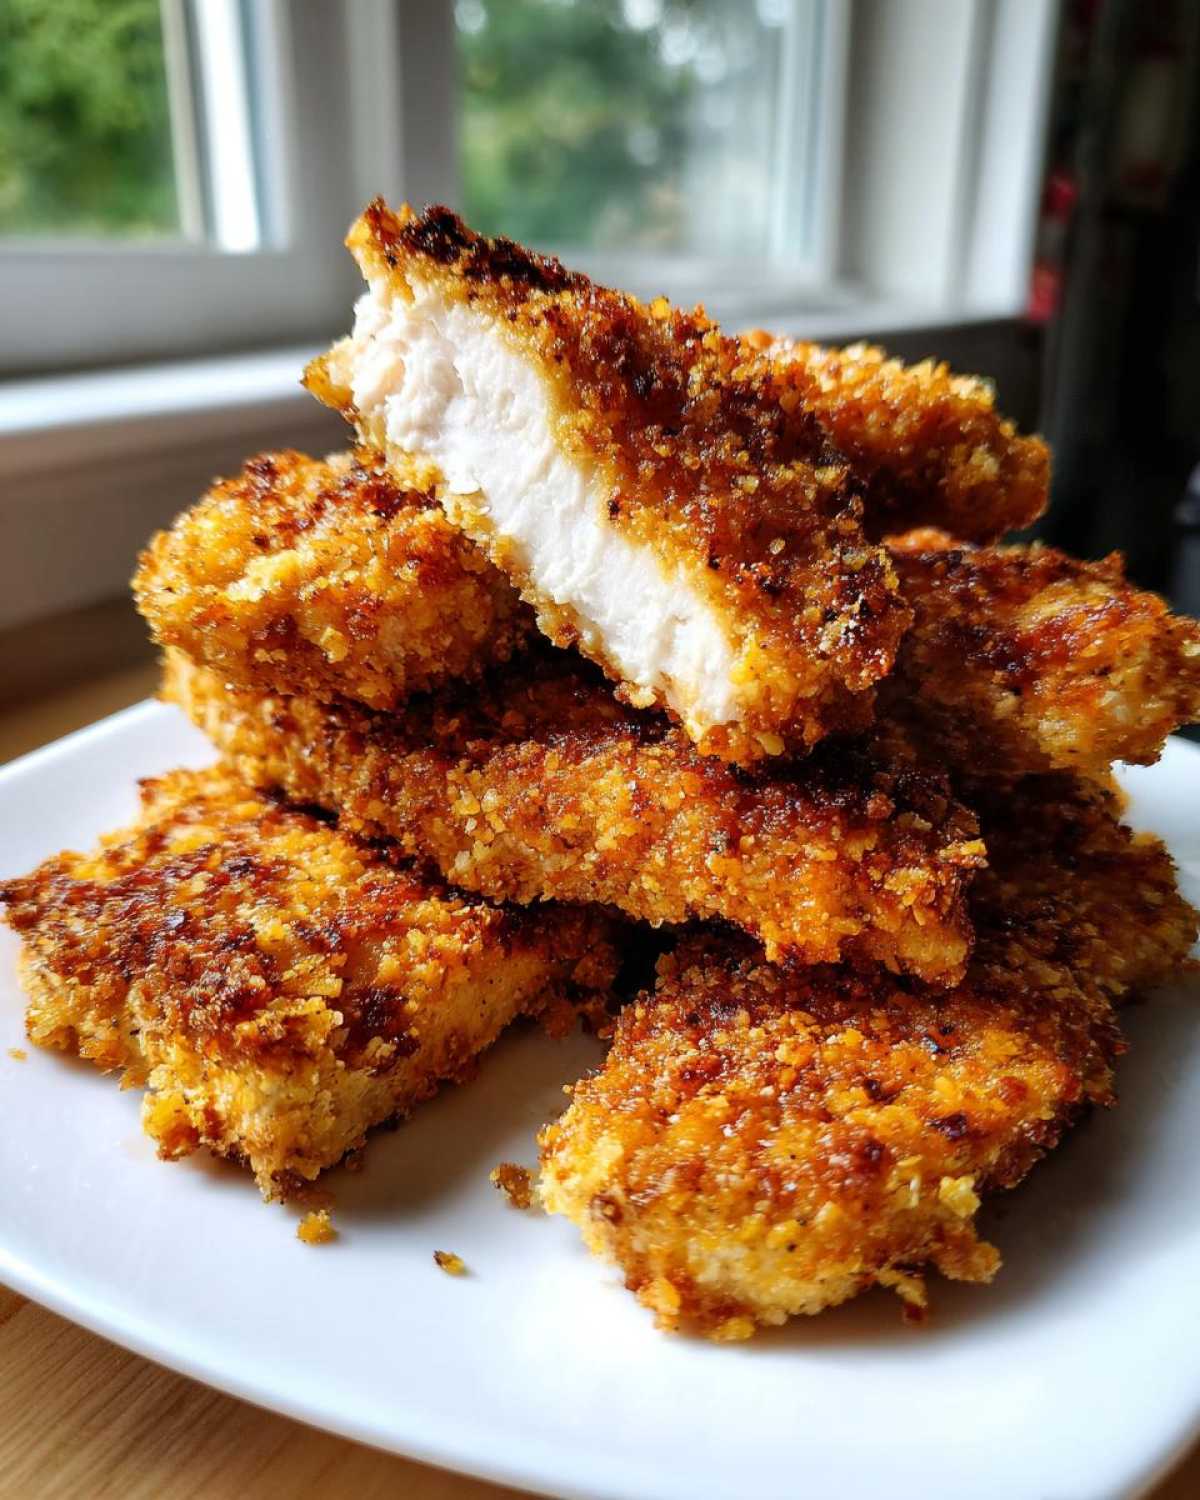
Here comes the visual cue: lightly spray the tops of the coated tenders with cooking spray—just a quick shot or two. This is what helps them turn that beautiful golden brown color. Slide them into that hot oven and bake for exactly 10 minutes. When the timer goes off, treat them gently! Flip every single tender over, and give the newly exposed side another light spritz of oil or a quick brush. Pop them back in for another 8 to 12 minutes. Pull them out the moment they hit 165°F internally. If they go past that sweet spot, you lose the juiciness that makes this recipe so good! Don’t forget to check out my homemade chicken nuggets for another easy win.
Tips for Success Making Crispy Oven Baked Chicken Tenders Extra Juicy
I’m so glad you made it this far because this is where we move from a good recipe to an *unforgettable* one. Even with a perfect ingredient list, a couple of small mistakes can ruin the texture. Remember, when we are aiming for Crispy Oven Baked Chicken Tenders Extra Juicy, we are fighting against the natural tendency of the oven to dry everything out. I’ve learned a few things over the years that prevent sogginess and guarantee that snap.
A huge tip I can give you right away? Don’t bread them refrigerator-cold. If you’re cooking dinner right after prepping, this isn’t an issue, but if you prep ahead of time, let the coated tenders sit out on the counter for about 15 minutes before they go into that hot oven. This small rest lets the coating absorb just a tiny bit more moisture from the egg wash, which helps it set beautifully once it hits the heat. It’s a little counterintuitive, but trust me on this one—it helps create a better crust!
Choosing the Right Breadcrumbs: Crispy Panko Chicken Tenders
You might have noticed the recipe calls for Panko breadcrumbs, and that wasn’t just a suggestion, that was a demand from my crust-obsessed brain! Regular, finely ground breadcrumbs absorb way too much moisture and tend to bake up heavy and doughy. Panko, on the other hand, are those big, airy Japanese flakes. They shatter when you bite them instead of crumbling under pressure.
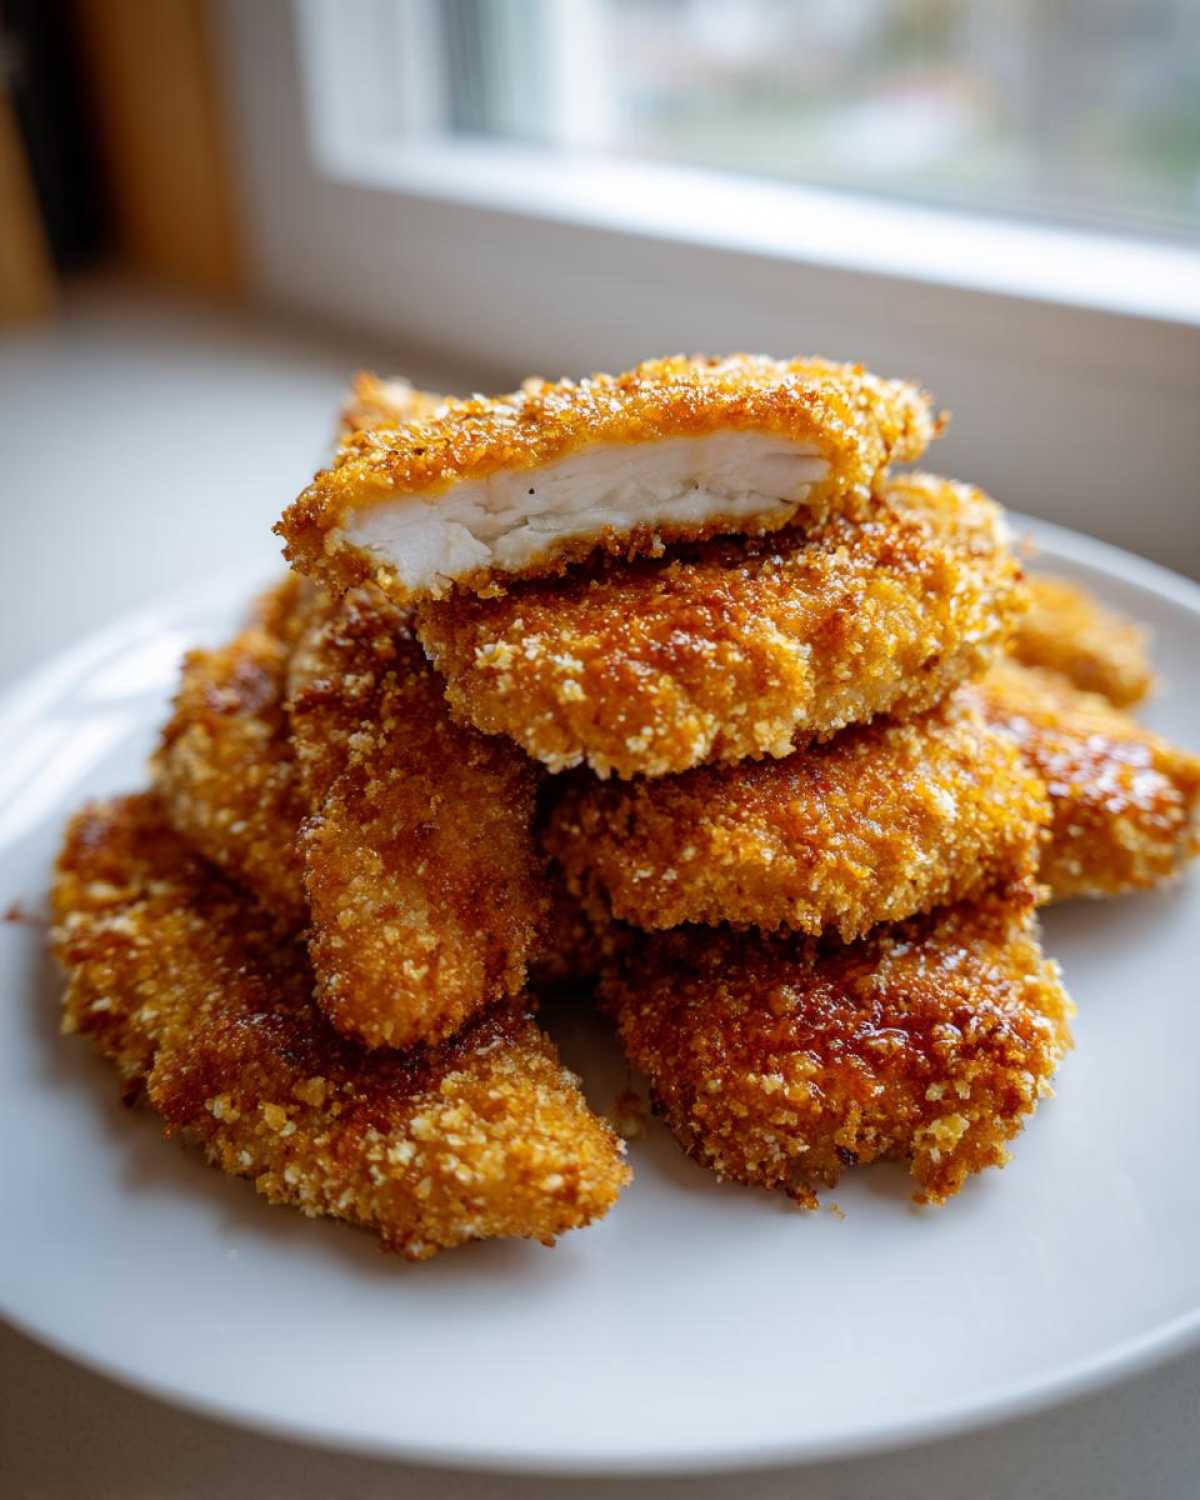
If you absolutely cannot find Panko, you can use regular breadcrumbs, but here’s the catch: you need to double the amount of baking powder in the mix (use 2 teaspoons instead of 1) and make absolutely sure you spray the tops of the chicken generously with oil before baking. We need that extra help to get that light, shatteringly crisp texture that defines these crispy Panko chicken tenders. Don’t forget to check out some other amazing recipes over on the blog!
Serving Suggestions for Easy Weeknight Chicken Tenders
Okay, the chicken is crispy, juicy, and perfect—now what are we serving it with? Because this recipe is so quick to pull together (under 40 minutes total!), it’s an absolute lifesaver when you need something fast, healthy, and kid-approved. These tenders are superstars on their own, but a great side dish or a killer dipping sauce takes them right over the top.
For me, the perfect plating keeps the meal easy weeknight chicken tenders simple. You don’t want to spend an extra hour making a complicated side dish when the main event is already ready. If I’m rushing, I toss a bag of frozen broccoli florets in the microwave and call it a day. But if I have ten extra minutes, I love leaning into that homemade, better-than-fast-food vibe.
Simple Sides That Go Great with Crispy Chicken
Since the texture contrast is what we worked so hard for, finding sides that offer moisture or temperature difference works wonders. Try some sweet potato fries—they bake up beautifully right alongside the chicken, though you might need to start them a few minutes earlier since they are denser. Another winner? A simple homemade coleslaw. The cool, vinegary crunch is the perfect match for the hot, savory crunch of the tenders!
Dipping Sauces That Make the Meal
Dipping sauces are essential. Honestly, they make or break the dinner, especially if you have picky eaters! We cycle through the classics, but two homemade sauces always win in my house. The first is a spicy honey mustard—it’s just equal parts Dijon mustard, honey, a tiny splash of apple cider vinegar, and a dash of hot sauce. It hits sweet, tangy, and spicy all at once.
For something creamier, try my favorite yogurt ranch. It’s way lighter than the store-bought stuff but satisfying. Mix plain Greek yogurt with dried dill, chives, a squeeze of fresh lemon juice, garlic powder, and a splash of water to thin it out. It pairs so well! If you are looking for another great savory, easy meal idea, you absolutely must check out my recipe for garlic parmesan chicken skewers!
Storage and Reheating Instructions for Crispy Oven Baked Chicken Tenders
So, you have leftovers! Good job! That means this oven baked chicken tenders recipe was a hit. Now, the challenge isn’t getting them crispy the first time—it’s keeping them that way for round two. The biggest mistake I see people make when storing these is throwing them in the fridge while they are still warm. That traps steam, and steam is the sworn enemy of crispiness!
Rule number one for storage: let them cool completely on the baking rack—the one we used to bake them! This ensures any residual heat escapes and the coating firms up again before you seal them away. Once they are totally cool to the touch (that means no warmth radiating off them at all), transfer them to an airtight container. If you stack them, put a layer of paper towels in between each layer of chicken. This absorbs any minimal moisture that might form overnight.
If you are planning ahead, you can definitely make ahead freezer friendly chicken tenders! Just freeze them in a single layer on a cookie sheet first, and once they are solid blocks, transfer them to a freezer bag. This stops them from sticking together.
Restoring that Crunch When Reheating
Listen, if you try to reheat these babies in the microwave, I’m gonna be upset! The microwave instantly turns perfectly crispy Panko soft and chewy, and we worked too hard for that.
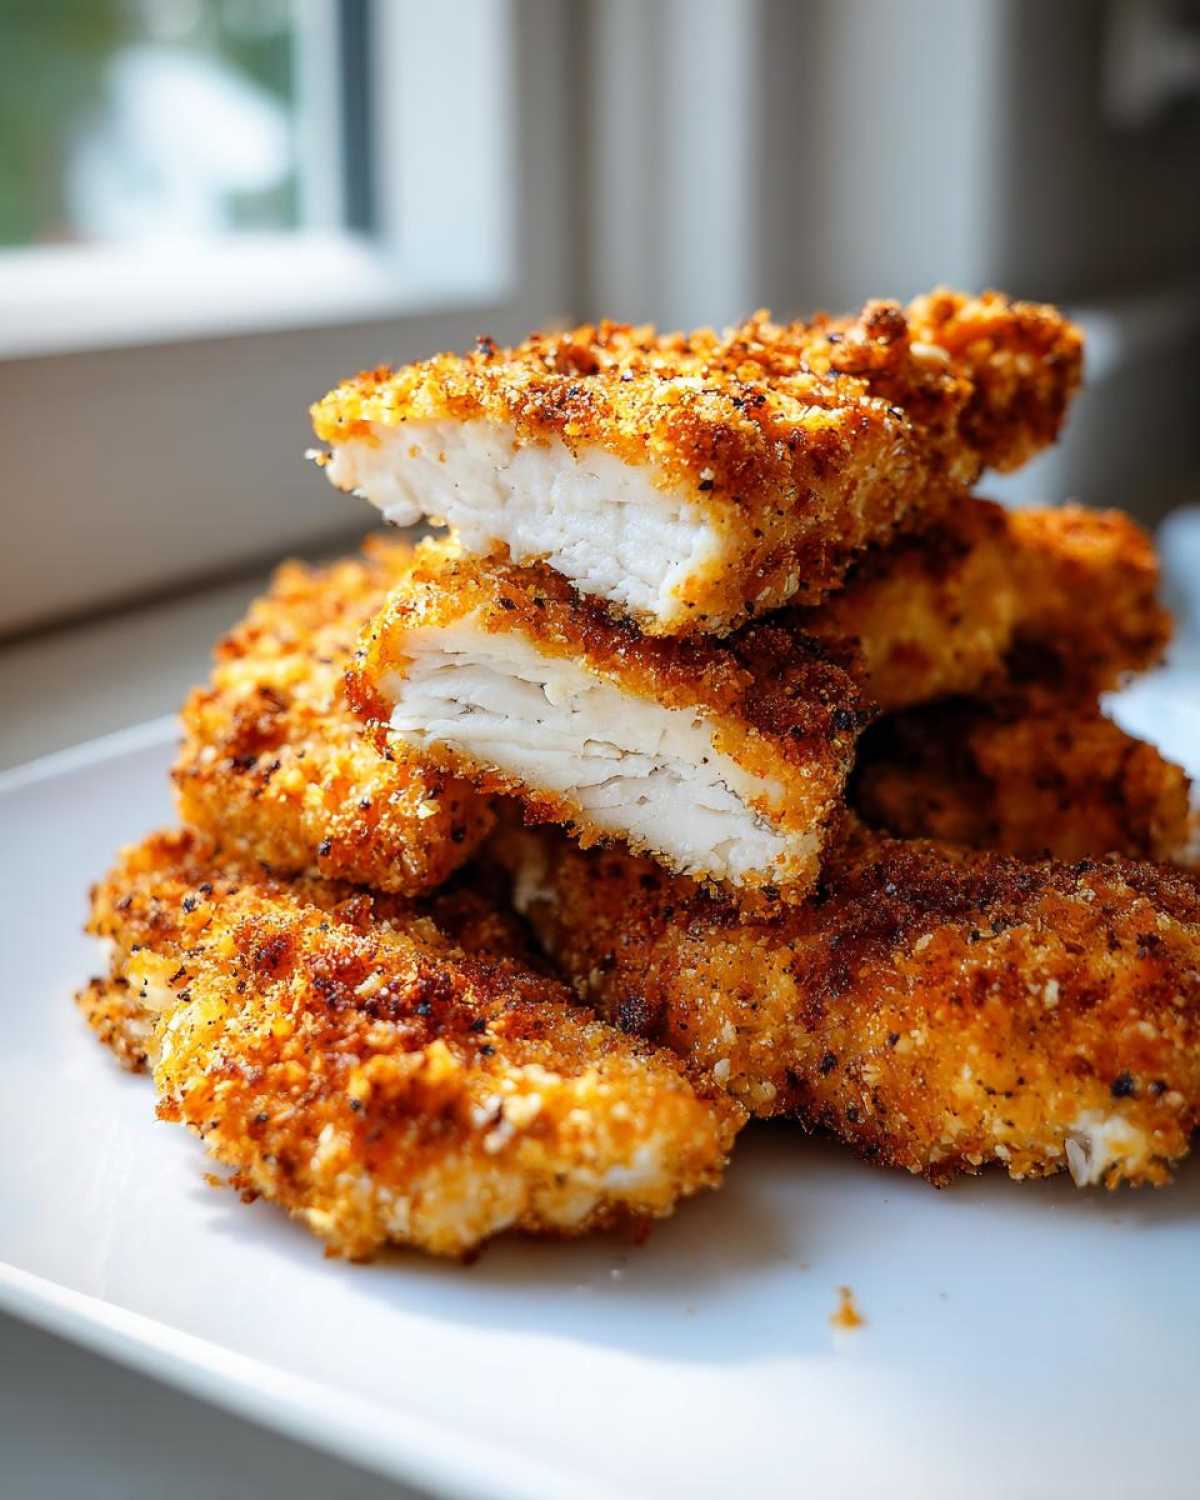
You have two main options for reheating, and both use dry heat to bring back that glorious snap. The best way, hands down, is in a conventional oven or a toaster oven. Lay the cold tenders right back on that wire rack over a parchment-lined sheet. Heat the oven to about 375°F (190°C) and bake them for about 8 to 10 minutes. Keep an eye on them so they don’t burn, but this method dries out the coating and heats the center perfectly.
The second best option, if you have one, is the air fryer! It’s basically a tiny convection oven, so it’s perfect for small batches. Set your air fryer to 380°F (195°C) and cook for about 4 to 6 minutes. Shake the basket halfway through. It gets them hot and crackly almost instantly. Either way, let them rest for a minute before dunking them in your favorite sauce!
Frequently Asked Questions About Oven Baked Chicken Tenders Recipe
I always get a flood of questions after people try this recipe because everyone is just so amazed that baked chicken can actually taste this good! It’s totally natural to have some doubts when you’re trying to ditch the fryer. Here are some of the things folks ask me the most about texture, health, and technique when they are making these homemade chicken strips recipe.
Can I make these a Healthier Fried Chicken Alternative?
Oh, absolutely, that’s the entire point! This recipe is specifically designed to deliver that deep-fried satisfaction without dunking everything in oil. We use minimal fat—just a light spray to help the coating set and brown. Compared to traditional frying, you are dramatically cutting down on the saturated fat and calories. So yes, these are the ultimate healthier fried chicken alternative you’ve been searching for, and they taste better than most takeout versions!
What is the best way to make crispy chicken tenders without frying?
If you remember nothing else from this whole recipe, just remember the power trio for non-fried crispiness! First, pat your chicken strips relentlessly dry—I can’t stress that enough! Second, the magic ingredient is making sure you have that little bit of baking powder mixed right into your Panko. That creates the air pockets we talked about earlier. And finally, use that wire rack! Elevating the chicken ensures that air flows all around it, giving you that lovely crust underneath as well as on top. That is the how to make crispy chicken tenders without frying strategy in a nutshell!
If you’ve ever wondered how these compare directly to using an air fryer, you might want to peek at my comparison post about air fryer chicken tenders comparison to see which appliance suits your kitchen best!
Estimated Nutritional Data for Homemade Chicken Strips Recipe
This is one of those sections where I feel a little like a chemist, which is funny for a home cook like me! Since we aren’t using industrial fryers, the numbers for these homemade chicken strips recipe tenders come out wonderfully low-fat. But I always want to give a quick disclaimer: these figures are estimates based on the recipe I provided, using the ingredients exactly as listed, and they don’t account for any dips or sides you add later.
The great thing is, because we aren’t soaking these in oil, the fat content stays delightfully low while we still pack in a serious amount of lean protein. It’s a win-win for a healthy dinner!
Here is the breakdown for one suggested serving size (about 4 tenders):
- Serving Size: 4 tenders
- Calories: 310
- Protein: 36g (Whoa!)
- Fat: 7g (Mostly unsaturated!)
- Carbohydrates: 25g
- Sugar: Only 1g
See? Amazing! These numbers prove this is a genuine healthy chicken tenders option that doesn’t taste like a diet meal. If you are looking for other high-protein, weeknight meals, do yourself a favor and check out my chicken chili recipe next time you’re meal planning!
Share Your Experience Making Crispy Chicken Tenders
I truly, truly hope you tried these and that your kitchen now smells like success! Making any fried-style food in the oven can feel like walking a tightrope, so I genuinely want to know how it went for you. Did the baking powder trick work its magic? Were your Crispy Oven Baked Chicken Tenders Extra Juicy, or did you find a new secret tip?
Please, don’t be shy! Head down to the comments section and leave me a rating, even if it’s just five stars because you loved the concept! Knowing how your batch turned out helps me, and it helps other folks who are skeptical about ditching the deep fryer. Did you use Panko? Did you try a different dipping sauce?
If you posted a picture on social media—and honestly, you absolutely should because these look amazing—please tag me! It seriously makes my whole week to see my recipes coming to life in your kitchens. I love seeing your successes.
If you run into any trouble or have a question about technique, whether it’s about reheating or substitutions, drop that in the comments too! I try to answer every single one, and you can always reach out directly through my contact page if you need something specific. Happy cooking, and thanks for trying out my favorite oven trick!
PrintCrispy Oven Baked Chicken Tenders Extra Juicy

A step-by-step recipe for making chicken tenders crispy on the outside and very juicy inside using an oven baking method.
- Prep Time: 15 min
- Cook Time: 20 min
- Total Time: 35 min
- Yield: 4 servings
- Category: Main Course
- Method: Baking
- Cuisine: American
- Diet: Low Fat
Ingredients
- 1.5 lbs boneless, skinless chicken breasts, cut into 1-inch thick strips
- 1 cup all-purpose flour
- 2 large eggs, lightly beaten
- 1 tablespoon water
- 1.5 cups Panko breadcrumbs
- 1 teaspoon baking powder
- 1 teaspoon salt
- 0.5 teaspoon black pepper
- 0.5 teaspoon garlic powder
- 0.25 teaspoon paprika
- Cooking spray or 1 tablespoon olive oil
Instructions
- Preheat your oven to 425 degrees Fahrenheit (220 degrees Celsius). Line a baking sheet with parchment paper and place a wire rack on top of the sheet. Lightly spray the rack with cooking spray.
- Prepare the dredging stations. In the first shallow dish, place the flour. In the second dish, whisk the eggs and water together. In the third dish, combine the Panko breadcrumbs, baking powder, salt, pepper, garlic powder, and paprika.
- Pat the chicken tender strips very dry using paper towels. This step is key for crispiness.
- Dredge each chicken strip first in the flour, shaking off any excess.
- Dip the floured strip into the egg mixture, allowing excess to drip off.
- Press the strip firmly into the Panko mixture, coating all sides completely. Place the coated tenders on the prepared wire rack, ensuring they do not touch.
- Lightly spray the tops of the coated tenders with cooking spray or brush lightly with olive oil. This promotes browning.
- Bake for 10 minutes. Flip the tenders over carefully. Spray or brush the second side lightly with oil.
- Bake for another 8 to 12 minutes, or until the internal temperature reaches 165 degrees Fahrenheit (74 degrees Celsius) and the coating is golden brown and crisp.
- Remove from the oven and let rest for 3 minutes before serving.
Notes
- The baking powder in the breading helps create tiny air bubbles, leading to a lighter, crispier crust when baked.
- Using a wire rack allows air to circulate underneath the tenders, preventing the bottoms from becoming soggy.
- For extra juiciness, avoid overcooking; check the internal temperature precisely.
Nutrition
- Serving Size: 4 tenders
- Calories: 310
- Sugar: 1
- Sodium: 450
- Fat: 7
- Saturated Fat: 1
- Unsaturated Fat: 6
- Trans Fat: 0
- Carbohydrates: 25
- Fiber: 1
- Protein: 36
- Cholesterol: 110