

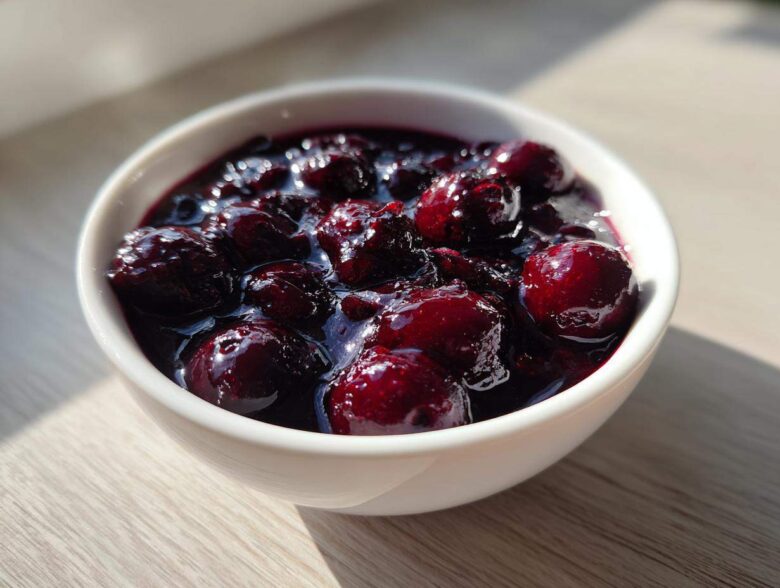
Listen, I get it. Life is busy, and grabbing that bottle of syrup is fast. But once you’ve smelled real blueberries cooking down with sugar, trust me, you’ll never go back to the store-bought stuff again. It just tastes… fake! That’s why I’m so excited to share my go-to guide for making the absolute best Homemade Blueberry Syrup. The first time I made this, my kitchen smelled incredible, and the taste was so bright and fresh, it completely changed my pancake game. This recipe is my secret weapon because it’s surprisingly thick, requires only three main ingredients, and comes together faster than you can decide which flavor to buy at the supermarket. If you’re looking for the best breakfast recipes to level up your mornings, this is where you start!
Why This Homemade Blueberry Syrup Recipe Stands Out
Honestly, comparing this fresh batch to anything in a clear plastic bottle is almost unfair. When you make your own Homemade Blueberry Syrup, you are in total control! No weird stabilizers or corn syrup surprises here, just pure, bright berry flavor. That’s why I trust it completely for my family.
- You control the sugar level so it’s naturally sweet, not cloying.
- The texture is exactly what you want—nice and thick!
- It tastes unbelievably vibrant using just fresh or frozen berries.
Quick Prep and Cook Time for Your Homemade Blueberry Syrup
This whole process is so fast, it’s almost a joke. You only need about five minutes to get everything into the pot! Then, after just 20 minutes of simmering, you have a beautiful, natural syrup. It truly is an easy homemade syrup you can whip up on a Sunday morning without losing half your afternoon.
Gathering Ingredients for Thick Homemade Blueberry Syrup
Okay, so let’s talk about what you need. The magic of this Homemade Blueberry Syrup is how minimal the list is! You don’t need fancy thickeners or obscure additives to get that fantastic texture. You just need the good stuff. I always keep bags of frozen blueberries on hand for this, but if you have fresh berries bursting out of your fridge, totally use those!
Here is exactly what you’ll need for about a cup and a half of amazing syrup:
- 2 cups blueberries—fresh or those frozen ones you forgot about in the back of the freezer.
- 1 cup water—plain old tap water works perfectly fine here!
- 3/4 cup granulated sugar—this is your starting point!
- 1 teaspoon vanilla extract—this is optional, but honestly, don’t skip it if you can help it.
Ingredient Clarity for the Best Blueberry Syrup Recipe
When it comes to that sugar, remember this is a blueberry syrup recipe, not a science experiment. If you pick up your berries and they look really tart—maybe they are those early-season beauties—you might want to bump that sugar up to a full cup. Seriously, taste a raw berry! On the flip side, if you have super sweet summer berries, you can dial it back to just a half cup. That’s the beauty of homemade!
And about the vanilla? That little teaspoon pushes the blueberry flavor over the top. It doesn’t taste like vanilla; it just makes the blueberries taste like the *best* blueberries you’ve ever had. We’re aiming for perfection here!
Step-by-Step Instructions: How to Make Blueberry Syrup
Okay, this is where the magic happens! Making your Homemade Blueberry Syrup is incredibly simple, but paying attention for those 20 minutes on the stovetop really makes a difference in the final product. First things first: grab your medium saucepan. Toss in your blueberries, the water, and the sugar. Set the heat to medium and just stir it occasionally until you see that sugar completely dissolve and you get a nice, gentle simmer rolling.
Once you hit that simmer, turn the heat down low—we don’t want a rolling boil, just a gentle burble. This cooking phase needs about 15 to 20 minutes. As it cooks, the liquid will reduce, and those berries will start breaking down beautifully. If you want a smoother syrup, take your spoon and just gently mash the berries against the side of the pot. If you absolutely cannot stand even a tiny seed bit in your syrup, carefully strain the whole thing through a fine-mesh sieve afterward, pressing all that goodness out. You’ll discard the solids, but wow, what flavor you’ll have pulled out!
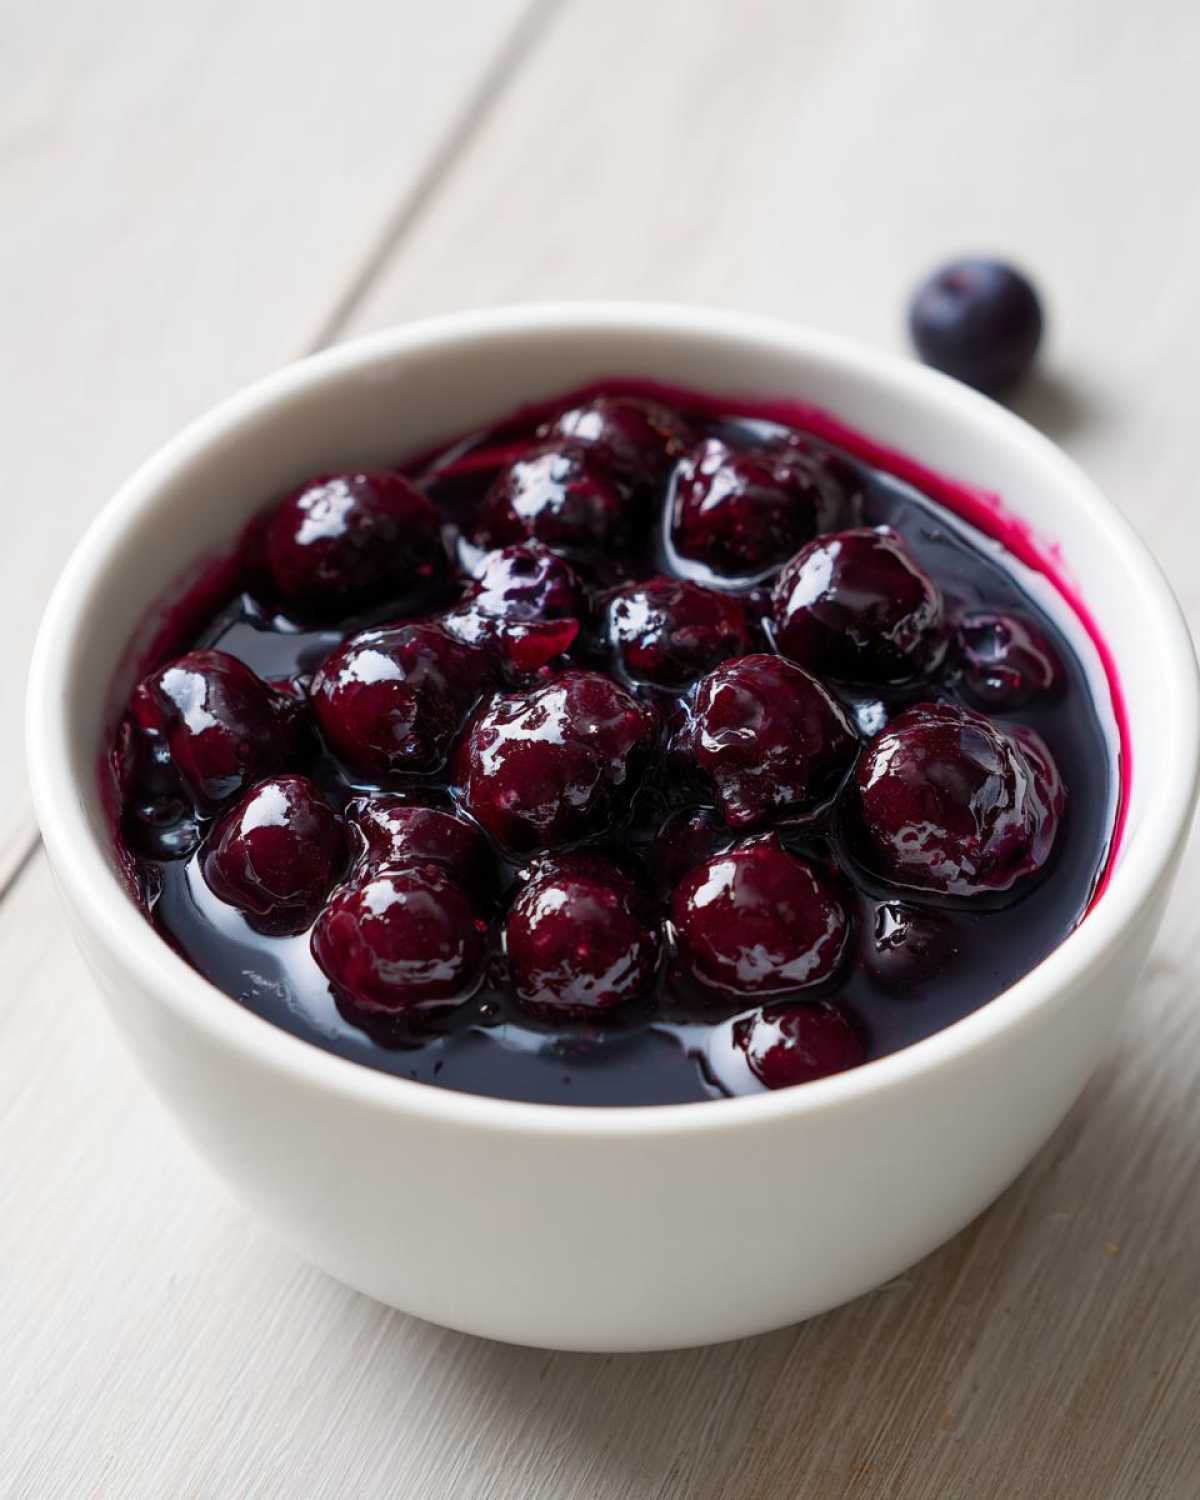
When you take it off the heat, that’s when you stir in that optional vanilla extract. Now, here’s a pro tip: don’t judge the thickness yet! No matter how watery it looks when hot, this glorious topping will miraculously thicken up as it cools. If you’re heading over to make those buttermilk pancakes, you’ll need patience for about an hour until it’s truly set.
Achieving the Perfect Consistency for Your Homemade Blueberry Syrup
Remember what I just said? Cooling is your best friend when aiming for a thick blueberry syrup! The reduction process gets you most of the way there, but it really firms up as the temperature drops. If you pull the pot off the stove and you just can’t wait—maybe the kids are screaming for waffles right now—you have an emergency option.
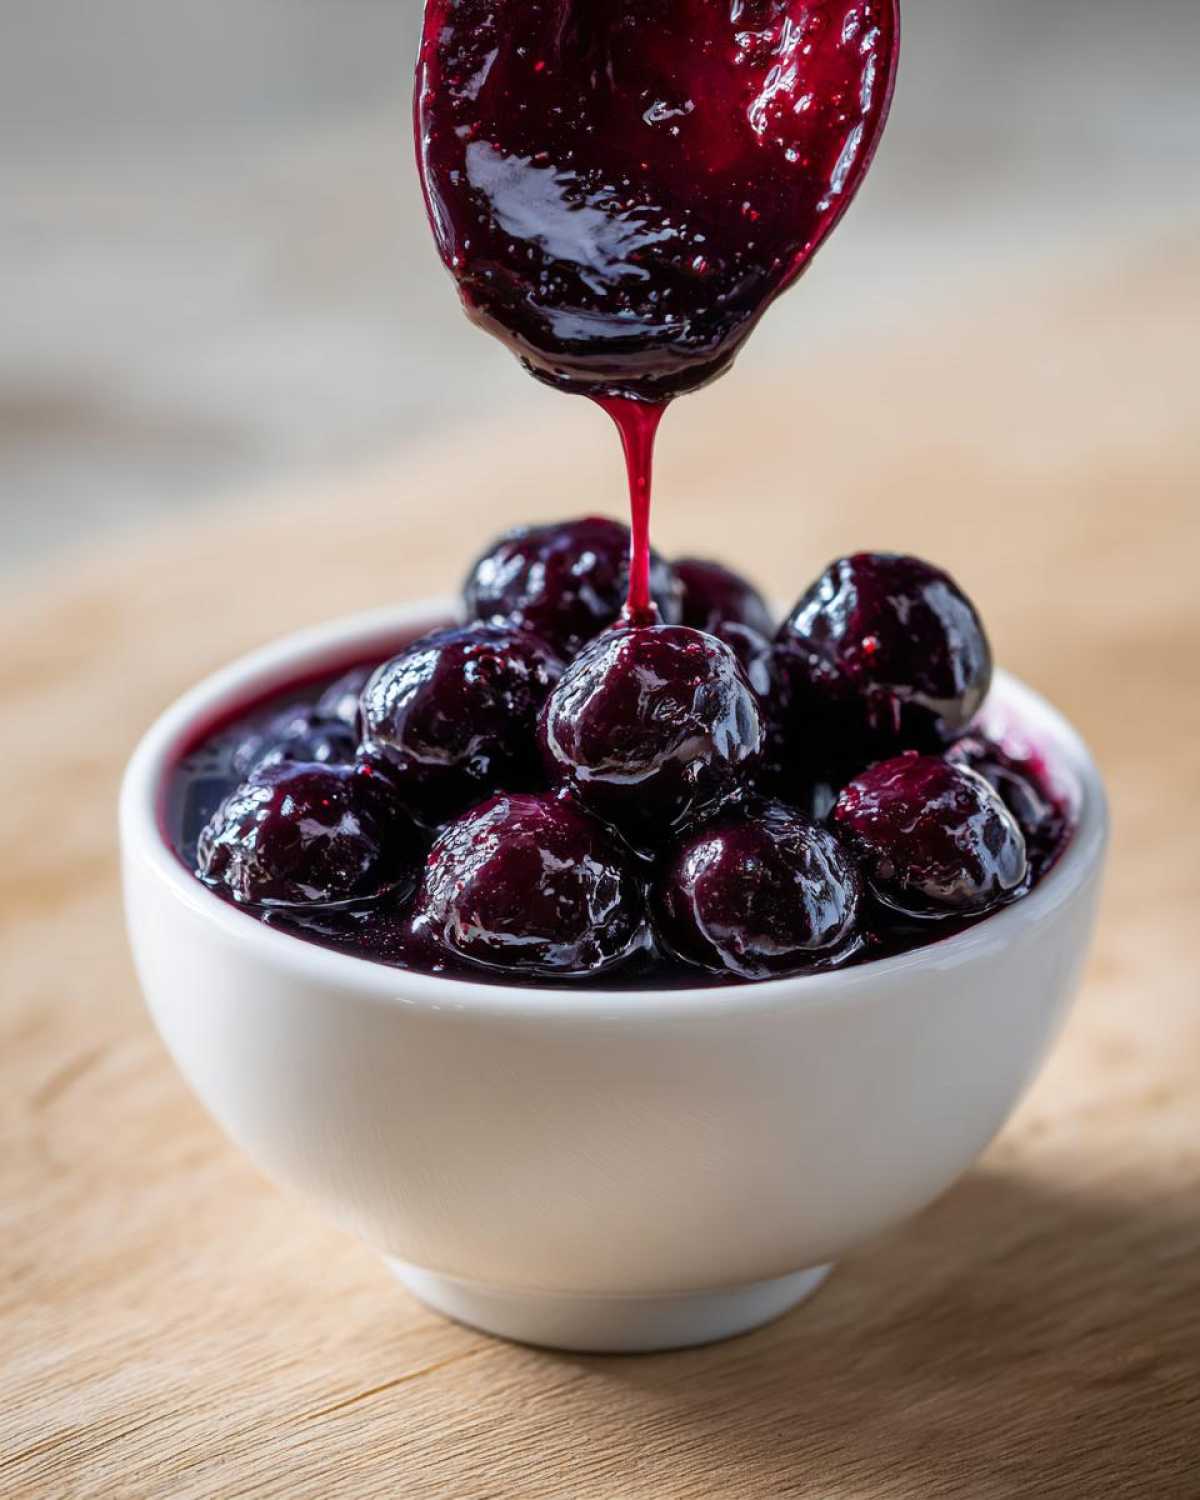
You can use a little cornstarch trick. Just mix one teaspoon of cornstarch with about one tablespoon of cold water until it’s smooth—we call that a slurry. Whisk that slurry into your syrup while it’s still simmering on low during the last five minutes of cooking. Whisk constantly until it looks glossy and has visibly thickened more. That’s the quick fix for needing a truly luscious, drizzle-ready homemade blueberry sauce right now!
Expert Tips for Perfect Homemade Blueberry Syrup Every Time
I’ve played around with this Homemade Blueberry Syrup recipe so many times now, tweaking it based on what I have in the pantry or what mood I’m in. To really elevate your batch and ensure it’s worthy of being called the best, here are a few pointers I’ve picked up along the way. These aren’t hard rules, but they definitely push you from “good syrup” to “Wow, what did you put in this?!” territory. Seriously, check out my latest thoughts on writing over at the Flavorzine blog!
- Don’t rush the cooling process! If you think it’s thick enough when hot, wait ten more minutes—it tightens up wonderfully.
- If you’re using only frozen berries, you might need to add an extra tablespoon of water at the start, just because they release their liquid slowly.
- For a burst of brightness that cuts through sweetness, always keep lemon juice handy!
Ingredient Substitutions for Simple Fruit Syrup Recipe
While the classic version calls for granulated sugar, this is where you can really personalize your simple fruit syrup recipe. If you want to avoid refined sugar, you absolutely can swap it out. Maple syrup or honey are fantastic alternatives, but like I mentioned in the notes, you might need to adjust the liquid just a tiny bit since they are denser sweeteners.
My absolute favorite tweak for a little zing is adding a splash of fresh lemon juice—about a teaspoon works wonders. That tartness balances the blueberries and sugar perfectly, making the whole syrup taste fresher and brighter. It works amazingly well if you’re planning on using this syrup for something fancy, like a glaze on a warm cheesecake or as a blueberry drizzle recipe for ice cream!
Serving Suggestions for Your Fresh Blueberry Syrup
So, you’ve got this gorgeous, fragrant, Homemade Blueberry Syrup warming up, and the stack of pancakes is looking a little lonely, right? Well, don’t just stop at pancakes! This luscious topping begs to be used everywhere. I mean, it’s too good to reserve just for breakfast, even though it’s divine drizzled over waffles or maybe my favorite fluffy French toast.
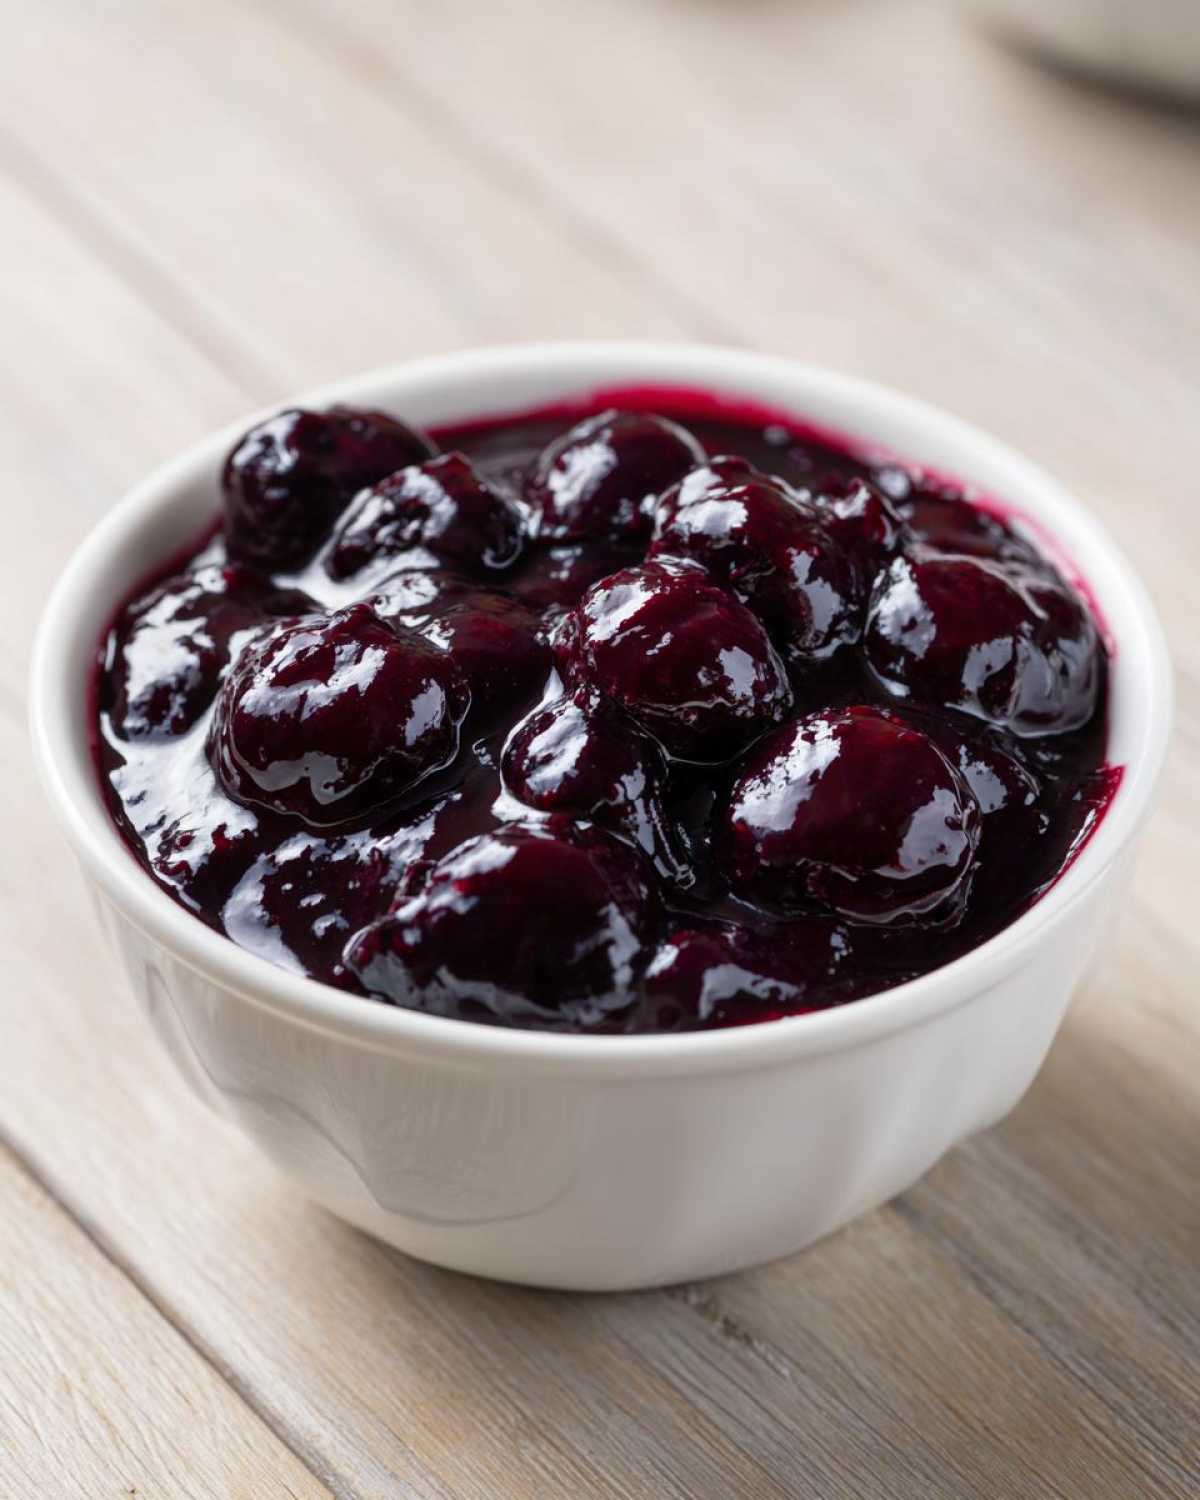
But think outside the breakfast box! A spoonful of this fresh blueberry syrup stirred into plain Greek yogurt or cottage cheese is basically instant dessert. It’s also fantastic warmed slightly over vanilla ice cream or a slice of plain cheesecake. For the grown-up crowd, this makes the perfect base for a bright, fruity cocktail or even a simple summer spritzer. Seriously, once you nail this blueberry topping recipe, you’ll be looking for excuses to drizzle it on everything!
Storage and Shelf Life for Homemade Blueberry Sauce
Now that you’ve made this gorgeous, thick batch of homemade blueberry sauce, the last thing you want to do is waste any of it! Because we’re keeping things natural here—no crazy preservatives—storage is straightforward. You must let your syrup cool completely before you put it away. If you seal it up while it’s still warm, you’re basically giving it a sauna treatment inside, which isn’t great for freshness.
Once it’s totally cool to the touch, pour that beautiful, deep purple liquid into an airtight jar or container. I love using these little glass jars so I can see how much I have left! Pop it right into the refrigerator.
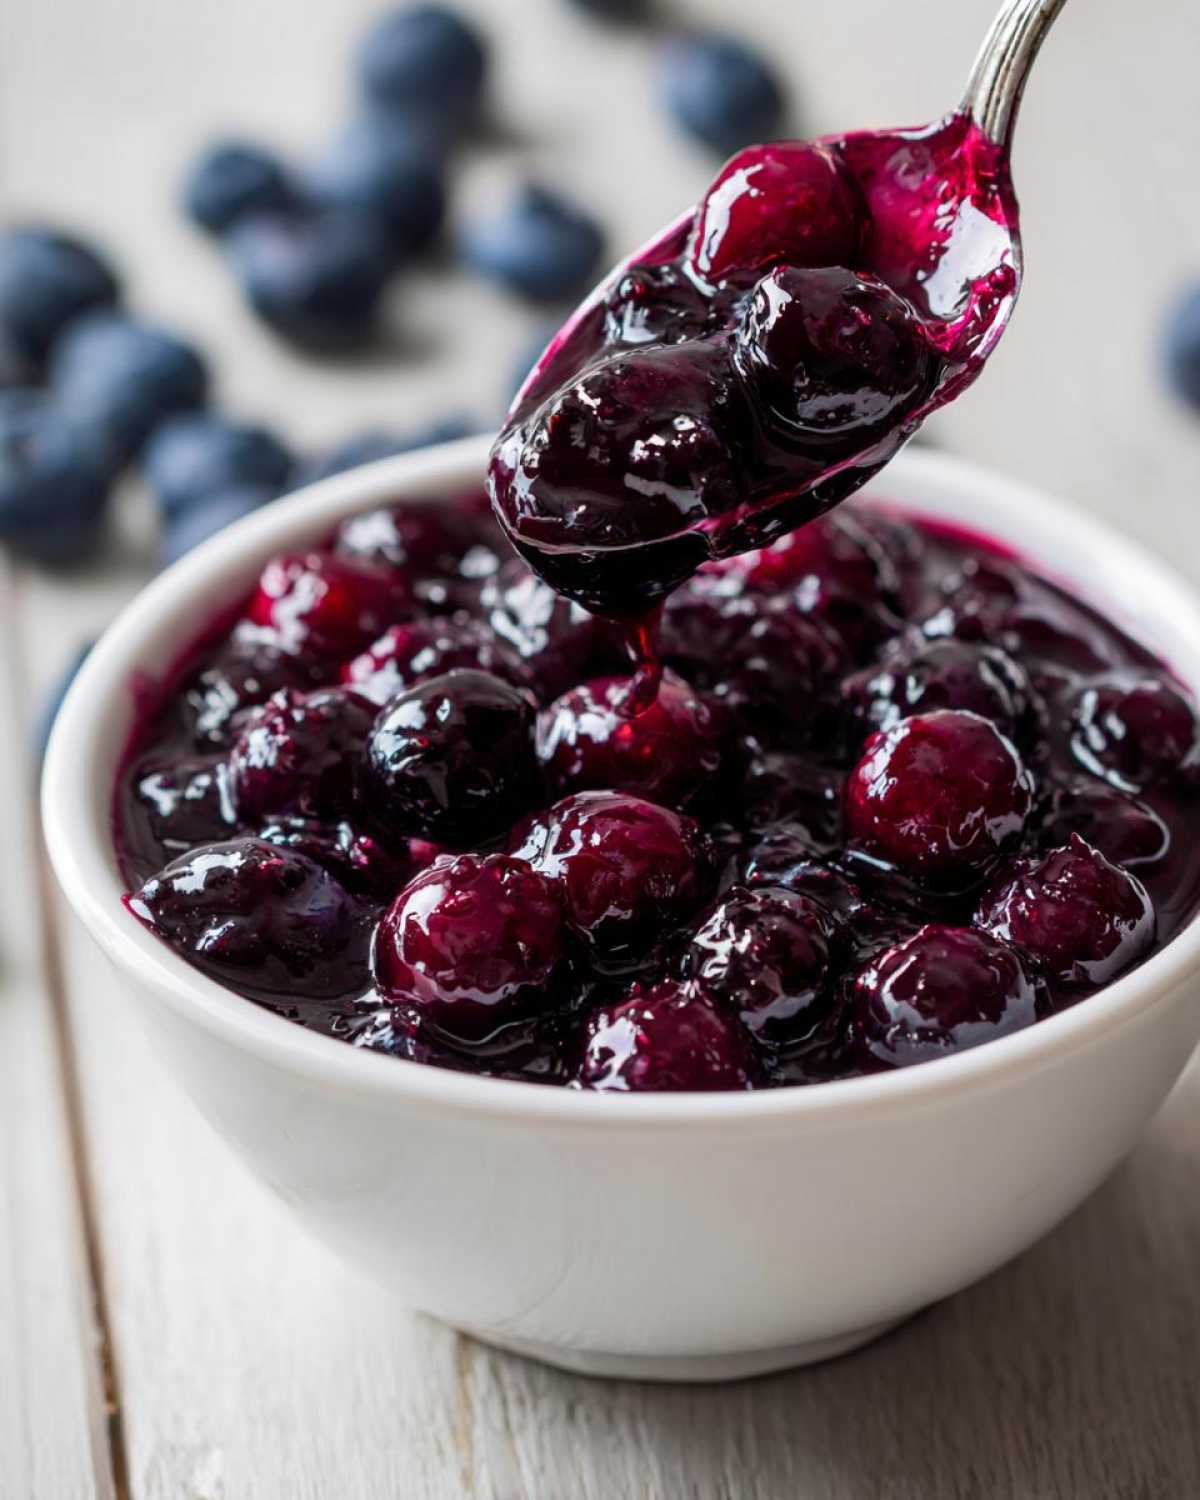
If you used the standard sugar recipe, this syrup holds up really well! You should have a good ten days to two weeks of perfect flavor in the fridge. I’ve honestly kept my blueberry topping syrup for almost three weeks and it was still wonderful. But, if you used a lot of honey or maple syrup instead of granulated sugar, it might be safer to use it up a little faster, maybe within ten days, just because those natural sugars behave slightly differently.
If you happen to make a huge batch—which, let’s be honest, you totally will the next time you try this blueberry syrup recipe—you can absolutely freeze it! Pour it into a freezer-safe container, leaving about an inch of space at the top, because liquids expand when they freeze up solid. It will keep perfectly for three months or more in the freezer. Thaw it in the fridge overnight, give it a gentle stir, and it’s ready for your next waffle stack!
Frequently Asked Questions About Making Blueberry Syrup
I know you’re probably eager to get back to the stove, but I pulled together a few quick questions I get all the time about this blueberry topping for cheesecake and general syrup making. I hope these quick answers help settle any last-minute doubts before you pour that perfect drizzle!
Can I use frozen blueberries for this recipe?
Oh, absolutely! You totally can use frozen berries for this blueberry syrup recipe. Honestly, sometimes I prefer them because they are already perfectly ripe when I buy them! There’s no need to thaw them first either. Just toss them straight from the freezer into the pot with the water and sugar. You might need to let it simmer for just an extra minute or two to get things moving, but that’s it. Easy peasy!
How long does the syrup take to thicken?
This is where patience comes in, just like with Grandma’s pound cake! While the syrup looks reduced when hot, the vast majority of that fantastic thickness happens as it cools down. When it’s piping hot, it will seem a little thin—but don’t panic! Let it sit on the counter for at least 45 minutes to an hour, and you’ll be amazed at how much it firms up into a beautiful, spoonable consistency. If you try to rush it, you might over-thicken it with cornstarch later, so trust the cooling process!
What is the yield of this simple fruit syrup recipe?
This is a lovely little batch for a weekend breakfast, making enough to generously drench a stack of French toast or a couple of large waffle batches. You get about one and a half cups of finished syrup from this recipe. That’s usually more than enough to drizzle over your yogurt the next day too! If you’re planning a huge brunch, you can easily double this recipe without having to adjust the cooking time much at all.
If you feel like you still have questions about making your own homemade breakfast syrups, please drop them in the comments below! I read every single one!
Nutritional Estimates for Homemade Blueberry Syrup
I always feel a little better diving into syrup knowing exactly what’s going into my breakfast, and I want you to feel the same way! Since this is a Homemade Blueberry Syrup made with real fruit and real sugar, the numbers might look a little different than those ultra-processed bottles you find on the shelf. Remember, these are just good estimates based on the standard ingredients we used.
If you’re using that 3/4 cup of granulated sugar, here’s what you can expect based on a standard 1/4 cup serving size. This breakdown is just for reference, obviously! If you substitute honey or use less sugar because your berries were naturally sweet, your numbers will shift a bit. This is why I always stress reading the whole recipe and using your taste buds!
Here is the breakdown we calculated for this batch:
- Serving Size: 1/4 cup (which is actually a generous amount for topping!)
- Calories: About 180—not too bad for a decadent treat.
- Sugar: Around 40 grams. Yep, it’s syrup, so sugar is the main event, but at least these are natural sugars from fruit and added sugar!
- Fat: Less than half a gram! Zero saturated, zero trans fat. See? Much better than some highly processed toppings!
- Carbohydrates: Roughly 46 grams.
- Protein and Fiber: Tiny amounts, but hey, you get that 1 gram of fiber from the blueberries!
- Cholesterol and Sodium: Essentially zero across the board.
Knowing that every bit of flavor comes from simple things like water, fruit, and sugar makes me enjoy that drizzle just that much more. It’s proof that enjoying something sweet can still feel honest and real!
Share Your Homemade Breakfast Syrups Creation
Now that you have whipped up a batch of beautiful, thick Homemade Blueberry Syrup, the fun isn’t supposed to stop here! I seriously want to know how it turned out for you. Did you go for the smooth strained version, or did you leave those lovely little bits of blueberry intact?
Please, if you loved this blueberry syrup recipe as much as I do, do me a favor and jump down to the comments section and leave a rating! Even a quick note is so helpful because it tells me that my favorite ways of cooking—like simplifying fruit syrups—are working for you too.
If you snapped a picture of your pancakes or waffles absolutely drowning in this glorious topping, please share it on social media! Tag me! I live for seeing your creations made using my homemade breakfast syrups tips. It genuinely makes my day to see my recipes come to life in your kitchen.
And hey, if you discovered a new trick—maybe using orange zest instead of lemon, or perhaps you tried freezing it and thawing it successfully—share that brilliance with the community! We’re all learning together here.
If you ever have questions about storage, substitutions, or just want to chat about breakfast in general, don’t hesitate to reach out through the contact page! I can’t wait to hear what you think of this simple, yet spectacular, fresh topping!
PrintThick & Easy Homemade Blueberry Syrup
Make a simple, thick blueberry syrup at home using fresh or frozen berries. This recipe requires minimal ingredients and is perfect for pancakes or waffles.
- Prep Time: 5 min
- Cook Time: 20 min
- Total Time: 25 min
- Yield: About 1.5 cups
- Category: Breakfast
- Method: Stovetop Simmering
- Cuisine: American
- Diet: Vegetarian
Ingredients
- 2 cups fresh or frozen blueberries
- 1 cup water
- 3/4 cup granulated sugar (adjust to taste)
- 1 teaspoon vanilla extract (optional)
Instructions
- Combine the blueberries, water, and sugar in a medium saucepan.
- Place the saucepan over medium heat. Stir the mixture occasionally until the sugar dissolves and the mixture begins to simmer.
- Once simmering, reduce the heat to low and let it cook for 15 to 20 minutes. Stir occasionally. The berries will break down, and the liquid will reduce and thicken slightly.
- If you prefer a smoother syrup, carefully mash the berries against the side of the pot with a spoon as they cook. For a very smooth syrup, strain the mixture through a fine-mesh sieve after cooking, pressing down on the solids to extract all liquid. Discard the solids.
- Remove the syrup from the heat. Stir in the vanilla extract, if using.
- Allow the syrup to cool completely. It will thicken significantly as it cools.
- Pour the cooled syrup into an airtight container for storage.
Notes
- For a tangier flavor, add 1 teaspoon of fresh lemon juice with the vanilla extract.
- If you want a very thick syrup, mix 1 teaspoon of cornstarch with 1 tablespoon of cold water in a small bowl. Stir this slurry into the simmering syrup during the last 5 minutes of cooking until it reaches your desired thickness.
- You can substitute honey or maple syrup for the granulated sugar, but you may need to adjust the liquid amount slightly.
- This syrup is excellent drizzled over yogurt, ice cream, or used as a base for cocktails.
Nutrition
- Serving Size: 1/4 cup
- Calories: 180
- Sugar: 40
- Sodium: 1
- Fat: 0.5
- Saturated Fat: 0
- Unsaturated Fat: 0
- Trans Fat: 0
- Carbohydrates: 46
- Fiber: 1
- Protein: 0.5
- Cholesterol: 0