

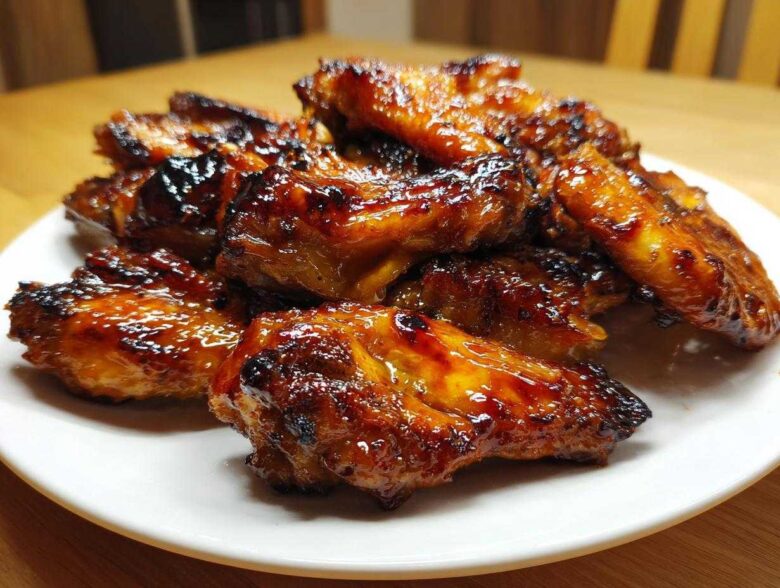
Oh my gosh, are you craving that unbelievable glaze? You know the one—the sauce that drips down your chin, the one that’s perfectly sweet, savory, and garlicky? For years, I thought the only way to get truly sticky chicken wings was to deep fry them, let them cool, and then toss them in sauce. Disaster! All that oil just isn’t worth the cleanup, especially on a Tuesday night.
But I cracked the code, I really did. I spent what felt like a month perfecting the process for the ultimate Honey Garlic Chicken Wings Sticky Oven Baked experience. We’re talking oven-baked wings that manage to get crispy edges *before* getting slathered in that thick, gorgeous glaze. Forget messy frying; this method gives you all the flavor and the stickiness without turning your kitchen into a grease trap. Trust me, once you nail this three-stage baking technique, you’ll never go back. I’m so excited to show you how easy it is to make what I honestly think might be the best honey garlic wings you’ve ever made at home.
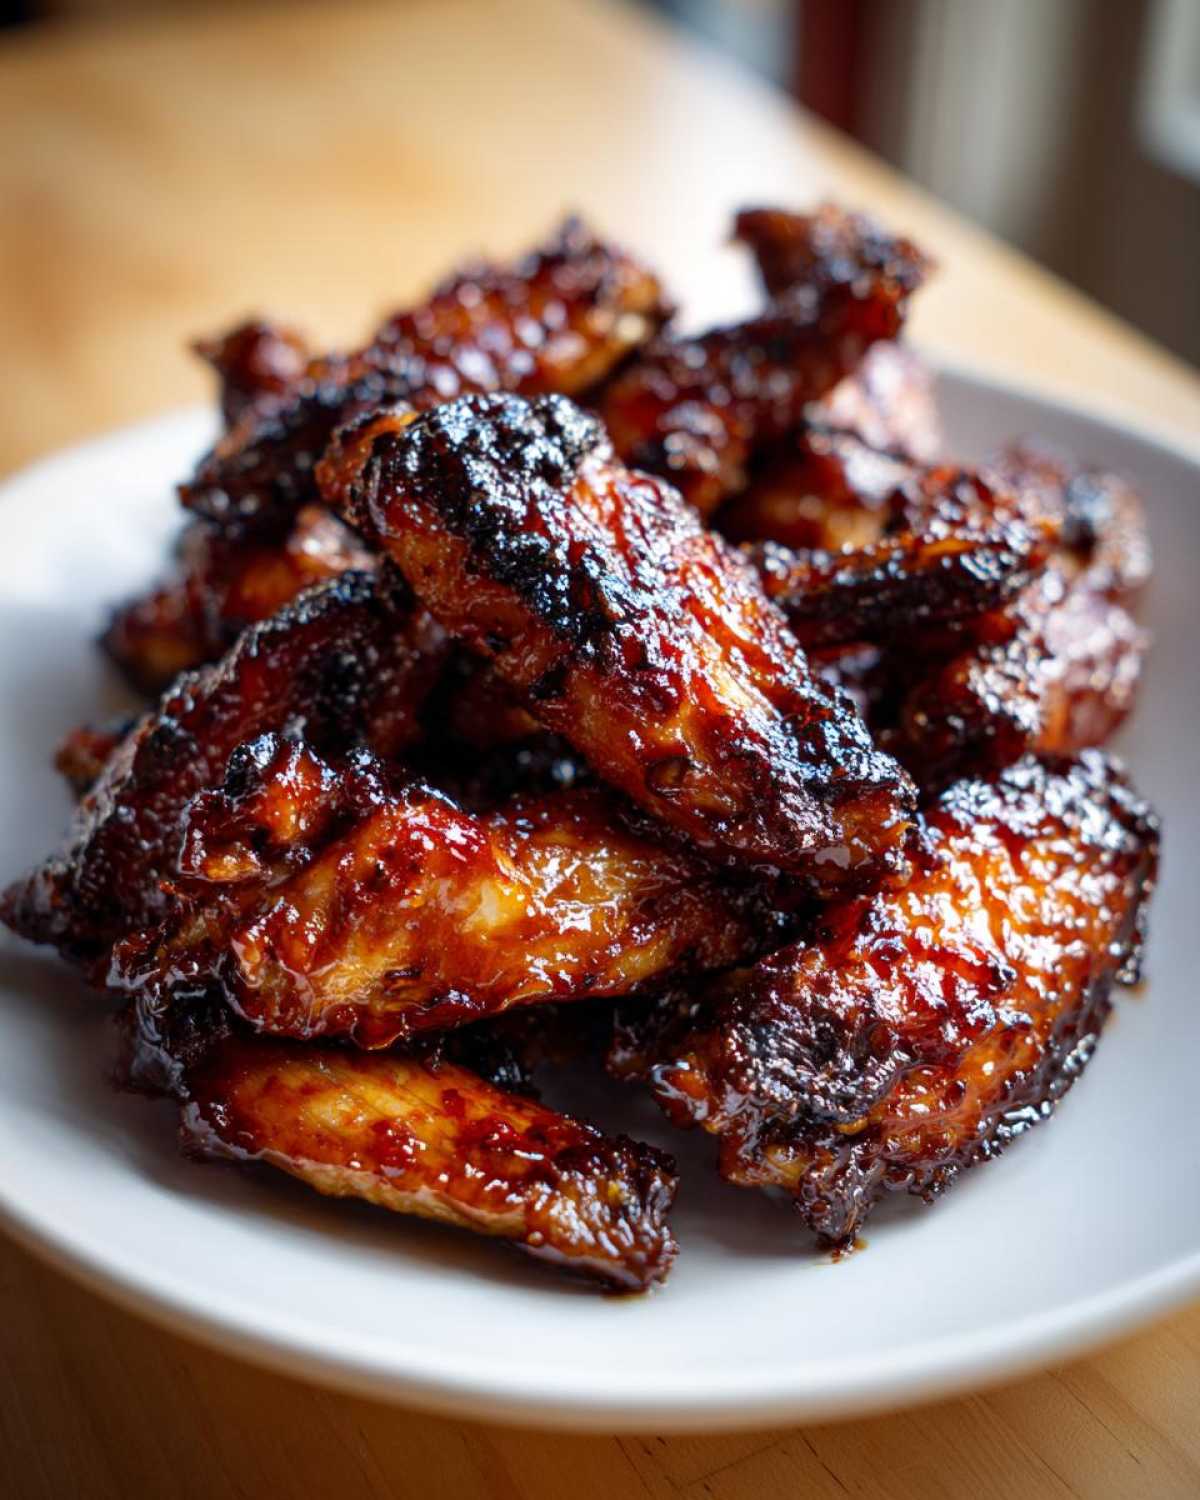
Why This Honey Garlic Chicken Wings Sticky Oven Baked Recipe Works
So, what’s the magic here? It’s all about setting up the perfect environment for flavor fusion without the fuss of deep frying. I was determined to create seriously good Oven Baked Wings No Fry. It felt impossible at first, but layering the cooking process makes all the difference.
Here’s why this method beats everything else, in my book:
- The baking powder! It’s the secret weapon for texture. It helps wick away moisture so those skin bits get delightfully crisp even before the sauce goes on.
- The glaze is added in stages. We bake the wings naked first, add half the sauce, bake again, and then add the rest. This builds layers of yummy caramelized stickiness instead of just simmering under sauce.
- Cleanup is a breeze! Foil on the pan means virtually no scrubbing required afterward. Yes, please!
- It hits that perfect sweet-and-savory balance that my whole family devours as a main dish or an appetizer.
Essential Ingredients for Honey Garlic Chicken Wings Sticky Oven Baked
Okay, gathering your gear is crucial for success here. We want maximum flavor payoff for minimal effort, right? Since we are making Glazed Chicken Wings Recipe that are baked, every ingredient pulls double duty. We’ve split things into two piles: what touches the wings initially, and what makes that incredible, thick sauce.
For the wings themselves, keep it simple:
- 2 lbs chicken wings, separated into flats and drumettes (Make sure you get both pieces—mix them up for texture!)
- 1 teaspoon salt
- 1/2 teaspoon black pepper
- 1/2 teaspoon baking powder (Seriously, don’t skip this! It’s key to being a Crispy Oven Wings Recipe champion.)
Now for the sauce that turns these into the Best Honey Garlic Wings:
- 1/2 cup honey (The real stuff, please! Don’t grab the fake honey syrup; it won’t glaze right.)
- 1/4 cup soy sauce
- 4 cloves garlic, minced (I use a microplane because fresh garlic flavor is non-negotiable here.)
- 2 tablespoons apple cider vinegar
- 1 tablespoon cornstarch
- 2 tablespoons water (For making that necessary slurry!)
Ingredient Notes and Substitutions
A couple of quick notes so you don’t panic if your pantry looks a little different than mine. If you’re out of apple cider vinegar—which gives a nice gentle tang to cut through the sweetness—you can swap it out for rice vinegar. They play nicely together!
Also, about the cornstarch: that little bit of cornstarch is what takes us from thin, watery honey sauce to that thick, Sticky Sauce Chicken Wings coating we are aiming for. If you accidentally use a touch more, don’t worry; it’ll just make the glaze even thicker later on. Just remember, we need to whisk it with cold water *before* it hits the hot pan!
Step-by-Step Instructions for Honey Garlic Chicken Wings Sticky Oven Baked
This is where the magic happens, truly! Getting that perfect Glazed Chicken Wings Recipe texture isn’t hard, but it requires organization. We’re going to use the oven at 400°F (200°C), and you absolutely must use a wire rack set on a foil-lined baking sheet. Trust me, the air circulation underneath is what gives you that crispy foundation we need before we start glazing.
Preparing the Wings for Maximum Crispiness
First things first: dry those wings! Grab a roll of paper towels and pat every single piece until it feels almost chalky to the touch. Water is the enemy of crispiness. Once they’re dry, toss them gently in a bowl with the salt, pepper, and that glorious baking powder.
Spread them out on that wire rack—single layer only, nobody wants soggy wings piled up! Pop them into the center of the oven and let them roast hard for 25 minutes. This initial blast is crucial for rendering the fat and setting up the skin for later!
Creating the Thick Garlic Honey Glaze Wings Sauce
While the wings are starting their journey, let’s make the sauce. Get your honey, soy sauce, that minced garlic, and apple cider vinegar into a little saucepan. Bring that mixture up to a gentle simmer over medium heat. You want it hot, but not boiling violently.
Now, here’s the secret to the sticky factor: the slurry! Whisk your cornstarch and water together in a tiny separate bowl until it’s completely smooth, like watery milk. Slowly drizzle that slurry into your simmering sauce while whisking constantly. Whisk for about a minute, and you’ll watch it transform from liquid gold to thick, beautiful glaze right before your eyes. Pull it off the heat immediately so it doesn’t seize up!
Once the wings have their initial 25 minutes, pull them out. Brush half that sauce all over them, get them back in for 15 minutes. Then, pull them out *again*, brush the rest of the sauce on, and give them a final 5 to 10 minutes to caramelize. Watch carefully at this stage—that honey loves to burn if you walk away!
You can find more details on baking chicken wings to perfection if you want to geek out on temperature control, but following these steps guarantees perfection!
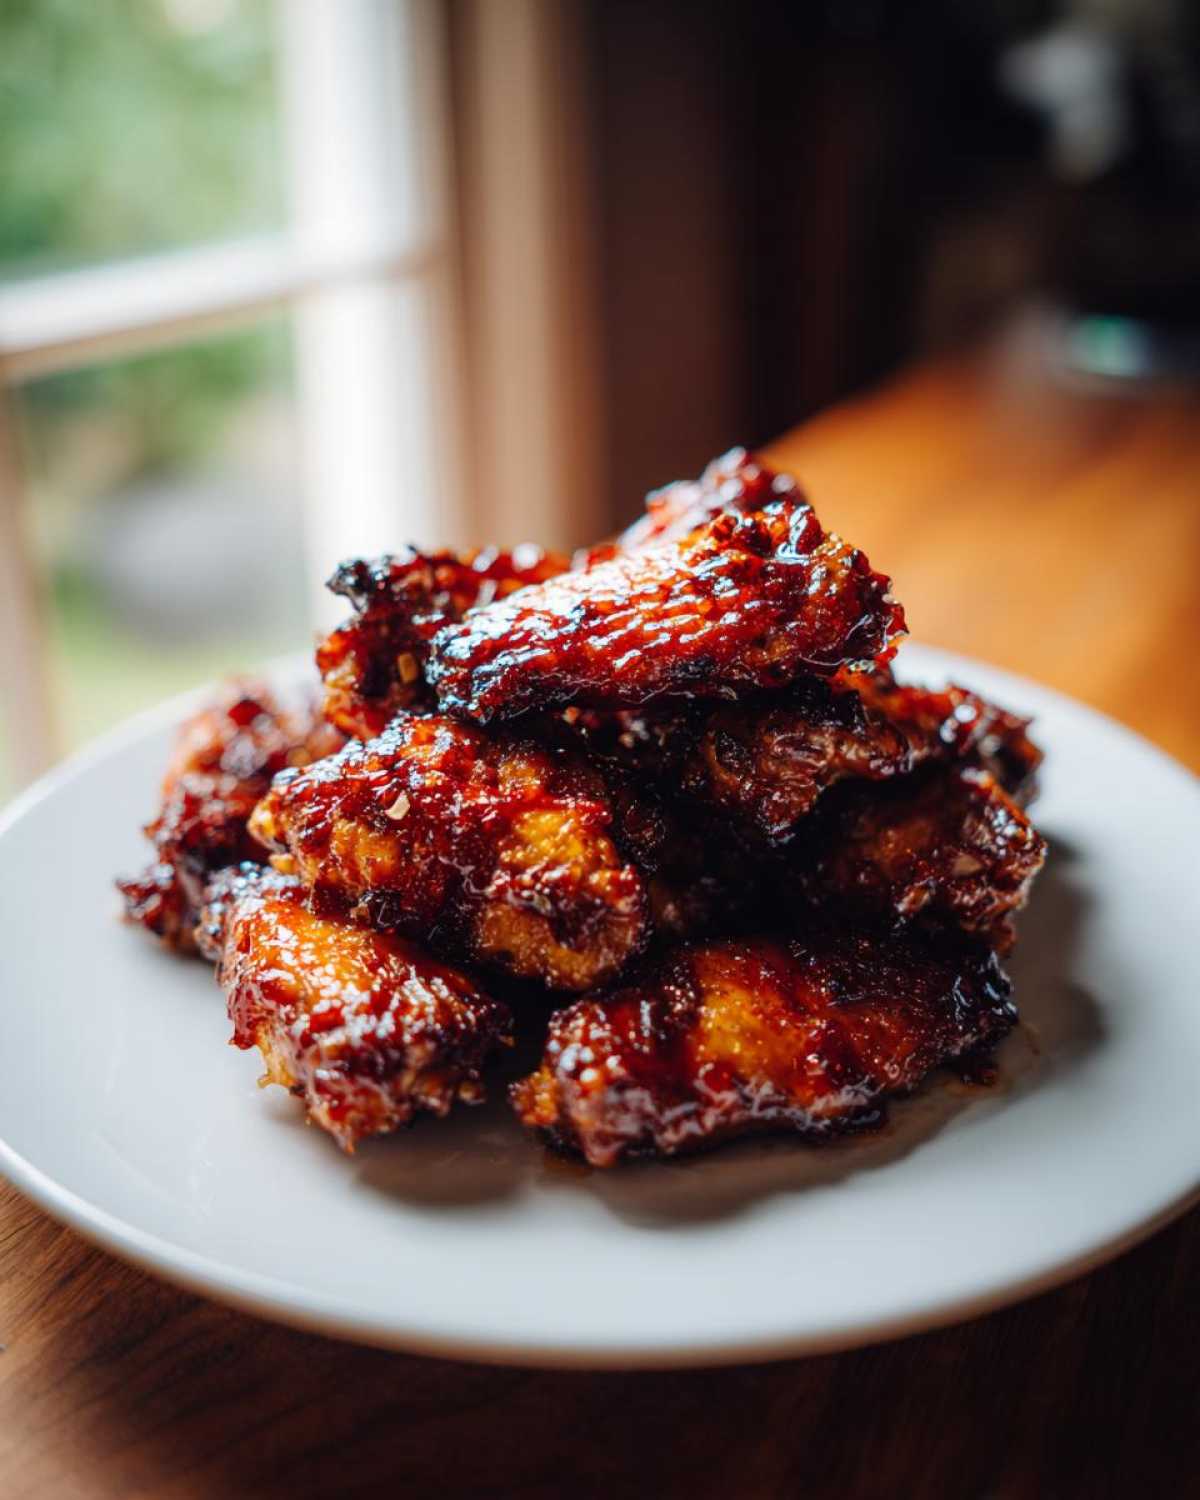
Expert Tips for Baking Chicken Wings to Perfection
Look, following the recipe gets you 90% of the way there, but that last 10%—the part where you get that perfect, non-burnt, utterly delicious tacky coating—that’s where experience comes in. I’ve burned more batches than I care to admit while chasing the perfect sticky texture, so let me save you the trouble. These tips are how I guarantee I walk away with the Best Honey Garlic Wings every single time.
Temperature management during the glazing phase is everything. That honey sugar is going to brown fast once it’s exposed to direct heat again. Rule number one: If your oven runs hot, drop the temperature down to 375°F (190°C) for that final 10-minute bask after the last layer of sauce goes on. You still want caramelization, but you don’t want charcoal!
Also, don’t rush the initial dry out. I used to think a quick pat-down with a paper towel was enough, but nope. Take the time to really air-dry the wings before seasoning—I sometimes leave them uncovered on the baking sheet in the fridge for about 30 minutes if I have time. That helps them crisp up beautifully under the baking powder.
When you apply the glaze in stages, make sure you’re brushing evenly. If you get a giant puddle of sauce on one side of a wing, guess what? That side burns first. We want a thin, even coating applied both times for that beautiful layered stickiness. And if you’re hosting a big party and are making a giant batch of these, consider using two racks in your oven, but swap the racks halfway through to ensure even cooking between the top and bottom layers. It’s a little extra work, but it guarantees a perfect result for your crowd!
If you’re looking for more show-stopping appetizer ideas that also impress a crowd, you should check out my recipe for honey sriracha meatballs—they use a similar layering glaze technique!
Serving Suggestions for Honey Garlic Chicken Wings Sticky Oven Baked
Even though these wings are totally addictive enough to stand alone as the star of the show—especially when you’re looking for a reliable Appetizer Chicken Wings Idea—they really sing when paired with the right sides. That fantastic sweet-and-savory profile demands something cool, crunchy, or a little tangy to balance it out. You do not want to mess with that perfect sticky coating by dunking it in heavy dips!
When I make these for a crowd, I always present them alongside something that really cleanses the palate after the glaze bomb. Think crisp vegetables or something cool and creamy. My absolute favorite side dish pairing? A super simple crunchy slaw!
Here are a few quick pairing ideas that just work:
- Cool Cucumber Salad: Toss sliced cucumbers with a tiny bit of rice vinegar and sesame oil. It’s refreshing and bright!
- Steamed Green Beans with Toasted Sesame: Easy to make while the wings finish baking, these add a nice green crunch.
- Creamy Rice or Orzo: If you’re serving these as a Weeknight Chicken Wings Dinner, a basic side of coconut rice or plain orzo really soaks up any extra drips beautifully.
- Simple Roasted Broccoli: A little olive oil, salt, and a blast of heat in the oven alongside the wings yields tender-crisp broccoli that matches up great with the honey garlic flavor.
If you are throwing a serious game-day spread and need another snack that can withstand a crowd, you’ve absolutely got to check out my recipe for loaded sheet pan nachos. Nachos and sticky wings are just destined to be best friends!
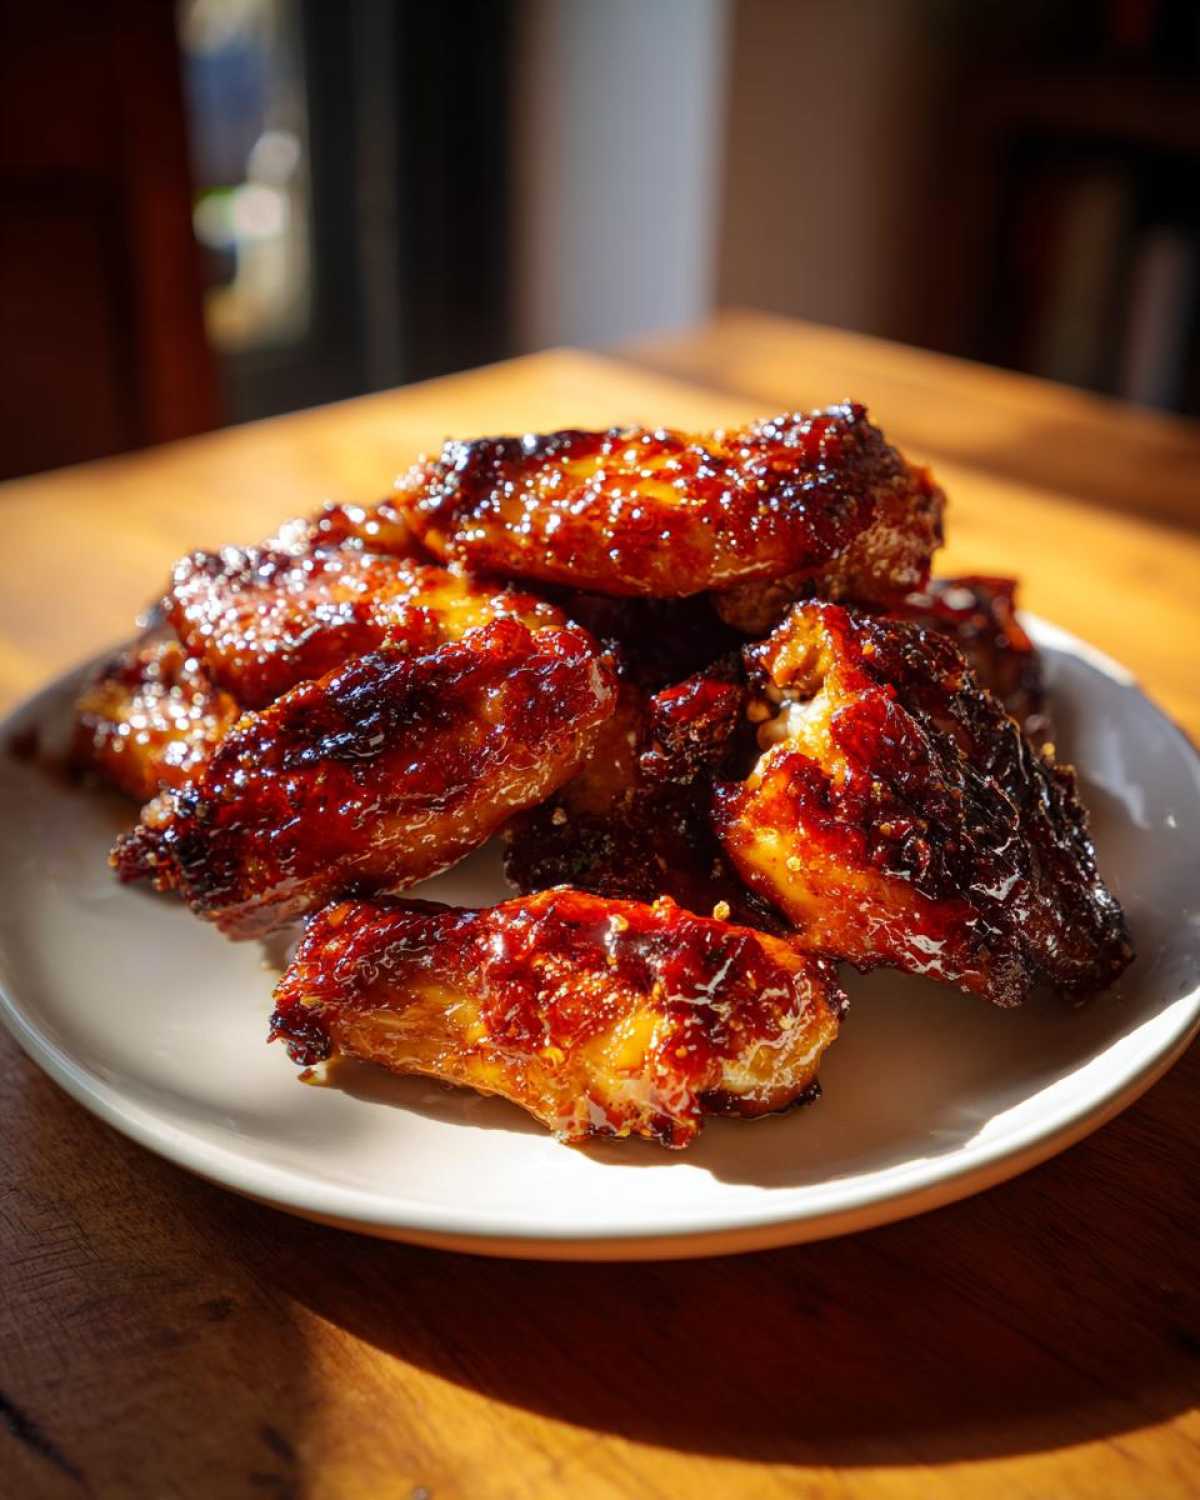
Storage and Reheating Instructions for Sticky Sauce Chicken Wings
Listen, I hope there are no leftovers because these wings disappear fast! But life happens, and sometimes you end up with a few incredible, saucy morsels the next day. I’ve tested the storage process thoroughly so you don’t have to guess.
The absolute best way to store any leftovers of your Sticky Sauce Chicken Wings is to put them in an airtight container and tuck them into the fridge. They will happily hang out in there for about three to four days. Now, a heads-up: because of that delicious honey glaze, they won’t be crispy when you pull them out the next day. That glaze absorbs moisture overnight, turning wonderfully soft and savory, but definitely losing that initial crunch.
The microwave is your enemy here. Microwaving them turns the skin totally soft and rubbery, and nobody wants that, even if they are flavored with that amazing Homemade Honey Garlic Sauce.
So, how do we bring them back to life? We need the oven or an air fryer!
If you’re using your conventional oven to reheat, spread the wings out in a single layer on that trusty wire rack set over a foil-lined baking sheet (we love that setup for a reason!). Pop them into an oven set to about 375°F (190°C). Let them bake for about 8 to 10 minutes. This brief blast of heat wakes up the fats, melts that sauce back out again, and gives the skin a chance to firm up and get deliciously tacky once more. It won’t be *quite* like fresh-from-the-oven, but it gets you like 95% of the way there!
If you happen to have an air fryer—and frankly, I recommend using it for reheating these if you have one—it’s even faster! Toss them in at 350°F (175°C) for just 5 or 6 minutes. The circulating heat dries out the exterior perfectly while warming the sticky center. That’s the trick for making them taste almost new again!
Frequently Asked Questions About Honey Garlic Chicken Wings
I get so many questions about these wings because everyone wants that perfect chewiness and glaze factor! I figure if you have a question, someone else definitely does too. I tried to cover the most common stumbling blocks below, including how to stop them from getting soggy when you’re pulling together the ultimate Party Wing Recipes Oven spread!
Can I make the Honey Garlic Chicken Wings Sticky Oven Baked ahead of time?
That’s a great question if you’re prepping for a big game day or party! Yes, you absolutely can do parts of this ahead of time, but timing the sauce is critical to nailing the sticky texture. If you bake the wings completely (Steps 1 through 3 in the instructions) one afternoon, store them in the fridge, and then wait until 30 minutes before guests arrive to toss them with the sauce and bake them twice more, that works beautifully! You get the benefit of making the wings ahead, and then you finish them off right before serving so that glaze hits that perfect caramelized point. Never sauce them fully until near serving time, otherwise, they just steam!
How do I ensure my oven wings stay crispy?
Crispiness is the hill I will die on with baked wings! We talked about the baking powder trick, but the real heavy lifters here are the setup and the technique. You MUST use a wire rack elevated over your baking sheet. This allows air to circulate 360 degrees around the wing. If you bake them directly on foil, the bottom steams itself soft. Also, remember Step 2: Pat those wings bone dry. Seriously, use half a roll of paper towels if you have to. Dry skin equals crispy wings, plain and simple!
If you’re looking for another great easy recipe that relies on a dry base, you know I love sharing my simple tips!
Estimated Nutritional Profile for This Recipe
Okay, real talk time. Because we are slathering these beauties in honey and using soy sauce (hello, sodium!), these aren’t exactly ‘diet food.’ But hey, they are baked, not fried, so we’re already winning major points! I always feel way better serving these than if I were busting out the deep fryer.
These numbers are estimates based on serving four people four wings each, as listed in the recipe, so they are just a guideline. Please don’t weigh your leftovers and stress over the details—just enjoy them!
Here is the breakdown for what I call a responsible portion of these amazing Sweet and Savory Chicken Wings:
- Serving Size: 4 wings
- Calories: About 350
- Total Fat: 18g (It’s the butter/oil from the skin, mostly!)
- Protein: A solid 22g! Great for keeping you full.
- Carbohydrates: 25g (Thank the honey for that!)
- Sugar: Around 20g (Again, honey is running the show here.)
- Sodium: 650mg (Soy sauce alert! Try low-sodium soy if you’re sensitive here.)
Remember, since this recipe uses lean baking methods and cuts out all that heavy deep-fry oil, we’re saving ourselves lots of unnecessary saturated fat compared to classic bar wings. It’s a win-win when it comes to keeping things delicious while still aiming for healthier outcomes for your weeknight chicken wings dinner!
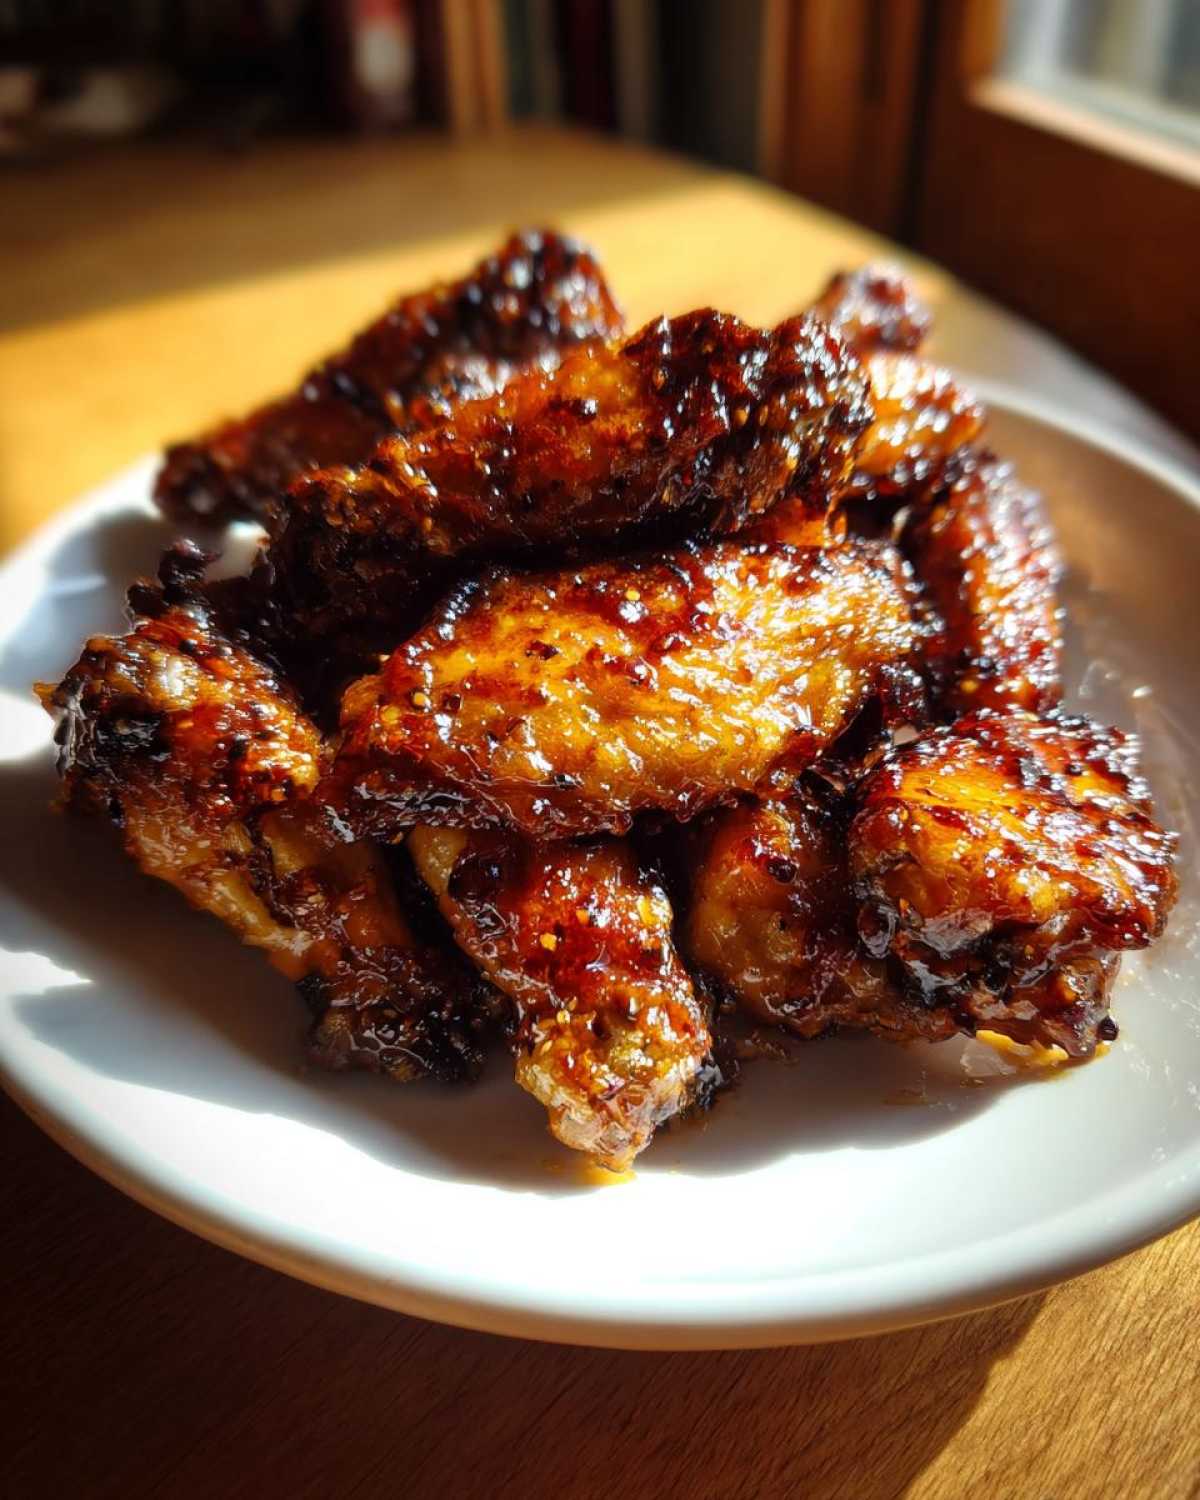
Share Your Sticky Chicken Wings Recipe Experience
Okay, you made them! You’ve got those beautiful, glistening, impossibly sticky Honey Garlic Chicken Wings Sticky Oven Baked cooling on the rack right now, and I swear I can smell them from here! I always get so excited when readers try my favorites, and this one is definitely a keeper.
Now, I need to know: Did your glaze turn out perfectly tacky? Did that baking powder trick deliver the crispiness you were hoping for? Don’t keep all that delicious victory to yourself!
Please, please drop a comment below! Tell me how they turned out, what you paired them with, or any little tweaks you made along the way—honestly, I love hearing about your kitchen adventures. Knowing that my favorite way to make party wing recipes oven favorites brought joy to your table makes all that recipe testing worth it.
If you snapped a picture of your masterpiece—and I hope you did, because these are gorgeous—tag me on social media! I live for seeing your incredible results and sharing them with the community. Happy munching, and thank you for cooking along with me!
PrintSticky Honey Garlic Chicken Wings Oven Baked
Follow this recipe to make sticky, flavorful honey garlic chicken wings baked in your oven without frying.
- Prep Time: 15 min
- Cook Time: 45 min
- Total Time: 60 min
- Yield: 4 servings
- Category: Appetizer
- Method: Baking
- Cuisine: American
- Diet: Low Fat
Ingredients
- 2 lbs chicken wings, separated into flats and drumettes
- 1 teaspoon salt
- 1/2 teaspoon black pepper
- 1/2 teaspoon baking powder
- 1/2 cup honey
- 1/4 cup soy sauce
- 4 cloves garlic, minced
- 2 tablespoons apple cider vinegar
- 1 tablespoon cornstarch
- 2 tablespoons water
Instructions
- Preheat your oven to 400°F (200°C). Line a baking sheet with foil and place a wire rack on top.
- Pat the chicken wings very dry with paper towels. In a bowl, toss the wings with salt, pepper, and baking powder. The baking powder helps them crisp.
- Arrange the wings in a single layer on the wire rack. Bake for 25 minutes.
- While the wings bake, prepare the sauce. In a small saucepan, combine honey, soy sauce, minced garlic, and apple cider vinegar. Bring the mixture to a simmer over medium heat.
- In a separate small bowl, whisk together the cornstarch and water to create a slurry. Pour the slurry into the simmering sauce, whisking constantly until the sauce thickens, about 1 minute. Remove from heat.
- After the initial 25 minutes of baking, remove the wings from the oven. Brush half of the honey garlic sauce evenly over all the wings.
- Return the wings to the oven and bake for another 15 minutes.
- Remove the wings again. Brush the remaining sauce over the wings. Return them to the oven for a final 5 to 10 minutes, watching closely to prevent burning, until the glaze is sticky and caramelized.
- Remove from the oven and let them rest for 5 minutes before serving.
Notes
- For extra crispiness, ensure your wings are completely dry before seasoning.
- You can substitute rice vinegar for apple cider vinegar in the sauce if needed.
- If you prefer a thinner glaze, use less cornstarch in the slurry.
Nutrition
- Serving Size: 4 wings
- Calories: 350
- Sugar: 20
- Sodium: 650
- Fat: 18
- Saturated Fat: 5
- Unsaturated Fat: 13
- Trans Fat: 0
- Carbohydrates: 25
- Fiber: 0
- Protein: 22
- Cholesterol: 80