

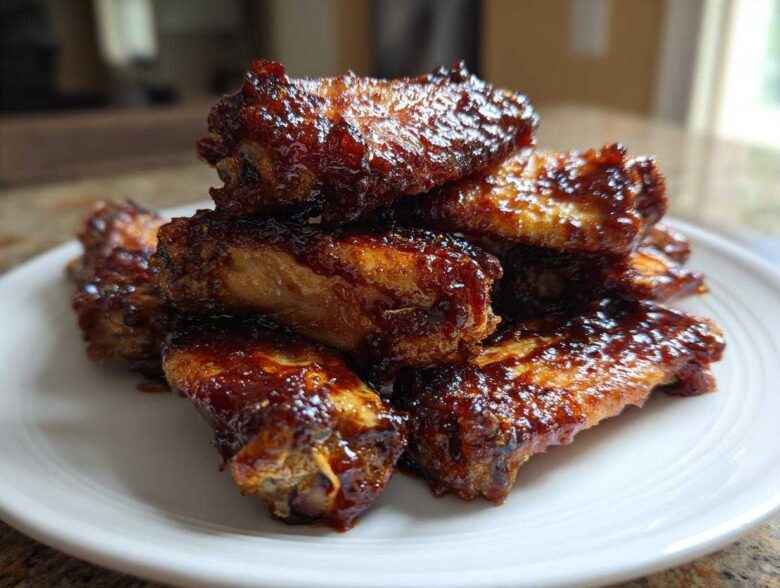
Oh, trust me on this one: if you think truly crispy chicken wings only happen in a deep fryer, you’ve been missing out! I used to swear by frying, too, but after one too many greasy cleanups and a burnt batch during a big game, I locked myself in the kitchen determined to conquer the oven method. Years of testing—and way too many burnt skin experiments—led me to the absolute magic formula. I’m talking about achieving that shatteringly crispy skin you crave, completely drenched in a thick, gooey coating. Say hello to my favorite way to make Sticky BBQ Chicken Wings Crispy Oven Style. It’s easier than you think, and the results are fantastic! For all my other kitchen adventures, you can always check out my main recipe collection when you’re done here.
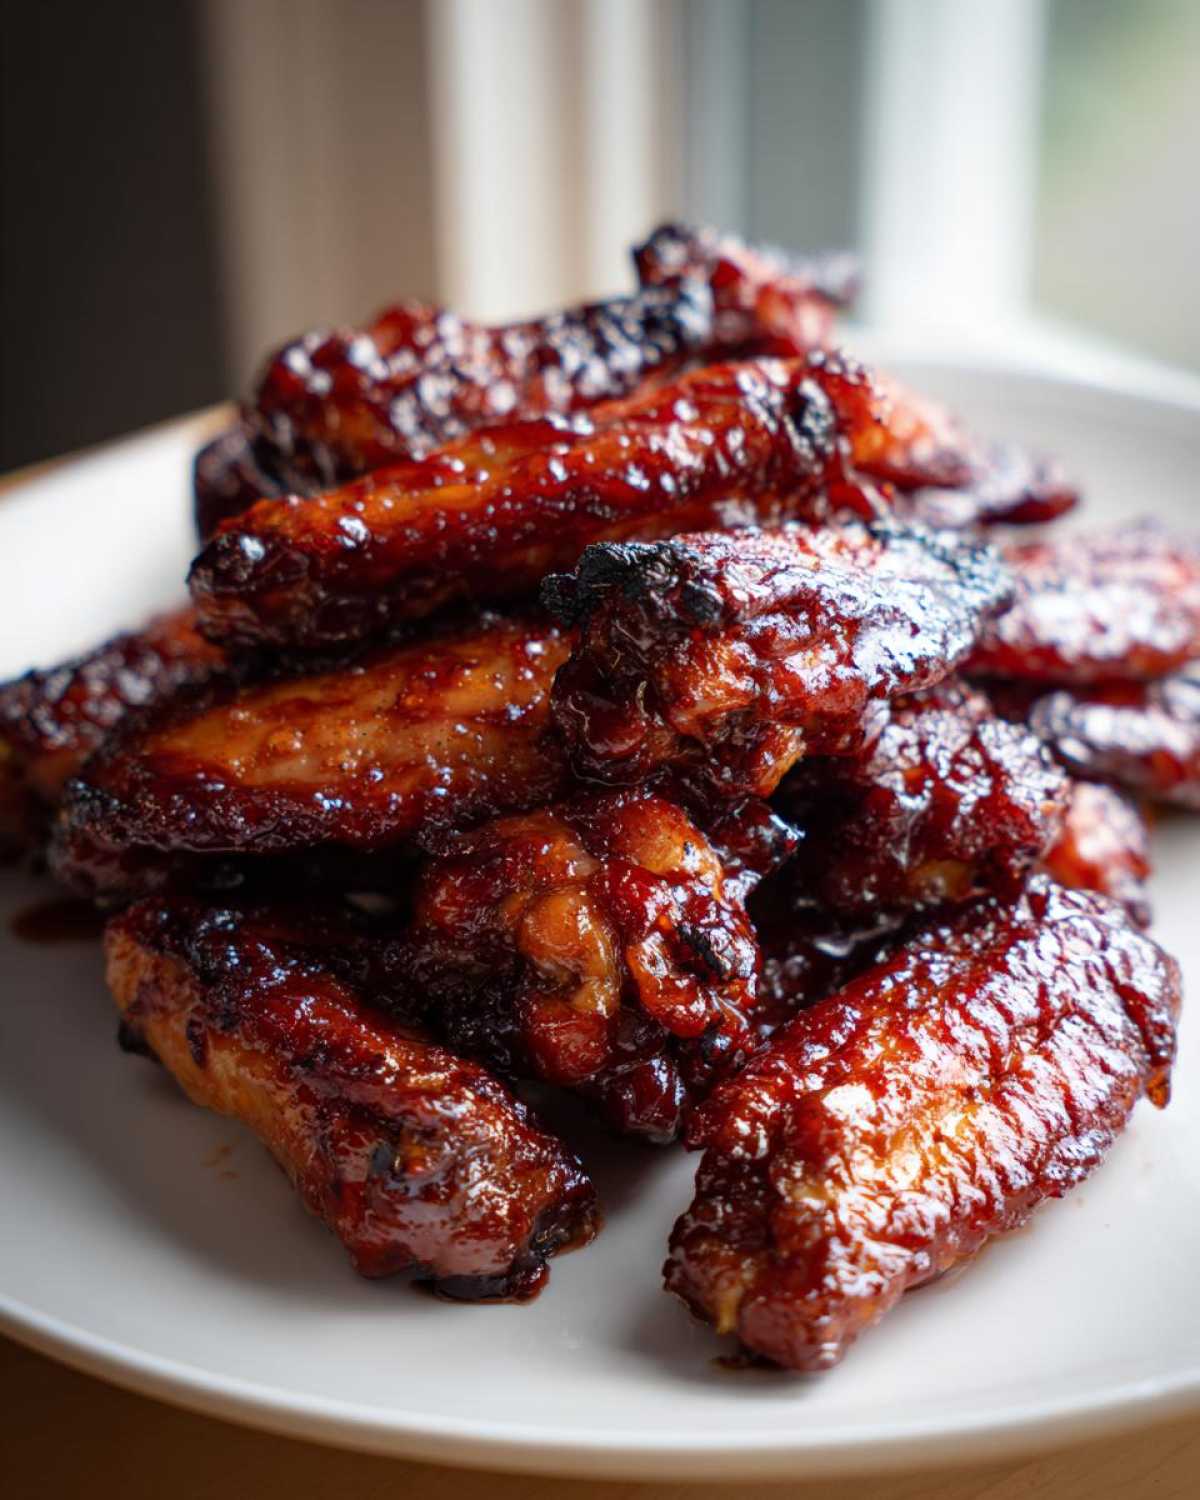
Why This Sticky BBQ Chicken Wings Crispy Oven Style Recipe Works
Honestly, the secret to loving Oven Baked Crispy Wings isn’t about the sauce; it’s about the skin texture! We are proving once and for all that you don’t need hot oil baths to get that perfect crunch. This simple approach is my go-to for everything from family dinners to big party spreads because it delivers intense flavor without all the fuss. If you’ve given up on chicken wings without frying before, give this one last chance—it’s a game-changer.
- We skip the messy cleanup of deep frying entirely, keeping things simple for a weeknight chicken wing dinner or a huge weekend crowd.
- The high oven temperature combined with proper air circulation dries the skin out aggressively before the sauce even comes near it.
- This method focuses on two critical elements: extreme drying power and timing the glaze application perfectly.
- It’s the absolute best path to creating that highly desired texture for the ultimate Party appetizer chicken wings! For another great non-fried option, check out my Garlic Parmesan Wings recipe—it uses the same base technique!
Achieving Maximum Crispiness with Baking Powder
Don’t skip the baking powder—it works magic! It raises the pH level of the chicken skin, which encourages faster drying and browning in the high heat. It basically dehydrates the surface layers so you get shatteringly crispiness instead of that frustrating gummy texture. Trust me, this is the key to crispy wings in the oven.
The Perfect Glaze Application Timing
If you mix that BBQ sauce in too early, you are just steaming your wings into sogginess instantly! We bake them until they are 100% done and crispy first. The sticky sauce goes on only in the very last minute, just long enough to adhere beautifully without steaming away all that hard-earned crunch. That’s what makes it a perfect sticky glazed wings recipe!
Essential Ingredients for Sticky BBQ Chicken Wings Crispy Oven Style
You don’t need a pantry full of specialty rubs and weird spices for this recipe to shine. The flavor really comes from keeping the ingredients straightforward and making sure we use the right helper ingredients to get that texture right. When I first tried this, I realized the secret wasn’t masking flavor, but enhancing the natural chicken crispiness first. We basically have two teams of ingredients here: the ones that make the skin perfect, and the ones that make that amazing glaze. For more quick flavor fixes, check out my Honey Garlic Chicken—it’s got a similar simple glaze flair!
Wing Preparation Ingredients
- 2 lbs chicken wings, separated into flats and drumettes (make sure you separate them, it helps them cook evenly!)
- 1 tablespoon baking powder (aluminum-free is definitely my preference here, just saying!)
- 1 teaspoon salt
- 1/2 teaspoon black pepper
Barbecue Glaze Components
Remember, for that sticky result, the BBQ sauce has to be thick, not watery. If yours is thin, just simmer it down a bit before you mix it with the enhancers below:
- 1 cup your favorite thick BBQ sauce
- 2 tablespoons honey or brown sugar (I usually go honey for extra shine)
- 1 tablespoon apple cider vinegar (This cuts through the sweetness perfectly!)
Step-by-Step Guide: How to Make Sticky BBQ Chicken Wings Crispy Oven Style
Alright, this is where the magic happens! Mastering the how to make crispy wings in the oven is all about organization and respecting the heat. We handle the drying and seasoning first, then we let the oven do the heavy lifting, and only at the very end do we introduce that sticky goodness. Don’t rush this timeline, or you’ll end up with sadness, not snacks. I always put on a podcast or blast some music when I hit this setup stage—it makes the process feel way less like cooking and way more like creating a masterpiece for your crispy wing vision!
Preheating and Setting Up for Perfectly Crispy Baked Wings
First things first: Crank that oven up! We are going for 425 degrees Fahrenheit (that’s 220 Celsius). Now, set up your pan. Line a standard baking sheet with foil—this saves your cleanup time, seriously. Then, you absolutely must put a wire rack on top of that foil. This rack elevates the wings so air can hit all sides, which is the expert secret for getting truly perfectly crispy baked wings. If the bottoms sit in their own grease, they steam, and we hate steamed wings!
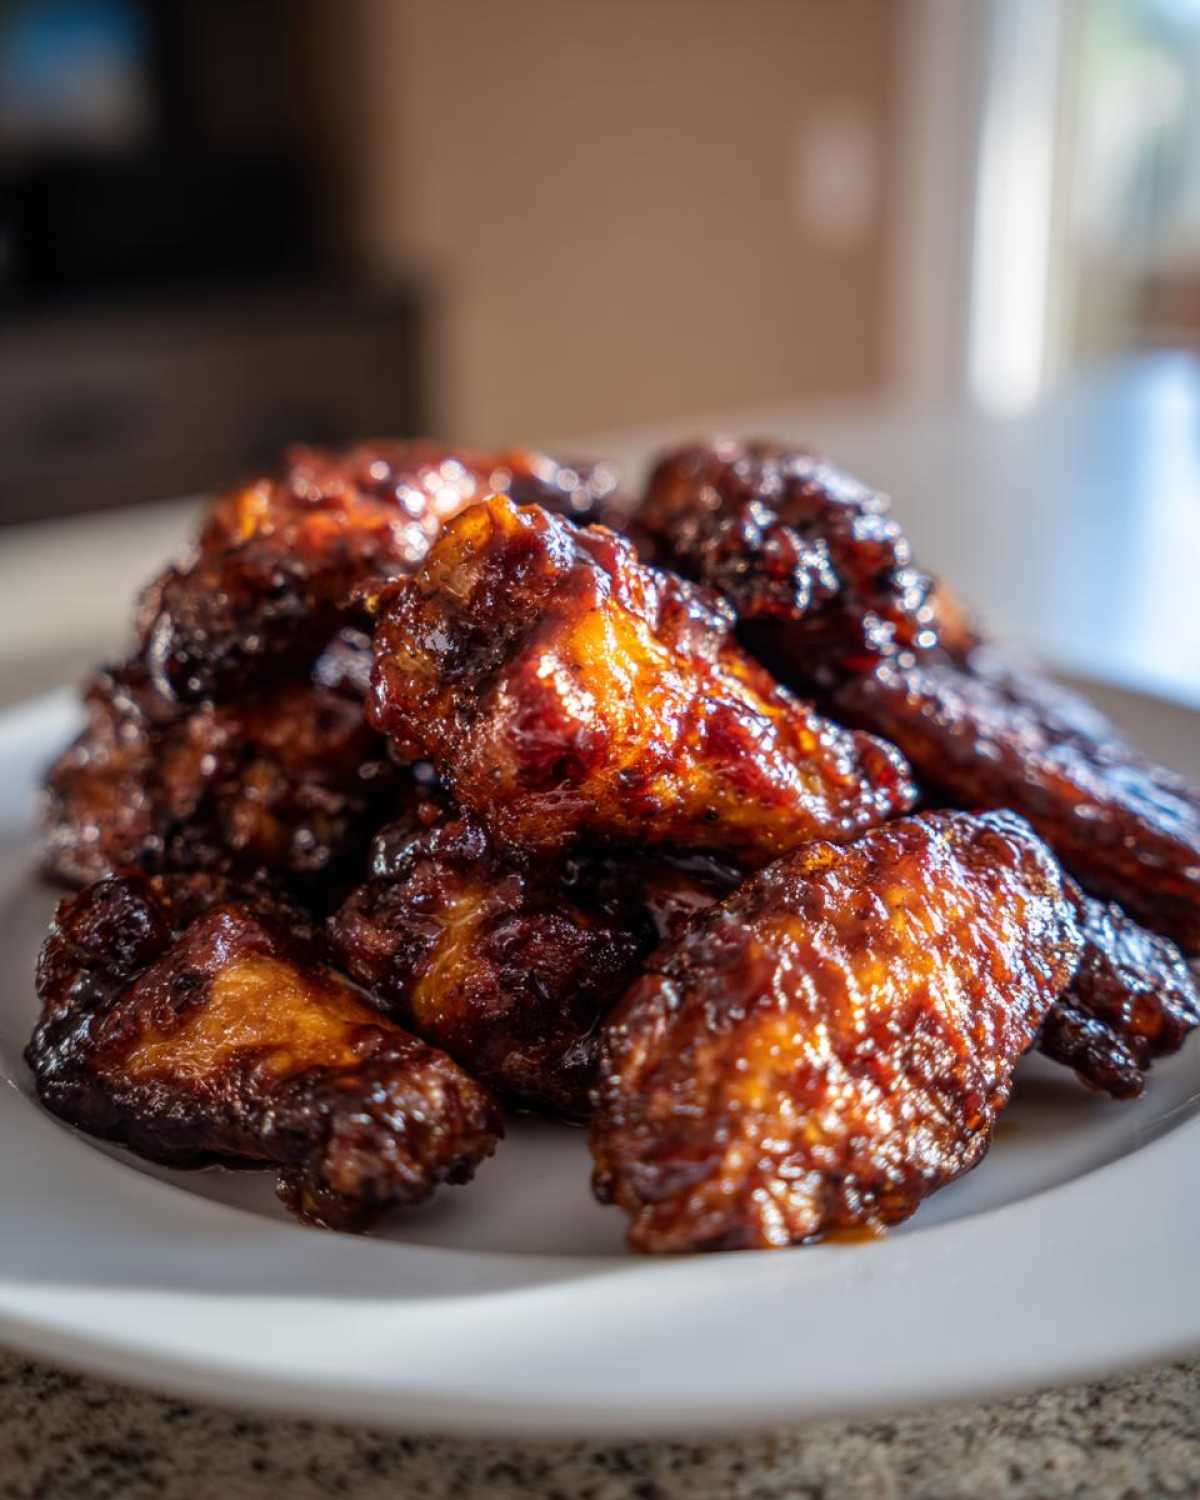
The Crucial Step: Drying and Seasoning the Wings
You have to pat the chicken wings completely dry, and I mean bone-dry. Grab a stack of paper towels and blot every single one of those flats and drumettes. Any moisture left on the skin means no crisp. Once dry, toss them in a bowl with the baking powder, salt, and pepper. Make sure that white powder evenly coats everything. That baking powder is your weapon against soggy skin, so toss until every piece looks pale and ready for action!
Baking Technique for Maximum Crunch
Lay those seasoned wings out on your prepared rack in a single layer—no overlapping! Bake them for 25 minutes. Set a timer! When that timer goes off, flip every single wing over. Pop them back in for another 20 to 25 minutes. You’re looking for gorgeous golden-brown color, and when you poke one, it should feel rock solid and incredibly crisp. They should look ready to chew through!
Preparing and Applying the Sticky Glaze
While they finish baking, quickly make your glaze. Mix the BBQ sauce, honey, and vinegar in a tiny saucepan. Heat it just until it simmers and thickens up slightly—maybe three minutes on medium-low. The second the wings come out of the oven looking perfectly dry and crispy, drop them immediately into a big clean bowl. Pour that warm, thick glaze over the top and toss quickly. You toss them after they come out of the heat so the sauce sticks but doesn’t burn or steam away all that beautiful crispiness we worked so hard for. Serve immediately!
Tips for Success with Your Sticky BBQ Chicken Wings Crispy Oven Style
Okay, you’ve got the heat and the powder—that’s half the battle won! But even with the best recipe, little things can go sideways, especially when you’re trying to get those Oven Baked Crispy Wings just right. I’ve learned a couple of tricks over the years that stop common problems before they start, so your Backyard BBQ chicken wings look and taste amazing every single time. You want guaranteed crunch, right? Here are my final notes!
Spacing Matters: Airflow for Oven Baked Crispy Wings
If you try to cram too many wings on that single rack, what happens? They steam! Think of it like seating arrangements at a crowded party—everyone needs their own space to breathe, and the heat needs to circulate. Always arrange them in a single layer, making sure there’s at least half an inch between each piece, flat or drumette. This ensures the hot air hits all the surface area, which is the real secret to achieving that intense crunch!
Troubleshooting Common Issues
Sometimes, based on your oven’s quirks, those wings look a little pale after the full 45 minutes of baking. Don’t panic and definitely don’t sauce them yet! If they are cooked through (firm when poked) but just not brown enough, switch your oven setting to ‘Broil’ for just 1 to 3 minutes. Watch them like a hawk, though! The edges can go from golden to blackened really fast under the broiler. This little burst of direct heat is for color and crunch only, and it’s my final move before I toss them in the amazing sauce from my best baked BBQ wings attempt.
Serving Suggestions for Your Backyard BBQ Chicken Wings
Now that you’ve mastered the Sticky BBQ Chicken Wings Crispy Oven Style, you need sides that can stand up to that bold, smoky flavor! These wings absolutely dominate as a main course or as the star of your spread. For a classic Backyard BBQ chicken wings vibe, you need something fresh to cut through that richness. I love serving these alongside my zesty Grilled Corn and Avocado Salad. If you’re serving them as part of a bigger feast, a hearty, creamy dish like my Roasted Garlic Mashed Potatoes makes them feel extra satisfying. Honestly, these make the party appetizer chicken wings everyone fights over!
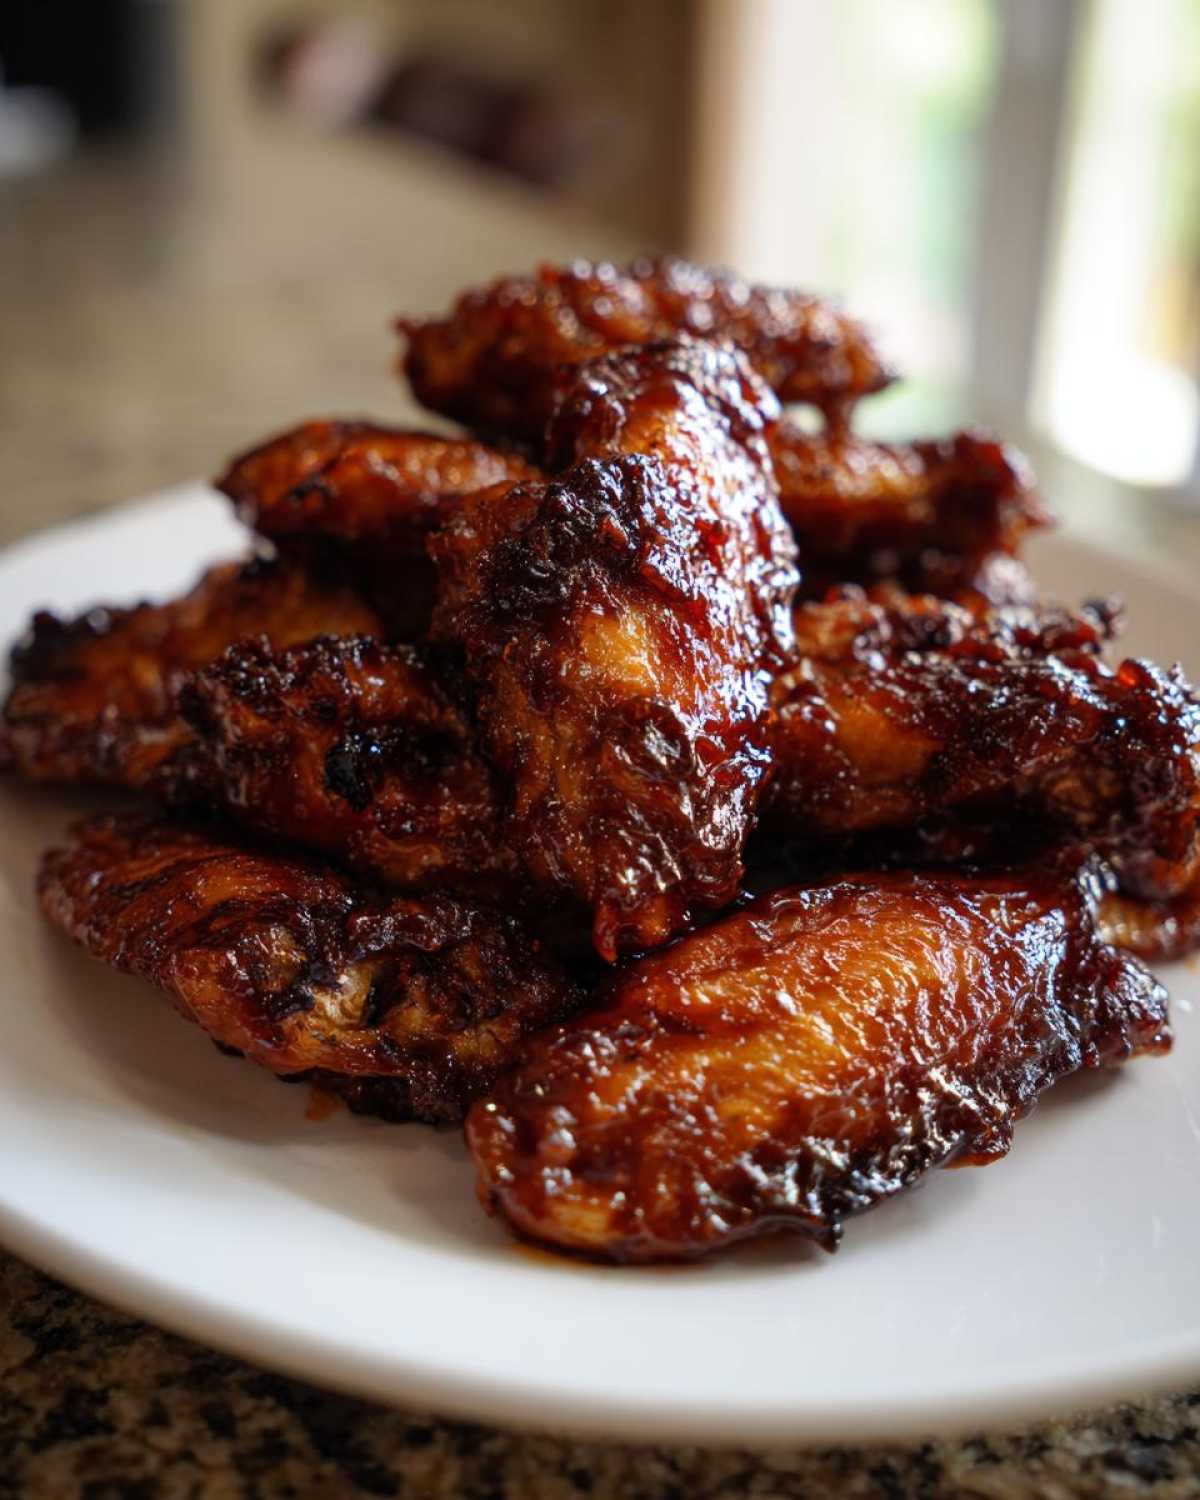
Storage and Reheating Instructions for Sticky Glazed Wings Recipe
Handling leftovers from a batch of Sticky BBQ Chicken Wings Crispy Oven Style can be tricky because the sauce loves to turn crispy skin into soft skin overnight. But don’t toss those extras! If you plan them right, you can absolutely get that crunch back. While this recipe isn’t designed for full make ahead sticky wings prep (you want that fresh-baked texture), storing them properly is key if you have any left over from your weeknight chicken wing dinner.
First, let any sauced wings cool completely on a rack—don’t cover a hot bowl of sauced wings, or you’ll trap steam instantly. Once cool, store them in an airtight container. They’ll be fine in the fridge for about three days, though I recommend eating them within two for the best result.
Now, the reheating! I forbid the microwave for these wings. The microwave is the enemy of crispiness! Instead, take them out for about 20 minutes to come a little closer to room temperature before reheating. Place them back on that trusty wire rack—yes, the same one you used for baking—over a foil-lined sheet. Pop them into a 375°F oven for about 8 to 10 minutes. This hot, dry heat melts the glaze slightly while completely re-crisping the skin underneath. It works miracles! If you want to prep the wings *before* saucing, you can store the plain baked wings and then warm them up before tossing them in the glaze, hitting that perfect sticky glazed wings recipe freshness.
For more helpful tips on preparing meals in advance, even though wings aren’t the best candidates, you can see how I handle dishes like my freezer-friendly burritos for future easy meals!
Frequently Asked Questions About Oven Chicken Wings
I get so many questions after folks try making Sticky BBQ Chicken Wings Crispy Oven Style for the first time! Everyone wants that perfect crunch, and sometimes the small details trip us up. Don’t worry about it! I’ve tried every variation under the sun, so let’s tackle the most common hiccups right here so you can nail these easy oven chicken wings every time.
Can I use frozen wings for this Sticky BBQ Chicken Wings Crispy Oven Style recipe?
Ooooh, that’s a hard pass, my friend. You absolutely cannot use wings straight from the freezer or even semi-frozen. If you try it, you’ll just end up steaming them in their own icy moisture, and you’ll never achieve those perfectly crispy baked wings we are aiming for. You have to make sure they are completely thawed out first. And then, you need to pat them down with paper towels until they feel dry to the touch. Seriously, dry as a bone going into the baking powder! That thaw and dry step is non-negotiable.
What if I don’t have a wire rack for my Oven Baked Crispy Wings?
The rack is my absolute favorite tool for getting those oven baked crispy wings elevated, but hey, sometimes we are improvising, right? If you don’t have one, you can make a quick substitute using heavy-duty aluminum foil. Just take a long strip of foil and gently crumple it lengthwise several times until you have tight, sturdy tubes about—oh, maybe half an inch thick. Lay those tubes on your foil-lined baking sheet and set your wings right on top of the foil tubes. It still gets them up off the direct metal, allowing air to circulate underneath, but I will tell you—the actual wire rack works much better for consistent results!
Can I make the Barbecue Wing Sauce Recipe ahead of time?
Yes, you definitely can make the Barbecue wing sauce recipe ahead of time! That’s a great way to prepare if you’re getting ready for a big gathering or just trying to make your game day chicken wings preparation faster. The glaze holds up really well in the fridge for up to a week in a sealed, airtight container. When you get ready to sauce those hot, crispy wings, just scoop the sauce into a small saucepan and warm it gently over low heat until it’s flowing nicely again. Don’t let it boil hard, just warm it through—it makes tossing easier and ensures the sauce melts beautifully onto the wings without cooling them down!
If you want some other fantastic things to pair with your wings, check out my slow-cooker recipe for Cranberry Meatballs—another great party favorite!
Nutritional Estimates for Sticky BBQ Chicken Wings
Look, if you’re making these gorgeous, crispy, sticky wings at home, you probably aren’t making them for a light salad, am I right? Part of knowing what you’re eating is having a rough idea of the macros, so I ran the numbers based on the standard ingredient amounts listed above. This breakdown is based on a serving size of about 4 wings, drenched in that amazing sauce. This gives you a good baseline for planning your backyard BBQ chicken wings spread!
Please know, this is just an estimate! The actual calories and sugar content can jump around hilariously depending on the brand of BBQ sauce you use—some sauces are way sweeter than others. Use this as a guide, not gospel, especially if you are tracking macros closely. Remember, we are aiming for flavor and that amazing crunch here!
- Serving Size: 4 wings (approx. 2 oz sauce per serving)
- Calories: 350
- Sugar: 22g
- Sodium: 550mg
- Total Fat: 18g
- Protein: 24g
- Carbohydrates: 25g
The fat content is mostly skin, and the protein is all that delicious chicken, of course! If you’re trying to keep the sugar down, try looking for a smoky BBQ sauce with less high-fructose corn syrup, or swap out some of the honey for a splash of apple cider vinegar during the sauce simmer. Enjoy these amazing easy oven chicken wings!
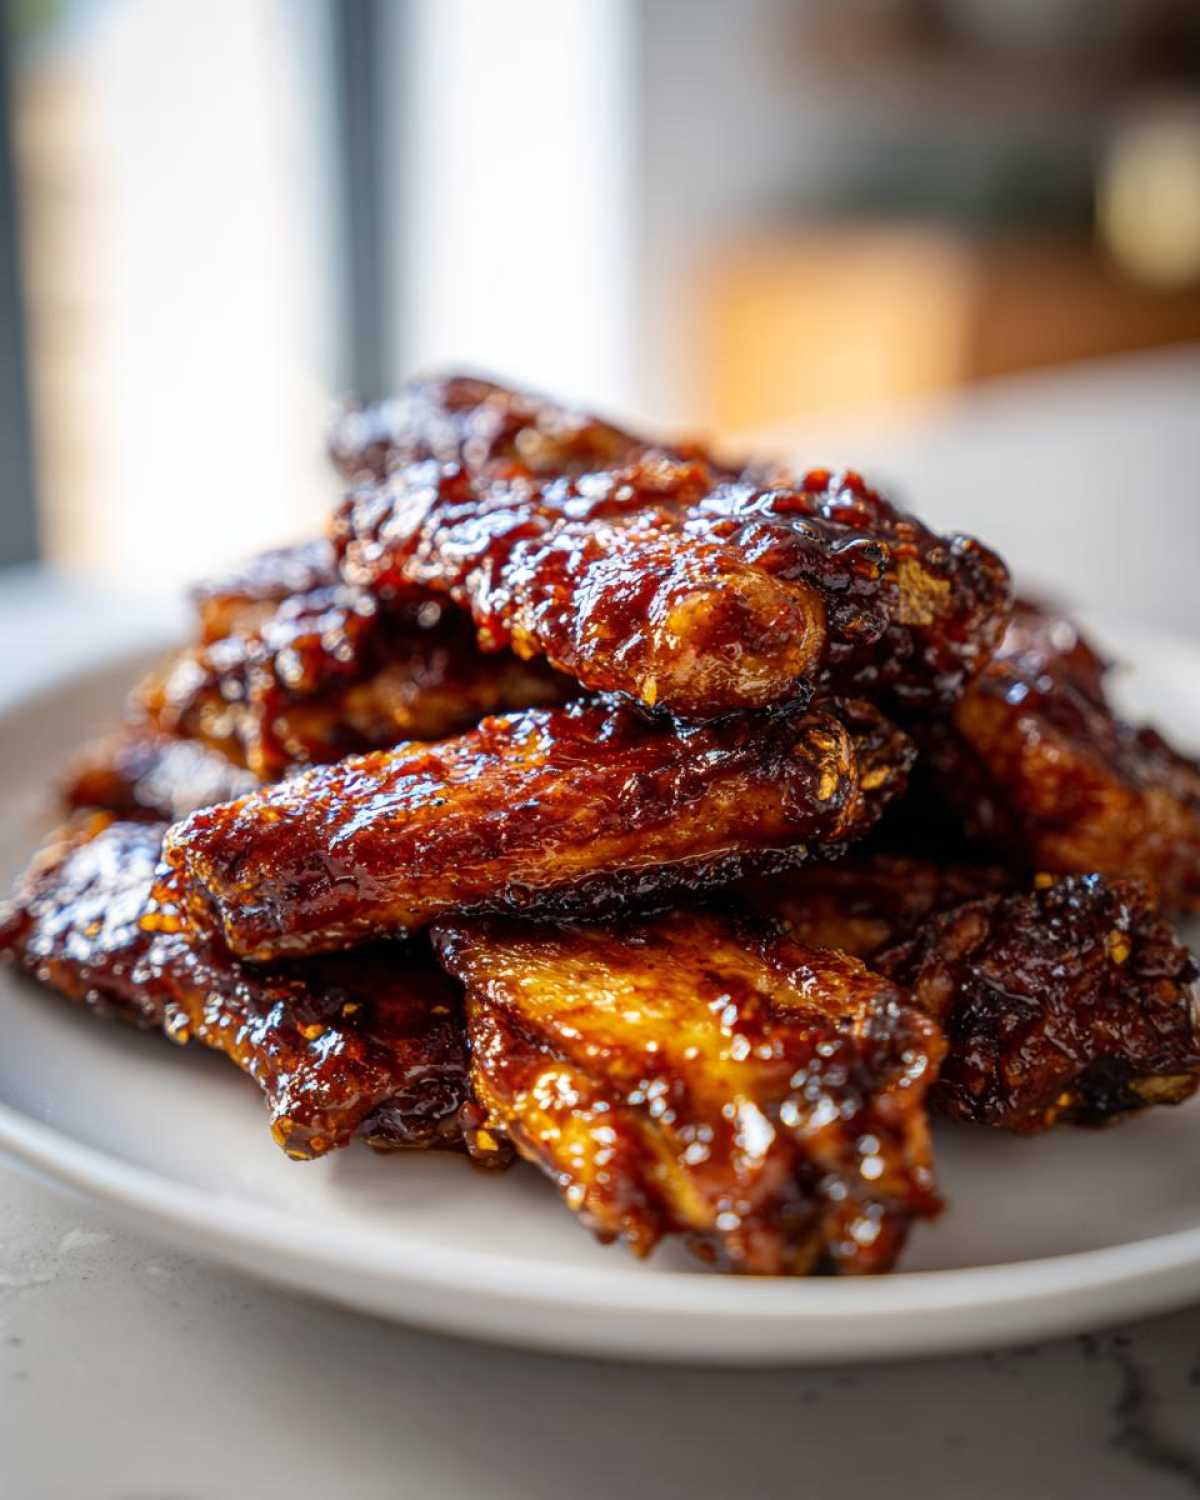
Share Your Perfect Perfectly Crispy Baked Wings Experience
Okay, now that you’ve got the secret to these Sticky BBQ Chicken Wings Crispy Oven Style locked down, I am dying to hear how they turned out for you! Seriously, baking wings to this level of crispiness with that sticky glaze is something worth bragging about, so don’t be shy!
Did they come out shatteringly crisp? Did the kids devour them before you got a single one? Let me know in the comments below! Your feedback helps other folks who might be nervous about trying chicken wings without frying for the first time. Every time someone leaves a star rating or a little note about their modifications, it helps the whole community get better at making the best baked BBQ wings!
And if you snapped a photo of your beautiful, glossy wings—maybe you set them up for a perfect Game day chicken wings platter—I would absolutely love to see it! You can tag me or share links when you reach out through the contact page. I can’t wait to see your success stories. Keep cooking great food, and happy wing eating!
PrintSticky BBQ Chicken Wings Crispy Oven Style
Follow this method to make perfectly crispy chicken wings in the oven, coated in a sweet and sticky barbecue sauce.
- Prep Time: 15 min
- Cook Time: 50 min
- Total Time: 65 min
- Yield: 4 servings
- Category: Appetizer
- Method: Baking
- Cuisine: American
- Diet: Low Fat
Ingredients
- 2 lbs chicken wings, separated into flats and drumettes
- 1 tablespoon baking powder (aluminum-free)
- 1 teaspoon salt
- 1/2 teaspoon black pepper
- 1 cup your favorite thick BBQ sauce
- 2 tablespoons honey or brown sugar
- 1 tablespoon apple cider vinegar
Instructions
- Preheat your oven to 425 degrees Fahrenheit (220 degrees Celsius). Line a baking sheet with foil and place a wire rack on top of the foil.
- Pat the chicken wings completely dry using paper towels. This step is crucial for crispiness.
- In a large bowl, toss the dry wings with baking powder, salt, and pepper until evenly coated.
- Arrange the wings in a single layer on the wire rack, ensuring there is space between each piece for air circulation.
- Bake for 25 minutes. Flip the wings over.
- Bake for another 20 to 25 minutes, or until the wings are golden brown and very crispy.
- While the wings finish baking, prepare the glaze: In a small saucepan, combine the BBQ sauce, honey (or brown sugar), and apple cider vinegar. Heat over medium-low heat until just simmering and slightly thickened, about 3 minutes.
- Remove the crispy wings from the oven. Place them in a large, clean bowl.
- Pour the warm BBQ glaze over the wings and toss gently until every wing is fully coated in the sticky sauce.
- Serve immediately.
Notes
- Using a wire rack allows air to circulate underneath the wings, which prevents the bottoms from becoming soggy.
- Do not skip the baking powder; it helps dry out the skin surface for maximum crispness.
- Apply the sauce only after the wings are fully cooked and crispy to maintain texture.
Nutrition
- Serving Size: 4 wings
- Calories: 350
- Sugar: 22
- Sodium: 550
- Fat: 18
- Saturated Fat: 5
- Unsaturated Fat: 13
- Trans Fat: 0
- Carbohydrates: 25
- Fiber: 1
- Protein: 24
- Cholesterol: 90