

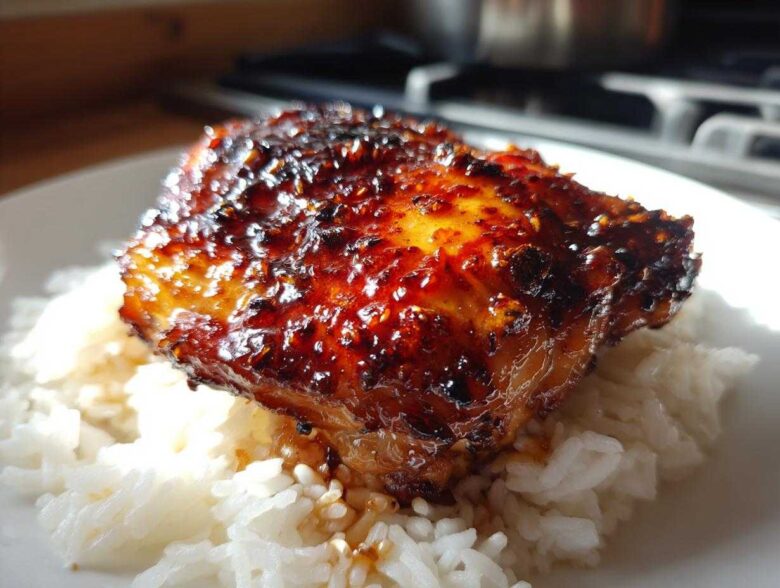
If you are tired of the same boring chicken breasts staring back at you on a Tuesday night, then oh boy, do I have the cure for your dinner fatigue! Honestly, getting a weeknight meal on the table that feels truly restaurant-worthy used to stress me out, but I’ve finally cracked the code on the most unbelievably juicy, flavor-packed dinner imaginable. We’re talking about my absolutely foolproof Sticky Sweet Chili Chicken Thighs with Rice. Yes, thighs—because they stay moist no matter what! Over the years, I’ve tweaked this recipe dozens of times just to get that glaze right; I wanted it thick, shiny, and absolutely clinging to every fold of the skin without ever burning, and trust me, I found the secret.
This isn’t just another sauce drizzled over meat; this glaze is built. It’s got that perfect balance between sweet heat and savory depth, with just enough ginger and garlic to make your kitchen smell incredible while it bakes. Seriously, the combination of searing the skin and then baking it with that first layer of glaze locks in all the juices, which is precisely why this recipe works so well. Forget takeout tonight; you need this easy, family-friendly dinner on your table. If you’ve ever struggled with thin, watery sauces, you’ll want to see how I handle the glaze thickening process! Speaking of other awesome glazed options, you might want to check out my favorite sticky honey garlic chicken recipe too!
Why You Will Love This Sticky Sweet Chili Chicken Thighs with Rice Recipe
Listen, when you are scrambling for dinner ideas, you need something that delivers big flavor without tying you to the stove all night long. This recipe is my go-to for shaking up the weeknight routine. Honestly, the texture alone is worth making it weekly!
- Incredibly Juicy Chicken Thighs: Because we use bone-in, skin-on thighs and start with a sear, you get guaranteed moisture. Breast meat just can’t compete here—I refuse to use it for this!
- The Ultimate Sticky Glaze: I detail exactly how to make the sauce thicken properly using a cornstarch slurry, so it coats the chicken beautifully instead of running off into the pan. No more watery sauces here, I promise.
- Fast Weeknight Solution: With only about 10 minutes of active prep time, this whole amazing dinner—chicken and rice included—comes together in under 45 minutes total. It’s perfect for when you’re starving but want something that tastes gourmet.
- Amazing Flavor Combo: It hits every note! It’s sweet from the honey, savory from the soy sauce, and it has that perfect, gentle background heat from the chili sauce. It’s truly addictive, and leftovers are even better.
- Crispy Skin Happiness: That initial sear in the hot skillet gets the skin golden and crackly. The baking process locks that crispiness in before the glaze goes on for the final coat.
- Simple Serving Built-In: Serving it straight over steamed white rice is the best move because the rice soaks up all those delicious, sticky bits of glaze left in the pan. Maximum flavor for minimal effort!
If you’re looking for flavor that punches way above its weight class for a mid-week meal, this is IT. You’re going to be making this all the time!
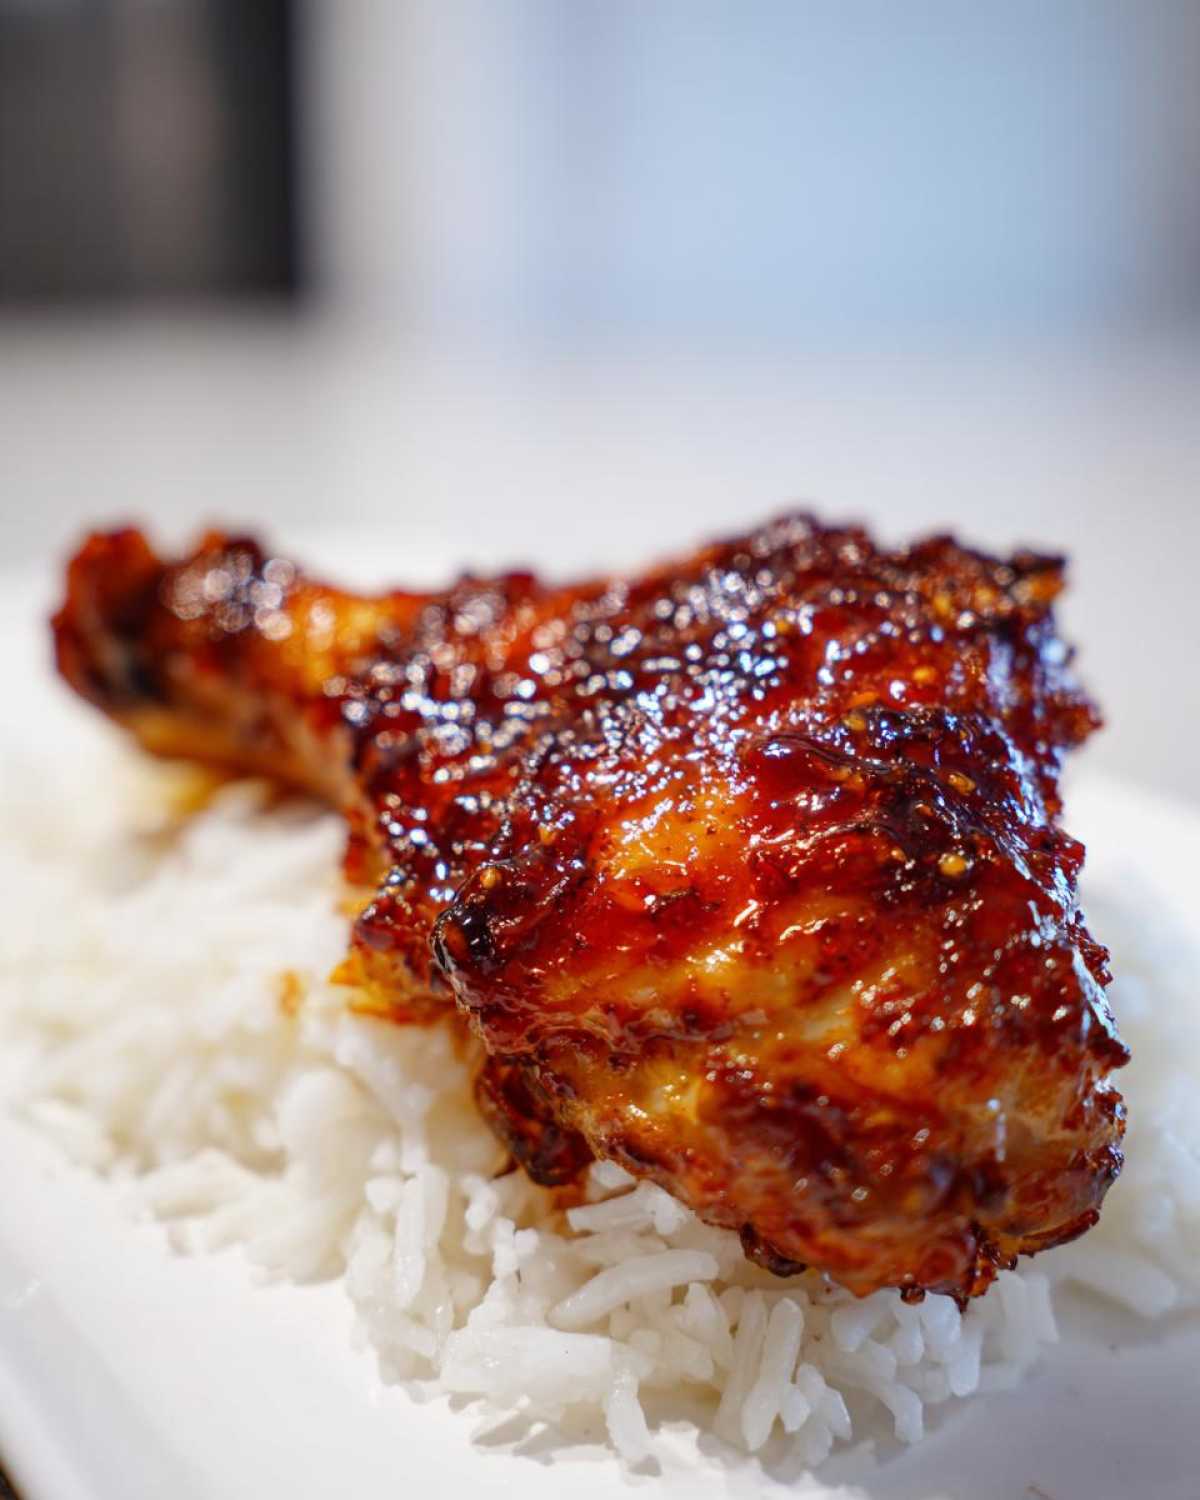
Essential Ingredients for Sticky Sweet Chili Chicken Thighs with Rice
Okay, this is the part where we talk about what you actually need to pull off this incredible dinner. I’m going to list everything out clearly because you need the right tools to get that perfect sticky shell. Don’t skimp on the fresh stuff here—the ginger and garlic really make the sauce sing against the sweet chili base. Don’t worry if you don’t have that exact sweet chili bottle; you can always check out my tips for making your own homemade sweet chili chicken sauce if you’re feeling adventurous!
For the chicken itself, you MUST use bone-in, skin-on thighs. They are non-negotiable if you want juicy meat and crispy skin. Everything else is pretty standard pantry fare, which is another reason I love this recipe so much for quick dinners.
Here is what you need for four hungry people:
- You’ll need 6 bone-in, skin-on chicken thighs. Make sure they are patted totally dry before they hit the pan!
- Just 1 tablespoon of basic vegetable oil for searing them up nice and golden.
- Salt and black pepper—don’t be shy, give those thighs a good seasoning on both sides.
- For the glaze base, grab 1/2 cup of your favorite sweet chili sauce.
- 1/4 cup of regular soy sauce for that salty depth.
- Either 2 tablespoons of honey or packed dark brown sugar. I usually use honey, but brown sugar gives it a richer color—your call!
- 1 tablespoon of rice vinegar. This little bit of acid is crucial to balance all that sweetness.
- 1 teaspoon of fresh ginger that you’ve grated really finely. Smelling this cook is half the reward!
- 2 cloves of garlic that you’ve minced up fine.
- Pay close attention here for the thickening step: you need 1 teaspoon of cornstarch mixed up with 1 tablespoon of cold water. This is your slurry, and it makes the magic happen!
- And finally, you’ll need 2 cups of cooked white rice ready to go for serving underneath all that saucy chicken.
- A couple of green onions, thinly sliced, for when we finish it up with a pop of color.
See? Nothing too wild, but those ratios, especially in the glaze, are exactly what make the difference between good chicken and “call your friends to tell them how good your chicken is” chicken!
How To Make Sticky Sweet Chili Chicken Thighs with Rice Step-by-Step
Okay, this is where we put science and intuition together to create magic—or at least, perfectly cooked chicken! I always try to use my biggest, heaviest oven-safe skillet for this. It helps hold the heat so much better than thinner pans. Remember, we are building layers of flavor here, not just slapping sauce on at the end. We start with crispy skin, move into baking for tenderness, and finish with a thick, beautiful glaze.
Preparing and Searing the Chicken Thighs
First things first: take your chicken thighs and pat them down aggressively with paper towels. Seriously, dry skin is the key to a good sear! If the skin is wet, it steams instead of crisps up, and we absolutely cannot have steamed chicken skin here. Once they are dry, season them everywhere—top, bottom, sides—with salt and pepper. Don’t measure; just season until it looks like they have a nice light dusting!
While you’re seasoning, go ahead and preheat your oven to 400°F (200°C). We want that oven hot and ready to go.
Now, get your skillet screaming hot over medium-high heat and drizzle in that tablespoon of vegetable oil. Once it shimmers, gently place the chicken thighs in the pan, skin-side down. Listen for that beautiful sizzle—that’s the sound of success! You need to let them sit there, undisturbed, for a solid 5 to 7 minutes until that skin is deeply golden brown and ridiculously crisp. This is a crucial step for the best texture, so resist the urge to poke them!
Once they look perfect, flip them over gently. Now, into the hot oven they go for about 15 minutes. This softens them up before we introduce the glaze.
Making the Perfect Sticky Chicken Glaze
While the chicken is baking its first round, we need to deal with the star of the show: the glaze! You want to grab a small saucepan and mix together the sweet chili sauce, soy sauce, honey (or brown sugar), rice vinegar, fresh ginger, and that minced garlic. Pop this over medium heat.
Let it come to a gentle simmer, stirring it every minute or so. Don’t let it boil wildly, just a gentle bubble is what we want. Now, here’s the part that separates the pros from the amateurs: the slurry. Take that cornstarch mixed with the cold water and whisk it into your simmering sauce. Keep stirring constantly—seriously, stir until your arm gets a little tired!
In about a minute, you will see the sauce go from liquidy to wonderfully thick and glossy. That’s the stickiness you were hoping for! It should lightly coat the back of a spoon. Once it looks right, pull it off the heat. If you want more guidance on getting that perfect sauce consistency, I wrote a whole deep dive on how to make sticky chicken glaze.
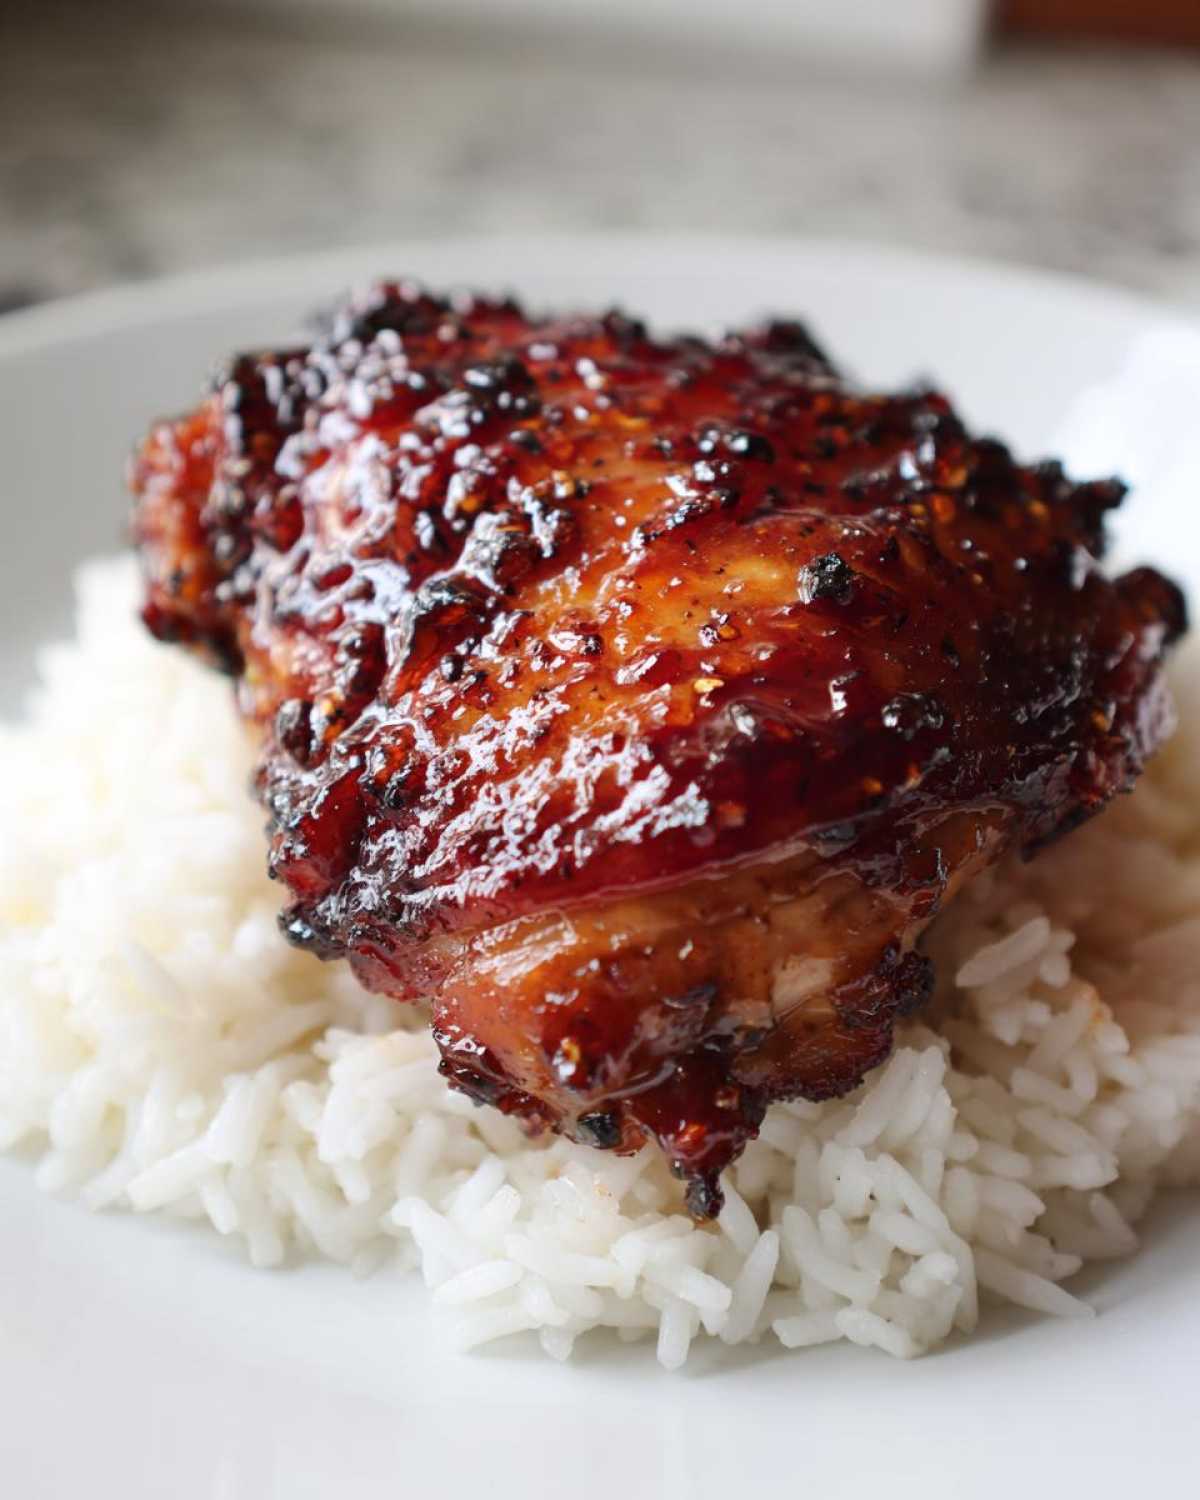
Baking and Final Glazing for Sticky Sweet Chili Chicken Thighs
Your timer should be going off! Carefully pull that skillet of chicken out of the oven. You want to grab a brush and quickly paint half of that beautiful, thick glaze all over the tops of those thighs. Be generous, but don’t drown them!
Back into the 400°F oven they go for their final phase—about 5 to 8 more minutes. You are checking for doneness, and the internal temperature needs to hit 165°F (74°C). Don’t guess; use a thermometer inserted into the thickest part of the meat away from the bone. Making sure you hit that temp is key for safe and juicy eating, just like when I make these juicy baked chicken thighs!
When they come out the second time, they are done, but not *finished*. Take them out, brush on the *rest* of that glorious glaze—that’s the double-glaze technique that makes them so flavorful—and then let them rest right there in the pan for about five minutes before serving. That resting time lets all those juices settle back in. Don’t skip that rest, or all that moisture runs out onto the rice instead of staying in the meat!
Tips for Achieving the Best Sticky Sweet Chili Chicken Thighs
I’ve made this recipe so many times that I’ve learned a few little tricks over the years that make all the difference between good glazed chicken and truly spectacular glazed chicken. My goal is always that thick, syrupy coating that doesn’t slide off when you pick it up, and skin that still has a little snap!
If you love that shiny, almost lacquered look that you see at high-end Asian restaurants, you have to pay attention to the heat, especially at the very end. If your skin isn’t as crisp as you’d like after that final bake (or your glaze seems a bit thin), don’t panic! You can carefully switch your oven setting to the broiler for the last minute or two before pulling them out. Just watch it like a hawk—sweet chili sauce has sugar, and sugar can go from perfectly caramelized to burnt charcoal fast, so stay right there!
For the stickiest glaze possible, don’t rush the simmering stage after you add the cornstarch slurry. You need that violent simmer for just a moment to fully activate the cornstarch. If your sauce is still looking pale and liquidy, it means you need another 30 seconds right there on the heat—I find that the heat level of stovetops varies so much, so you have to trust your eyes over my written time!
Now, let’s talk about swapping out the cut of meat. I swear by bone-in, skin-on for the flavor and texture, but sometimes you just have boneless, skinless thighs on hand, and that’s fine! If you swap cuts, you need to adjust your time significantly. Since there’s no skin to get crispy, you can skip the initial sear entirely. Just pat them dry, season them up, brush on that first layer of glaze, and bake them at 400°F. They cook much faster, usually only needing about 20 to 22 minutes total to reach that safe 165°F internal temperature. Check them early, because they dry out quicker than the bone-in variety.
If you want to tweak the actual sauce flavor—maybe you want it hotter, or maybe your sauce isn’t hitting the flavor notes you want—I highly recommend looking into how to boost your store-bought sauce, or even trying out a from-scratch version. My guide on the best sweet chili sauce chicken recipes talks about how to adjust the spice level based on what sauce you start with!
Ingredient Notes and Substitutions for Your Sticky Asian Chicken Thighs
Because this recipe relies so heavily on that sauce, I want to spend a moment talking about the ingredients you use because they really do matter! If you’re missing one small thing, don’t despair; almost every component here has a good workaround. The most common question I get is about the sweetener—honey versus brown sugar.
For the honey, it gives the final glaze a beautiful, clear shine and a milder sweetness. If you use dark brown sugar instead, which I do sometimes when I’m feeling cozy, the glaze will be a little bit deeper in color, almost mahogany, and it will have a richer, molasses undertone to the sweetness. Either one works wonders, but I always promise my readers to use what they have on hand! The key is measuring correctly, though; if you use granulated white sugar, you really lose that depth of flavor, so try to stick to honey or brown sugar if you can.
As for the sweet chili sauce itself—this is the backbone of the whole dish, so try to start with one you like the taste of! Not all sweet chili sauces are created equal. Some are spicier, and some are thinner. If yours is super thin, you might need to add just a tiny bit more cornstarch to the slurry to make sure you get that sticky finish we talked about. If you find yourself short on sauce, or if you just hate the stuff they sell at the store, you can always check out my method for making a quick, vibrant homemade sweet chili chicken sauce from scratch right in your own kitchen. It takes maybe 15 minutes and tastes unbelievably fresh!
And let’s talk about the ginger and garlic again. Yes, you *could* use the dried powder versions if you absolutely must, but I’m going to beg you not to. Freshly grated ginger explodes with flavor when it hits that heat, and minced fresh garlic smells a million times better than the jarred stuff. It’s those tiny details that elevate our sticky Asian chicken thighs from good to show-stopper status. Trust me on the fresh aromatics; your taste buds will thank you later!
Serving Sticky Sweet Chili Chicken Thighs with Rice
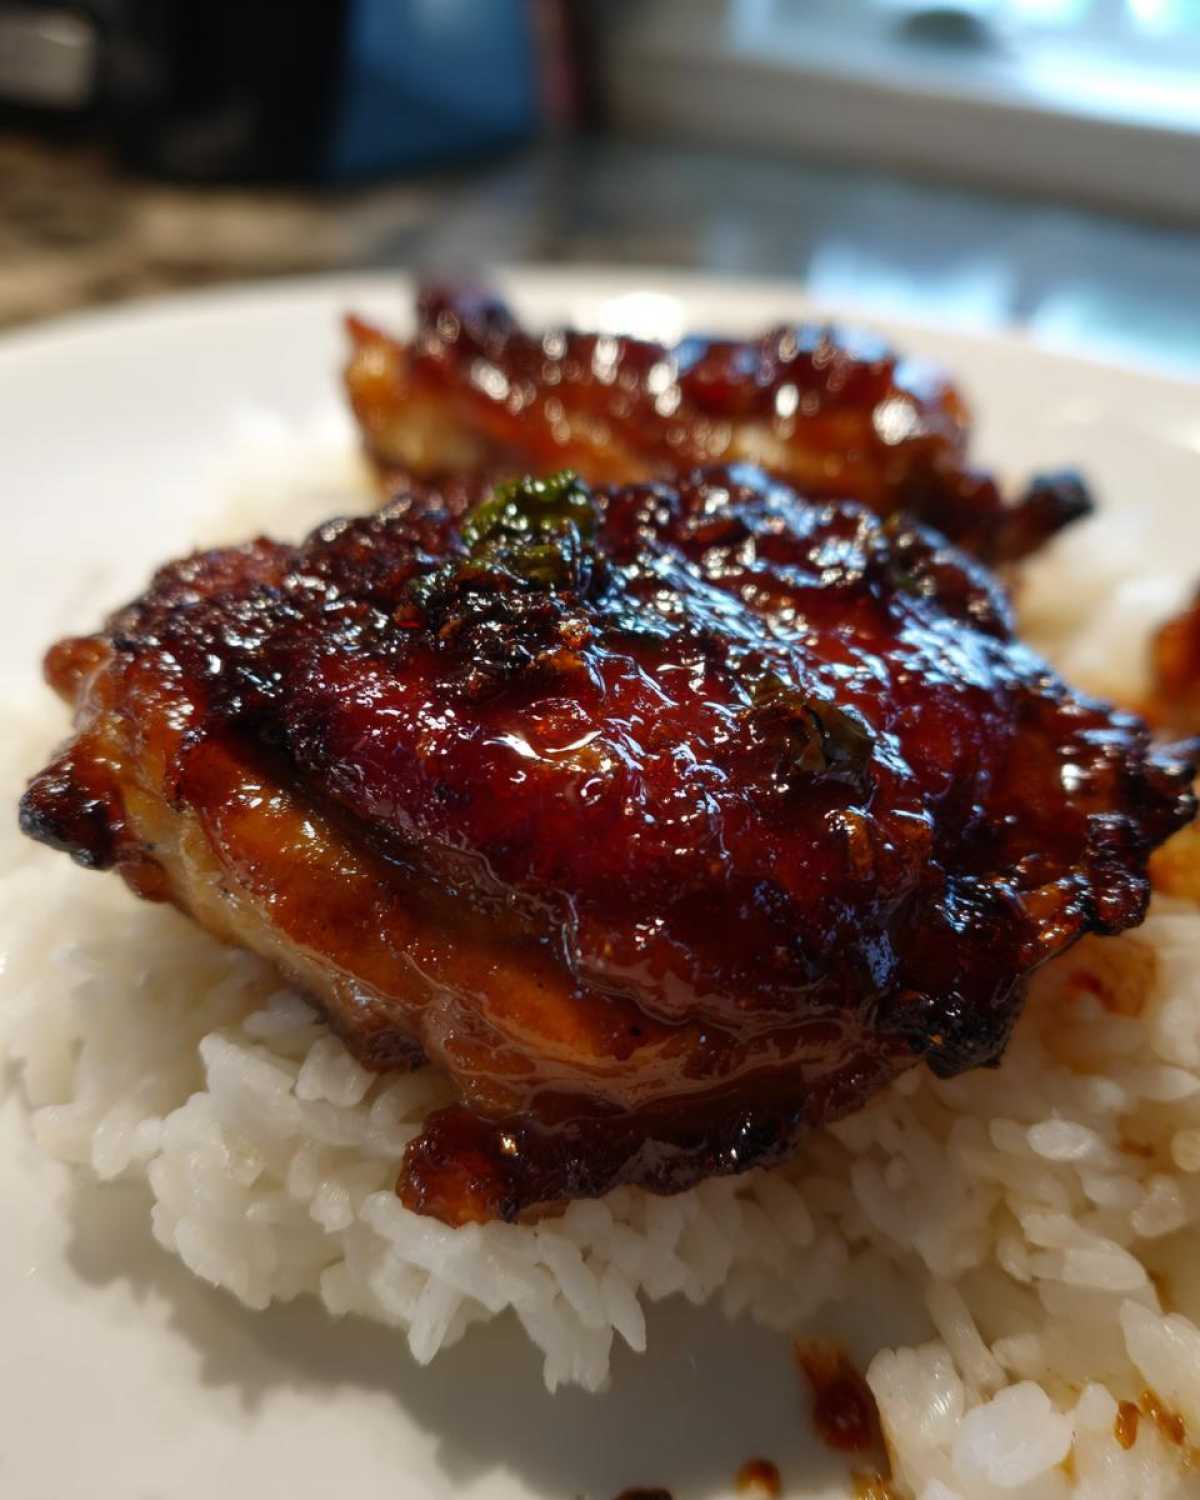
So, the chicken is glazed, it’s rested for those crucial five minutes, and your kitchen smells like the top shelf of an Asian fusion takeout spot. Now for the best part: getting it onto the plate! Because this recipe is inherently gooey and saucy, serving it over perfectly cooked white rice is, in my opinion, the only way to go. The rice acts like a sponge, soaking up every last drop of that amazing, sticky, sweet chili glaze left clinging to the chicken and dripping off the pan. It’s truly the best use of that glaze!
I usually cook my rice while the chicken is in its final 10 minutes of baking. If you need a great, fluffy rice method for the base of this dish, I have a fantastic general guide on how to make smothered chicken and rice that works perfectly here to get that ideal texture.
When you plate it up, make sure you spoon a nice mound of rice down first. Then, lay one or two of those beautiful, glossy chicken thighs right on top. Don’t worry about trying to be too neat—the messier it looks, the tastier it probably is! Just before serving those Sticky Sweet Chili Chicken Thighs with Rice, you have to sprinkle those sliced green onions over the top. They give you the faintest hint of fresh, sharp onion flavor right at the end, cutting through the richness of the glaze beautifully.
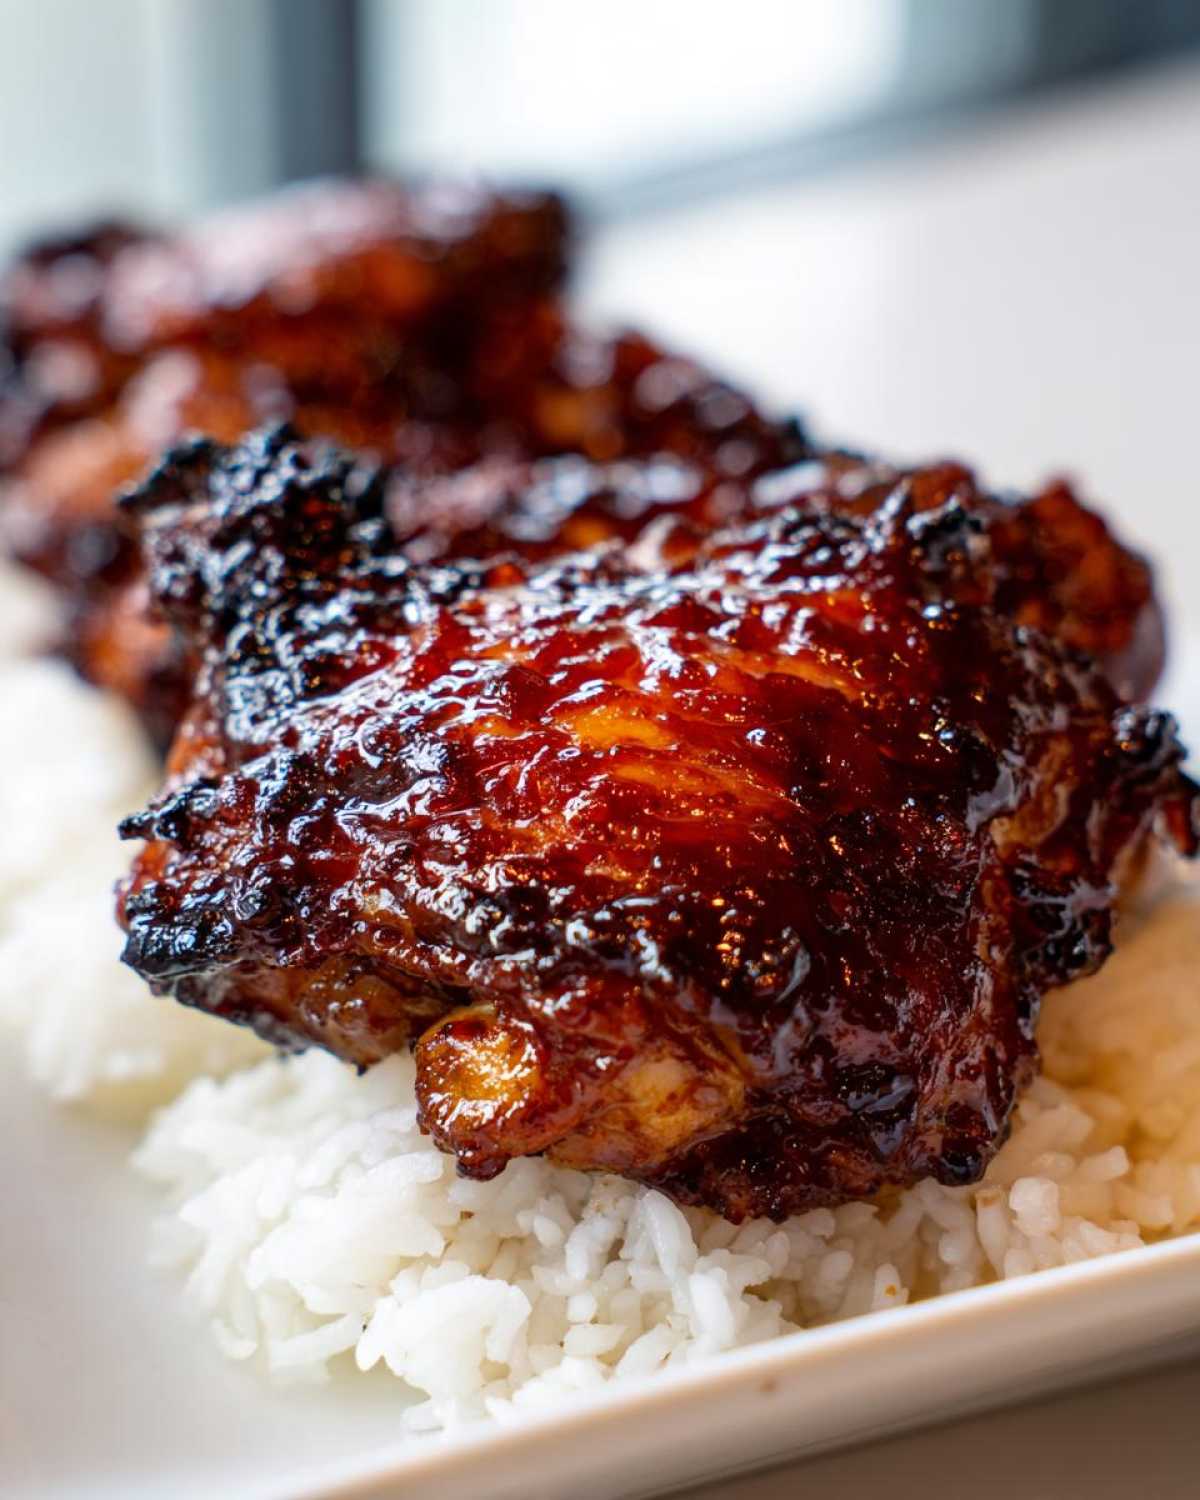
If you want to round this out into a complete dinner, you need sides that are clean and won’t fight with that complex sweet and spicy profile. I keep it super simple:
- Steamed or lightly blanched broccoli tossed with just a tiny pinch of salt. The green crunch is fantastic against the soft rice and sticky chicken.
- A super simple cucumber salad with a splash of rice vinegar and sesame oil. It’s cool, refreshing, and cleanses the palate.
- If you need a bit more substance, some lightly sautéed bok choy with garlic is always a winner. You want vegetables that cook fast and don’t need heavy sauces!
Honestly, once you get that chicken perfectly glazed and resting, the rest is just assembly. It looks like you spent hours in the kitchen, but we know the truth, right? It’s all about that sear, that bake, and that final brush of sticky sauce!
Storage and Reheating Instructions for Glazed Chicken Thighs Recipe
The best part about making an amazing dish like this is having leftovers, right? Even though the chicken is totally irresistible hot off the skillet, I promise you, these Glazed Chicken Thighs Recipe leftovers are fantastic the next day, especially if you pack them up correctly for meal prep.
First things first: storage. You want to let the chicken cool down just a touch before tucking it into airtight containers. If you seal them up while they are steaming hot, you create condensation, and that moisture will make your sticky glaze weep and dissolve into a watery puddle in the container. That’s a tragedy! Wait about 20 minutes for them to cool slightly.
I usually pack the leftover chicken thighs separately from the rice. I try to leave the rice in a separate container, and the chicken goes in another, maybe just brushing off any excess glaze into the container lid rather than letting the chicken sit in a pool of sauce. Stored this way in the fridge, these leftovers are great for about three to four days—perfect for stashing away for quick lunches later in the week. If you are planning ahead, you should definitely check out my tips for chicken and rice meal prep for easy lunches!
Now, reheating—this is where most people ruin perfectly good, juicy chicken thighs, so listen closely! You absolutely want to avoid the microwave if you can get away with it, especially if you value that beautiful skin texture.
If you have time, the skillet is your absolute best friend for bringing this back to life. Place the thighs in a non-stick skillet over medium-low heat. Don’t add extra oil. You can pour a tablespoon of water or a splash of chicken broth into the pan *next* to the chicken (not directly on it). Cover the skillet tightly with a lid and let the residual heat and steam gently warm the chicken through, maybe 5 to 7 minutes. This keeps the meat moist and softens the glaze again. You might need to brush on a teaspoon of extra sauce right at the end just to refresh that sticky shine.
If you are in a crazy rush and HAVE to use the microwave, do it in short bursts—like 30 seconds at a time—and make sure the chicken is covered with a damp paper towel. The towel creates steam, which stops the edges from turning rubbery. But seriously, if you can manage 5 minutes on the stovetop, the results are so much better. The great thing about these Sticky Asian Chicken Thighs is that the dark meat stays so tender, it perks right back up wonderfully with gentle heat!
Frequently Asked Questions About Sticky Sweet Chili Chicken
I absolutely get it—when you’re trying a new recipe, you always have a few lingering questions floating around in your head before you start prepping. That’s totally normal! I’ve tried to gather up the most common things folks ask me about making these Sticky Asian Chicken Thighs so you can jump right into cooking without any hesitation. Hopefully, this helps you nail the technique for the perfect Sweet and Spicy Chicken Thighs!
Can I use boneless chicken thighs instead of bone-in for this recipe?
Oh, you certainly can, but you need to adjust your timing! Remember how much I love the bone-in, skin-on version? That’s because the bone helps regulate the temperature and the skin gets that beautiful crispness. If you swap to boneless, skinless thighs, you can skip the initial searing step completely because there’s no skin to render down. Just pat them dry, season, glaze, and bake! Since they are thinner, they cook much faster, usually needing only about 20 to 22 minutes total to hit that safe 165°F internal temperature. Watch them closely, though, as they can dry out if you leave them in too long!
How do I make this Sweet and Spicy Chicken Thighs recipe spicier?
That’s the fun part! The beauty of this recipe is that the base sauce is adjustable. If you like noticeable heat, you have a few fantastic options. Since we are already using sweet chili sauce, which has some heat, you can boost it by adding a teaspoon or two of Sriracha right into the sauce mixture when you are combining the glaze ingredients. You’ll notice it immediately. If you prefer a different kind of heat—more smoky or sharp—tossing in about half a teaspoon of crushed red pepper flakes along with your ginger and garlic works wonders too! Remember, you can always add more spice later, but you can’t take it out, so start small!
For those of you who have an air fryer at home and are wondering if you can adapt this, I’ve got good news! You absolutely can make these air fryer sticky chicken thighs, and it’s even faster! You’d sear them on the stove first, then cook them in the air fryer basket until almost done, glaze them, and air fry for a couple more minutes to set that glaze. It gives you an amazing texture!
Nutritional Estimates for Sticky Sweet Chili Chicken Thighs
Okay, so we just made something unbelievably delicious, but I know some of you are curious about the numbers behind the flavor jackpot. I ran these final recipes through my system to get a solid estimate for what you’re having for dinner. Remember, because we are using bone-in thighs and that beautiful, sticky-sweet glaze, the sugar content is definitely present when you add that glorious rice base, but the protein count is fantastic!
Here are the ballpark figures based on one chicken thigh served with half a cup of cooked white rice. Please take these with a grain of salt—pun intended! Every brand of sweet chili sauce is different, and how much glaze you actually brush on vs. how much drips off into the pan affects everything.
- Serving Size: 1 thigh with 1/2 cup rice
- Calories: Around 450 per serving
- Protein: A whopping 35 grams of good, satisfying protein!
- Fat: We’re looking at about 20 grams total fat, but most of that is coming from the delicious skin.
- Carbohydrates: About 35 grams, mostly coming from the rice and the sugar in the glaze.
- Sugar: This is where the “sweet” comes from—plan for about 22 grams here.
- Sodium: This is higher due to the soy sauce in the glaze, coming in around 750mg.
A Quick Disclaimer Just To Be Safe: These numbers are just an honest estimate based on the specific brands and measurements I used when calculating everything out. If you use less honey, skip the rice, or use light soy sauce, your numbers will shift! Always consider these figures approximate, especially if you’re tracking macros super closely.
But hey, if you’re eating something this flavorful, sometimes you just have to savor the moment! It’s a fantastic, balanced meal, especially for a quick weeknight dinner that tastes like you spent all day cooking!
PrintSticky Sweet Chili Chicken Thighs with Rice

Prepare tender, juicy chicken thighs coated in a thick, sweet, and spicy glaze, served simply over cooked rice.
- Prep Time: 10 min
- Cook Time: 35 min
- Total Time: 45 min
- Yield: 4 servings
- Category: Dinner
- Method: Baking and Pan-Searing
- Cuisine: Asian-Inspired
- Diet: Low Lactose
Ingredients
- 6 bone-in, skin-on chicken thighs
- 1 tablespoon vegetable oil
- Salt and black pepper to taste
- 1/2 cup sweet chili sauce
- 1/4 cup soy sauce
- 2 tablespoons honey or brown sugar
- 1 tablespoon rice vinegar
- 1 teaspoon grated fresh ginger
- 2 cloves garlic, minced
- 1 teaspoon cornstarch mixed with 1 tablespoon cold water (slurry)
- 2 cups cooked white rice, for serving
- 1 green onion, sliced, for garnish
Instructions
- Preheat your oven to 400°F (200°C). Pat the chicken thighs dry with paper towels and season both sides generously with salt and pepper.
- Heat the vegetable oil in a large, oven-safe skillet over medium-high heat. Place the chicken thighs skin-side down in the hot skillet. Sear for 5 to 7 minutes until the skin is golden brown and crisp.
- Flip the chicken thighs. Place the skillet into the preheated oven and bake for 15 minutes.
- While the chicken bakes, prepare the glaze. In a small saucepan, combine the sweet chili sauce, soy sauce, honey (or brown sugar), rice vinegar, ginger, and garlic. Bring the mixture to a simmer over medium heat, stirring occasionally.
- Once simmering, whisk in the cornstarch slurry. Continue to cook for 1 minute, stirring constantly, until the sauce thickens into a sticky glaze. Remove from heat.
- Remove the skillet from the oven. Brush half of the sweet chili glaze evenly over the chicken thighs. Return the skillet to the oven and bake for another 5 to 8 minutes, or until the internal temperature of the chicken reaches 165°F (74°C).
- Remove the chicken from the oven. Brush the remaining glaze over the cooked chicken thighs. Let the chicken rest in the pan for 5 minutes.
- Serve the sticky sweet chili chicken thighs immediately over portions of cooked white rice. Garnish with sliced green onions.
Notes
- For crispier skin, you can briefly broil the chicken for the last 1-2 minutes after glazing, watching carefully to prevent burning.
- If you prefer boneless, skinless thighs, reduce the initial searing time and the total oven bake time by about 5 minutes.
- You can substitute brown sugar for honey if you prefer a deeper molasses flavor in the glaze.
Nutrition
- Serving Size: 1 thigh with 1/2 cup rice
- Calories: 450
- Sugar: 22
- Sodium: 750
- Fat: 20
- Saturated Fat: 6
- Unsaturated Fat: 14
- Trans Fat: 0
- Carbohydrates: 35
- Fiber: 1
- Protein: 35
- Cholesterol: 120