

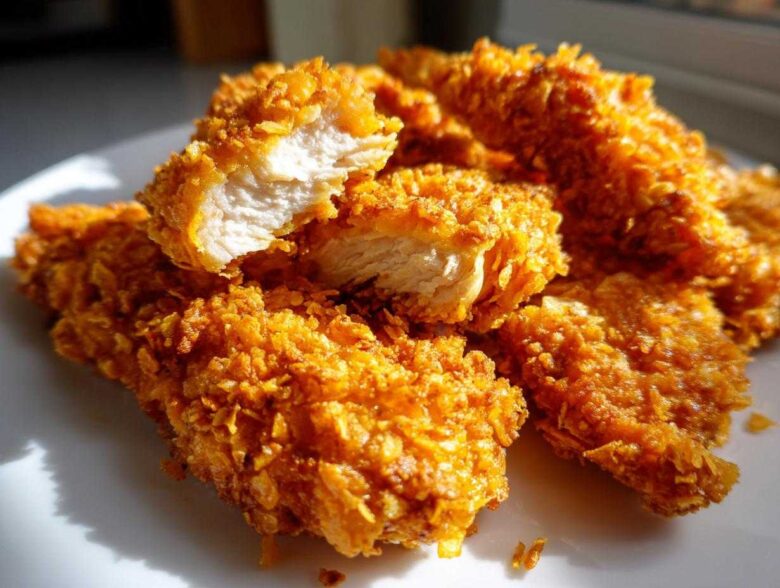
Oh my gosh, I know that craving! You want that satisfying, shattered crunch of deep-fried chicken tenders, but you absolutely do not want the mess, the smell, or the guilt that comes with soaking the chicken in oil. Believe me, I went through about twelve versions of this recipe trying to nail the crispy exterior completely! The secret, once you realize that fried isn’t the only way to get that crunch, is mastering the coating adhesion and using the right binder. This recipe for Crispy Baked Chicken Tenders with Cornflake Crust is what I landed on. It’s my go-to healthier fried chicken alternative for dinner when the kids are demanding favorites!
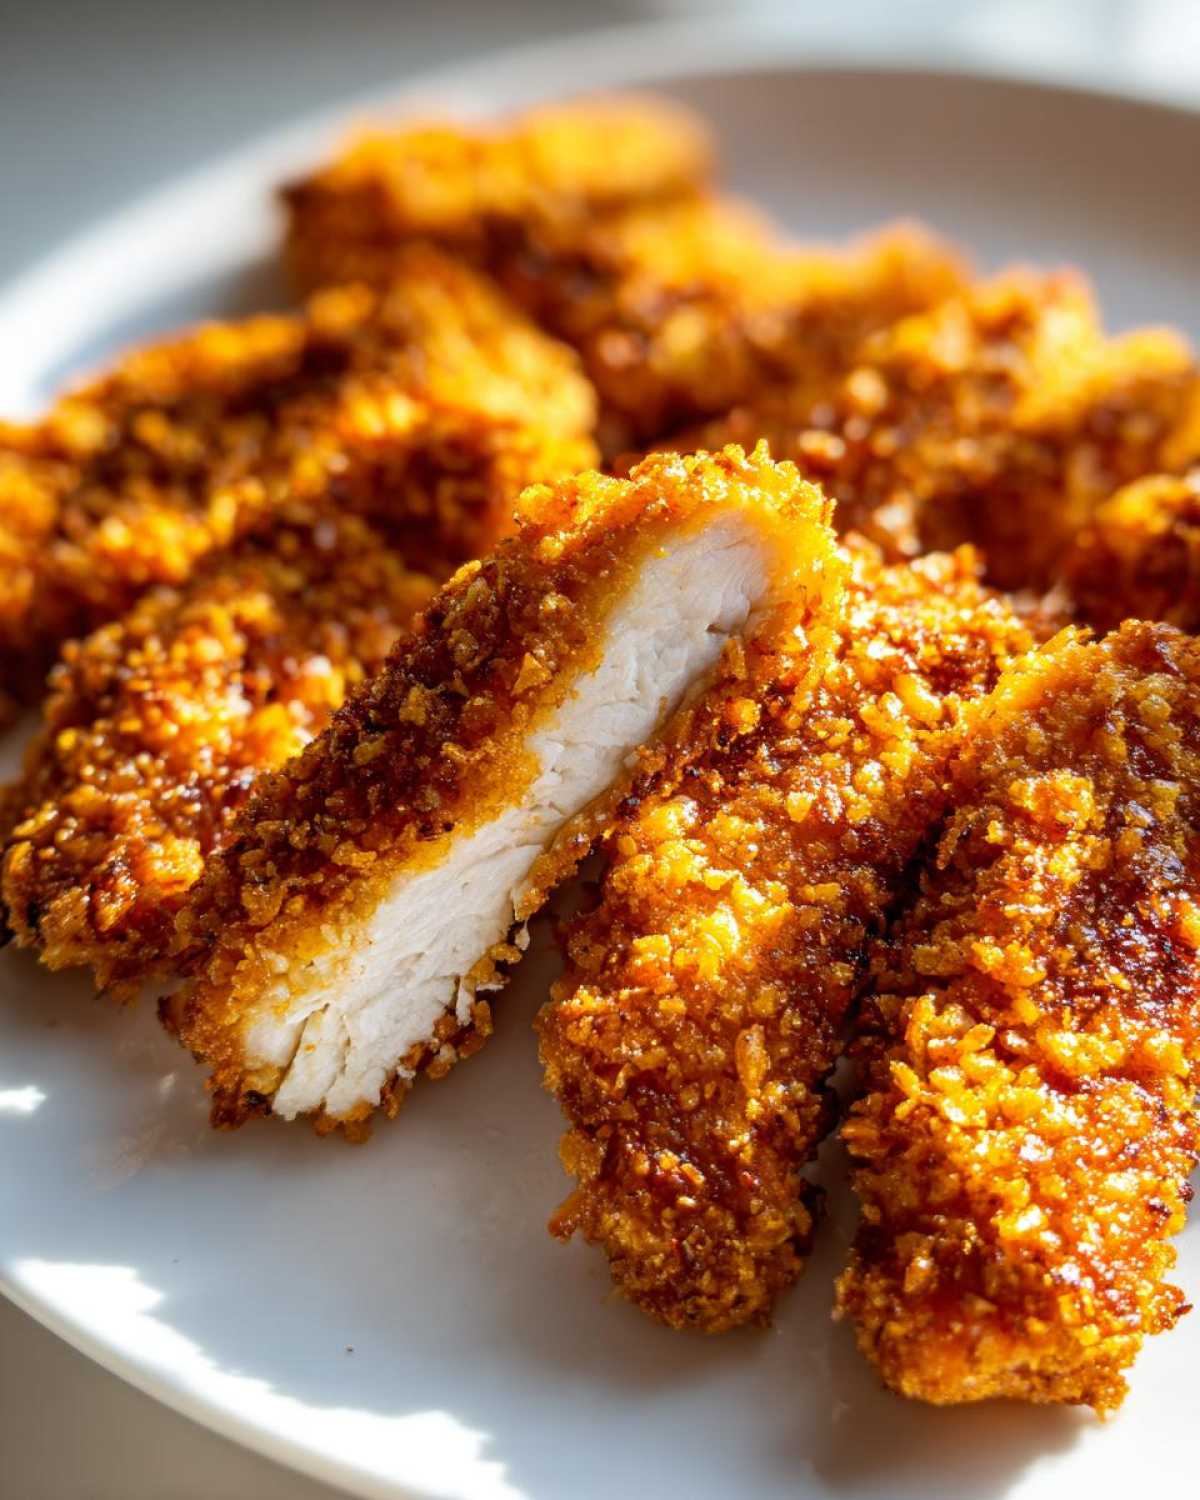
Why You Will Love This Crispy Baked Chicken Tenders with Cornflake Crust Recipe
Honestly, what’s not to love about these tenders? I tested batch after batch of oven tenders, and these actually tick every single box. They are designed for maximum joy and minimum fuss!
- Ultimate Crunch, Zero Oil: We crack the code on getting that shattered, crunchy texture you crave without ever turning on the deep fryer.
- Family Favorite Factor: These disappear fast! They are the perfect kid friendly baked chicken strips—way better than anything frozen.
- Speedy Weeknight Win: With minimal prep, this is truly one of the easiest weeknight chicken dinners you can manage.
- Healthier Swap: You get all the comfort satisfaction of fried chicken, but it’s drastically lighter. Check out how we managed this amazing swap, similar to making other great swaps like these other homemade chicken nuggets.
Essential Ingredients for Crispy Baked Chicken Tenders with Cornflake Crust
You need three main components for this masterpiece: the chicken itself, the magic binder that makes everything stick, and the crispy outer shell. Stick to these measurements, and you won’t have any sad, soggy pieces!
- 1.5 lbs boneless, skinless chicken breasts, cut into 1-inch strips
- 1 cup buttermilk (Don’t skip this!)
- 1 teaspoon salt
- 0.5 teaspoon black pepper
- 1 teaspoon garlic powder
- 2 cups cornflakes, finely crushed
- 0.5 cup all-purpose flour
- 2 large eggs, lightly beaten
- Cooking spray (Essential for that golden outside!)
Ingredient Notes and Substitution Tips
The buttermilk is non-negotiable—it tenderizes the chicken so beautifully while it marinates. For the cornflakes, you need actual crumbs, not dust! I crush mine by pulsing them in the food processor a few times, or I use a rolling pin in a Ziploc bag until they look like coarse sand. That texture holds up better in the oven. Remember, the cooking spray isn’t just for show; it acts like the thin layer of oil you’d get from frying on the stovetop, helping us achieve that perfect crisp.
The Best Crispy Baked Chicken Coating Technique: Step-by-Step Instructions
Okay, this is where the magic happens! Getting those crunchy chicken tenders no fry version means we have to build those crispy layers layer by layer. Don’t rush this part, follow the order exactly, and you’ll be amazed at how well this coating sticks, even in the oven! We need that hot oven working hard for us, so let’s get everything ready first.
Prepping the Chicken and Oven Setup for Maximum Crispiness
First things first, crank that oven up to 425 degrees Fahrenheit—we need serious heat! Line your baking sheet with parchment paper, and give it a good spritz of cooking spray. Remember, those chicken strips need a good swim in the buttermilk mixture with the seasoning for at least 15 minutes. That soak is key for keeping them tender inside while the outside gets super crunchy. If you’re prepping ahead, this is just like ensuring great flavor when working with something like garlic parmesan chicken skewers!
Mastering the Breading Station for Your Crispy Baked Chicken Tenders with Cornflake Crust
Set up your three shallow dishes: one with flour, one with the beaten eggs, and the last one filled with those crushed cornflakes. Take the chicken right out of the buttermilk—let the excess drip off, but don’t pat it dry! Dredge it through the flour first, shake off the excess so it’s just a light dusting. Next, dip it in the egg. The real commitment here is plunging that totally wet piece into the cornflakes. You have to really press that crust on firmly with your hands to make sure every single bit is sealed tight with those crispy flakes!
Once they are coated, put them right on that prepared sheet in a single layer—make sure nothing is touching, or they steam instead of crisping up!
Baking Times and Techniques for Crunchy Chicken Tenders No Fry
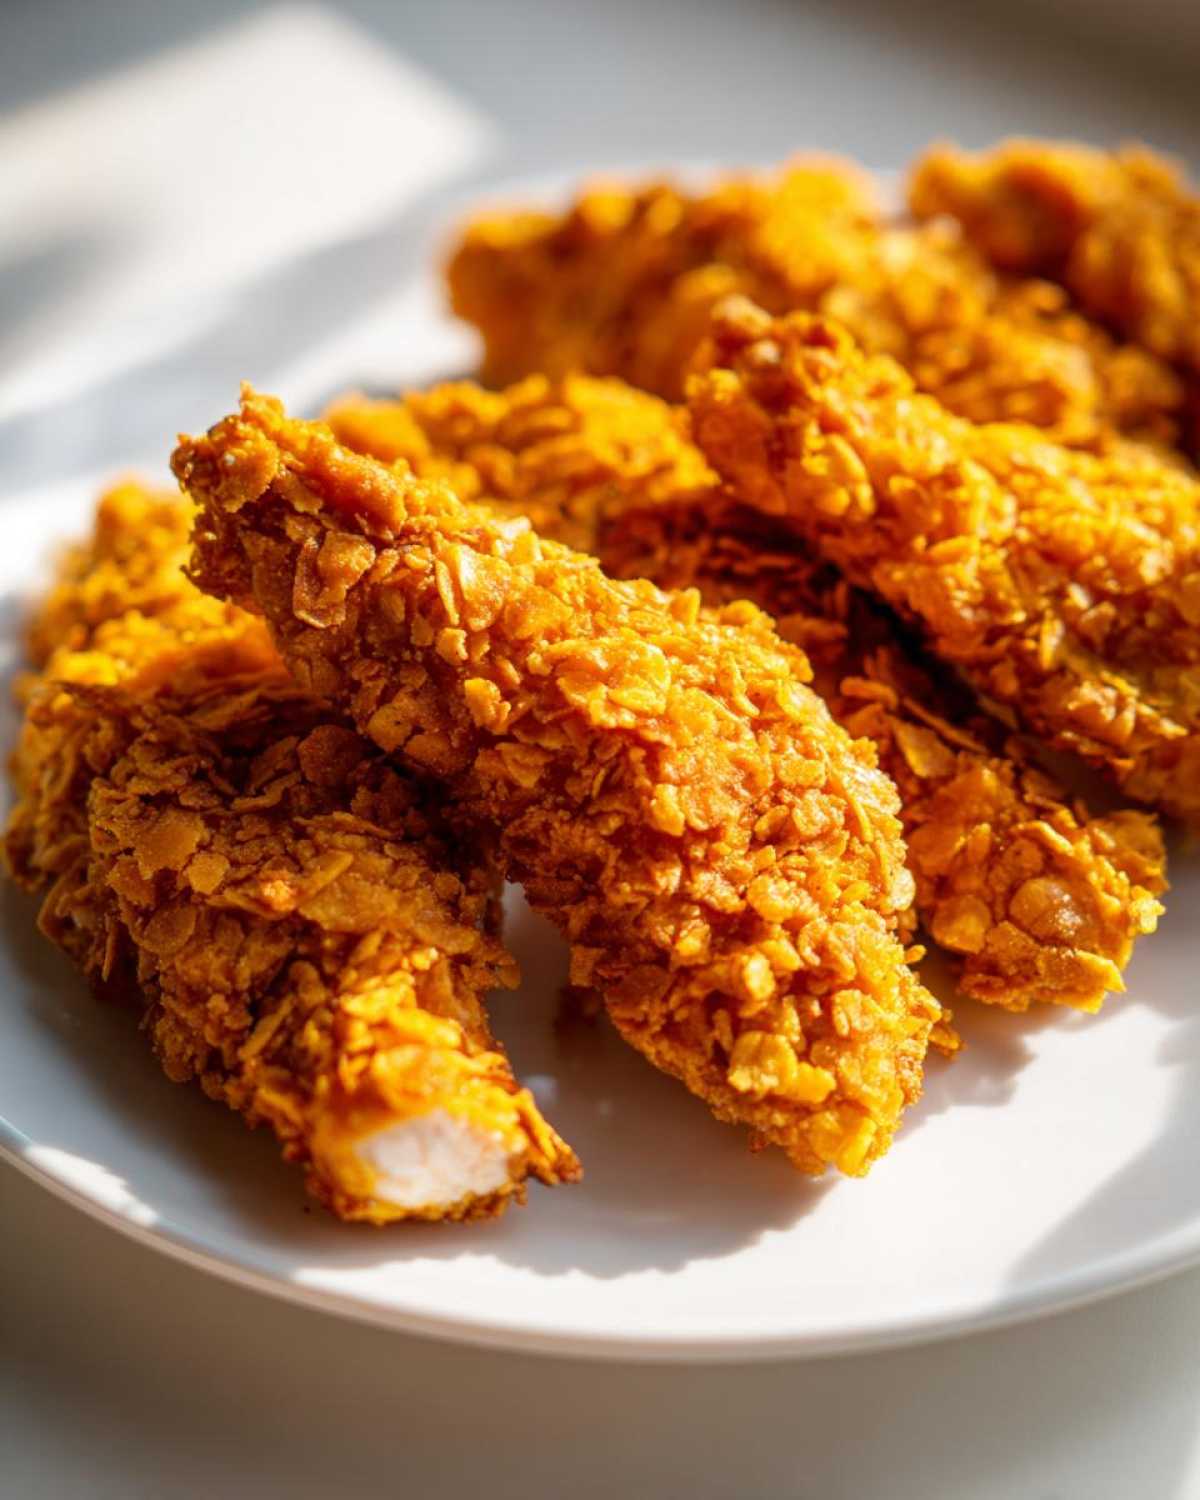
Now that we’ve successfully breaded our crispy baked chicken tenders with cornflake crust, we have to trick the oven into acting like a shallow fryer! Because we love that deep golden brown color and serious crunch, the baking process is a two-step dance. Place those perfectly coated tenders on the rack or prepared sheet without letting them touch—they need their personal space to crisp up!
Bake them hot and fast for about 12 to 15 minutes. Trust me on this time, but always watch! When you pull them out to flip them, you must give the second side a light, generous spray of cooking spray right away. This small step before flipping makes a massive difference in getting that classic crunch all over. Flip them over gently and bake for another 8 to 10 minutes. I always check the internal temperature with a quick thermometer reading—165 degrees Fahrenheit is where we need to be for safety, but you’ll know they are done when the crust sounds hollow when tapped. If you’re worried about your technique, know that people have great luck adapting this to the air fryer too, which is great if you check out tips on air fryer chicken wings!
Tips for Success: How to Make Chicken Tenders Crispy in Oven
Listen, if you want truly crunchy chicken tenders no fry, every little detail matters. My number one rule, which I learned after ruining three batches? Don’t overcrowd the pan! If those strips are touching, they steam, and steam is the enemy of crispiness—it’s like baking instead of frying, and we want to beat the system!
If you have one, definitely use a wire cooling rack placed on top of your prepared baking sheet. That extra bit of air circulation underneath gets that bottom crust just as golden brown as the top. It’s a game-changer, just like getting the heat right when making things like air fryer potato wedges. Also, don’t skimp on that final spray of cooking spray right before you flip them; that fat creates the environment for the crunch!
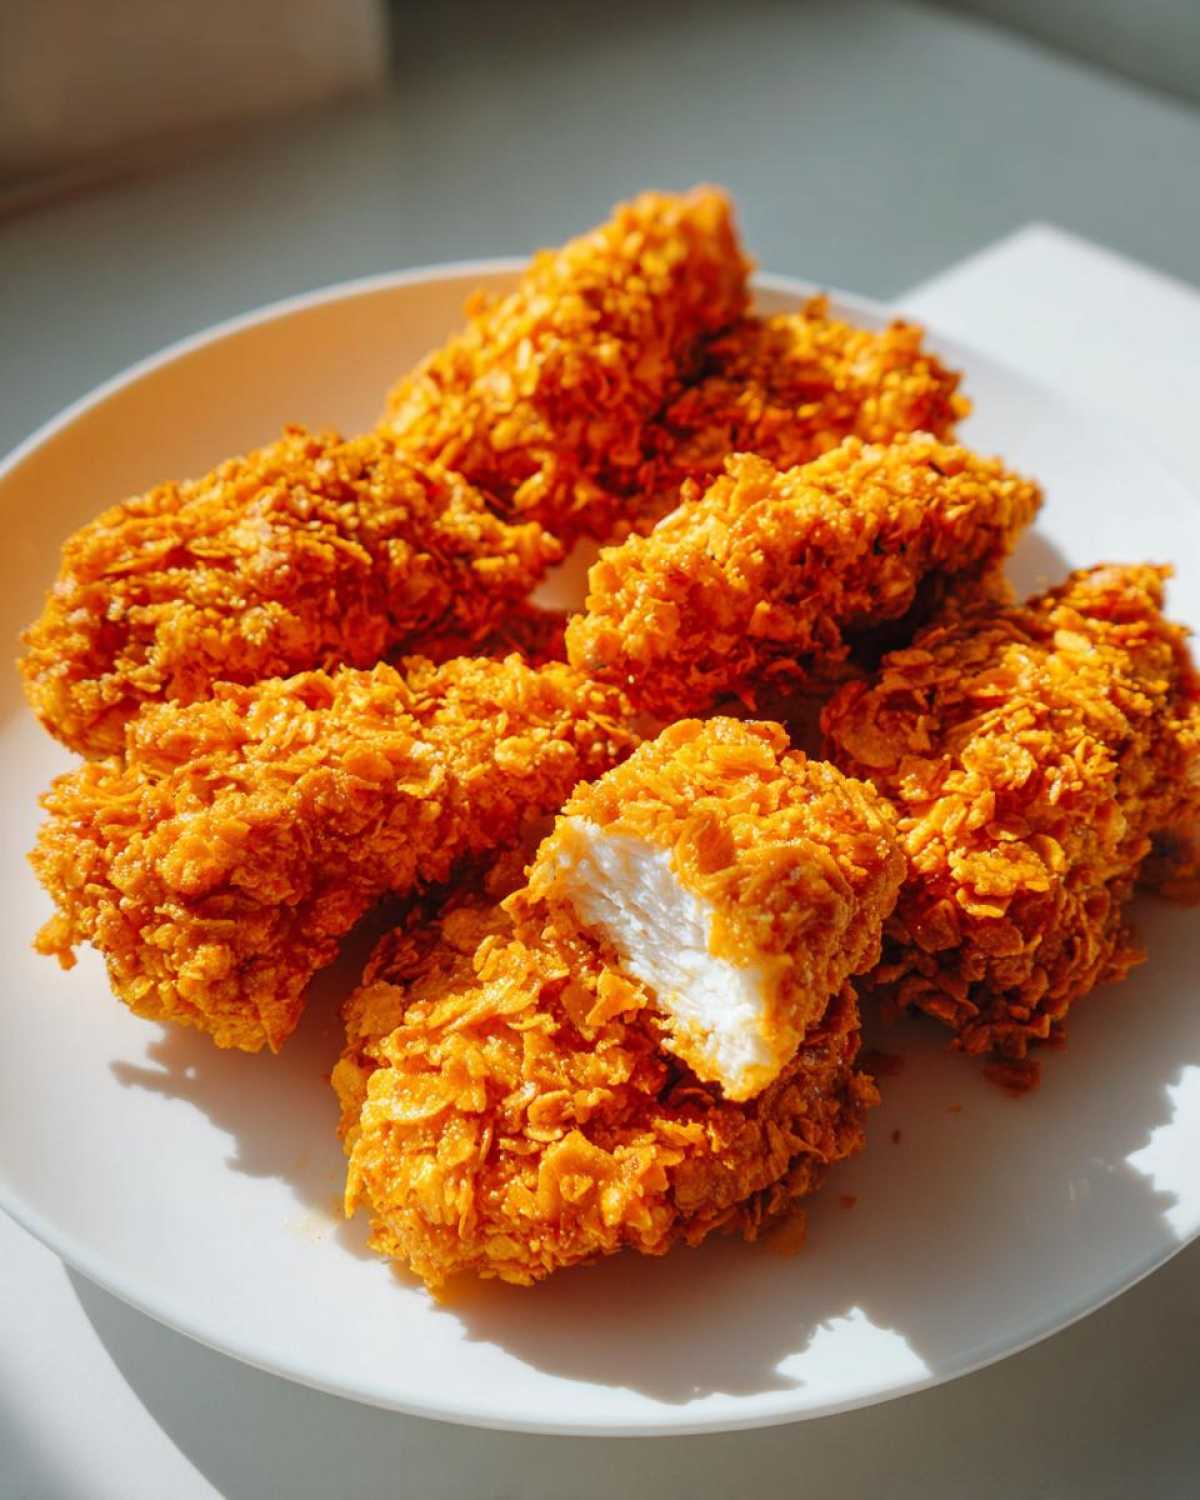
Serving Suggestions for Your Cornflake Crusted Chicken Recipe
Since we are making this a healthier fried chicken alternative, let’s lean into some fresh, simple sides that don’t weigh down the meal. These crispy baked chicken tenders beg for something green and bright! My absolute favorite pairing is roasted vegetables—they cook right alongside the chicken if you time it perfectly.
Try tossing some broccoli with olive oil and garlic powder, just like my famous roasted garlic parmesan broccoli recipe. If you want something quicker, a simple mix of crisp lettuce, carrots, and a light vinaigrette is fantastic for dipping these tenders into!
Storage and Reheating Instructions for Crispy Baked Chicken Tenders
Okay, if you happen to have leftovers—which shocks me every time because my family devours these—you need to store them properly if you want that cornflake crust to hold up. Definitely put them in an airtight container in the fridge. Don’t try the microwave! Seriously, the microwave turns that beautiful crispiness into sad, soggy rubber almost immediately.
How to Get Them Crispy Again
The best way to bring these back to life is using dry heat. Pop them back into a preheated 400-degree oven for about 8 minutes. If you have a toaster oven, even better—it heats up faster and crisps quicker. You want them warm all the way through and that beautiful cornflake crust back to its crunchy glory!
Frequently Asked Questions About Oven Baked Chicken Tenders Crispy
So many great questions come up when people try to make the switch from fried to baked! It’s normal to wonder if skipping an ingredient will ruin the crunch. I’ve put together the most common queries I get about these Oven Baked Chicken Tenders Crispy!
Can I use chicken breast cubes instead of strips for this recipe? Absolutely! If you want more of a nugget feel, just cut the chicken into bite-sized pieces. Just make sure you don’t overload your baking sheet. If the pieces are too small, they might cook faster, so keep a closer eye on them in the oven.
What happens if I skip the buttermilk marinade?
Oh, please don’t! That buttermilk is crucial for making these family favorite baked dinner ideas taste like something you’d get from a good diner. It uses acidity to tenderize the meat fibers, so skipping it results in tougher chicken that dries out faster. Since we are skipping the oil deep-fry, we need that tenderness boost! If you run out of buttermilk, you can thin regular milk with a bit of lemon juice or white vinegar and let it sit for five minutes.
What if I don’t have cornflakes? Can I use breadcrumbs?
For this specific recipe—no, you really can’t substitute the cornflakes if crispiness is your main goal! The structure of the flake is what gives us those big, crackly, jagged edges that mimic fried chicken. Breadcrumbs tend to blend into a smoother, denser coating, which often browns too quickly without getting that satisfying *crunch* needed for these crunchy chicken tenders no fry.
Can I adapt this Crispy Baked Chicken Tenders with Cornflake Crust for an Air Fryer?
Yes, you totally can adapt this for the air fryer! Since the air fryer circulates heat so intensely, you always want to lower the temperature a touch to give the inside time to cook before the outside burns. Try air frying at about 380 degrees Fahrenheit. Don’t pile them up—work in a single layer! They might take about 10 to 12 minutes total, flipping halfway, but check them often! It goes really fast in there. If you’re interested in other air fryer magic, check this out, though it’s for a different meal idea, like chicken chili.

Nutritional Estimates for This Family Favorite Baked Dinner Idea
Since we are aiming for a healthier fried chicken alternative, I pulled the estimated nutrition for a standard serving size. Please remember these numbers are just averages based on using lean chicken breasts and the ingredients listed—your final count will always vary based on what brands you choose and how much cooking spray you really use!
- Serving Size: 4 tenders
- Calories: 350
- Protein: 40g
- Fat: 10g (Mostly unsaturated!)
- Saturated Fat: 2g
- Carbohydrates: 25g
- Sugar: 4g
- Sodium: 450mg
These estimates assume you aren’t dipping them into a heavy sauce, of course! For more details on how we calculate these estimates, please take a peek at our standard policy on our nutrition page.
Nutritional Estimates for This Family Favorite Baked Dinner Idea
Since we are aiming for a healthier fried chicken alternative, I pulled the estimated nutrition for a standard serving size. Please remember these numbers are just averages based on using lean chicken breasts and the ingredients listed—your final count will always vary based on what brands you choose and how much cooking spray you really use!
- Serving Size: 4 tenders
- Calories: 350
- Protein: 40g
- Fat: 10g (Mostly unsaturated!)
- Saturated Fat: 2g
- Carbohydrates: 25g
- Sugar: 4g
- Sodium: 450mg
These estimates assume you aren’t dipping them into a heavy sauce, of course! For more details on how we calculate these estimates, please take a peek at our standard policy on our nutrition page.
PrintCrispy Baked Chicken Tenders with Cornflake Crust

A recipe for making very crispy chicken tenders in the oven using a crunchy cornflake coating, offering a healthier alternative to frying.
- Prep Time: 20 min
- Cook Time: 25 min
- Total Time: 45 min
- Yield: 4 servings
- Category: Dinner
- Method: Baking
- Cuisine: American
- Diet: Low Fat
Ingredients
- 1.5 lbs boneless, skinless chicken breasts, cut into 1-inch strips
- 1 cup buttermilk
- 1 teaspoon salt
- 0.5 teaspoon black pepper
- 1 teaspoon garlic powder
- 2 cups cornflakes, finely crushed
- 0.5 cup all-purpose flour
- 2 large eggs, lightly beaten
- Cooking spray
Instructions
- Preheat your oven to 425 degrees Fahrenheit (220 degrees Celsius). Line a baking sheet with parchment paper and lightly coat the paper with cooking spray.
- In a medium bowl, combine the chicken strips with buttermilk, salt, pepper, and garlic powder. Let the chicken marinate for at least 15 minutes, or up to 4 hours in the refrigerator.
- Set up a standard breading station with three shallow dishes. Place the flour in the first dish. In the second dish, place the lightly beaten eggs. In the third dish, place the finely crushed cornflakes.
- Remove the chicken from the buttermilk, allowing excess liquid to drip off. Do not wipe the chicken dry.
- Dredge each chicken strip first in the flour, shaking off any excess.
- Dip the floured chicken into the egg wash, ensuring it is fully coated.
- Press the chicken firmly into the crushed cornflakes until it is completely covered. Press the coating on to help it adhere well.
- Place the coated chicken tenders on the prepared baking sheet in a single layer, ensuring they do not touch.
- Spray the tops of the coated tenders generously with cooking spray. This helps achieve browning and crispiness.
- Bake for 12 to 15 minutes. Flip the tenders over. Spray the second side lightly with cooking spray.
- Bake for another 8 to 10 minutes, or until the internal temperature reaches 165 degrees Fahrenheit (74 degrees Celsius) and the crust is golden brown and very crisp.
Notes
- For the best crunch, crush the cornflakes using a food processor in short pulses, or place them in a zip-top bag and crush them with a rolling pin until they resemble coarse crumbs, not powder.
- Baking on a wire rack placed over the baking sheet allows air circulation, which results in crispier bottoms.
- If you prefer a spicier coating, add a pinch of cayenne pepper to the flour mixture.
Nutrition
- Serving Size: 4 tenders
- Calories: 350
- Sugar: 4
- Sodium: 450
- Fat: 10
- Saturated Fat: 2
- Unsaturated Fat: 8
- Trans Fat: 0
- Carbohydrates: 25
- Fiber: 1
- Protein: 40
- Cholesterol: 110