

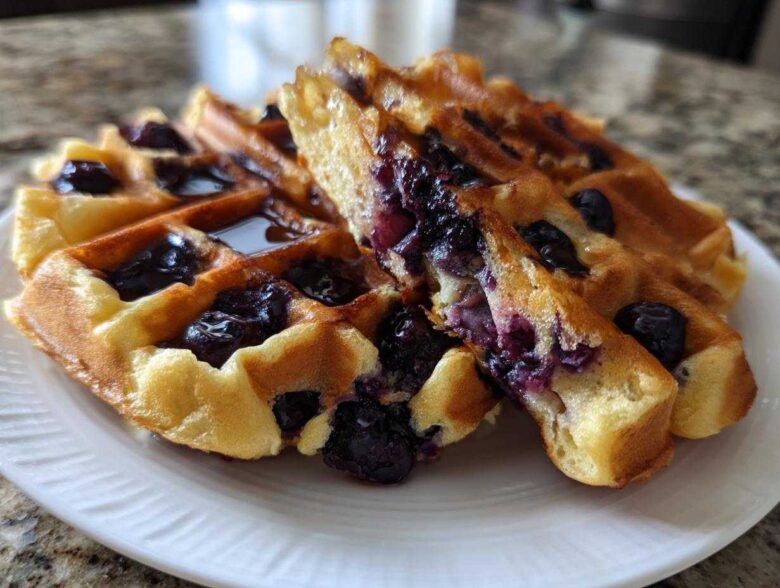
If you associate “gluten-free” with cardboard textures or dense bricks, you need to trust me on this one. I spent years trying to nail the perfect breakfast that satisfied everyone, and finally, I cracked the code for the most incredible Gluten-Free Blueberry Waffles you will ever taste. We are talking genuinely crispy edges that snap when you bite them, with an interior so unbelievably light and fluffy it seems impossible without wheat. I’ve pulled all my tricks from years of baking wheat-free to make sure these come out perfect every single time. You deserve an amazing breakfast, and I promise, this recipe delivers. If you’re looking for other amazing breakfast inspiration, check out my collection of favorite breakfast recipes!
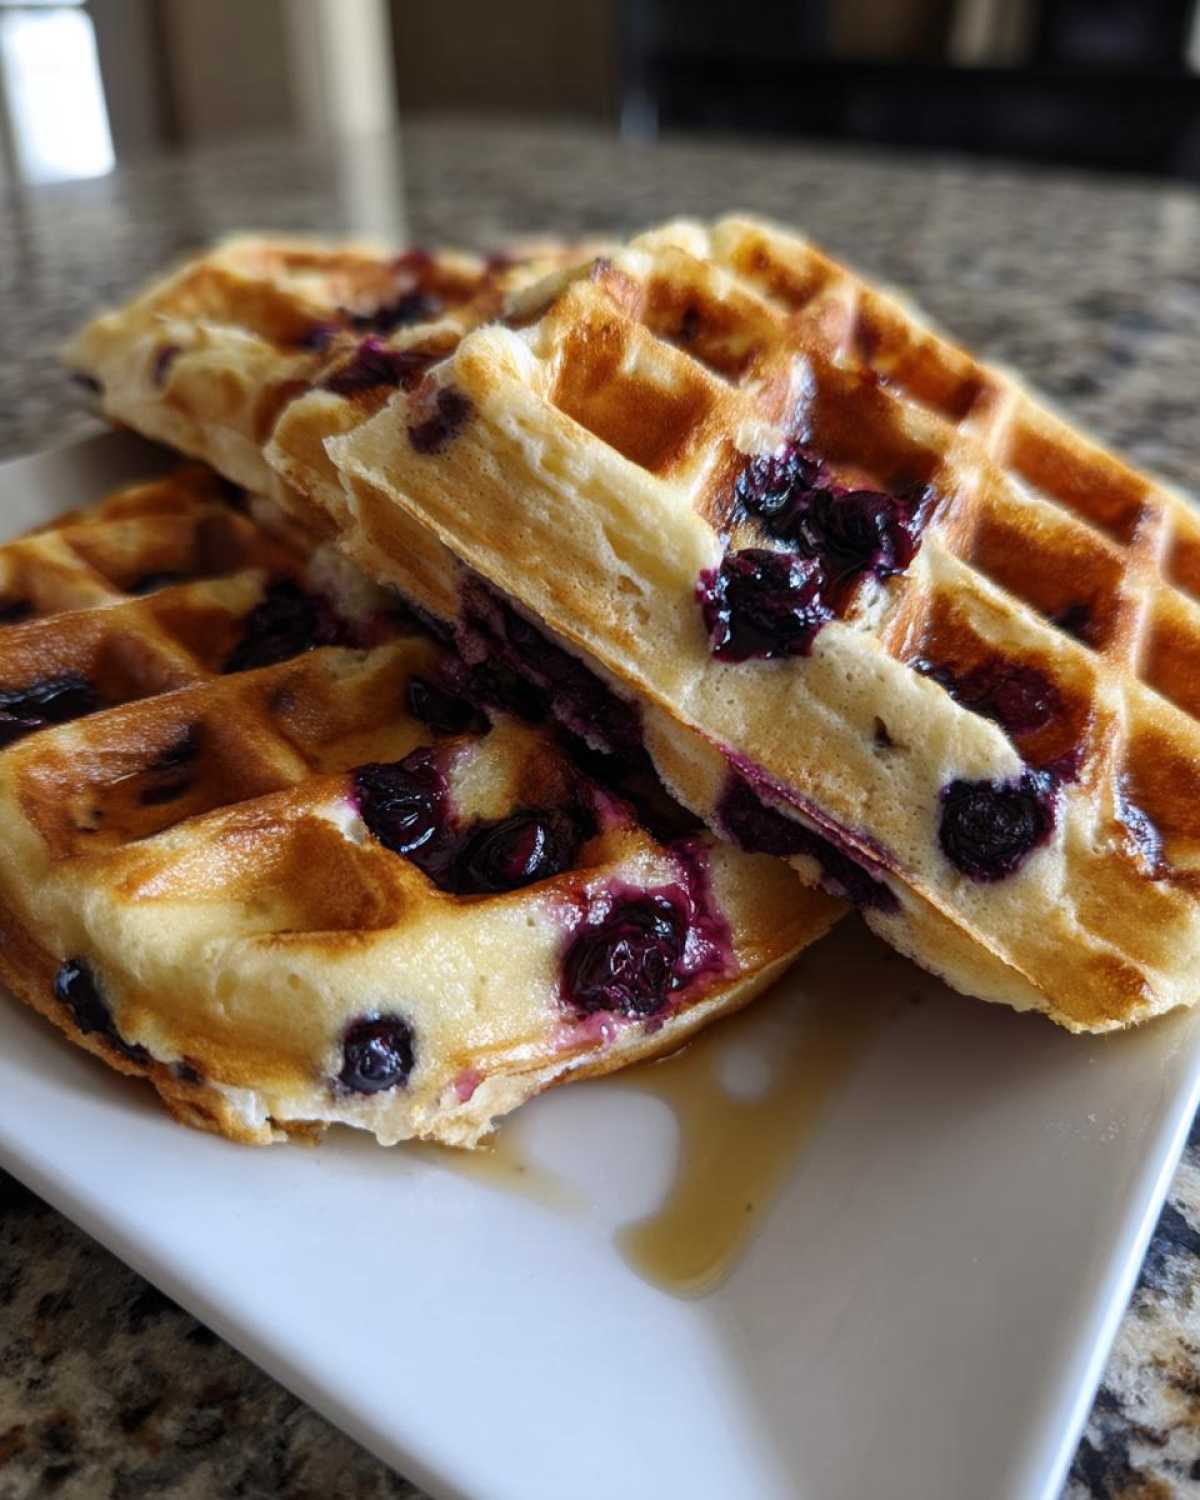
Why This is the Best Gluten Free Blueberry Waffle Recipe
I hear the complaints all the time: “Gluten-free waffles stick!” or “Mine turned out like dense little hockey pucks!” Well, forget all that past trauma. This is, hands down, the Best gluten free blueberry waffle recipe you will ever try. The secret to keeping these Fluffy gluten free waffles from collapsing comes down to two things: the right flour blend and a generous amount of hot fat in the iron. We use a blend that already includes xanthan gum, which is essential for mimicking gluten’s structure, unlike recipes that rely on weird substitutes.
We also tackle that annoying sinking berry issue right upfront, so your waffles aren’t just blobs of purple mush. Everything in this recipe is designed for maximum height and minimal gumminess. If you love fluffy pancakes but need a waffle that holds up, you absolutely need to try these. Speaking of fluffy, if you ever wondered how I get my pancakes so light, you should check out my tricks in the fluffiest buttermilk pancakes recipe!
Achieving Crispy Gluten Free Waffles Texture
Getting those perfect, shatteringly crispy edges is all about heat control. You need your waffle iron totally ripping hot before the batter even touches it. Low temperatures steam the batter instead of frying it, which is how you end up with that rubbery nightmare texture we’re avoiding. Lots of melted butter in the batter also helps the surface caramelize beautifully on the hot iron. The goal is always that golden-brown exterior holding in a truly light and airy center!
Gathering Ingredients for Gluten-Free Blueberry Waffles
Okay, let’s talk about what you need! Getting the right starting materials is half the battle when you’re aiming for that perfect fluff. You absolutely must use a good quality gluten-free all-purpose flour blend that already has xanthan gum in it. If yours doesn’t, don’t worry, you’ll need to toss in an extra teaspoon—otherwise, things get gummy fast. Trust me on this, because the wrong blend equals sadness.
The rest is pretty standard but treat the milk and eggs nicely! For the best flavor, use real vanilla extract, not that imitation junk. You’ll need about a cup and three-quarters of that GF flour, two large eggs, and half a cup of melted butter. And of course, the star of the show: one cup of sweet blueberries. Make sure you have your cooking spray ready to go, too!
Essential Gluten Free Baking Tips for Waffles
Before we even touch the waffle iron, we need to talk technique. Gluten-free baking is different than what you might be used to, and ignoring these steps is how you end up with those rubbery results. These gluten free baking tips for waffles are non-negotiable if you want them light and airy! The biggest mistake I see people make is overmixing the batter once the liquid hits the flour. You stop mixing the second you don’t see white streaks anymore. Seriously, lumps are your friend here!
If you need a quick boost of morning inspiration that’s just as easy, check out my easy French toast recipe while the iron heats up!
Handling Blueberries in Your Gluten-Free Blueberry Waffles
This is crucial for texture and appearance—nobody likes a big puddle of purple juice soaking the bottom of their waffle. If you are using fresh blueberries, you must toss them with just a teaspoon of your dry flour mixture before folding them into the batter. This light coating acts like a tiny raincoat, encouraging them to stay suspended in place as the waffle cooks. It also stops excess moisture bleeding out, which keeps the edges crispy and prevents that sogginess we are fighting so hard against!
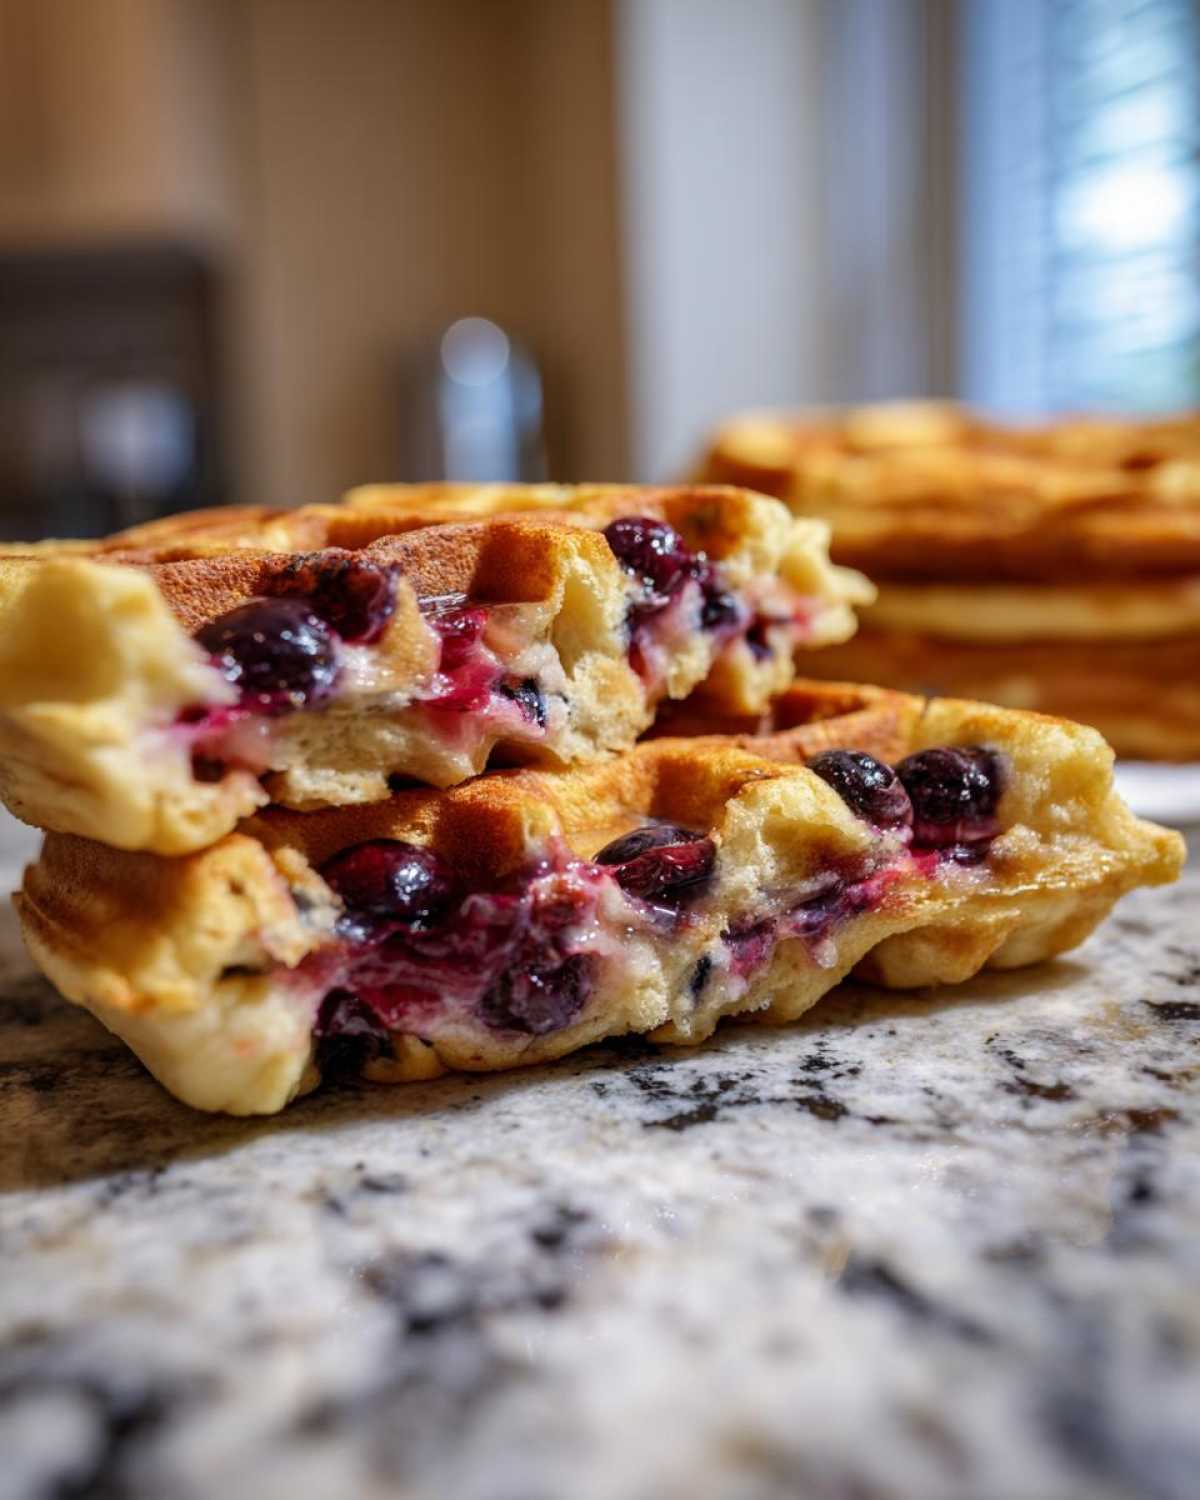
Dairy Free Blueberry Waffles Option
Now, I love butter, but if you have guests or family avoiding dairy, this recipe handles substitutions like a champ. You can easily make these Dairy free blueberry waffles option friendly. Just swap out the regular milk for any non-dairy milk you prefer—almond or soy work perfectly—and use your favorite dairy-free butter stick or shortening substitute in place of the melted butter. The structure stays exactly the same, I promise!
How to Prepare Fluffy Gluten Free Waffles
Alright, this is the fun part where everything comes together, but don’t rush it! First things first: get that waffle iron cranked up and fully preheated according to its instructions. This is non-negotiable for that crisp crust! Seriously, coat those hot plates generously with cooking spray or a little oil right before you pour batter in—it’s the insurance policy against sticking for all Gluten-Free Blueberry Waffles.
In your big bowl, give your dry ingredients—the flour blend, sugar, baking powder, and salt—a quick whisk just to make sure everything is evenly dispersed. Then, in a separate cup, whisk your wet team: the milk, eggs, melted butter, and vanilla. Now, pour the wet stuff into the dry stuff. Mix gently! I mean it! Just watch until you see the streaks disappear. Lumps are fine, and overmixing guarantees a gummy disaster. You want to mix it just enough to combine into a thick batter.
If you have fresh berries, toss them in that teaspoon of reserved flour mixture right now to prevent sinking, then fold them carefully into the batter. If they are frozen, toss them straight in and stir minimally. Pour your batter onto the hot iron—don’t overcrowd it! Close the lid and let the magic happen. Try not to open it early, or the waffle might fold on itself. When the steam slows down and the color looks perfect, pull it out! If you’re making a big batch, place the lovely cooked ones on a rack in a low oven while you finish the rest. If you want an easy dessert after, you have to try my easy apple crisp recipe!
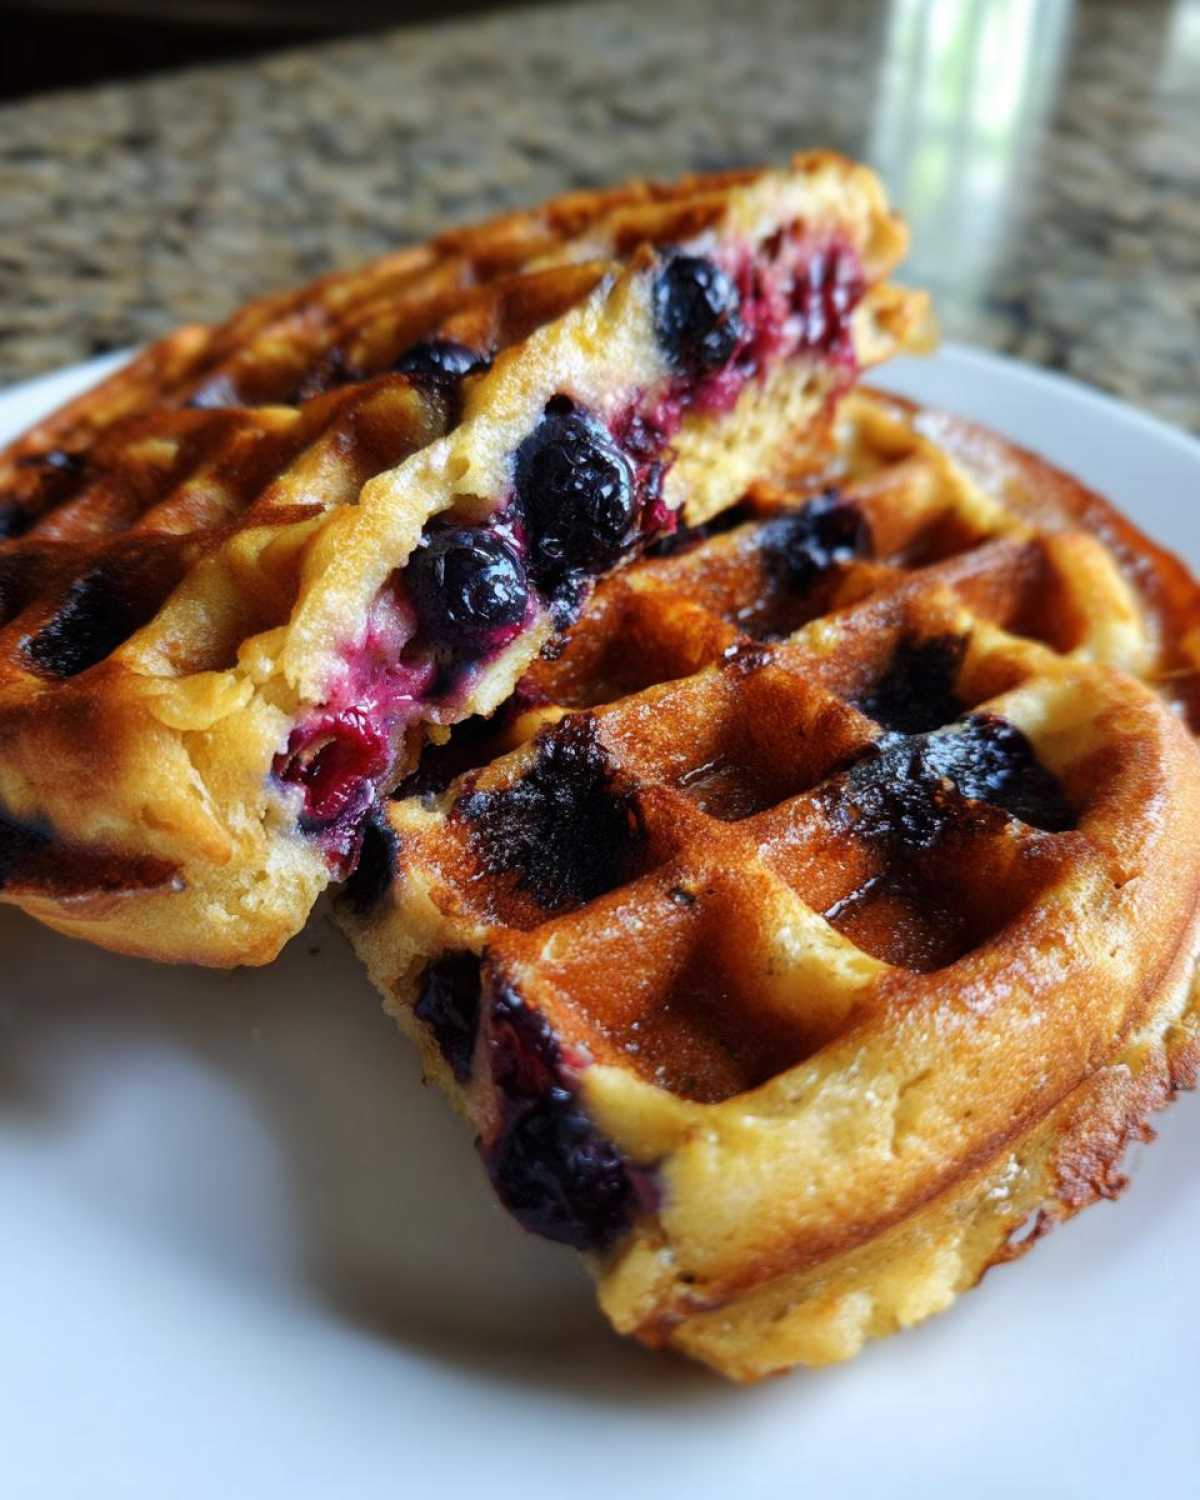
Tips for Success When Making Gluten-Free Blueberry Waffles
Getting those beautiful, tall waffles instead of sad flat ones requires a couple of final little tricks. Since we don’t have traditional gluten strands to trap air, we rely on the baking powder and chemistry! For the absolute best results for Crispy gluten free waffles, let your batter rest for about five minutes after you mix it. This time lets the specialized rice flours and starches in the GF blend fully hydrate. This tiny pause really helps achieve that perfect texture that avoids that heavy, dense feeling.
Also, never underestimate the power of the preheat! If your iron isn’t smoking slightly, it’s not hot enough. And if you’re finding your waffles are pale even when done, try brushing the top with a tiny bit of melted butter right before you close the lid for the final minute of cooking—that extra fat ensures maximum golden color development. Trust me; these small adjustments take your waffles from good to legendary breakfast status. You really want to treat these well so they feel like a treat!
Storage and Make Ahead Gluten Free Waffles
I absolutely love being able to say: Yes, you can totally make these ahead! That’s why I always tell people they’re great for Make ahead gluten free waffles projects for busy mornings. Remember that tip about putting the finished waffles on a wire rack in a warm oven while you bake the rest? That’s actually step one for storage! Letting them cool completely on that rack stops trapped steam from making the bottoms soggy.
Once they are totally cool, you can stack them up, separating each waffle with a small piece of parchment paper. Pop the whole stack into a zip-top freezer bag. They freeze beautifully for up to a month! When you’re ready for breakfast, just pop one straight into your toaster or toaster oven for a few minutes. Resist the urge to actually microwave them, because microwaving equals instant rubber disaster. If you’re prepping for leftovers beyond breakfast, I have some great freezer-friendly ideas in my make ahead breakfast burritos post that might inspire you for lunch!
Serving Suggestions for Your Gluten-Free Blueberry Waffles
Once you have that perfect, crispy stack of Gluten-Free Blueberry Waffles, you deserve the best toppings! While maple syrup is always a classic, let’s elevate this brunch a bit. For a truly dazzling display that fits right into your spread of Healthy gluten free brunch recipes, try a dollop of Greek yogurt instead of heavy whipped cream—it adds a lovely tang that plays off the blueberries.
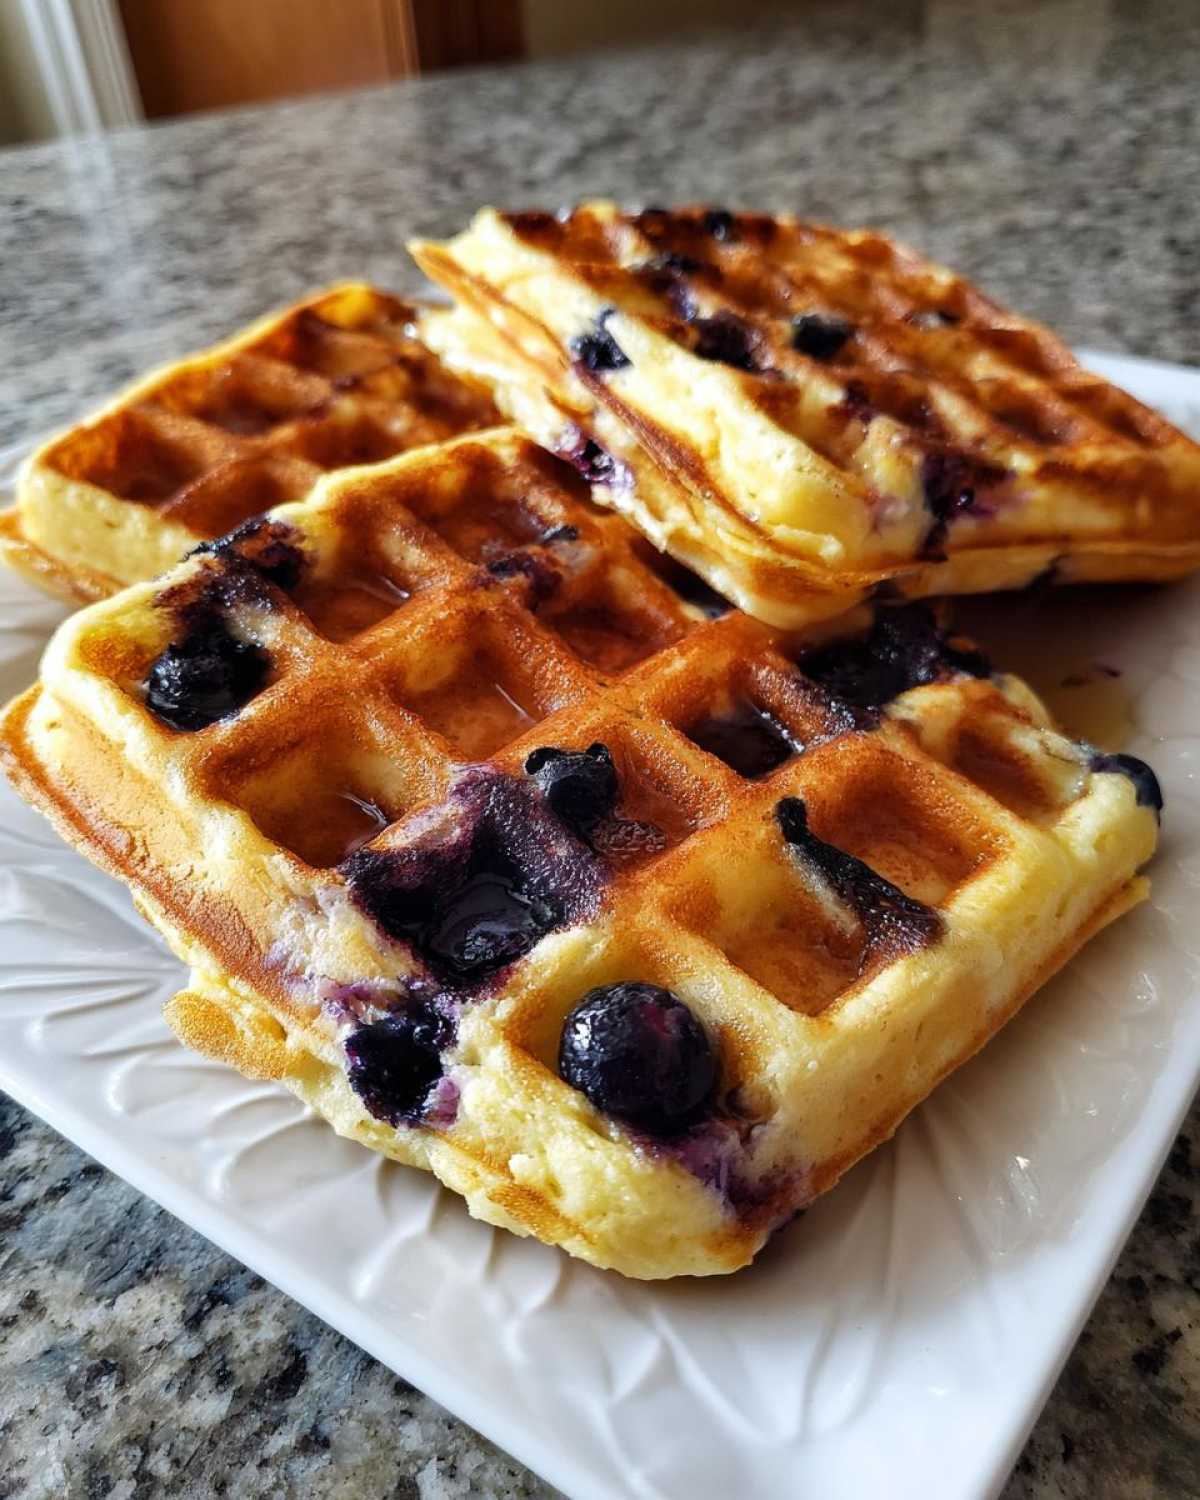
If you’re feeling fancy, skip the powdered sugar and toast some slivered almonds lightly in a dry pan for a nutty crunch. A drizzle of warm honey instead of straight maple syrup also works magic! If you’re looking for amazing bread on the side, you have to try my sweet potato rolls—they disappear fast!
Frequently Asked Questions About Gluten-Free Blueberry Waffles
I always get questions whenever I bring these babies out because people can’t believe they are actually gluten-free! Here are the things people ask me most often about getting that perfect breakfast at home. If you’re looking for other great kitchen inspiration, I just posted a recipe for easy soft honey whole wheat bread!
Can I use a different gluten-free flour blend for these Gluten-Free Blueberry Waffles?
This is the million-dollar question! Gluten-free flour blends are notorious for doing their own thing, bless their hearts. Blends vary wildly in their starch-to-protein ratio. For this recipe, you absolutely must check your bag: if it doesn’t list xanthan gum among the ingredients, you have to add about one teaspoon to the dry mix. If you skip that, you’ll end up with something dense or slightly rubbery because there’s nothing there to mimic the elasticity of wheat. Stick close to the recipe’s recommendation for the best results!
How do I get the lightest, most airy Gluten-Free Blueberry Waffles?
It all goes back to the mixing bowl, honestly. You need those air pockets created when you mix the butter and sugar to survive the addition of the wet ingredients. The key to getting those truly Light and airy gluten free waffles is stopping your mixer the *second* you’ve combined the wet and dry ingredients, even if you see a few tiny lumps. Overmixing activates the gums and stabilizers in the flour, which then traps gas too tightly, resulting in that heavy texture. Gentle folding equals light waffles!
Estimated Nutritional Data for Gluten-Free Blueberry Waffles
Now, nobody bakes for nutrition labels, especially when it comes to weekend breakfast perfection, but I know some of you like to keep track! Below are the estimations for one single waffle based on the standard ingredients listed in the recipe. Keep in mind that where you buy your milk, what specific blend of gluten-free flour you use, and if you use maple syrup or honey will change these numbers!
Think of this as a general guide for enjoying your delicious breakfast without guessing game overload. These estimates are based on using dairy milk and standard assumptions for the other ingredients. Feel free to swap in non-dairy alternatives if you need to adjust things further—that’s the beauty of home cooking!
- Serving Size: 1 waffle
- Calories: 320
- Fat: 14g
- Saturated Fat: 8g
- Carbohydrates: 45g
- Sugar: 10g
- Protein: 9g
- Cholesterol: 95mg
The Ultimate Fluffy Gluten-Free Blueberry Waffles

A recipe for light, fluffy gluten-free blueberry waffles with crispy edges, designed to prevent sinking blueberries and sticking.
- Prep Time: 10 min
- Cook Time: 15 min
- Total Time: 25 min
- Yield: 4 large waffles
- Category: Breakfast
- Method: Waffle Iron
- Cuisine: American
- Diet: Gluten Free
Ingredients
- 1 3/4 cups gluten-free all-purpose flour blend (with xanthan gum)
- 2 tablespoons granulated sugar
- 1 tablespoon baking powder
- 1/2 teaspoon salt
- 1 1/2 cups milk (dairy or non-dairy)
- 2 large eggs
- 1/2 cup unsalted butter, melted
- 1 teaspoon vanilla extract
- 1 cup fresh or frozen blueberries
- Cooking spray or oil for the waffle iron
Instructions
- Preheat your waffle iron according to the manufacturer’s directions. Lightly coat the plates with cooking spray or oil.
- In a large bowl, whisk together the gluten-free flour blend, sugar, baking powder, and salt.
- In a separate medium bowl, whisk together the milk, eggs, melted butter, and vanilla extract until combined.
- Pour the wet ingredients into the dry ingredients. Mix gently until just combined. Do not overmix; a few lumps are fine. Overmixing develops a gummy texture common in gluten-free baking.
- If using fresh blueberries, gently toss them with 1 teaspoon of the flour mixture before adding them to the batter. This helps prevent sinking. If using frozen, add them directly to the batter and stir minimally.
- Pour the batter onto the hot waffle iron, filling it according to its size guidelines. Close the lid.
- Cook until the waffle is golden brown and steams lightly, usually 4 to 6 minutes. Do not open the iron early, as this can cause the waffle to break.
- Carefully remove the waffle. If you are making a large batch, place finished waffles on a wire rack in a single layer in a 200F oven to keep them crisp while you finish the rest.
Notes
- For extra crispiness, brush the cooked waffles lightly with melted butter before serving.
- If your gluten-free flour blend does not contain xanthan gum, add 1 teaspoon to the dry ingredients.
- To prevent sticking, ensure your waffle iron is fully preheated and properly greased before pouring the first batch of batter.
- If you prefer dairy-free waffles, substitute regular milk with unsweetened almond or soy milk and use a dairy-free butter substitute.
Nutrition
- Serving Size: 1 waffle
- Calories: 320
- Sugar: 10
- Sodium: 350
- Fat: 14
- Saturated Fat: 8
- Unsaturated Fat: 6
- Trans Fat: 0
- Carbohydrates: 45
- Fiber: 2
- Protein: 9
- Cholesterol: 95