

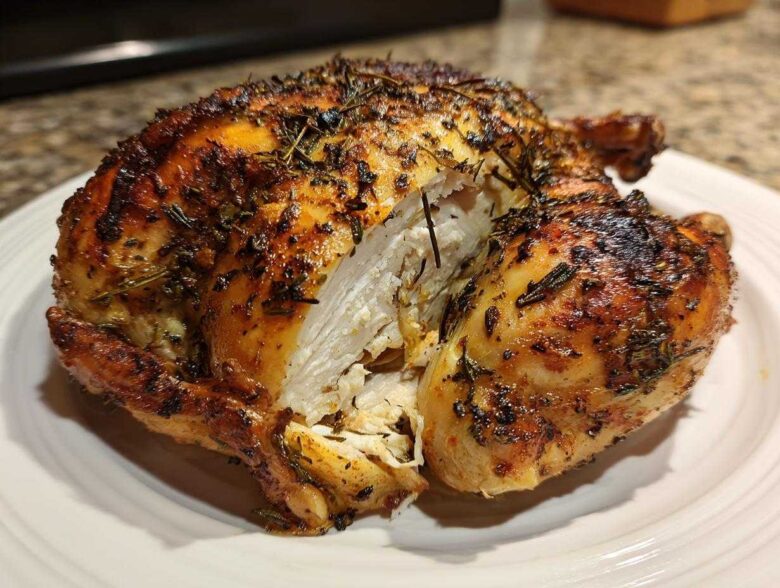
Are you tired of waiting what feels like an eternity for a whole chicken to roast, only to find the skin is just… sad? Yeah, we’ve been there. That’s why learning to **spatchcock chicken** changed our weeknight routine forever. When Mateo first pulled out the shears, I thought he was nuts, but wow! Flattening that bird is the absolute secret to getting skin that shatters like glass while keeping the meat unbelievably juicy. This oven-roasted approach cuts the cooking time down significantly, delivering that perfect, evenly cooked chicken we always dreamed about. It’s simple, it’s fast, and honestly, it’s become our signature roast. If you want to know more about our little passion project and why we focus on capturing life in these moments, you can read all about our story over at the About Us page.
Why This Oven Roasted Spatchcock Chicken Recipe Works Fast
I know, I know, ‘fast’ and ‘roast chicken’ usually don’t belong in the same sentence. But that’s the magic of moving away from the traditional blob shape! When you **spatchcock chicken**, you give yourself a huge culinary advantage. It really is the best trick for weeknight cooking because it concentrates the heat where it needs to be. We’ve found it shaves off nearly 30 minutes of oven time, which is huge when you’re hungry!
We want you to have the best results, so we put our notes on the blog for you to check out sometime! See our latest posts here!
Achieving Crispy Skin Chicken Every Time
When you lay the chicken flat, you expose literally every patch of skin directly to that hot oven air. Seriously, compare that to a bird trying to cook itself into a tight ball! The first, non-negotiable step here is patting that skin bone-dry with paper towels. Moisture equals steam, and steam means rubbery skin. Dry skin equals that beautiful, crackly texture we’re chasing.
The Secret to Juicy Roast Chicken with Evenly Cooked Chicken
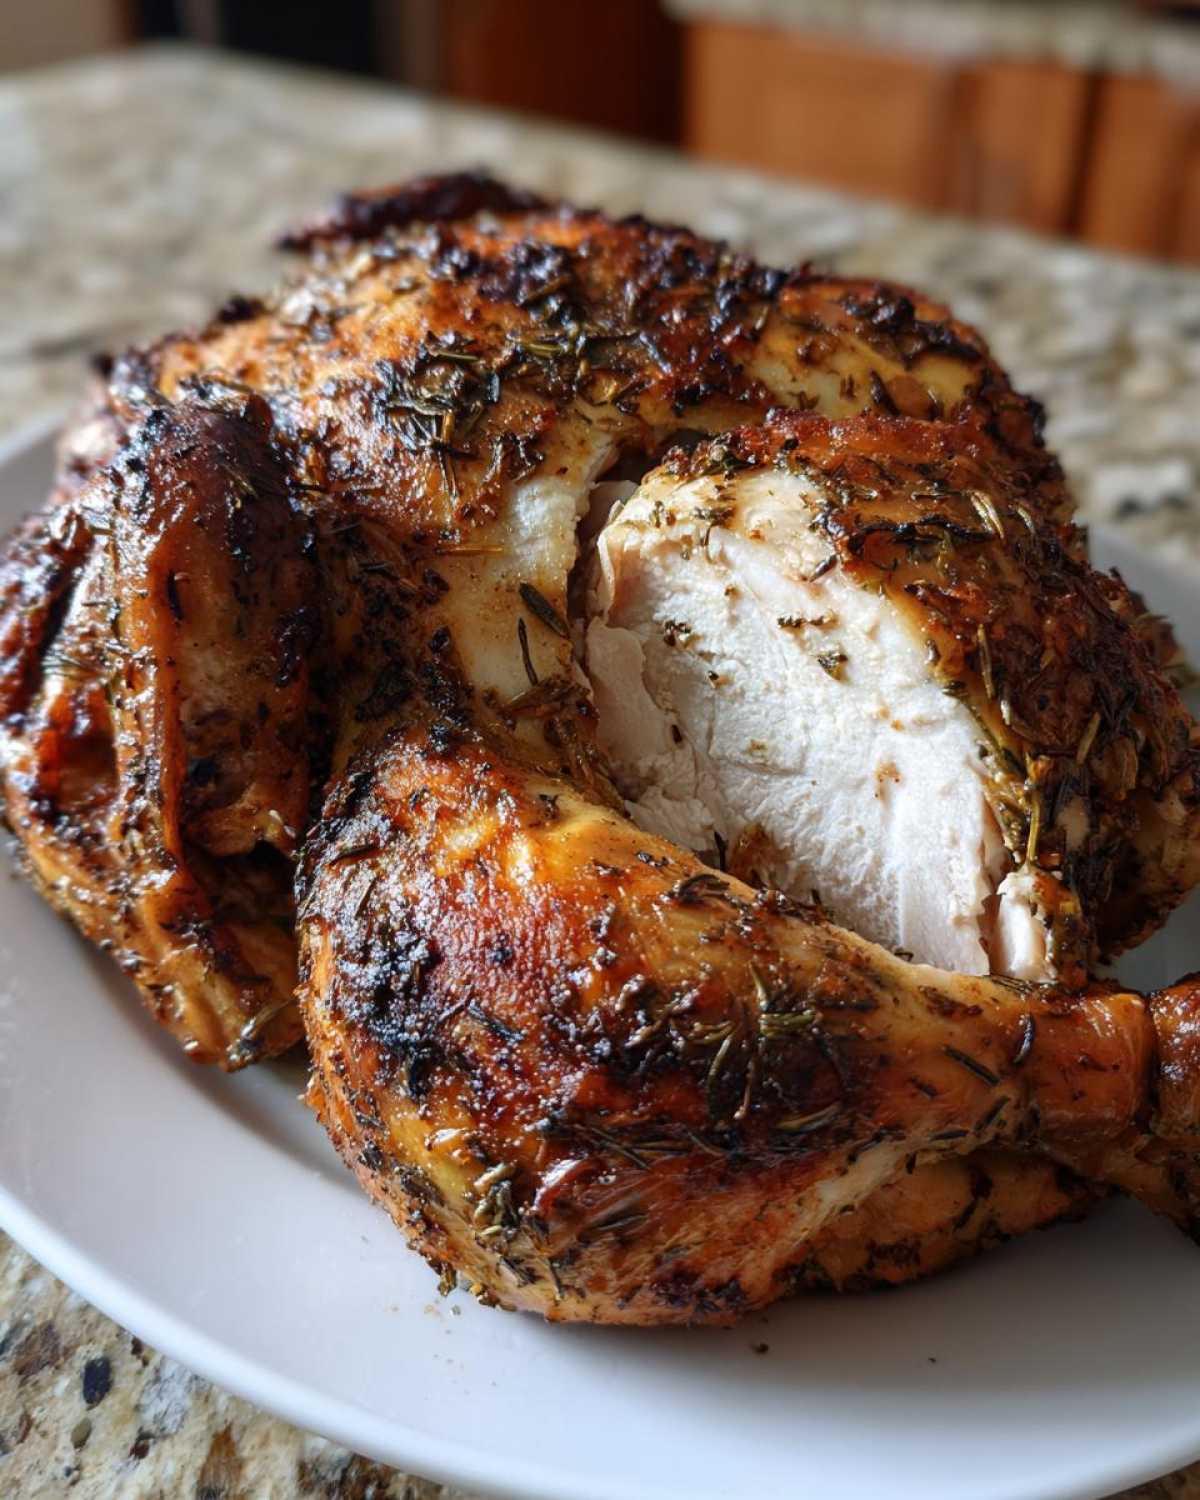
This is the part that blew my mind. When you roast a whole chicken, the breast muscle cooks way faster than the dark leg meat. By prepping your **spatchcock chicken** flat, the legs and thighs get more direct access to the heat source too, meaning they finish cooking at nearly the exact same time as the breast. No more dry white meat rescue missions!
Gathering Ingredients for Your Spatchcock Chicken Recipe
Okay, let’s talk supplies! Because this is a **spatchcock chicken** recipe, we keep the supporting cast really simple so the bird itself shines through. We rely on classic pantry staples for this herby flavor bomb. You only need one whole chicken, about four pounds should do it, plus some oil to help the seasoning stick.
Grab these things; make sure that salt is kosher, it really makes a difference in how the rub feels on the skin:
- 1 whole chicken (about 4 pounds)
- 2 tablespoons olive oil
- 1 tablespoon kosher salt
- 1 teaspoon black pepper
- 1 teaspoon dried thyme
- 1 teaspoon dried rosemary
- 1 teaspoon garlic powder
- 1/2 teaspoon paprika
How to Spatchcock Chicken: The Essential Technique
This part looks scary, I admit. Those giant shears look like medieval tools! But trust me, once you learn how to **spatchcock chicken**, you’ll never go back. The first time Mateo tried this, I actually hid behind the pantry door because I was convinced he was going to ruin the beautiful bird. He was terrified, but he powered through, and honestly, the results were spectacular.
This technique basically means removing the backbone so the chicken can lie perfectly flat on the roasting pan. It’s the key to getting that **crispy skin chicken** you’re dreaming of. Here is exactly how we do it step-by-step:
- First off, place your chicken breast-side down on a really sturdy cutting board. You need a good grip on this guy!
- Take your heavy-duty kitchen shears—don’t try this with regular scissors, please! Now, cut right alongside one side of the backbone, starting near the tail and working your way up to the neck area. Take your time and press firmly.
- Do the exact same thing on the other side of that backbone. You’re going to wiggle that piece out; save it for stock or toss it right away.
- Now comes the satisfying part. Flip the chicken over so it’s breast-side up.
- Put the heel of your hand right on the centre of the breastbone—where the two halves meet. Push down with all your weight until you hear a definite *crack* sound. I keep my fingers tucked in tight so they don’t get caught!
That’s it for the heavy lifting! You should now have a completely flattened bird, ready for seasoning. If you want to see someone else tackle this technique perfectly, check out this guide on how to perfectly roast spatchcock chicken. It mirrors what we do here!
Preparing the Herb Rub for Your Fast Roast Chicken
Now that we have our beautiful, flat canvas ready to go, it’s time to make it smell incredible! This simple herb rub is really what makes this a fast roast chicken superstar. We mixed up the salt, pepper, thyme, rosemary, garlic powder, and paprika in a tiny bowl. You literally just mix it all together until it looks like a dusty, fragrant playground for chicken skin.
I always sneak a little bit of that seasoning mix right under the breast skin, just where the meat is thickest. Don’t overdo it, though, because we really want that exterior skin to blister up beautifully without burning the spices underneath. Drizzle that olive oil all over the bird first—it acts like glue for our rub. Then, be generous! Sprinkle that mixture everywhere, patting it firmly so it adheres well. Mateo always says if you see any pale spots, that’s flavor you’re missing out on.
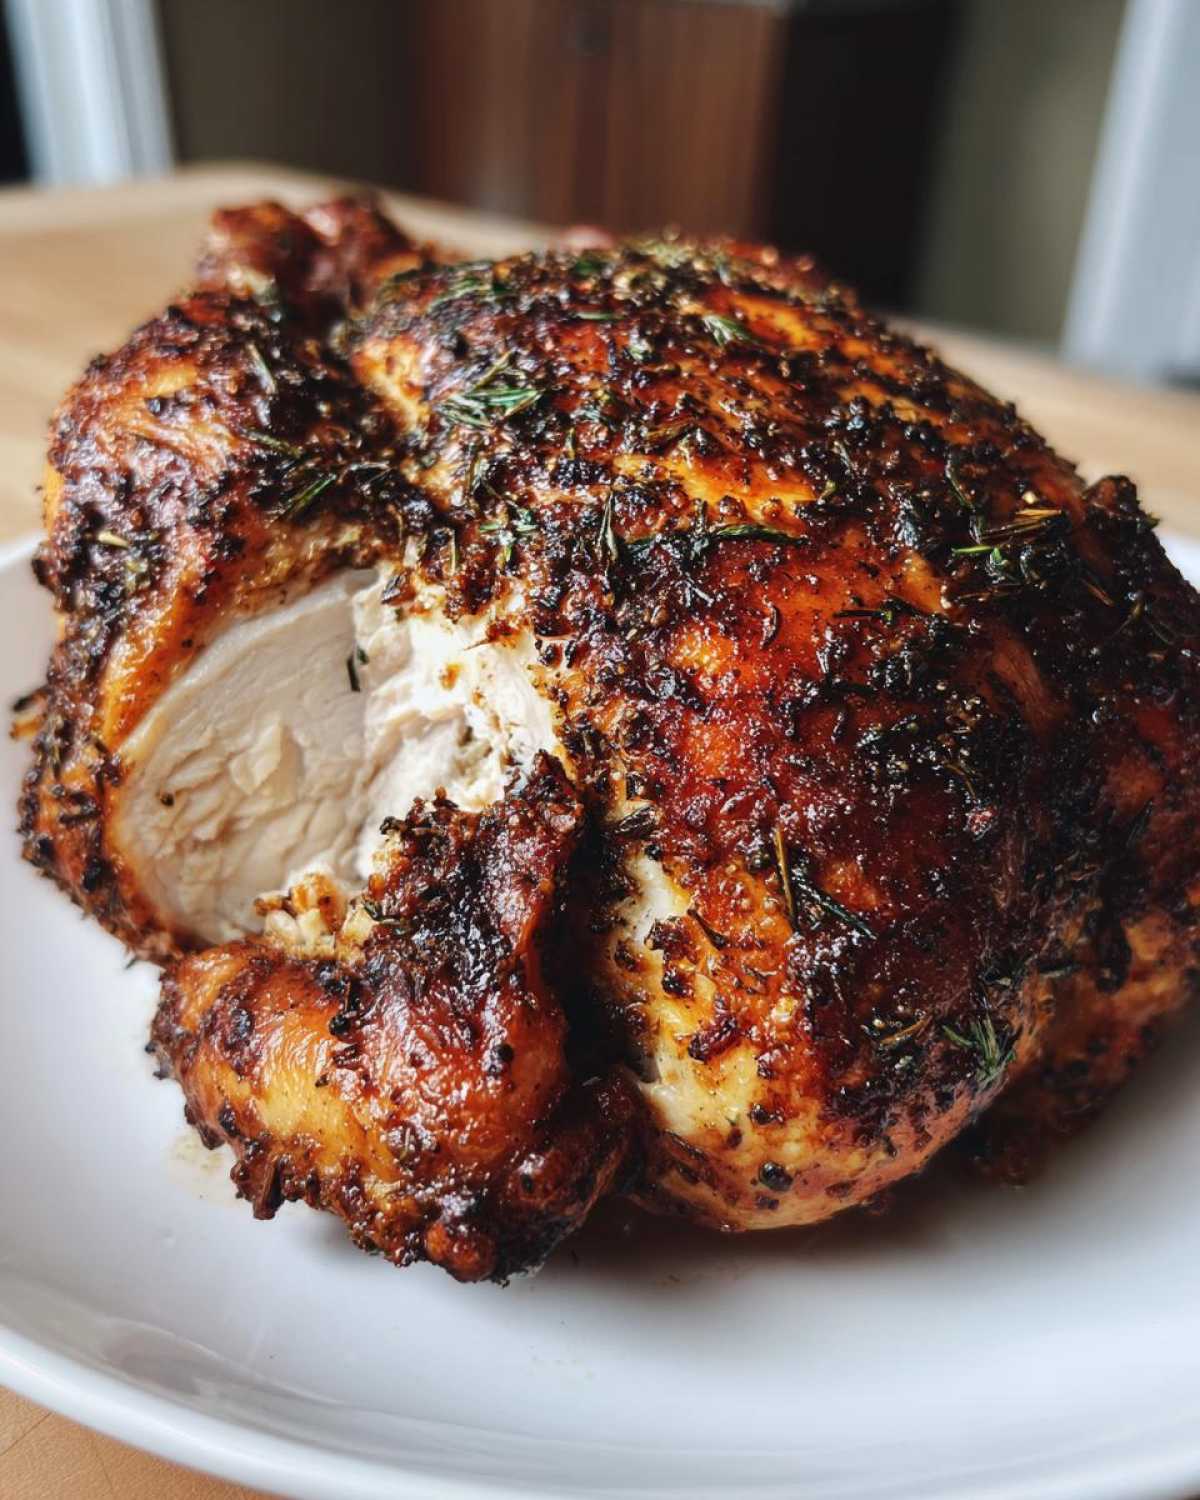
Once seasoned, we toss it onto a wire rack set over a sheet pan. This setup lets that crucial hot air circulate underneath, ensuring we don’t end up with soggy bottom chicken! If you want to see another one of our favorite quick meals featuring bold flavors, check out Mateo’s recipe for Garlic Parmesan Chicken Skewers. It uses a similar principle of maximizing surface area for flavor!
Roasting Instructions for Perfect Spatchcock Chicken
Alright, the bird is prepped, seasoned, and ready to fly—or rather, roast! This is where the payoff happens, and because we’ve flattened it all out for our **spatchcock chicken**, we can crank that heat up. Preheat your oven to a nice hot 425 degrees Fahrenheit and make sure that center rack is where you want it, as that will give us the best overall heat exposure.
If you happen to have a cast iron skillet, you can actually heat that right up in the oven before placing the rack on it; this gives you incredible bottom-up searing! We’ve got a great post showing off that exact method over at The Sassy Foodie if you want to see that version in action.
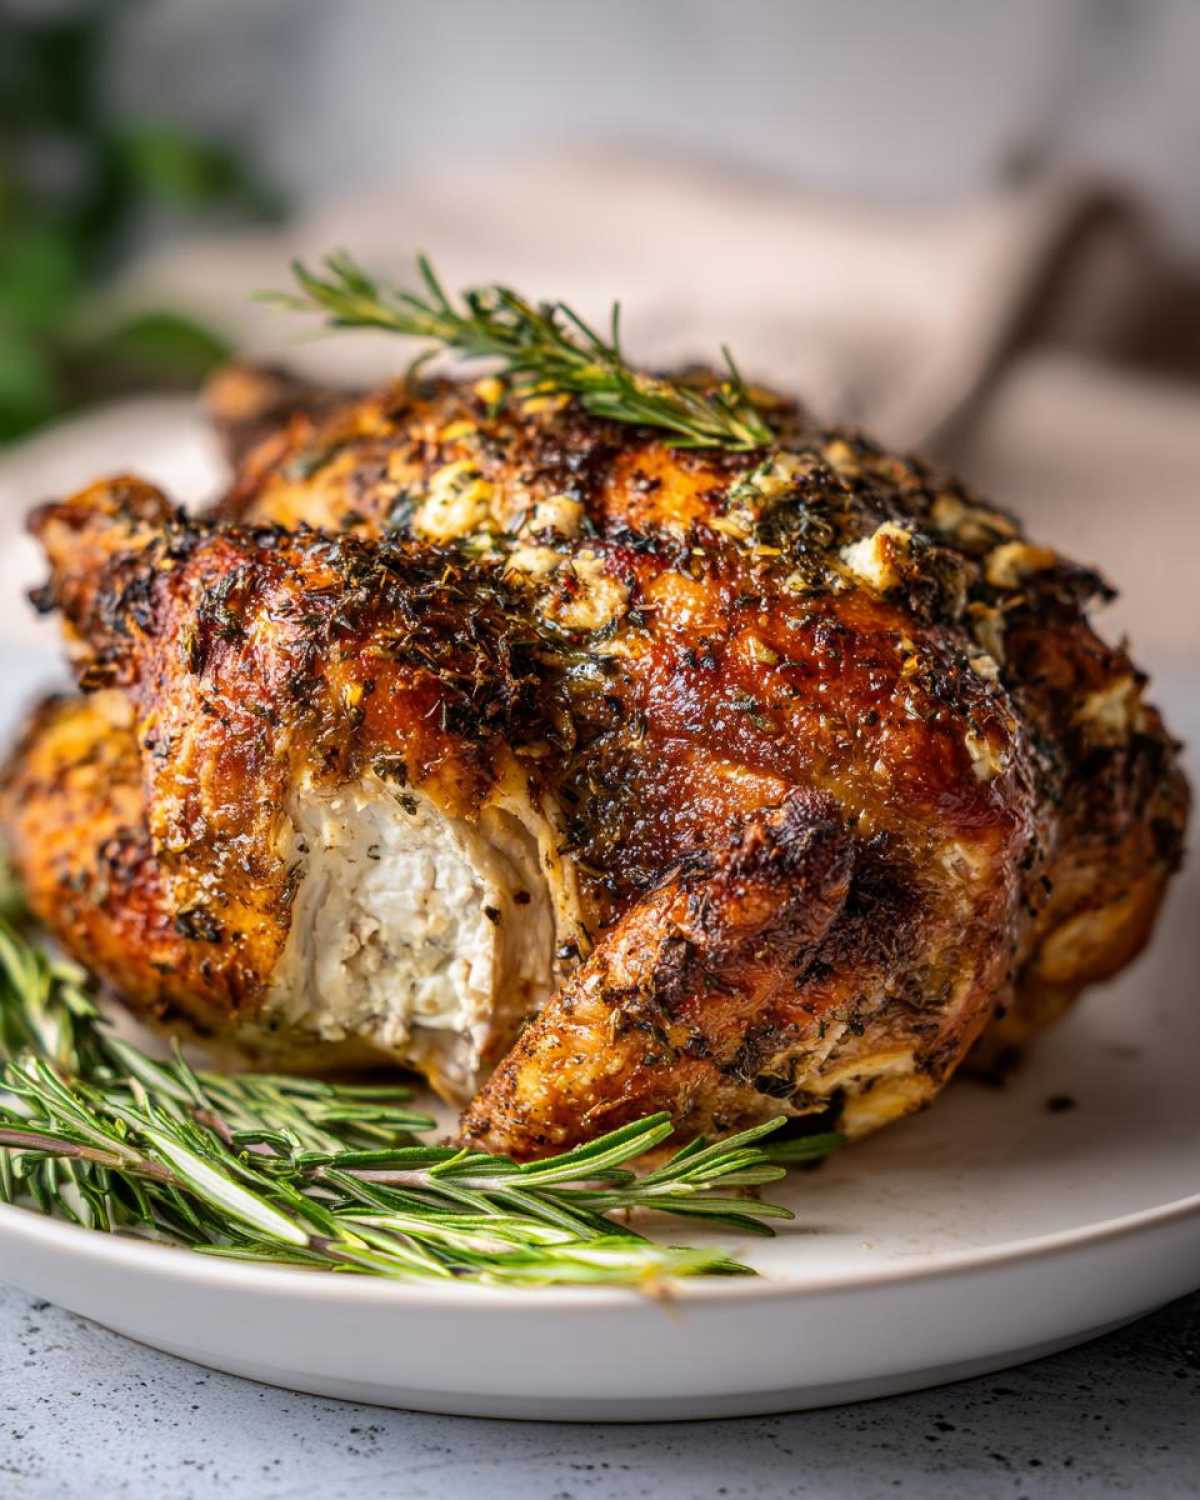
After about 40 to 50 minutes, it’s time to check for doneness. Don’t try to guess this part; we always trust the thermometer! Stick it deep into the thickest part of the thigh, making sure you’re not hitting bone, and you are looking for 165 degrees Fahrenheit. That time range is what makes this a fantastic **fast roast chicken** dinner!
Resting Time for a Truly Juicy Roast Chicken
Okay, this is the rule I break the least often, and you shouldn’t either: you MUST let the chicken rest. I know you just pulled a perfectly roasted bird out of the oven, and you’re staring at that crispy skin thinking you need to carve it immediately, but seriously, wait 10 minutes. If you cut into it right away, all those beautiful chicken juices—the very things we worked so hard to keep inside—will just run out onto your cutting board.
Ten minutes resting on that board allows the muscle fibers to relax and reabsorb all that moisture. When you finally slice into it, the meat will be wonderfully tender and unbelievably juicy. It’s a small pause for massive flavor reward!
Tips for Success with Your Butterflied Chicken Recipe
Even though this **spatchcock chicken** recipe is super straightforward, Mateo and I have a couple of sneaky little tricks we learned from making way too many chickens in our tiny kitchen. These aren’t in the instructions, but they are game-changers for getting that restaurant-quality look and texture at home. We find these little steps really cement the difference between a good chicken and an amazing one.
First, if you have the time—and this is only if you’re planning ahead, maybe for Sunday dinner—let that seasoned chicken hang out in the fridge uncovered. Yes, uncovered! Letting it chill like that for at least two hours (up to 24!) dries the skin out even further. It’s basically a dry brine, and trust me, the crispness you get back is phenomenal. It’s our absolute favorite way to make sure you get that perfect **crispy skin chicken**.
Second, we mentioned the cast iron skillet earlier, but I wanted to reiterate how great that swap can be! If you use a heavy cast iron pan instead of a baking sheet, go ahead and put that pan in the oven while it’s preheating. When you slide the chicken right onto that screaming-hot surface, you get an intense blast of heat right against the bottom skin. It’s another great way to guarantee even cooking!
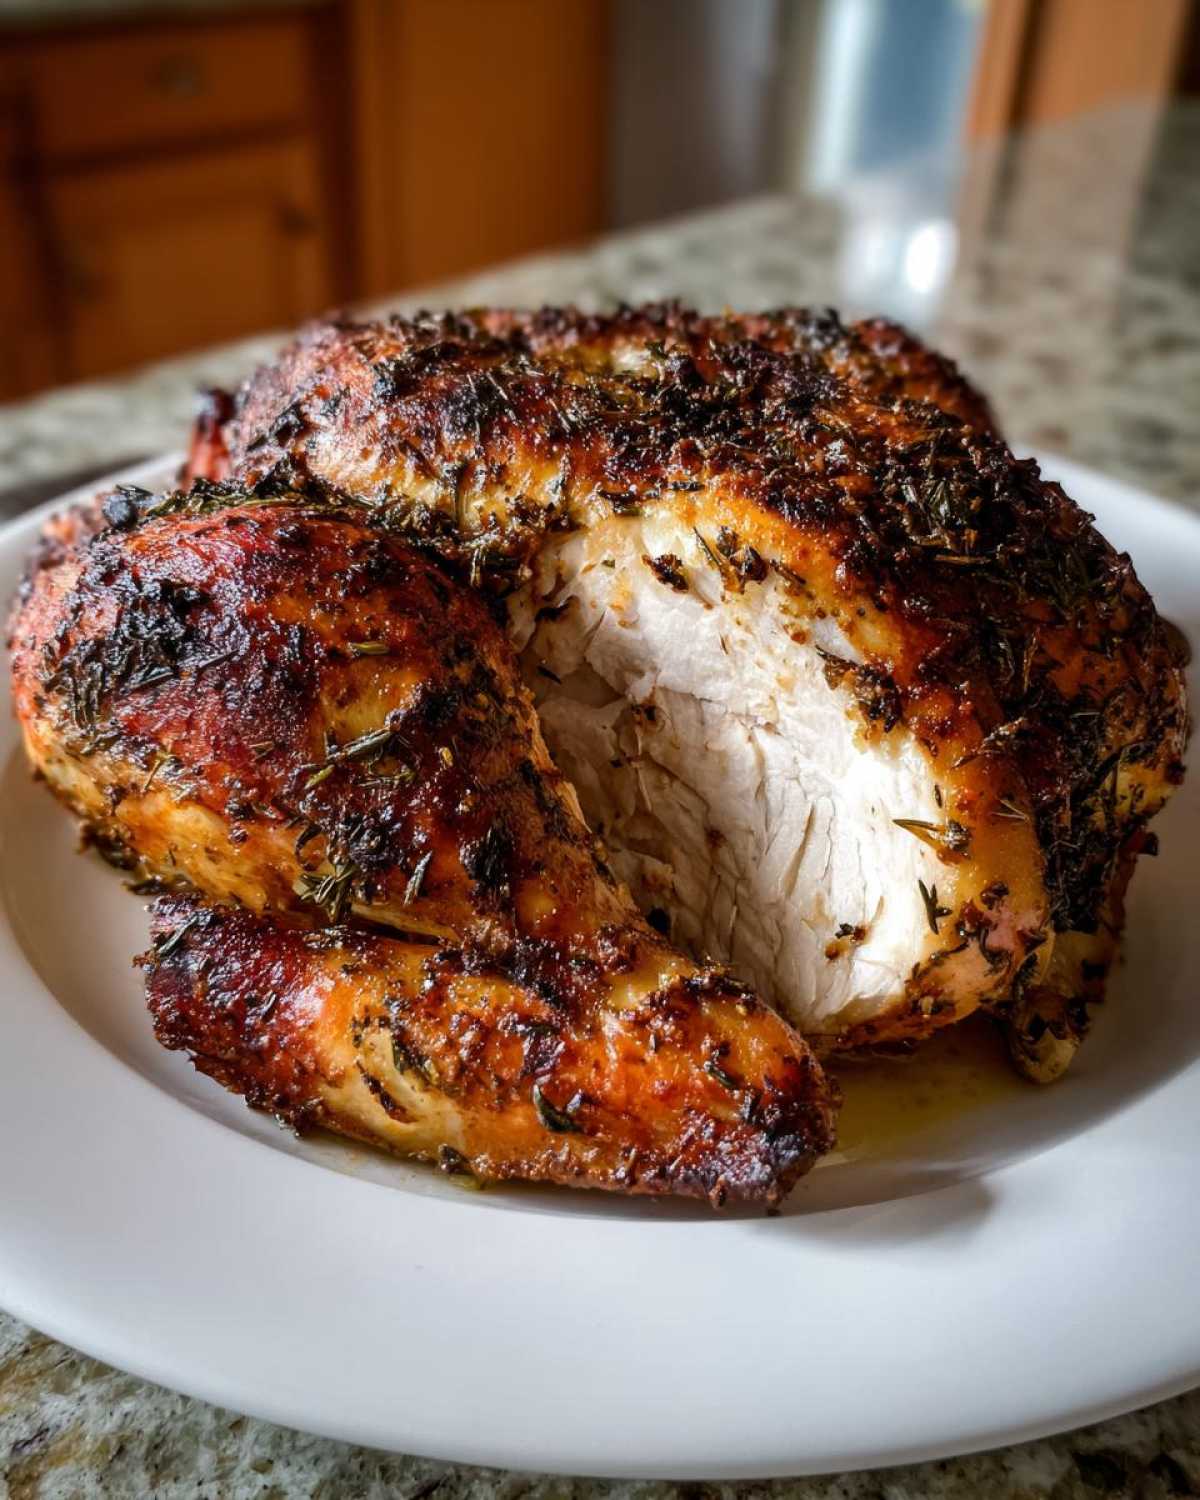
If you’re looking for a fantastic way to use those drippings later, don’t forget to check out our recipe for homemade brown gravy—it’s the perfect partner for this incredibly juicy roast chicken. And for a few more great ways people tackle this method, this article on how to spatchcock chicken has some neat visuals too!
Serving Suggestions for Your Easy Chicken Dinner Ideas
Okay, the star of the show—our perfectly roasted, impossibly juicy chicken—is resting beautifully. Now we need to load up that plate! Since this whole operation is designed to be a **quick weeknight chicken dinner**, we don’t want sides that take three hours to prep, you know? We need companions that are flavorful but don’t require constant attention while we wait for our bird to calm down.
Our go-to side when we make our herb-rubbed bird is usually something starchy that soaks up all those amazing juices. You absolutely HAVE to try our Roasted Garlic Mashed Potatoes recipe. They are creamy, a little bit fragrant from the garlic, and they act like little sponges for the chicken drippings left in the pan.
If you want something greener, don’t worry, we haven’t forgotten the veggies! Sometimes we just chop up some sturdy green beans, toss them with a drizzle of olive oil and some salt, and roast them right alongside the chicken for the last fifteen minutes. They get this awesome little blistered texture that tastes incredible next to crispy skin.
For a seriously fast option, a bright, acidic salad is the perfect counterpoint to the rich roast chicken flavor. Think simple: mixed greens, shaved fennel, maybe some toasted walnuts, and a sharp lemon vinaigrette. It cuts right through the richness and makes the whole meal feel lighter, even though you just ate a whole chicken!
Storage and Reheating for Leftover Spatchcock Chicken
Even though this bird is so good you’ll swear you won’t have leftovers, sometimes life happens, and you end up with extra incredibly juicy meat. We always plan for leftovers just so we can enjoy that perfectly seasoned meat again the next day! Storing your extra **spatchcock chicken** correctly is crucial so it doesn’t dry out overnight.
The absolute best way to store it is to first let it cool down completely, then place the sliced or carved meat into an airtight container. Don’t just toss the whole carcass in there—that traps moisture in weird places and speeds up spoilage. I find that if I slice the meat off the bone before storing, it reheats much more evenly!
It keeps great in the fridge for about three or four days. Don’t push it past that time; we want this to be delicious, not a science experiment! When you’re ready for round two, never nuke the whole piece in the microwave. That’s a one-way ticket to tough, chewy meat.
Instead, try adding a tiny splash of chicken broth or even just water into a skillet, placing your sliced chicken on top, and reheating it gently over medium-low heat, covered. That steam locks the moisture right back in. It warms up perfectly for popping onto salads, folding into wraps, or just eating standing over the sink like Mateo sometimes does!
Frequently Asked Questions About Spatchcock Chicken
Is removing the backbone really necessary for spatchcocking?
Honestly, yes, if you want the true benefit! Removing the backbone is what allows you to flatten the bird, which is the entire point of this method for achieving **crispy skin chicken**. If you just try to press a whole chicken flat without removing that spine, you’ll just break ribs or tear the skin awkwardly. Cutting it out lets the chicken lie completely flat, guaranteeing that fast, even cook we’re aiming for in this **whole chicken cooking method**.
Can I use this spatchcock chicken recipe on the grill?
Absolutely! We often make this on the grill, especially when it’s nice out. The principles are the same: high heat and direct exposure. For grilling, you’ll want to set up your grill for two-zone cooking—high heat on one side, lower indirect heat on the other. You sear it skin-side down on the hot side first to get that initial char and crispness, then move it over to the cooler side to finish cooking through evenly. It tastes amazing with a little smoky flavor added in!
What is the ideal weight range for roasting spatchcock chicken?
We find that the 3.5 to 4.5-pound range is just about perfect for oven-roasting this recipe. Chickens in this size category fit easily on a standard baking sheet with a rack, and the cooking time of 40–50 minutes is incredibly reliable across that range. If you go much bigger, say 6 pounds, the cooking time balloons, and you start losing that key “fast roast” benefit! Keep it moderate for the best results.
If I skip the oil, will my herb rub still stick?
It will stick about as well as dry flour sticks to a wet counter—not very well! The olive oil isn’t just for flavor; it’s your crucial binding agent. It creates a thin, even layer that grips onto every bit of that savory herb rub. Skipping it means most of your seasoning will likely slide right off onto the pan instead of staying put to make that gorgeous crust. If you’re worried about fat, you can use avocado oil, but don’t skip the stickiness factor entirely. We treat this step, along with the parchment paper tip we discussed earlier, as mandatory for a good bake. If you want to explore our site policies, you can always check out our Privacy Policy here.
PrintUltimate Fast & Crispy Spatchcock Chicken with Simple Herb Rub

Learn the secret to a juicy interior and perfectly crispy skin with this fast oven-roasted spatchcock chicken recipe. This method cooks faster than traditional roasting, making it ideal for a weeknight dinner.
- Prep Time: 15 min
- Cook Time: 50 min
- Total Time: 65 min
- Yield: 4 servings
- Category: Dinner
- Method: Oven Roasting
- Cuisine: American
- Diet: Low Fat
Ingredients
- 1 whole chicken (about 4 pounds)
- 2 tablespoons olive oil
- 1 tablespoon kosher salt
- 1 teaspoon black pepper
- 1 teaspoon dried thyme
- 1 teaspoon dried rosemary
- 1 teaspoon garlic powder
- 1/2 teaspoon paprika
Instructions
- Preheat your oven to 425 degrees Fahrenheit. Place an oven rack in the center position.
- Place the chicken breast-side down on a sturdy cutting board. Using sharp kitchen shears, cut along one side of the backbone, from the tail end up to the neck cavity. Repeat this cut on the other side of the backbone to remove it completely.
- Flip the chicken over so it is breast-side up. Press down firmly on the breastbone with the heel of your hand until you hear a crack and the chicken lies flat.
- Pat the entire chicken very dry with paper towels. This step is key for crispy skin.
- In a small bowl, mix together the salt, pepper, thyme, rosemary, garlic powder, and paprika to create the herb rub.
- Drizzle the olive oil over the chicken. Rub the oil all over the skin.
- Generously sprinkle the herb rub over the entire surface of the chicken, making sure to coat the skin evenly.
- Place the flattened chicken, skin-side up, on a wire rack set over a rimmed baking sheet.
- Roast for 40 to 50 minutes, or until a meat thermometer inserted into the thickest part of the thigh registers 165 degrees Fahrenheit.
- Remove the chicken from the oven. Let it rest on a cutting board for 10 minutes before carving. This resting period helps keep the meat juicy.
Notes
- For the best results in achieving crispy skin, let the seasoned chicken sit uncovered in the refrigerator for at least 2 hours, or up to 24 hours, before roasting.
- If you are using a cast iron skillet instead of a baking sheet, place the skillet in the oven while it preheats.
- To ensure even cooking, try to tuck the wing tips under the body before flattening.
Nutrition
- Serving Size: 1 quarter chicken
- Calories: 350
- Sugar: 0
- Sodium: 450
- Fat: 18
- Saturated Fat: 5
- Unsaturated Fat: 13
- Trans Fat: 0
- Carbohydrates: 0
- Fiber: 0
- Protein: 42
- Cholesterol: 140