

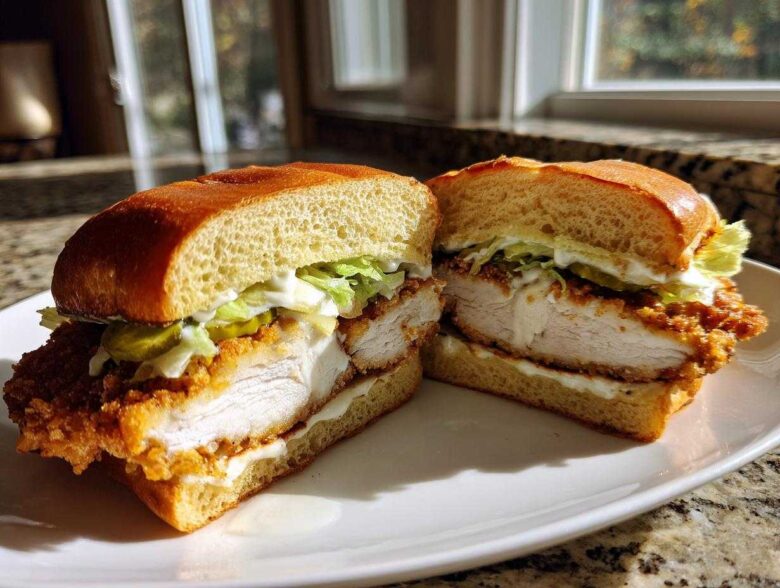
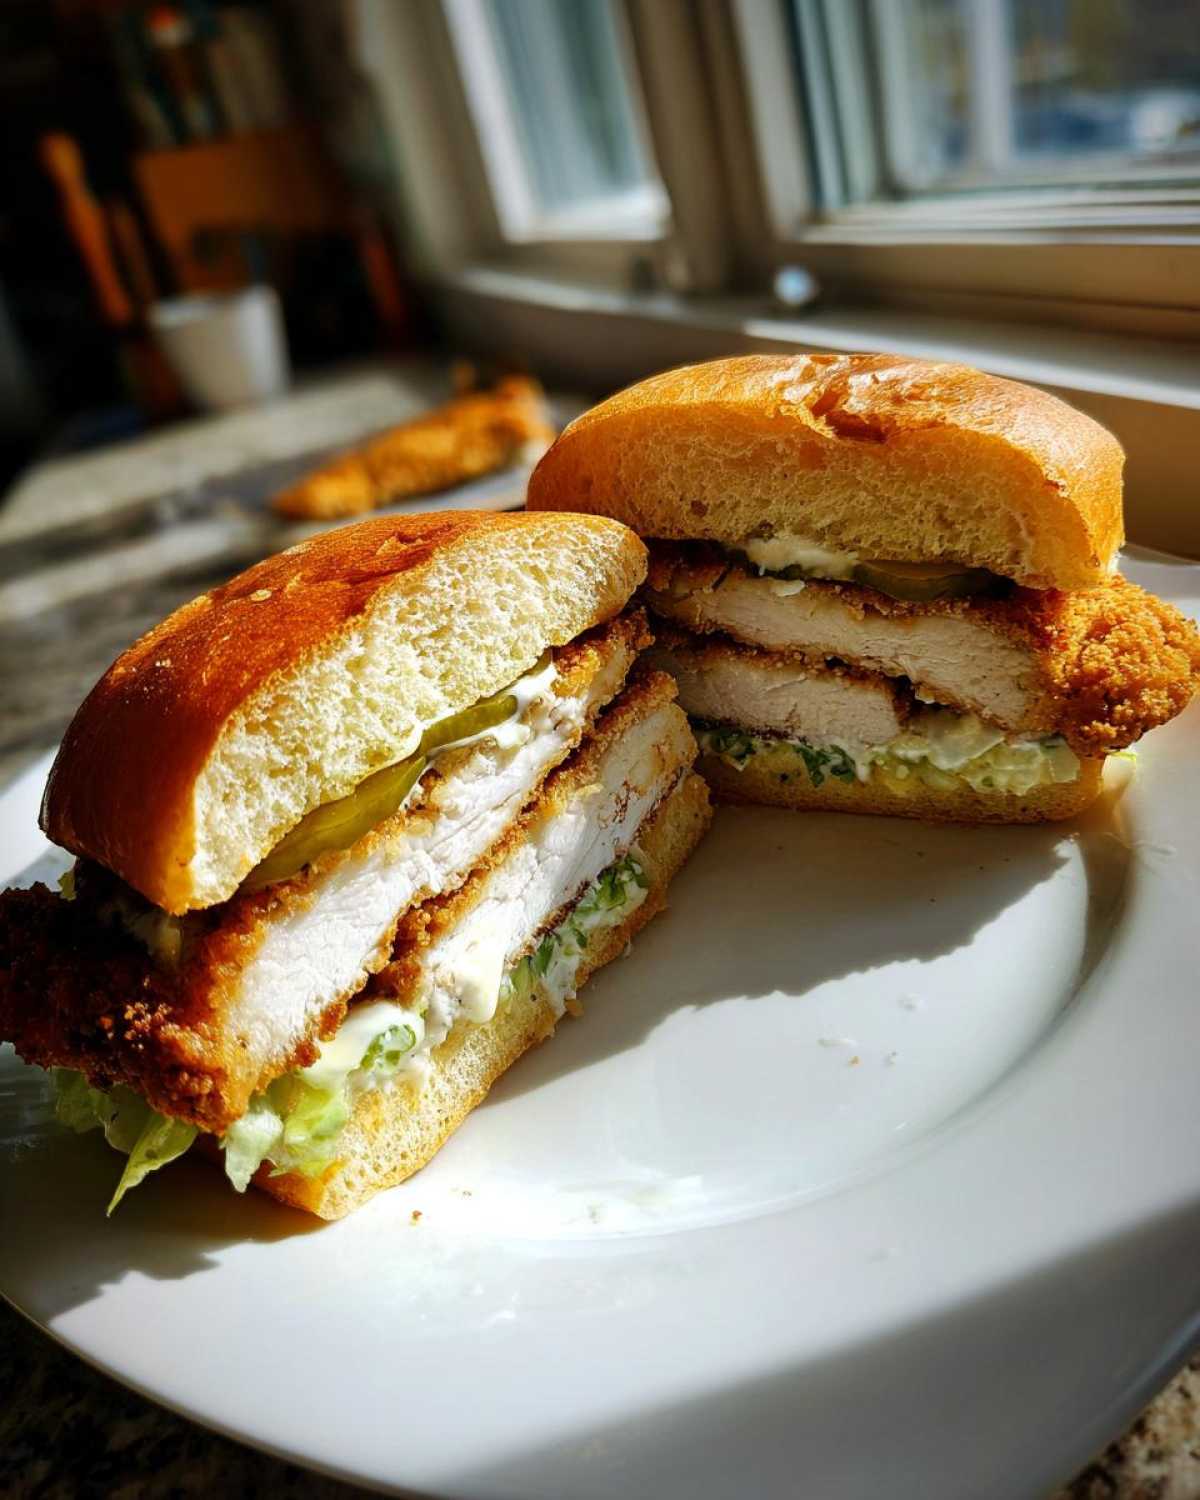
Oh my goodness, tell me you’ve been there. That moment when only one thing sounds good: a wildly crunchy, juicy chicken sandwich dripping with rich, garlicky sauce. Forget those soggy, thin things you get sometimes! When I finally mastered this recipe, it felt like winning the lottery. Seriously, this is my ultimate, tried-and-true method for a restaurant-style Crispy Chicken Sandwich with Garlic Sauce that’ll ruin you for all others.
The secret, I learned through much messy trial and error (and lots of oil splatter!), is all in the coating technique. I won’t lie, perfecting that double-dredge took me three attempts, but once I got those craggy bits to really grab onto the chicken? Wow. That texture, paired with the simple, incredible homemade garlic sauce, is pure magic. For more about my kitchen mishaps and philosophy, you can always check out why I love sharing these recipes. You’re going to want to make sure you have plenty of pickles ready, trust me on that one.
Why This Crispy Chicken Sandwich with Garlic Sauce Stands Out
I’m telling you, this isn’t just another weeknight fried chicken. This recipe shines because we focus on two main things: insane, shattery crunch and a sauce that truly sings. It’s the authenticity of that **Ultimate Crispy Fried Chicken Sandwich Recipe Experience** that makes this worth the effort!
- The crunch factor is non-negotiable—we build that crust specifically to last.
- The Homemade Garlic Aioli for Sandwiches brings a creamy, bright element you can’t get from a bottle.
- We nail the textural contrast: unbelievably juicy fillet against that crunchy coating. If your oil isn’t hot enough, you miss out on that signature crispiness!
The Ultimate Crispy Fried Chicken Sandwich Recipe Experience
This is about balancing massive texture with pure flavor. Getting the oil temperature right is honestly half the battle; too cool, and you get mushy chicken that tastes like old socks. Too hot, and the outside burns before the inside cooks. We aim for that perfect sweet spot so you get that beautiful, jagged, crunchy shell around a perfectly tender fillet. That’s what makes it a **Juicy Chicken Sandwich with Crunchy Coating** that lives up to the hype!
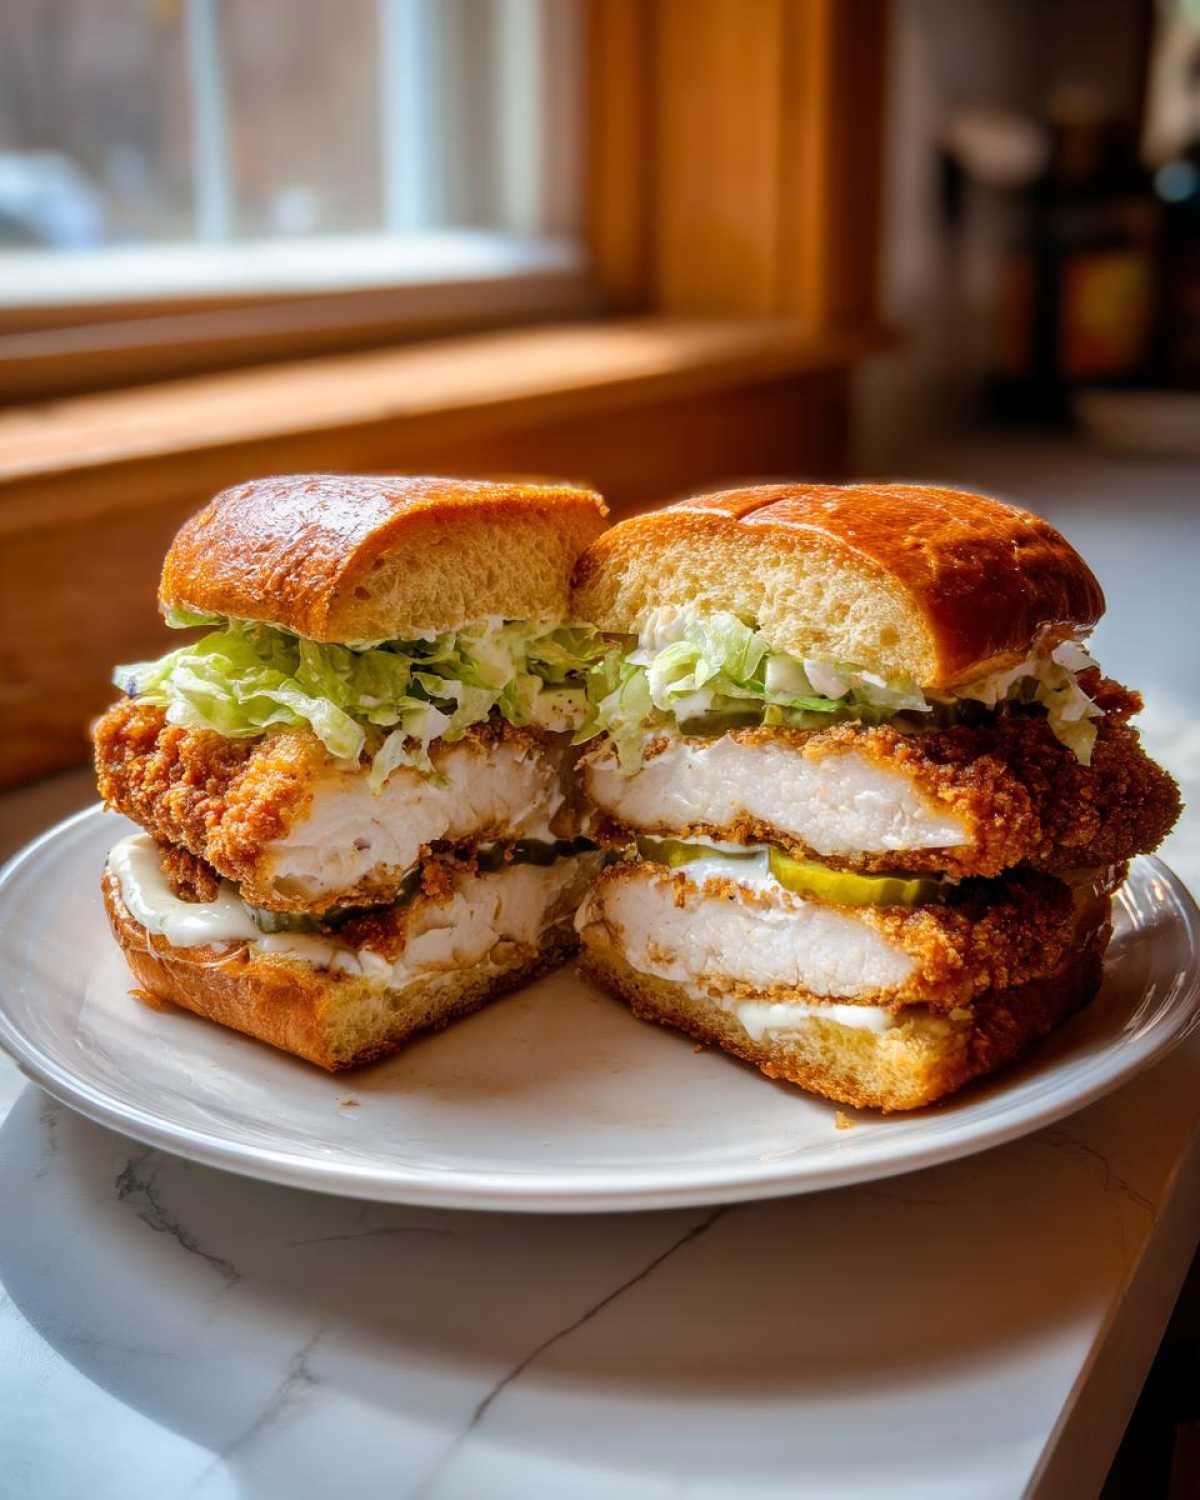
Gathering Ingredients for Your Crispy Chicken Sandwich with Garlic Sauce
Okay, before we get too deep into the frying madness, we need to make absolutely sure we have everything lined up. Trust me, scrambling for buttermilk mid-dredge is a recipe for disaster—and a soggy crust! I always lay everything out on the counter first, organized into little bowls. That way, once the oil is hot, it’s a smooth, assembly-line process. It might seem like a lot of steps, but once you see the components ready to go, you’ll realize how fast this all comes together. We’ve got the chicken prep, the dry dredge, the wet dredge, and that killer sauce that ties everything together beautifully. You can check out my recipe for garlic parmesan skewers if you need more garlic inspiration!
For the Chicken and Breading
We start by prepping our main event! You need two boneless, skinless chicken breasts, which you’ll need to halve horizontally to get four nice, even fillets. We want them thin enough to cook fast but thick enough to stay juicy. Don’t forget the dredge ingredients!
- 2 boneless, skinless chicken breasts, halved horizontally
- 1 cup all-purpose flour
- 1/2 cup cornstarch (This is key for crispiness!)
- 1 teaspoon salt
- 1 teaspoon black pepper
- 1 teaspoon paprika
- 1/2 teaspoon garlic powder
- 1/2 teaspoon cayenne pepper (if you like a little kick)
- 2 large eggs
- 1/2 cup buttermilk
- Vegetable oil, for frying (You’ll need about 1.5 inches deep in your pan)
For the Homemade Garlic Sauce
This sauce is what elevates it from good to *amazing*. It’s quick, much better than anything store-bought, and tastes honestly like a fantastic **Homemade Garlic Aioli for Sandwiches**. When you mince that garlic super fine, you get all the flavor without big chunks.
- 1/2 cup mayonnaise
- 2 cloves garlic, minced (make sure they’re small!)
- 1 tablespoon lemon juice
- 1 teaspoon Dijon mustard
- Pinch of salt
For Assembly
The final touches pull the whole experience together. We want soft, slightly sweet buns to hold up against that crispy chicken and tangy toppings!
- 4 brioche buns (They toast up like a dream!)
- Butter, for toasting
- Lettuce leaves (Crunchy iceberg works best here, in my opinion)
- Dill pickle slices
Mastering the Best Crispy Chicken Breading Technique
Okay, listen up, because this is where we separate the decent sandwiches from the legendary ones. If you want that shatteringly crisp exterior that makes you pull the sandwich back to stare at the coating again, you have to commit to the **Best Crispy Chicken Breading Technique**. I’m talking about developing actual texture here, not just a thin film of flour.
Preparing the Chicken Fillets for Maximum Crunch
First things first: the chicken needs to be uniform. If you have one end of the fillet thick and one end thin, guess what? The thin end is sandpaper dry by the time the thick end is done cooking. So, grab your meat mallet or even a heavy rolling pin and gently pound those pieces. You are aiming for an even 1/2-inch thickness across the whole cut. This attention to detail is what guarantees you end up with that wonderful **Juicy Chicken Sandwich with Crunchy Coating** we promised!
The Double-Dip Method for a Restaurant Style Crispy Chicken Sandwich
This is the secret sauce, or really, the secret coating! We are going wet-dry-wet-dry. You want lots of those beautiful, craggy bumps on your chicken, which get created when the coating hits the hot oil. To get that glorious texture for your **Restaurant Style Crispy Chicken Sandwich**, follow this sequence:
- Dip the plain, pounded chicken piece into your wet mixture (egg/buttermilk). Let the excess slide off—we don’t want it swimming.
- Press it firmly, *really* firmly, into the dry dredge (flour/cornstarch mix). Make sure every nook gets coated.
- Now, dip it *back* into the wet mixture for just a quick second. Don’t soak it; just lightly re-wet the exterior coating.
- Finally, press it *hard* back into the dry dredge again. This final, hard press clumps the flour together and creates those glorious flakes and peaks needed for supreme crunch.
And here is the step I learned makes a huge difference, an absolute must for that great E-E-A-T: Once the chicken is fully coated, put it on a clean wire rack for about 10 minutes before it hits the oil. You don’t want it drying out, but you *do* want that coating to settle and adhere nicely to the meat. It prevents the crust from flaking off in the hot oil!
How to Make Perfect Fried Chicken Fillets for Your Crispy Chicken Sandwich with Garlic Sauce
This frying step is where all that careful breading work pays off! If you’re following my guidance on **How to Make Perfect Fried Chicken Fillets**, temperature control is the absolute name of the game. Get your oil ready in a heavy skillet or Dutch oven—you want enough depth to completely surround the chicken pieces, so aim for about 1.5 inches of vegetable oil. Heat it up nice and slow until it hits that magic 350°F (175°C) mark.
When you gently slide those beautiful, craggy fillets into the heat, be cautious not to crowd the pan! Overcrowding drops the oil temperature instantly, and we lose that crispness immediately. You’re looking for 4 to 6 minutes on each side. Use a thermometer, please; we need that internal temp to hit a safe 165°F (74°C) to know you’ve cooked it all the way through. Once they are that gorgeous golden brown, move them straight to a wire rack that’s sitting over some paper towels. Resist the urge to put them straight on paper towels, as that traps steam and makes the bottom soggy! Give them a quick sprinkle of salt right after they come out. If you ever need more inspiration on deep-frying, I’ve got some great tips over at my homemade chicken nuggets recipe, too!
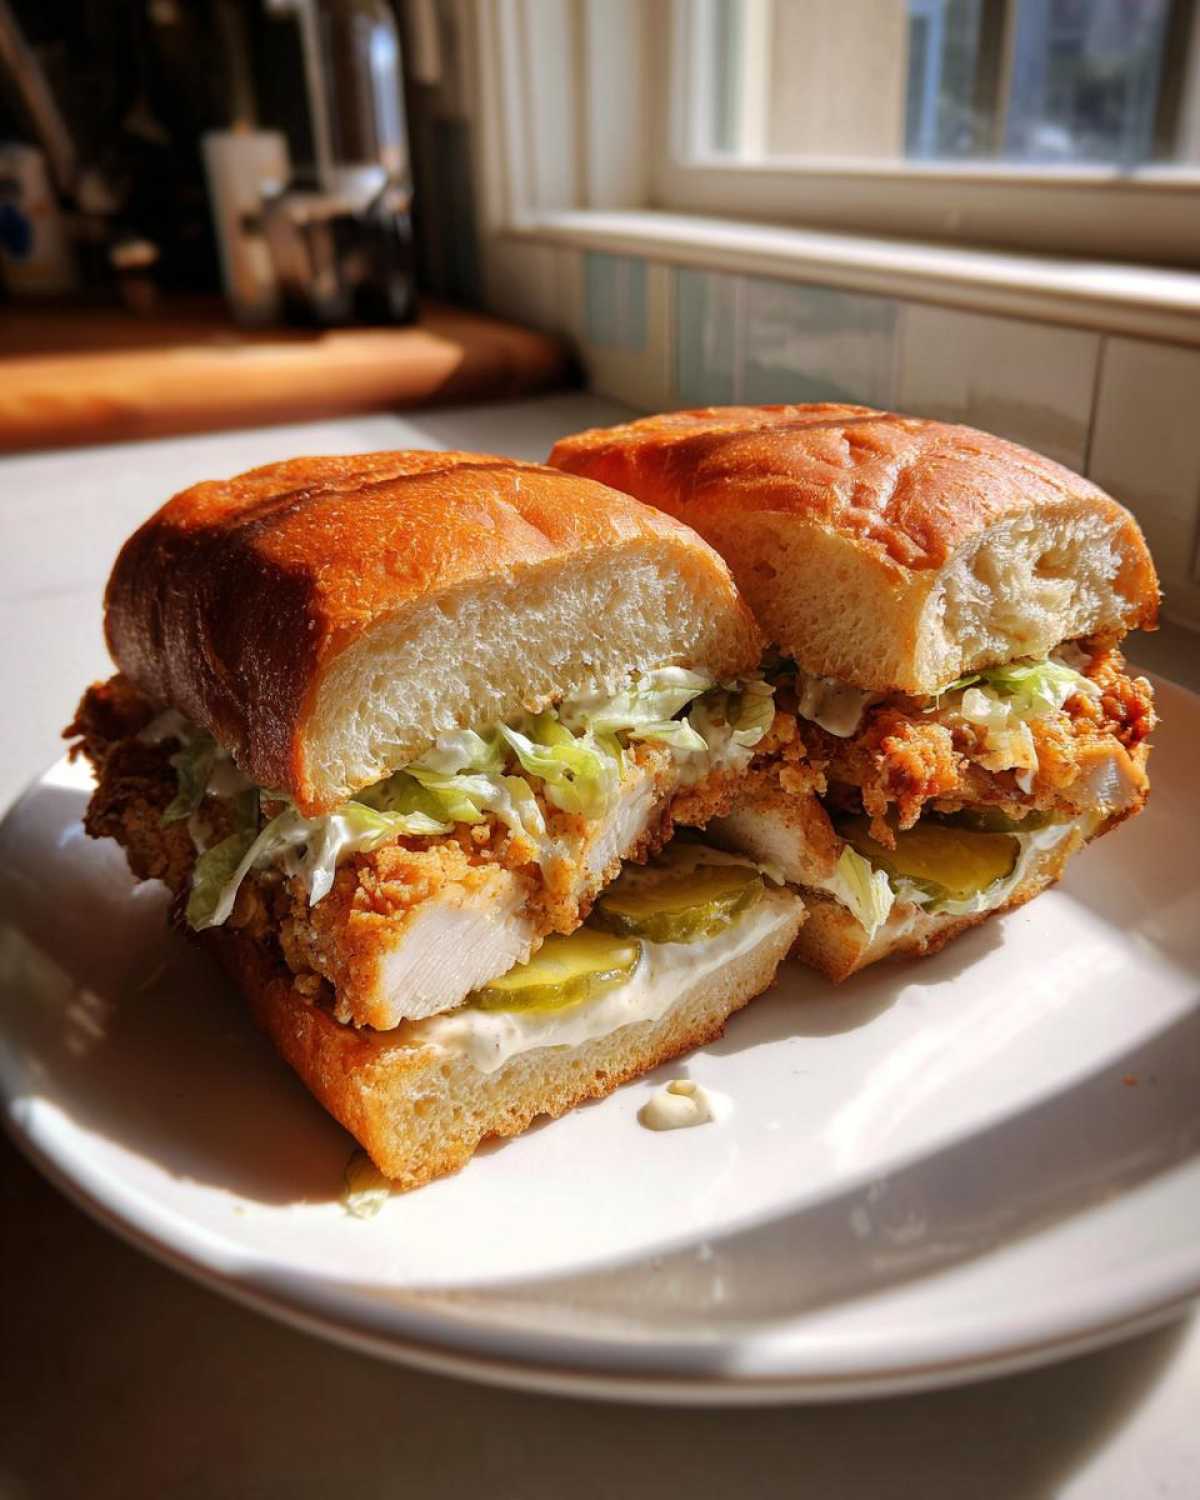
Assembling Your Gourmet Chicken Sandwich Recipes
We’ve done the hard part—perfectly fried, shatteringly crisp chicken is resting, and that glorious garlic sauce is waiting. Now, it’s time to put this masterpiece together! Honestly, assembling a sandwich this good feels like building a tiny, delicious piece of architecture. It’s crucial to toast those brioche buns; it provides a barrier against the sauce so your sandwich doesn’t turn into soup halfway through eating. And speaking of sauce, we’ll use that **Easy Garlic Sauce for Chicken** generously on both sides of the bun!
Take your time here. A great sandwich is all about the layers working together. If you wanted to sneak in some caramelized onions, now would be the time to check out that caramelized onions inspiration too!
Preparing the Quick Garlic Sauce Dipping Recipe
Since we already mixed up the sauce ingredients earlier, now is the time to make sure it’s perfectly combined. If you made it ahead of time, even better! Allowing the minced garlic flavor to deepen in the mayo for just 30 minutes makes a huge difference. Just give that bowl another quick stir to make sure everything is emulsified. We want it smooth, creamy, and utterly packed with garlic punch. Don’t skimp on it; you need plenty for both sides of the bun!
The Ultimate Chicken Sandwich Build Order
This order matters for structural integrity and flavor distribution, following what I like to think of as **The Ultimate Chicken Sandwich Build** rules. We want the crunch protected, and the toppings where they should be:
- Take your toasted bottom bun.
- Spread a generous layer of the garlic sauce right onto the bread.
- Next, layer down your lettuce—this acts as a barrier to keep the bun from getting soggy from the pickle juices.
- Arrange your dill pickle slices artistically over the lettuce.
- Carefully place that hot, crispy chicken fillet right on top of the pickles.
- Drizzle or spread a touch more garlic sauce onto the top bun.
- Crown your creation with the top bun and hold it tight—you’re ready to eat!
This layering is key for ensuring you get a bite of lettuce and pickle with every mouthful of that crunch, just like in the best **Crispy Chicken Sandwich Toppings Guide** you’ll ever read!
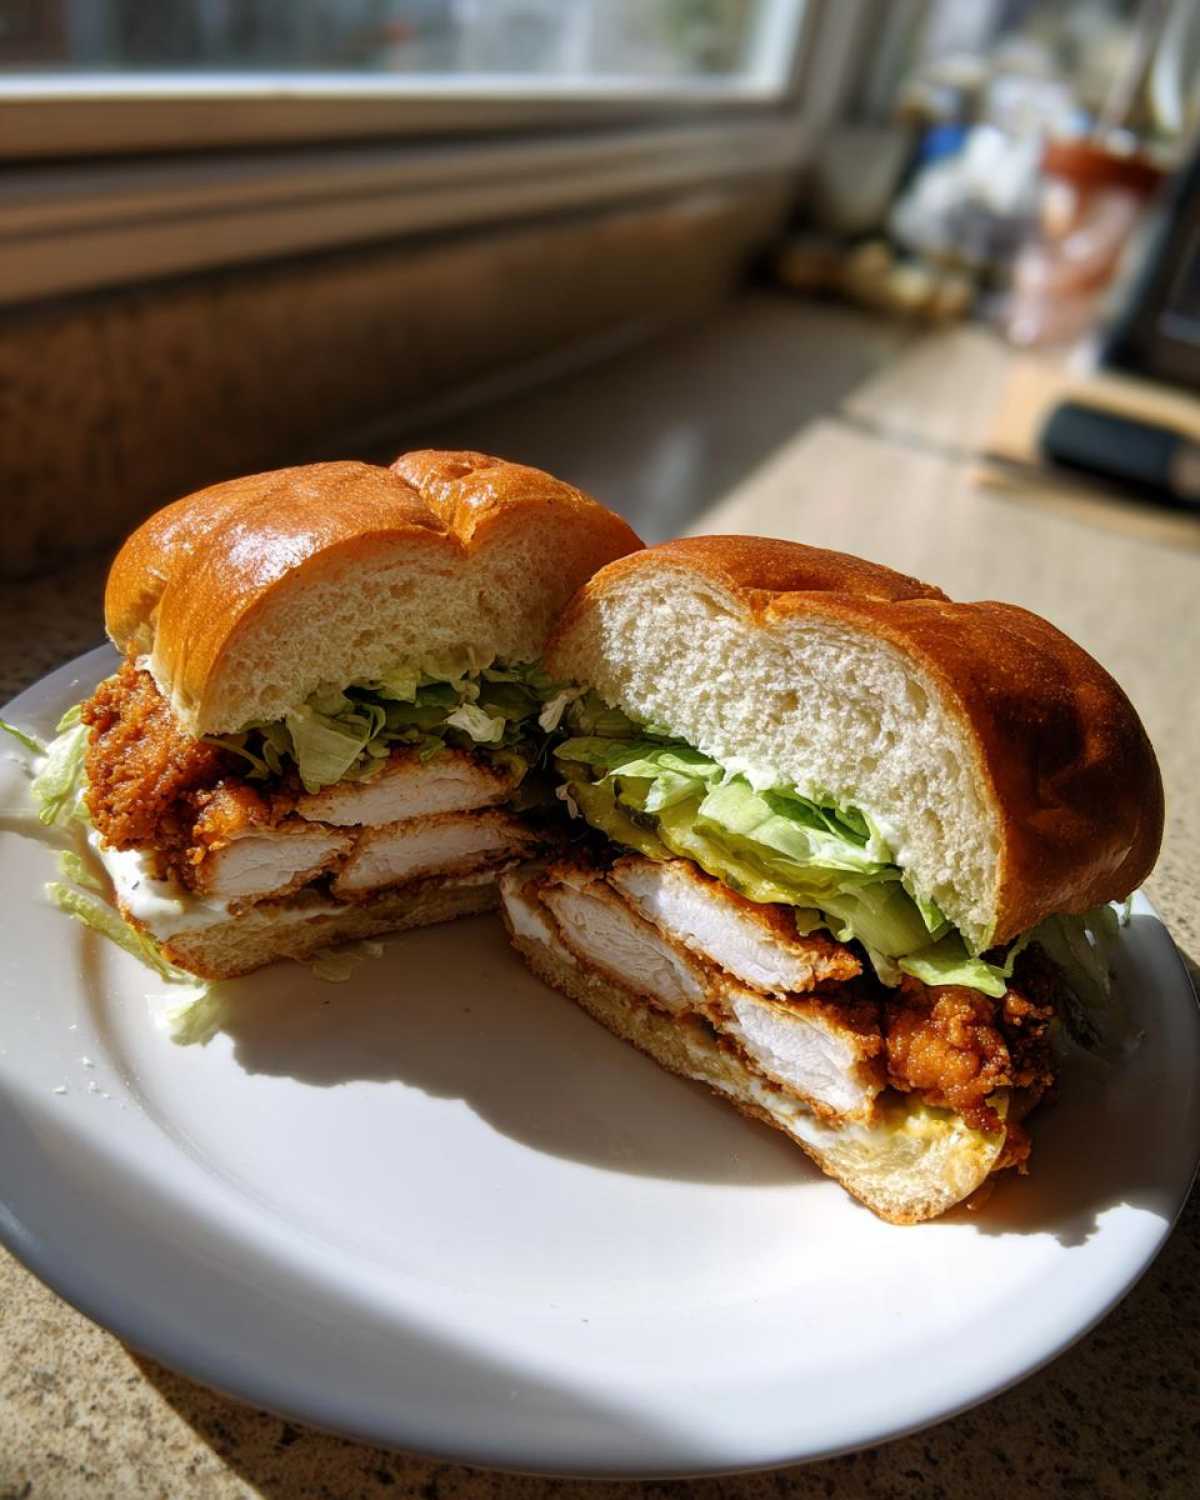
Tips for Success Making a Crispy Chicken Sandwich with Garlic Sauce
I know deep frying is the best way to get that legendary crunch, but sometimes you just don’t want the mess, right? I’ve got a couple of things that always help me nail this sandwich, whether I’m frying traditionally or taking the easier route. Resting the coated chicken is a guaranteed win for crispiness, and if you need an **Air Fryer Crispy Chicken Sandwich substitute**, I’ve got the quick settings for that too. A little planning goes a long way in delivering the best results!
Air Fryer Crispy Chicken Sandwich Substitute Guidance
If you’re feeling nervous about the oil, don’t sweat it! You can absolutely get a great texture using your air fryer. It won’t be *identical* to the deep-fried version, but it’s fantastic for a lighter meal. After you’ve done your double-dip coating, you need to spray the chicken lightly but thoroughly with cooking oil—don’t skip that part!
Pop the sprayed chicken fillets into the air fryer basket without overcrowding them. I set mine to 380°F (195°C) and cook them for about 15 to 20 minutes total. You need to flip them halfway through, around the ten-minute mark, to make sure both sides get that fantastic golden color. It’s a great option if you don’t want to pull out the big fryer pot, and you can read more about speedy sides like these air fryer wedges!
Storage and Reheating Instructions for Leftover Crispy Chicken Sandwich with Garlic Sauce
Let’s be real, making two perfectly fried chicken fillets that fit exactly into two brioche buns is tough. Sometimes you end up with an extra piece of gorgeous, crunchy chicken! Or maybe you made too much of that dreamy garlic sauce. Good news: leftovers keep well, but you have to segment things properly first.
First rule of the kitchen: Never store the fully assembled sandwich. If you did, the moisture from the pickles, lettuce, and sauce will instantly turn that glorious crispy coating into something sad and limp. We’re making **restaurant style crispy chicken sandwich** magic here, not soggy sadness!
For the leftover chicken fillets, store them in a single layer on a wire rack inside a loosely covered container in the fridge. Keeping them separated prevents them from steaming each other. The garlic sauce, because it’s mayonnaise-based, does great in an airtight container in the fridge for about four or five days—it’s so good you might use it all before then anyway!
When you’re ready for leftovers, heating the chicken is key to reclaiming that crunch. Forget the microwave; it’s the enemy of crispiness. The best method is using an oven or an air fryer. Preheat your oven to about 375°F (190°C) and place the chicken right on the rack (no pan underneath!) for about 8 to 10 minutes. If you use the air fryer, 370°F (185°C) for abut 5 minutes should crisp it right up. Once it’s hot and crunchy again, then—and only then—do you assemble your sandwich with fresh toppings and extra garlic sauce!
Frequently Asked Questions About This Crispy Chicken Sandwich with Garlic Sauce
I get so many great questions whenever I post this recipe because everyone wants that *perfect* bite! It’s understandable; achieving that ideal texture combination takes a little know-how. Here are some of the things I constantly hear people asking about when they’re planning their **Weekend Chicken Sandwich Project**.
Can I make the chicken spicy without changing the garlic sauce?
Oh, absolutely! That’s actually my preferred way to do it because I want the garlic sauce to stay bright and tangy, not muddy up with heat. If you want to ramp up the spice level for a genuinely satisfying kick, you need to put it straight into the breading. The easiest way is to double down on the cayenne pepper in your dry mix. If you want serious heat, though, try mixing a teaspoon of your favorite hot sauce directly into that egg and buttermilk mixture. The liquid helps the spice cling to the crust, which is perfect for a spicy version of the **Crispy Chicken Sandwich with Garlic Sauce**!
What is the best way to keep the chicken crispy after frying?
This is the number one question I get after frying! The biggest enemy of crispiness is moisture, and steam is moisture’s best friend. When you pull that gorgeous chicken out of the oil, you must place it on a wire rack that is elevated over a baking sheet lined with paper towels. Do not, under any circumstance, stack the cooked chicken on top of itself or put it directly on flat paper towels. That trapped steam will soften the bottom crust instantly. Keep them separated until you’re ready to build the sandwich. If you follow that, you’ll keep that crunch longer! If you ever need to get in touch with us, you can always reach out via our contact page.
Can I use a different bread instead of brioche for my sandwich?
While I absolutely adore the slight sweetness and soft texture of brioche buns for this recipe—they toast up like a dream, by the way—you can definitely swap them out. If you can’t find brioche, grab some nice, sturdy potato rolls; they hold up well under moisture. Sometimes I even use thick slices of good quality, slightly crusty sourdough bread for a bit of a tangier flavor profile! The most important rule, no matter what bread you select, is that you MUST toast it butter-side down in a dry pan or under the broiler until golden brown. That toasting step prevents the bun from collapsing under the weight of the chicken and sauce.
Nutritional Estimates for Your Meal
Now, I know what you’re thinking: a deep-fried chicken sandwich with garlic sauce? This isn’t exactly diet food, but tracking macros can still be helpful when you’re indulging in a true comfort meal like this! I quickly ran the numbers from my recipe breakdown, and here’s what we’re looking at for one glorious sandwich. Just remember that these figures are my best educated guess based on the ingredients I use—your exact measurements and brands might shift things around a little bit!
If you use the recipe exactly as written, you’re looking at a pretty substantial meal. For full transparency, here’s the general breakdown per serving size:
- Calories: Around 750
- Fat: Approximately 40g (a lot of that in the frying oil, naturally!)
- Protein: Right around 45g—that chicken is working hard!
- Carbohydrates: About 55g, mostly from the breading and the brioche bun.
We’re also keeping the sugar fairly low, which is a win, though the sodium is up there because, well, fried chicken needs salt! These numbers are just a baseline, and always keep in mind that they can change based on how thick your fillets are or how much sauce you decide to slather on. For more on how we handle data and privacy here in the kitchen, you can check out our privacy policy. Enjoy every bite!
PrintCrispy Chicken Sandwich with Garlic Sauce

Make a restaurant-style crispy chicken sandwich featuring perfectly fried chicken fillets and a simple, flavorful homemade garlic sauce.
- Prep Time: 20 min
- Cook Time: 20 min
- Total Time: 40 min
- Yield: 2 servings
- Category: Main Course
- Method: Frying
- Cuisine: American
- Diet: Low Lactose
Ingredients
- 2 boneless, skinless chicken breasts, halved horizontally
- 1 cup all-purpose flour
- 1/2 cup cornstarch
- 1 teaspoon salt
- 1 teaspoon black pepper
- 1 teaspoon paprika
- 1/2 teaspoon garlic powder
- 1/2 teaspoon cayenne pepper (optional)
- 2 large eggs
- 1/2 cup buttermilk
- Vegetable oil, for frying
- 4 brioche buns
- Butter, for toasting
- Lettuce leaves
- Dill pickle slices
- For the Garlic Sauce: 1/2 cup mayonnaise
- 2 cloves garlic, minced
- 1 tablespoon lemon juice
- 1 teaspoon Dijon mustard
- Pinch of salt
Instructions
- Prepare the chicken: Pound the chicken halves to an even 1/2-inch thickness. Set aside.
- Mix the dry dredge: In a shallow dish, whisk together the flour, cornstarch, salt, pepper, paprika, garlic powder, and cayenne pepper.
- Mix the wet dredge: In a second shallow dish, whisk the eggs and buttermilk together.
- Coat the chicken: Dip each chicken piece first into the wet mixture, letting excess drip off. Then, press firmly into the dry mixture, ensuring full coverage. For extra crispiness, dip the coated chicken back into the wet mixture briefly, then back into the dry mixture, pressing hard to create craggy bits.
- Make the garlic sauce: In a small bowl, combine the mayonnaise, minced garlic, lemon juice, Dijon mustard, and a pinch of salt. Mix well and refrigerate until serving.
- Heat the oil: Pour vegetable oil into a deep skillet or Dutch oven to a depth of about 1.5 inches. Heat the oil to 350°F (175°C).
- Fry the chicken: Carefully place the coated chicken into the hot oil, ensuring not to overcrowd the pan. Fry for 4 to 6 minutes per side, until golden brown and the internal temperature reaches 165°F (74°C).
- Drain: Remove the chicken and place it on a wire rack set over a paper towel-lined baking sheet to drain excess oil. Season lightly with salt immediately after frying.
- Toast the buns: Lightly butter the cut sides of the brioche buns and toast them in a dry pan or under the broiler until golden brown.
- Assemble the sandwich: Spread a generous amount of the garlic sauce on both halves of the toasted bun. Place lettuce and pickle slices on the bottom bun. Top with a crispy chicken fillet. Place the top bun on the chicken.
Notes
- For the crispiest coating, let the fully dredged chicken rest on a wire rack for 10 minutes before frying. This allows the coating to adhere better.
- If you prefer not to deep fry, you can air fry the chicken at 380°F (195°C) for 15-20 minutes, flipping halfway, after spraying lightly with cooking oil.
- Add a dash of hot sauce to the garlic sauce for a spicy kick.
Nutrition
- Serving Size: 1 sandwich
- Calories: 750
- Sugar: 10
- Sodium: 1100
- Fat: 40
- Saturated Fat: 8
- Unsaturated Fat: 32
- Trans Fat: 0
- Carbohydrates: 55
- Fiber: 2
- Protein: 45
- Cholesterol: 180