

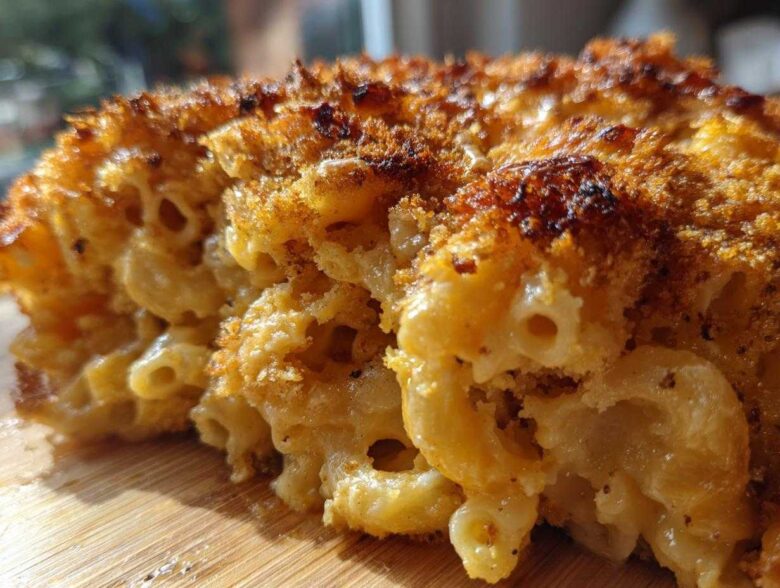
When the world feels a little too much, what’s the first thing you crave? For Mateo and me, it’s always that deep, satisfying warmth of true comfort food, and nothing says home like a perfect pan of baked mac and cheese. Forget the watery, dry messes you sometimes end up with! We spent years perfecting this recipe to guarantee you get the ultimate creamy texture underneath a blanket of golden, crunchy topping.
Here at Flavor Zine, we don’t believe in just publishing recipes; we publish snapshots of our chaotic little life together. We think the best food comes from passionate trial and error, which means we put our hearts into finding the most indulgent, foolproof dish possible. This version of our baked mac and cheese is the cover story of this issue, and honestly, it’s the most requested piece of content we’ve ever published. You can read a little more about our flavor publishing philosophy over at our story!
Why This is the Best Baked Mac and Cheese Recipe (The Creamy Secret)
I’m going to be honest: finding the best baked mac and cheese recipe felt like a major quest for us. There’s nothing sadder than pulling a casserole out of the oven only to discover the inside is dry or the sauce has gone gritty. That’s why this dish focuses entirely on solving those texture problems to deliver the creamy baked mac and cheese you dream about. We want that ultimate comfort food pasta experience, not a disappointing brick!
The trick, honestly, is the cheese blend we landed on after Mateo accidentally dropped an entire block of cream cheese into a batch last year—whoops! We layer the flavor using sharp cheddar for that punch, Gruyère for nuttiness, and a little bit of cream cheese. That cream cheese is our secret weapon for keeping everything silky smooth. It’s a game-changer, kind of like how cream cheese makes brownies just ridiculously decadent.
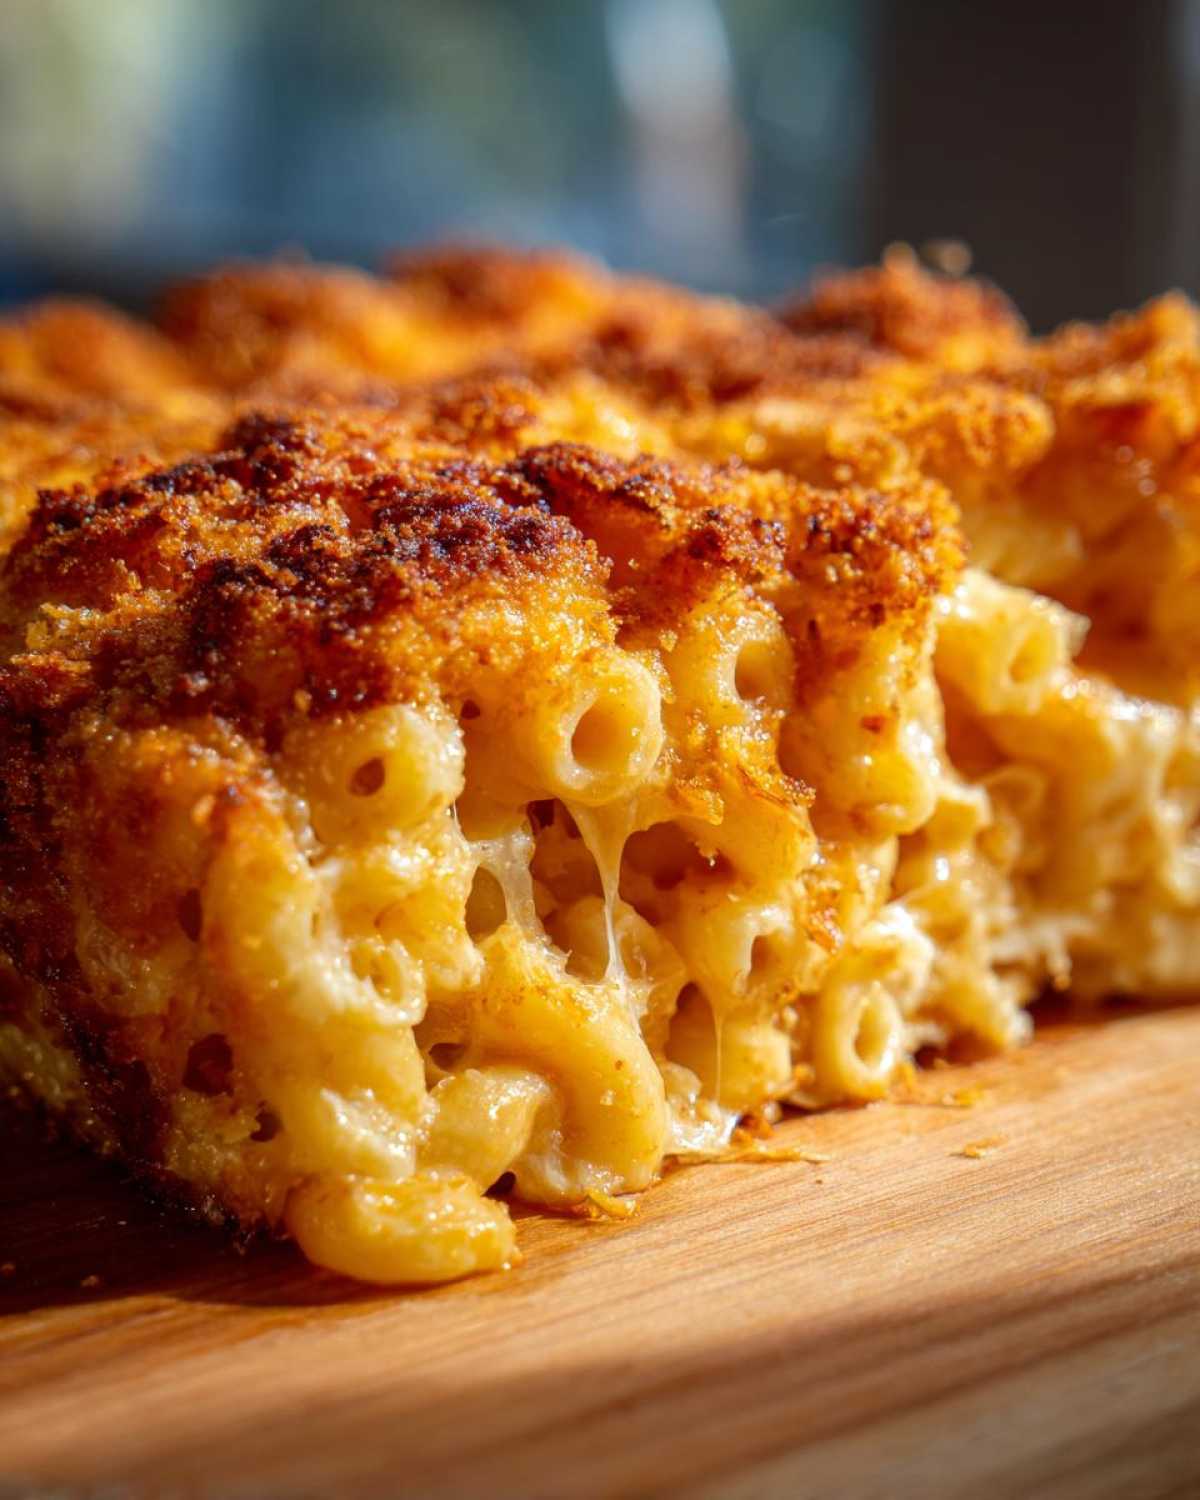
Achieving No Dry Baked Mac and Cheese: Our Foolproof Creamy Cheese Sauce Technique
The secret to avoiding that dreaded grainy texture lies totally in how we build this sauce. First, we always cook out the flour taste by cooking the roux for a solid two minutes over medium heat—don’t rush that step! Then, once the milk is whisked in and thickened, we immediately pull the whole thing off the burner before adding the cheese.
This off-heat melting is the key to a foolproof creamy cheese sauce. Adding cheese when the heat is too high causes the proteins to seize up, which is how you get graininess. By removing it from the stove, we guarantee ourselves a smooth, luxurious base every time. It’s the single biggest thing you can do to ensure you have no dry baked mac and cheese.
Gathering Ingredients for Your Ultimate Baked Mac and Cheese
Okay, let’s talk about what you need for this showstopper. For this ultimate baked mac and cheese, we need to be organized, because the payoff is huge! I laid everything out exactly as I use it, so you won’t miss a thing when it’s your turn to cook.
First, you need a pound of elbow macaroni—and please, please don’t walk past the pre-shredded cheese aisle! We use six tablespoons of butter, four cups of whole milk (make sure it’s at least slightly warm, trust me on that one!), some basic spices like salt, pepper, nutmeg, and cayenne. Then comes the good stuff: the cream cheese cubes, and the mountain of shredded cheese for that incredible sauce.
Cheese Selection for Deep Flavor in Your Cheesy Pasta Bake
This is where we build our flavor profile for this truly cheesy pasta bake. We demand good flavor, so that means buying blocks of cheese and shredding them yourself. That powder coating on pre-shredded stuff messes with the sauce! We rely on that sharp cheddar for that tangy backbone everyone expects.
Then we add Gruyère for a nutty depth and Monterey Jack for great stretch and meltability. That combination, plus our little bit of cream cheese magic, makes this the best cheesy pasta bake you’ll ever put on your table. Don’t skimp here; the cheese is the star!
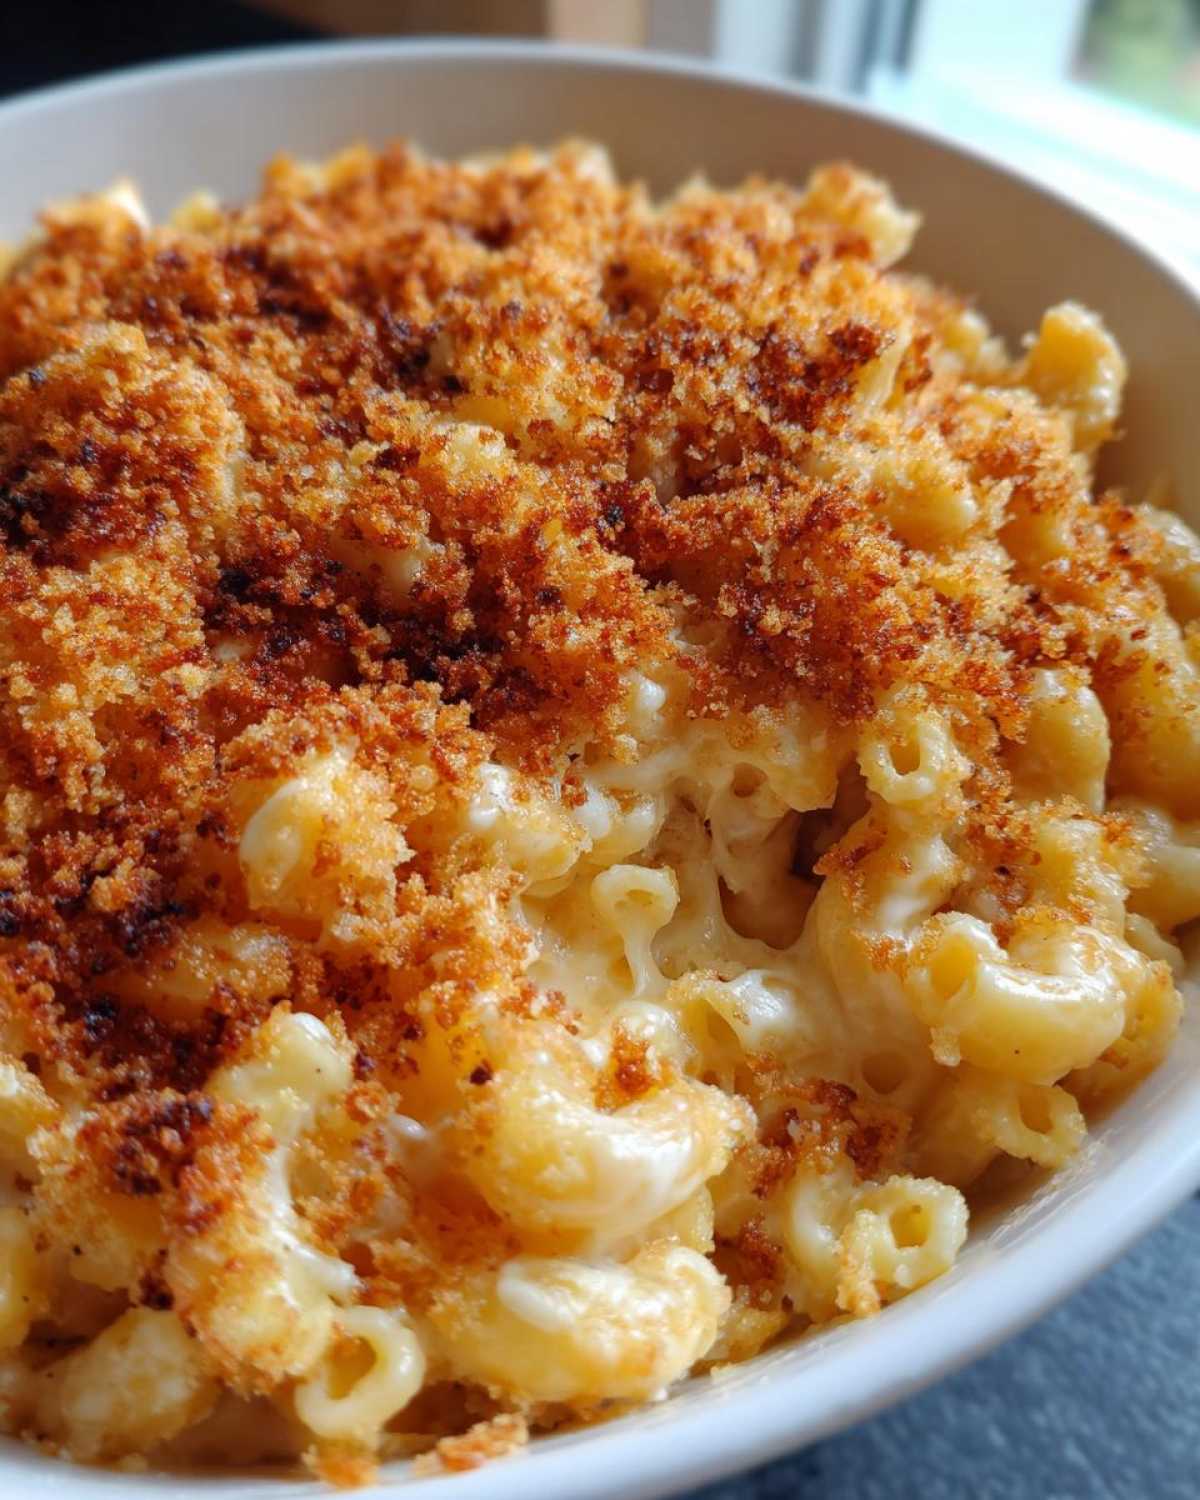
Step-by-Step Instructions for Perfect Baked Mac and Cheese
Alright, time to actually assemble this masterpiece! If you followed the ingredient list, you’ve got your macaroni cooked perfectly al dente—remember, it’s going back into the oven, so we don’t want mush! First things first: preheat that oven to 375°F and get your 9×13 dish ready.
Step two is building the foundation, which means making our delicious roux. Melt those six tablespoons of butter in your big pot over medium heat, then whisk in the flour and cook it for a solid two minutes. This burns off that raw flour flavor, which is essential! After that, we slowly introduce the warm milk while whisking like crazy until it coats the back of a spoon. Now, pull that pan OFF the heat. Seriously, take it off the burner!
This is where disaster is averted in our baked mac and cheese recipe. Off the heat, we stir in the spice blend, then gently fold in the cream cheese cubes until they melt completely smooth. Now, add all those beautiful shredded cheeses in handfuls, stirring until it’s velvety before you even think about adding the pasta. Once the cooked pasta is folded in, get it into the pan.
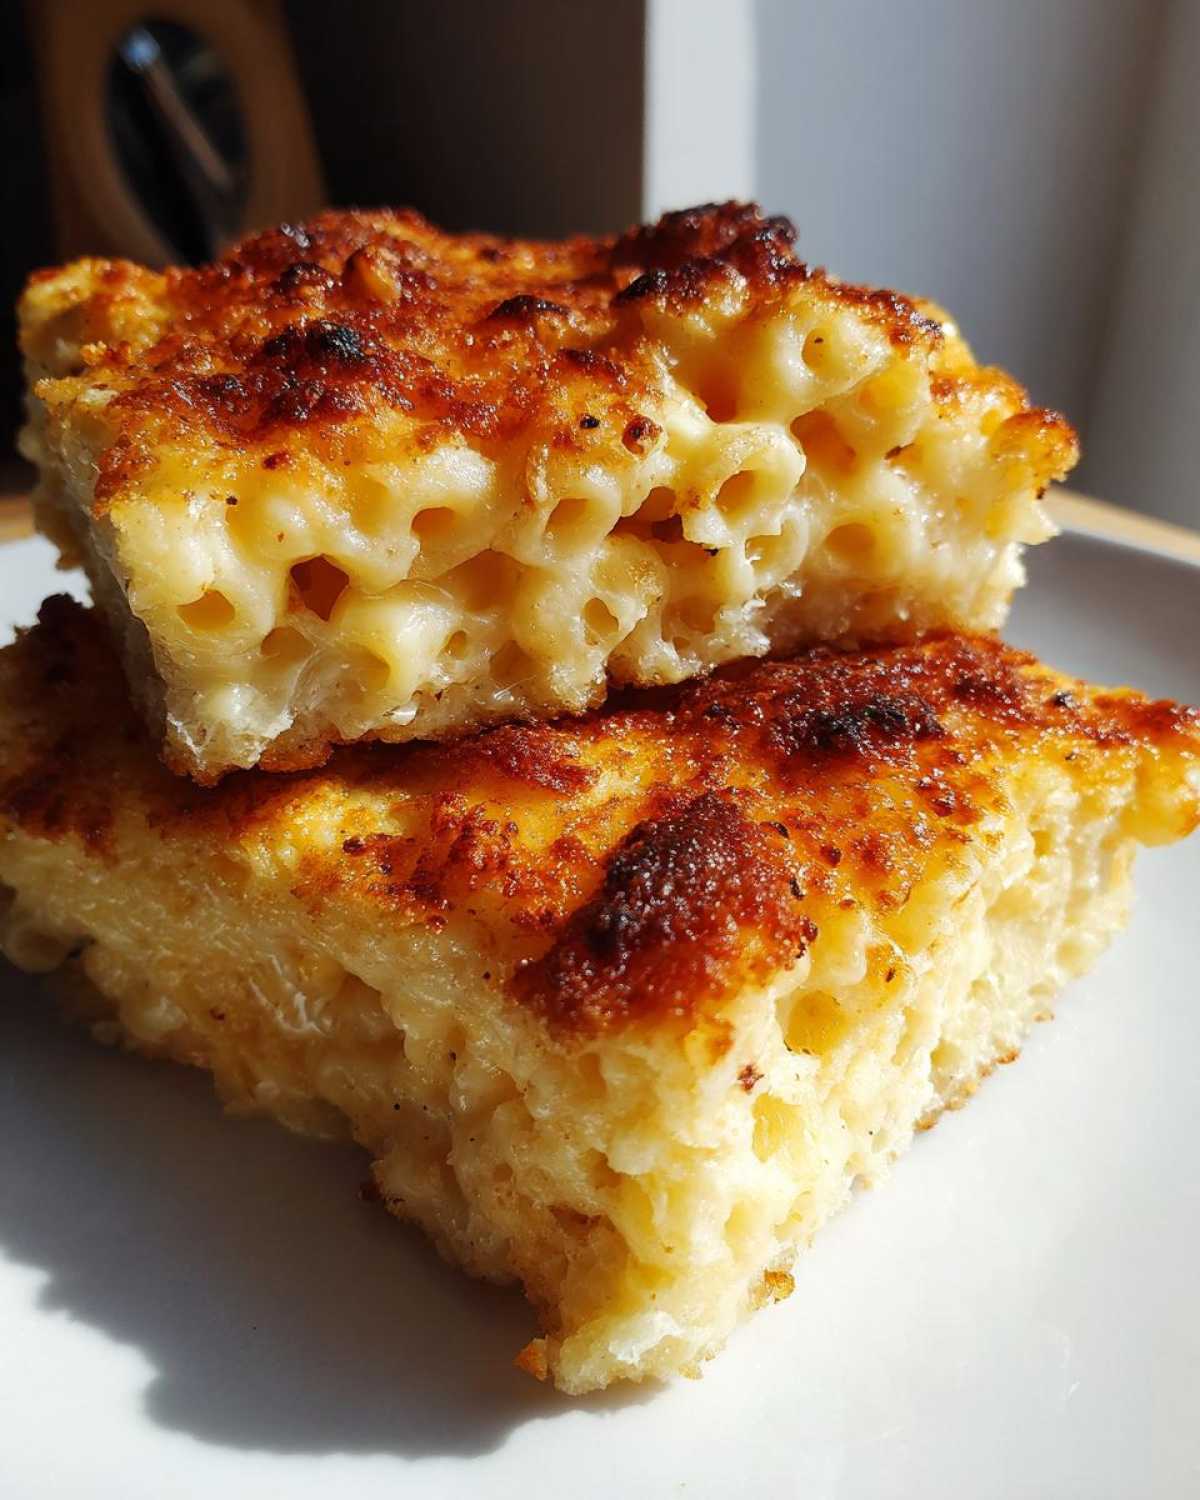
Crucially, after it comes out of the oven bubbly and golden—and this is Mateo’s rule—we let this baked mac and cheese rest for a full 10 minutes. It firms up just enough so it doesn’t run everywhere when you scoop it. You can find some inspiration for great onion pairings for later on here!
Creating the Crunchy Topping Mac and Cheese Finish
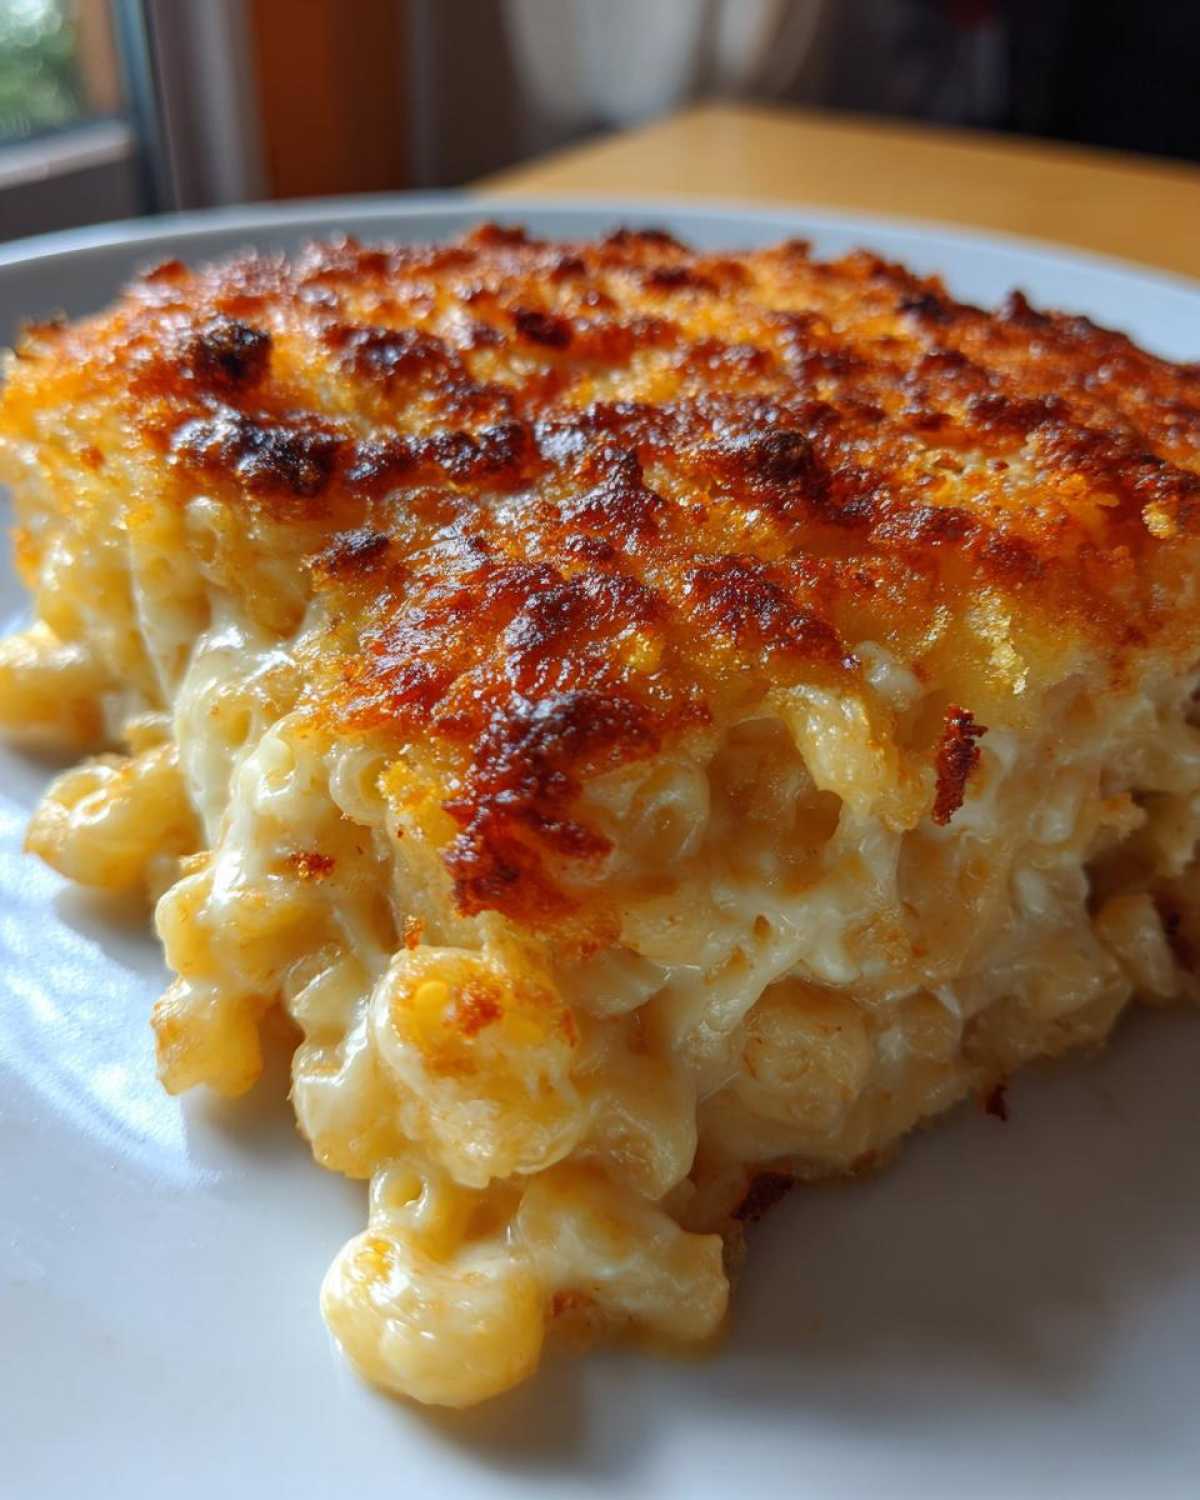
We can’t have a good bake without crunch! For this step, grab a small bowl and toss together your panko breadcrumbs, the two tablespoons of melted butter, and that grated Parmesan cheese. You want to make sure every single panko piece is lightly coated in butter, almost like wet sand. Sprinkle this mixture evenly over the top of the pasta once it’s in the baking dish.
This topping is what separates the good casseroles from the great, achieving that perfectly textured crunchy topping mac and cheese everyone fights over. Bake it until you see those lovely bubbles, and you’re basically done!
Tips for Making Southern Baked Mac and Cheese Variations
Now, while I love our creamy, slightly gourmet blend with Gruyère, the soul of mac and cheese absolutely calls for those deep, rich flavors you find in classic Southern baked mac and cheese. If you’re aiming for that specific, soul-satisfying experience, Mateo has a brilliant modification for you.
Remember my note about substituting milk? If your heart is set on that ultra-rich Southern style casserole, swap out half of the whole milk for evaporated milk in the cheese sauce. Wow, does that make a difference! It adds a density and richness that is just unbeatable.
I remember one time we tried doubling the evaporated milk because Mateo was feeling ambitious, and let’s just say the smoke alarm got involved. We dialed it back immediately! Half-and-half works in a pinch too, but for that true deep flavor, the evaporated milk substitution is the way to go. If you want to see another recipe Mateo really obsessed over, check out how we finally nailed the perfect chocolate chip cookie!
Equipment Needed for This Easy Baked Cheesy Casserole
We try to keep things simple here at Flavor Zine. You don’t need a million fancy gadgets for this easy baked cheesy casserole, but you do need the right foundations to nail that sauce! You’ll want a really large saucepan or, even better, a Dutch oven for making the roux and the cheese sauce—it needs surface area so you can whisk properly.
Other than that, grab your sturdy whisk (no flimsy ones allowed!), a box grater if you’re listening to me about shredding your own cheese, and definitely your 9×13 inch baking dish. That’s it! Having these key tools ready makes the assembly process unbelievably fast.
Storage and Reheating Instructions for Leftover Baked Mac and Cheese
Look, even this amazing baked mac and cheese rarely lasts the week in our house, but when it does, you need to treat those leftovers right! Store any remaining casserole in a truly airtight container. Don’t just cover the dish with foil and stick it in the fridge; that lets in air and encourages dryness. It usually holds up beautifully for about three to four days.
When you’re ready to reheat, I highly suggest going low and slow in the oven. Mix a tiny splash of milk—maybe a tablespoon per serving—right into the portion you’re warming up. Cover it tightly with foil and pop it in a 325°F oven until it’s heated through. The microwave is faster, sure, but it always zaps some of that amazing silkiness right out of the sauce. For best results, check out what else is new on the blog!
Serving Suggestions for Your Homemade Macaroni and Cheese
This creamy, indulgent homemade macaroni and cheese is the heavyweight champion of the plate, so we need sides that can handle its richness without getting overwhelmed. Honestly, it’s so satisfying all on its own, but if you’re making a spread, you need balance.
I always pair it with something bright and acidic to cut through all that glorious fat. Think a simple green salad with a sharp balsamic vinaigrette, or maybe some crisp roasted Brussels sprouts! If you’re making this the main event, a little protein on the side, like Mateo’s garlic parmesan skewers, rounds out the meal perfectly. It just balances everything out so you can go back for seconds without feeling weighed down!
Frequently Asked Questions About Creamy Baked Mac and Cheese
I know you might have a few lingering questions because, let’s face it, we want perfection when it comes to this kind of rich dish! We’ve learned a lot through our testing phases—some of which resulted in very sad, grainy bowls, believe me. I wanted to quickly answer the biggest questions we get about making sure your creamy baked mac and cheese turns out perfectly every single time.
These little bits of knowledge are what elevated our recipe from good to truly amazing. If you’re looking for more inspiration, check out some of our slower comfort food ideas, like the slow cooker cranberry meatballs, for your next big meal!
Can I make this ultimate comfort food pasta ahead of time?
Oh yes, you totally can make this ultimate comfort food pasta ahead of time, which is a lifesaver when you’re hosting! My advice is to assemble the whole thing—pasta mixed in the sauce, poured into the dish—but *do not* put the panko topping on yet. Cover it tightly and refrigerate for up to a day.
When you’re ready to bake, pull it out and let it sit on the counter for about 30 minutes to take the chill off, then add your topping and bake as directed, adding about 5 to 10 minutes to the total bake time since it’s starting cold. It works beautifully!
What is the best cheese for sharp cheddar mac and cheese?
When we talk about that flavor punch in the sharp cheddar mac and cheese, it all comes down to quality. You absolutely must grate it yourself from a block! Pre-shredded cheese has coatings—like cornstarch or cellulose—that help it flow off the shredder, but those same chemicals keep your beautiful cheese sauce from melting into that smooth, gooey perfection we are aiming for.
For the sharpest flavor, look for an aged block of white or yellow sharp cheddar. Age equals flavor intensity, so don’t be afraid to spring for a slightly better quality block for this main component. You’ll taste the difference immediately!
Nutritional Estimates for This Indulgent Mac and Cheese Side
Now, I know we aren’t making this indulgent mac and cheese side because we are counting celery sticks! Right? Still, for those of you keeping track, here’s a general breakdown according to our calculations. Remember always, these nutrition facts are just quick estimates based on the ingredients we listed—your actual numbers might look a little different depending on the brands you grab.
Here’s what we generally see for one serving:
- Calories: 650
- Fat: 38g (Saturated Fat: 22g)
- Carbohydrates: 55g
- Protein: 28g
It’s real food, made with love, and sometimes, that’s the only number that really matters! If you want to see another fantastic main dish that pairs well with this, check out some inspiration over at Sunday Flavor.
PrintThe Ultimate Creamy Baked Mac and Cheese with a Crunchy Panko Topping
This recipe delivers the ultimate comfort food experience: a rich, velvety cheese sauce that stays creamy, tender pasta, and a perfectly golden, crunchy topping. This is the best baked mac and cheese recipe you will make.
- Prep Time: 15 min
- Cook Time: 35 min
- Total Time: 50 min
- Yield: 8 servings
- Category: Dinner
- Method: Baking
- Cuisine: American
- Diet: Vegetarian
Ingredients
- 1 pound elbow macaroni
- 6 tablespoons unsalted butter
- 1/2 cup all-purpose flour
- 4 cups whole milk, warmed
- 1 teaspoon salt
- 1/2 teaspoon black pepper
- 1/4 teaspoon ground nutmeg
- 1/4 teaspoon cayenne pepper
- 4 cups (about 16 ounces) shredded sharp cheddar cheese
- 1 cup shredded Gruyère cheese
- 4 ounces cream cheese, cut into cubes
- 1 cup shredded Monterey Jack cheese
- For the Topping:
- 1 cup panko breadcrumbs
- 2 tablespoons unsalted butter, melted
- 1/4 cup grated Parmesan cheese
Instructions
- Preheat your oven to 375 degrees Fahrenheit. Lightly grease a 9×13 inch baking dish.
- Cook the macaroni according to package directions until just al dente. Drain well and set aside. Do not overcook the pasta.
- Make the Roux: In a large saucepan or Dutch oven over medium heat, melt the 6 tablespoons of butter. Whisk in the flour and cook, stirring constantly, for 2 minutes. This cooks out the raw flour taste.
- Build the Cheese Sauce: Gradually whisk in the warm milk until the mixture is smooth. Increase the heat to medium-high and bring the sauce to a gentle simmer, whisking often, until it thickens enough to coat the back of a spoon (about 5 to 7 minutes).
- Remove the saucepan from the heat immediately. Stir in the salt, pepper, nutmeg, and cayenne pepper.
- Add the Cheeses: Add the cubed cream cheese and stir until fully melted and smooth. Then, add the sharp cheddar, Gruyère, and Monterey Jack cheeses in handfuls, stirring until each addition is completely melted and the sauce is smooth and lump-free. This off-heat method prevents graininess.
- Combine: Gently fold the cooked, drained pasta into the cheese sauce until every piece is coated. Pour the mixture into your prepared baking dish.
- Prepare the Crunchy Topping: In a small bowl, toss the panko breadcrumbs with the 2 tablespoons of melted butter and the grated Parmesan cheese. Sprinkle this mixture evenly over the macaroni and cheese.
- Bake: Bake for 20 to 25 minutes, or until the sauce is bubbly around the edges and the topping is golden brown and crisp.
- Rest: Let the baked mac and cheese rest for 10 minutes before serving. This helps the sauce set slightly, preventing it from being too runny.
Notes
- For the creamiest sauce, always warm your milk slightly before adding it to the roux. Cold milk can cause lumps.
- Shred your own cheese from blocks. Pre-shredded cheese contains anti-caking agents that can make your sauce less smooth.
- If you prefer a Southern baked mac and cheese style, you can substitute half of the milk with evaporated milk for extra richness.
Nutrition
- Serving Size: 1 serving
- Calories: 650
- Sugar: 6
- Sodium: 750
- Fat: 38
- Saturated Fat: 22
- Unsaturated Fat: 16
- Trans Fat: 1
- Carbohydrates: 55
- Fiber: 3
- Protein: 28
- Cholesterol: 110