

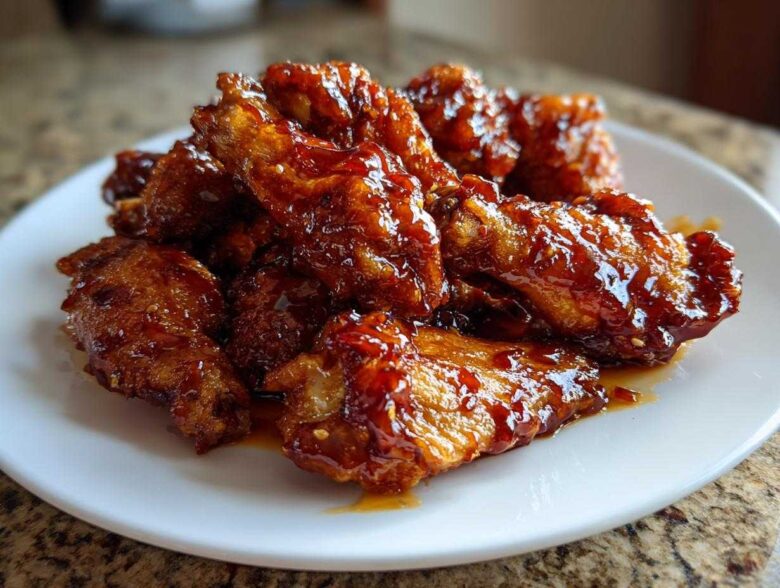
Listen up, because I’m about to drop the knowledge on the absolute best chicken wings you will ever make without setting foot near a deep fryer. Seriously, forget those greasy takeout boxes! For years, I struggled with oven wings that came out steamed and sad. I’d look at them, all pale and disappointing, and wonder, “Why can’t I get them crispy *and* saucy?” Well, trust me, I cracked the code. This recipe for Sticky Sweet Chili Chicken Wings Oven Baked gives you that crackly skin you dream about, holding onto a thick, sweet, spicy glaze that just sticks perfectly. This method is a game-changer for game day, or honestly, any Tuesday night!
We’re doing things differently here by using a little kitchen magic right on your baking sheet. This approach ensures maximum crispiness while letting us build that incredible, balanced glaze at the end. You definitely want to see what we’re all about when it comes to home cooking magic.
Why This Sticky Sweet Chili Chicken Wings Oven Baked Recipe Works (The Secret to Crispiness)
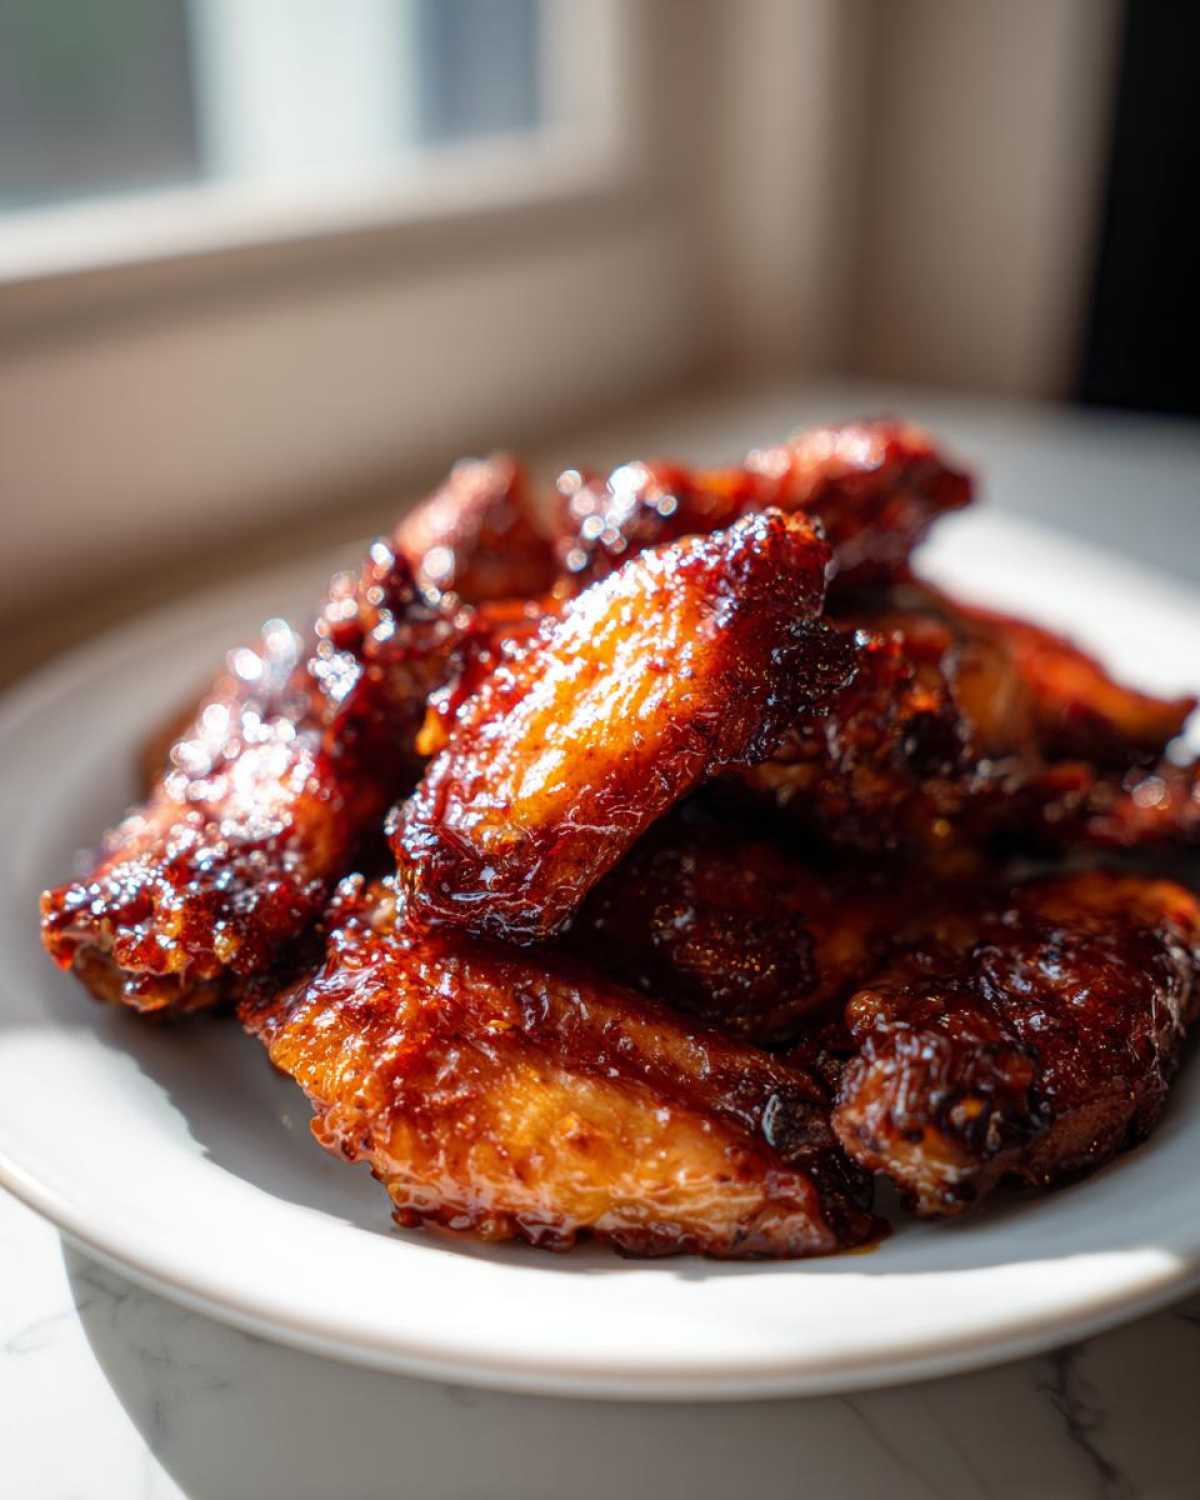
You might think getting Crispy oven wings without frying is impossible, but I promise you, it’s all about chemistry! The biggest mistake people make is overcrowding the pan or skipping the drying step. We fix that by using a wire rack, which lets air flow underneath so you don’t steam the bottoms.
But the real MVP here is the baking powder. It sounds weird, I know! When you toss the wings in it before baking, the powder raises the skin’s pH, which really helps it leach out moisture and brown up beautifully. This gives you that satisfying crunch that stands up perfectly to the heavy glaze we are about to put on later.
Achieving the Perfect Texture for Sticky Sweet Chili Chicken Wings Oven Baked
We bake them hot and fast initially to get that foundation of crispiness established. Then, we toss them in the sauce and throw them back in for just five minutes. That quick high-heat blast after saucing is what caramelizes the honey and thickens the chili base right onto the skin. That’s how you make them truly sticky—the glaze doesn’t just drip off!
Essential Ingredients for Sticky Sweet Chili Chicken Wings Oven Baked
Alright, let’s talk groceries! Getting the flavor right for these Sticky Sweet Chili Chicken Wings Oven Baked is half the battle, and it happens before you even turn on the oven. You need precision here, especially with our crisping agent. I’ve listed everything out clearly below, but pay attention to the details, especially the difference between baking powder and soda—it matters for the final texture!
- 2 lbs chicken wings (flats and drumettes separated)
- 1 tablespoon baking powder (not baking soda)
- 1 teaspoon salt
- 1/2 teaspoon black pepper
- 1/2 cup sweet chili sauce
- 1/4 cup honey
- 2 tablespoons soy sauce
- 1 tablespoon rice vinegar
- 1 tablespoon Sriracha or Sambal Oelek (adjust to heat preference)
- 1 clove garlic, minced
- 1 teaspoon fresh ginger, grated
- 1 tablespoon cornstarch
- 2 tablespoons cold water
If you’re gathering these supplies, make sure you check out our site policies, just so you know where we stand on ingredient sourcing!
Ingredient Notes and Substitutions for Your Homemade Wing Sauce
The sauce really makes this recipe sing. When it comes to the heat, I prefer Sambal Oelek because it has a nice fresh chili flavor, but Sriracha is fantastic if you want that classic garlic-chili kick. For sweetness, honey is non-negotiable for that intense stickiness, but if you run out, maple syrup is a great one-to-one replacement!
Also, don’t skip the cornstarch and cold water—that slurry is what turns a thin glaze into the thick coating we need to stick to those crispy wings!
Step-by-Step Instructions for Sticky Sweet Chili Chicken Wings Oven Baked
Okay, are you ready to see how this magic happens? The process looks long, but honestly, most of this time is hands-off baking. Just stick to the timing, and you’ll be rewarded with the Sticky Sweet Chili Chicken Wings Oven Baked everyone raves about! First things first: get that oven screaming hot at 425°F (220°C). Remember our setup instructions: foil on the pan, rack on top. That rack is your best friend for crispiness!
We start by prepping the wings *before* they hit the heat, then we focus on building that incredible sauce while they bake. Finally, we bring it all together for the ultimate sticky coating. If you need help reaching out to us, remember you can always find our contact information here.
Preparing the Wings for Maximum Crispiness
You must pat those wings bone-dry with paper towels—seriously, wet wings equal sadness! Once they are dry, toss them hard in that baking powder, salt, and pepper mix until they look powdery white. Now, spread them out on your waiting wire rack single file. Don’t let them touch! They need space to breathe and crisp up evenly during that initial 25-minute blast in the oven.
Making the Thick and Sticky Homemade Wing Sauce
While those wings are rendering fat and getting crispy, we make our Easy homemade wing sauce. Dump the chili sauce, honey, soy sauce, vinegar, Sriracha, garlic, and ginger into a little saucepan. Get it simmering, and here’s the key to thickness: whisk in your cornstarch slurry (cornstarch mixed with cold water). Let it bubble gently for a minute or two until it coats the back of your spoon. Pull it off the heat once it’s beautifully thick!
The Final Glaze and Set for Sticky Sweet Chili Chicken Wings Oven Baked
Once the wings look golden and done, pull them out! Transfer them to a big bowl—and this is key—toss them gently with most of that gorgeous hot sauce. Get everything coated. Then, place them right back on the rack. Give them five more minutes in that hot oven. This second, short bake sets the glaze so it turns into that non-drip, tacky, sticky perfection we are aiming for!
Tips for the Best Baked Sticky Wings Instructions
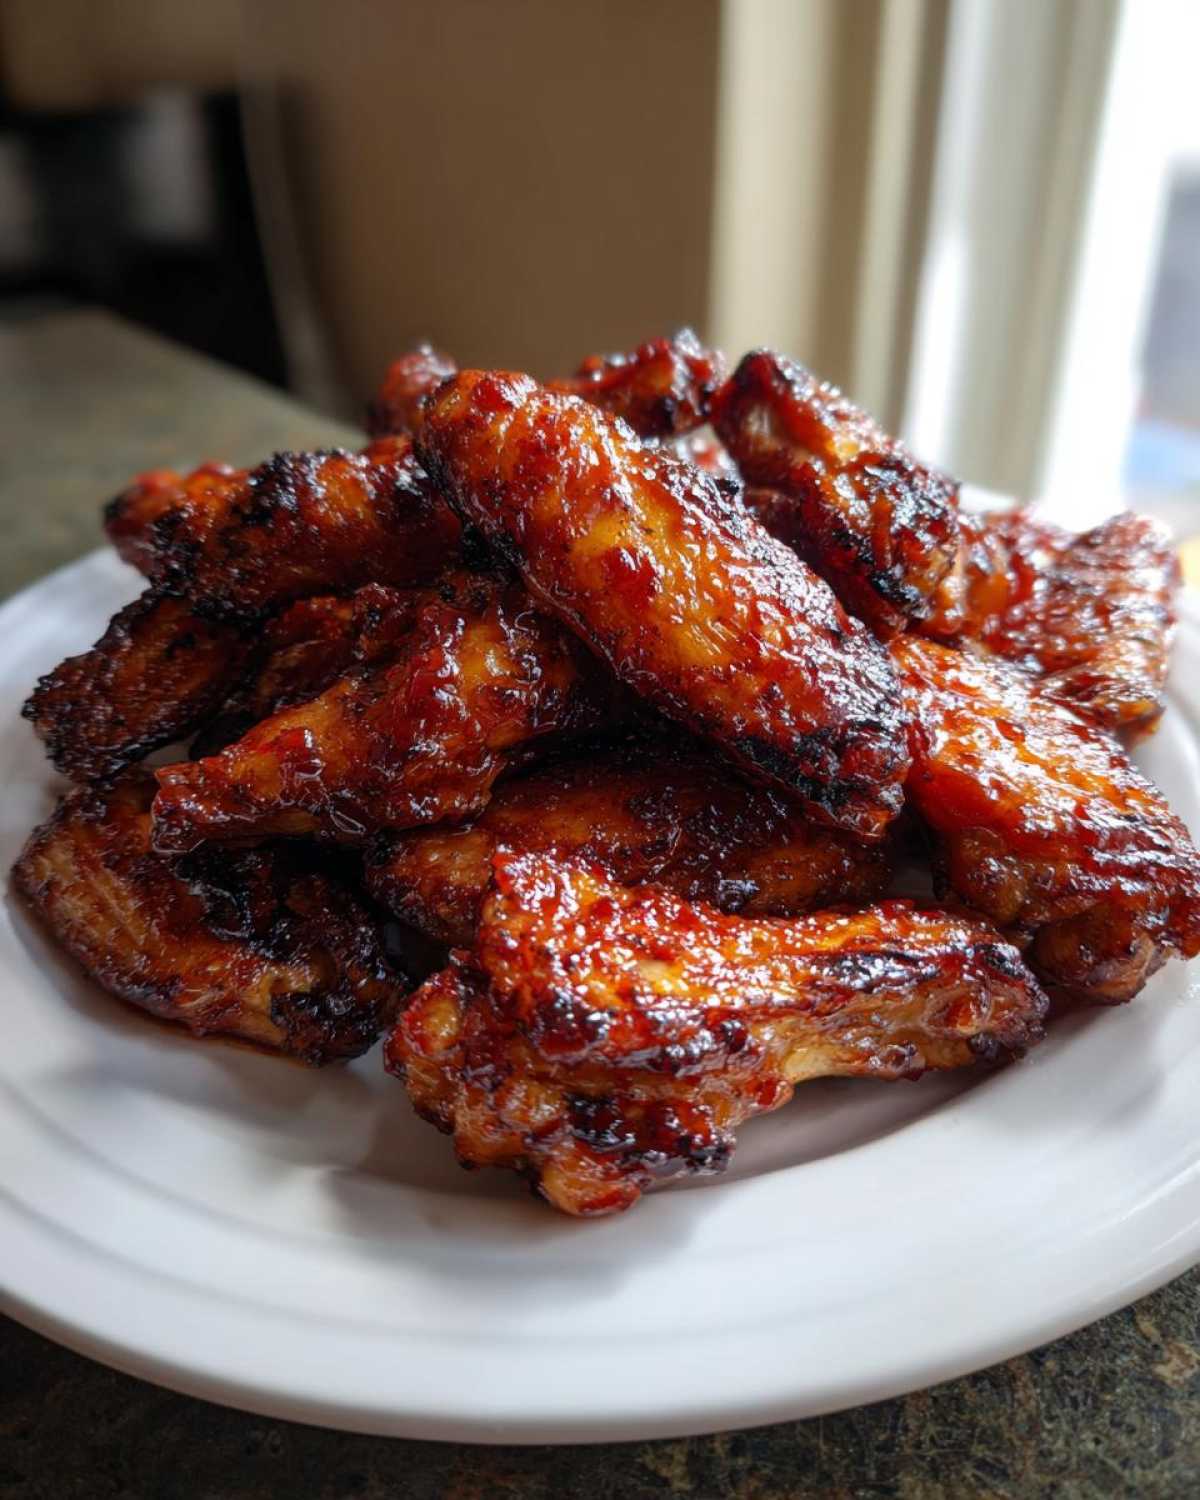
Even with the recipe down, I always have a few little secrets I rely on when following these Baked sticky wings instructions so they come out perfect every single time. First off, if you’re cooking a huge batch for the big game, don’t try to cram them all onto one sheet. You absolutely need that airflow! If you have to, use two racks or two separate pans. Overcrowding equals mushy wings, and we aren’t having that!
Also, a quick temperature note: if your wings are still looking a little pale after the first 40 minutes, don’t panic. Just bump the temperature up to 450°F for the last five minutes of the initial bake. That final blast of heat wakes up the skin and gets it ready for the glaze!
My final pro-tip centers around the sauce toss: make sure your wings are hot when you add the sauce coating in the bowl. Piping hot wings absorb the glaze better than warm ones. It helps everything meld together faster when you send them back to the oven for that final sticky set. You can always check out more of my kitchen adventures over on the main blog page!
Serving Suggestions for Your Sweet and Spicy Baked Wings
Now that you have these perfectly glazed, fiery bites, you need things to cool things down a touch! These Sweet and spicy baked wings balance so well, but they beg for a cooling counterpart. I always default to a creamy, slightly tart side. Think about a big bowl of cooling cilantro-lime rice or maybe just some crisp celery and carrot sticks dipped in really cold blue cheese dressing.
If you’re serving them as a main course, a simple, crunchy Asian slaw dressed with sesame oil cuts through the sweetness beautifully. And hey, if you want to dive deeper into appetizers, check out my recipe for garlic parmesan chicken skewers—another amazing no-fry winner!
Storage and Reheating Sticky Sweet Chili Chicken Wings Oven Baked
When it comes to leftovers of these Sticky Sweet Chili Chicken Wings Oven Baked, speed is your friend! If you know you’ll have extras, try to toss the wings in only *half* the sauce, saving the rest. Store the leftover sauce separately.
The best way to bring them back to life is in the oven. Skip the microwave if you want to keep any crispiness left! Pop them on a wire rack (yes, the rack again!) at 400°F for about 8 to 10 minutes. That heat re-sets that sticky glaze perfectly!
Frequently Asked Questions About Oven Baked Chicken Wings Recipe
I know you’ll have questions after making something this delicious! It’s normal when trying a new method, especially when chasing that perfect crispiness. Here are a few things folks often ask me about making the Oven baked chicken wings recipe, especially when targeting a sticky outcome.
I always read my privacy policy FAQ first, just to make sure everyone is feeling secure while cooking up a storm!
Can I make these Sticky Sweet Chili Chicken Wings Oven Baked ahead of time?
You absolutely can, but here’s my rule for the best results: Bake the wings completely through until they are fully crispy—this is the “prep cook” stage. Then, let them cool completely. When you are ready to serve, about 15 minutes before, toss them in the sauce and put them back on the rack for that final 5-minute sticky glaze set. Don’t sauce them ahead of time, or you’ll lose the crisp!
How do I adjust the heat level in this oven baked chicken wings recipe?
This is where you customize your Sweet and spicy baked wings! The recipe calls for 1 tablespoon of Sriracha or Sambal Oelek, which gives a solid medium kick. If you like things mild, cut that down to just a teaspoon—you still get the flavor without the burn. If you are a total chili-head like my brother-in-law, go for 2 full tablespoons, or even grab a dash of cayenne pepper to sneak in some extra heat!
Estimating Nutritional Data for Glazed Chicken Wings Recipe
Now, I’m certainly no nutritionist, so take these numbers with a grain of salt—or maybe a sprinkle of that baking powder we used! These figures are just a rough idea based on the ingredients list and the total yield for the Glazed chicken wings recipe. I know we’re aiming for flavor first here, but it’s good to have a baseline when you’re eyeing that second helping!
Here is the quick breakdown per serving (about 4 wings):
- Calories: 350
- Sugar: 20g
- Sodium: 550mg
- Fat: 18g
- Protein: 22g
Remember, since we baked these instead of deep-frying, they are already a much healthier option than your standard takeout! If you want to read more about how we handle data here on the site, check out our terms and conditions.
Share Your Game Day Chicken Wings Oven Experience
I’ve shared all my secrets for making the absolute best oven-baked wings—now it’s your turn! Did these Sticky Sweet Chili Chicken Wings Oven Baked live up to the hype? Don’t keep your success (or your sticky-fingered rave reviews!) to yourself. Head down to the comments and let me know how they turned out! And hey, if you snapped a picture for social media, tag me!
I love seeing my recipes in your kitchens! While you’re here, make sure you’ve checked out our cookie policy details. Happy cooking!
PrintThe Ultimate Sticky Sweet Chili Chicken Wings (Oven Baked for Crispy Perfection)
Follow these steps to make perfectly crispy, sticky, sweet, and spicy chicken wings using only your oven.
- Prep Time: 15 min
- Cook Time: 45 min
- Total Time: 60 min
- Yield: 4 servings
- Category: Appetizer
- Method: Baking
- Cuisine: American
- Diet: Low Fat
Ingredients
- 2 lbs chicken wings (flats and drumettes separated)
- 1 tablespoon baking powder (not baking soda)
- 1 teaspoon salt
- 1/2 teaspoon black pepper
- 1/2 cup sweet chili sauce
- 1/4 cup honey
- 2 tablespoons soy sauce
- 1 tablespoon rice vinegar
- 1 tablespoon Sriracha or Sambal Oelek (adjust to heat preference)
- 1 clove garlic, minced
- 1 teaspoon fresh ginger, grated
- 1 tablespoon cornstarch
- 2 tablespoons cold water
Instructions
- Preheat your oven to 425°F (220°C). Line a large baking sheet with foil and place a wire rack on top of the foil.
- Pat the chicken wings completely dry using paper towels. This step is crucial for crispiness.
- In a large bowl, toss the dried wings with baking powder, salt, and pepper until evenly coated.
- Arrange the wings in a single layer on the wire rack, ensuring there is space between each piece.
- Bake for 25 minutes. Flip the wings and bake for another 15-20 minutes, or until the skin is golden brown and crisp.
- While the wings finish baking, prepare the sauce. In a small saucepan, combine the sweet chili sauce, honey, soy sauce, rice vinegar, Sriracha, garlic, and ginger.
- Bring the sauce mixture to a simmer over medium heat, stirring constantly.
- In a separate small bowl, whisk together the cornstarch and cold water to create a slurry.
- Whisk the slurry into the simmering sauce. Continue to cook for 1-2 minutes, stirring until the sauce thickens enough to coat the back of a spoon. Remove from heat.
- Once the wings are cooked, transfer them to a large, clean bowl. Pour about two-thirds of the prepared sauce over the hot wings. Toss gently until every wing is fully coated.
- Return the glazed wings to the wire rack and bake for an additional 5 minutes to set the glaze and make it sticky.
- Serve immediately with any remaining sauce on the side for dipping.
Notes
- Using a wire rack allows air to circulate around the wings, which helps the bottom side crisp up properly.
- Do not skip the baking powder; it raises the pH level of the skin, promoting browning and crisping.
- For extra stickiness, you can brush the wings with a second light coat of sauce during the final 5-minute bake.
Nutrition
- Serving Size: 4 wings
- Calories: 350
- Sugar: 20
- Sodium: 550
- Fat: 18
- Saturated Fat: 5
- Unsaturated Fat: 13
- Trans Fat: 0
- Carbohydrates: 25
- Fiber: 0
- Protein: 22
- Cholesterol: 80