

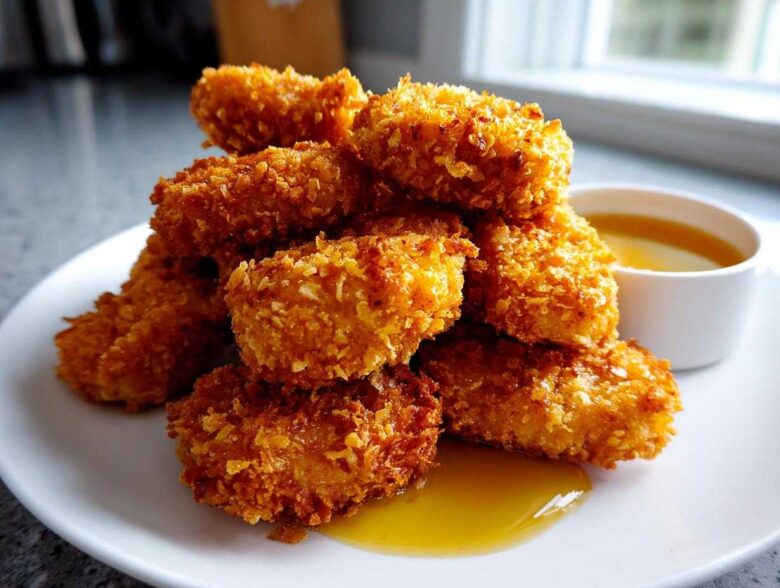
Forget those sad, pale nuggets you get from the freezer aisle—we’re talking about real, honest-to-goodness crunch that rivals your favorite fast-food spot, but without all the mystery ingredients! I spent what felt like ages testing coating ratios, trying different flours, and even secretly sneaking cornflakes into the mix, all to nail this recipe for the Crispy Chicken Nuggets with Honey Dip. Seriously, the crispiness factor we achieve here is insane; they stay crunchy even when they get cold, which is the ultimate test, right?
This isn’t just some throw-together snack; this is my tried-and-true method for making from scratch chicken nuggets that taste exactly like what you crave. And because every great nugget deserves a great partner, we whip up a tangy, sweet homemade honey dip that perfectly cuts through the savory crunch. Trust me, once you master this double-dredge technique, you won’t ever go back. We have to start by focusing on the chicken, though, because great dunking sauce can’t save dry meat!
Why This Crispy Chicken Nuggets with Honey Dip Recipe Works
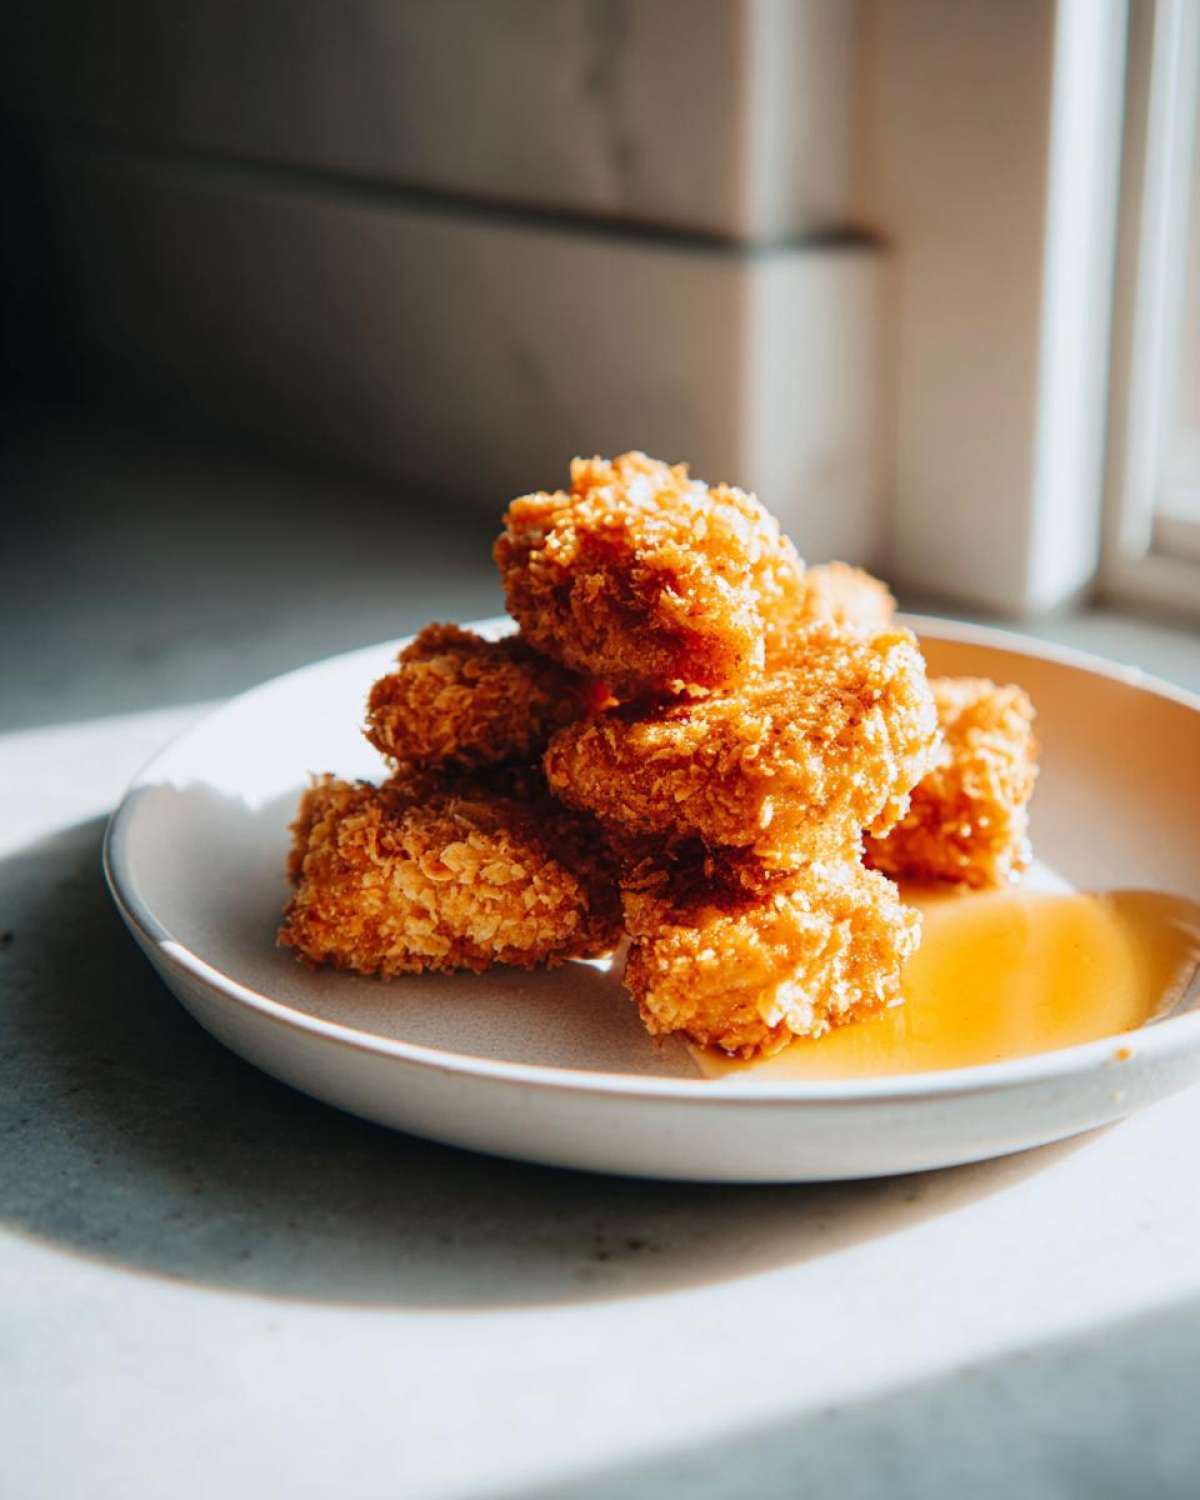
I’m telling you, these aren’t your average weeknight chicken bites. When you are aiming for restaurant quality, you need science, not guesswork. We are creating a barrier around that juicy interior that just locks in flavor and prevents sogginess. The star of the show, of course, is achieving that perfect texture in our Crispy Chicken Nuggets with Honey Dip. It’s all about how we layer the coatings and manage the moisture.
- Unbeatable Crunch: That double-coating method means triple the crisp factor!
- Perfect Balance: The sweet and tangy honey dip cuts through the savory fried richness beautifully.
- Moisture Locked In: We take specific steps to ensure your chicken stays tender and never dry.
Ready to see the magic behind the crunch? Check out some of our other flavor testing posts!
The Secret to Extra Crunchy Breading Method
This is where we step up from standard breading. We use a double dredge, meaning the chicken gets coated in flour and egg *twice* when you count the final crumb mixture. But the real game-changer? Crushed cornflakes mixed right into the panko! They don’t dissolve like flour; they sit on top and essentially form tiny, crunchy armor plating when they hit the hot oil. This method guarantees an extra crunchy breading that flakes off satisfyingly with every bite.
Tender Interior Chicken Guarantee
Nobody likes dry chicken, period. To guarantee tenderness, there are two non-negotiables here. First, you absolutely must pat your chicken pieces bone-dry with paper towels before they even see the flour—that water repels the coating! Second, chilling the breaded nuggets for at least 30 minutes is critical. This resting period lets the coating actually adhere to the meat instead of just falling off in the hot oil. It’s the difference between a good nugget and a flawless one!
Ingredients for Perfect Crispy Chicken Nuggets with Honey Dip
Okay, grab your prep bowls because getting the right ingredients laid out in advance is half the battle when making these Crispy Chicken Nuggets with Honey Dip from scratch! If you want that restaurant-quality texture, you can’t just eyeball these measurements. Everything needs to be clean, dry, and ready to go before we even heat the oil. I always lay everything out on the counter just like this so that the dredging process moves fast. Mastering the dredge starts right here with the raw components.
For the Chicken Nugget Coating and Meat
We’re using chicken breast because it’s lean, but you can absolutely use thighs if you want something richer! The key here is the ratio of the Panko breadcrumbs to the cornflakes. You need enough cornflakes to give you that loud crunch, but not so many that they burn before the chicken cooks. Don’t even think about skipping the garlic powder; it provides that savory backbone that makes these nuggets addictive.
- 1.5 lbs boneless, skinless chicken breasts, cut into 1-inch pieces
- 1 cup all-purpose flour
- 2 large eggs, which you must beat until they are nice and frothy
- 1 cup Panko breadcrumbs
- 1/2 cup cornflakes, crushed until they look like coarse sand
- Seasonings: 1 teaspoon salt, 1/2 teaspoon black pepper, 1/2 teaspoon garlic powder, and 1/4 teaspoon paprika
- Plenty of vegetable oil for frying—don’t skimp here!
For the Best Honey Dipping Sauce Recipe
This dip is simple magic, truly. It hits all those notes: sweet from the honey, sharp from the vinegar, and a nice little kick from the Dijon and cayenne. If you’re making this for little ones, skip the cayenne, but for adults, that tiny pinch of heat makes this the best honey dipping sauce recipe you’ll ever taste. It’s my go-to sweet and tangy companion!
- 1/2 cup honey (the straight, runny kind)
- 2 tablespoons apple cider vinegar
- 1 tablespoon Dijon mustard
- 1 teaspoon soy sauce (this adds depth you wouldn’t expect!)
- 1/4 teaspoon cayenne pepper (optional, but please try it!)
Step-by-Step Instructions for Crispy Chicken Nuggets with Honey Dip
Okay, now that we have our components ready—the chicken patted dry, the coating mixture looking beautifully chaotic with those cornflakes, and the honey dip waiting patiently—it’s time for the action! This is the part where we turn simple ingredients into amazing Crispy Chicken Nuggets with Honey Dip. Remember what I always say: speed and confidence are your best friends during the coating stage. You want to move pretty quickly so the chicken doesn’t get warm, which is why prepping everything ahead of time is essential. We are building layers here, and layers mean crunch!
Setting Up Your Dredging Station and Coating
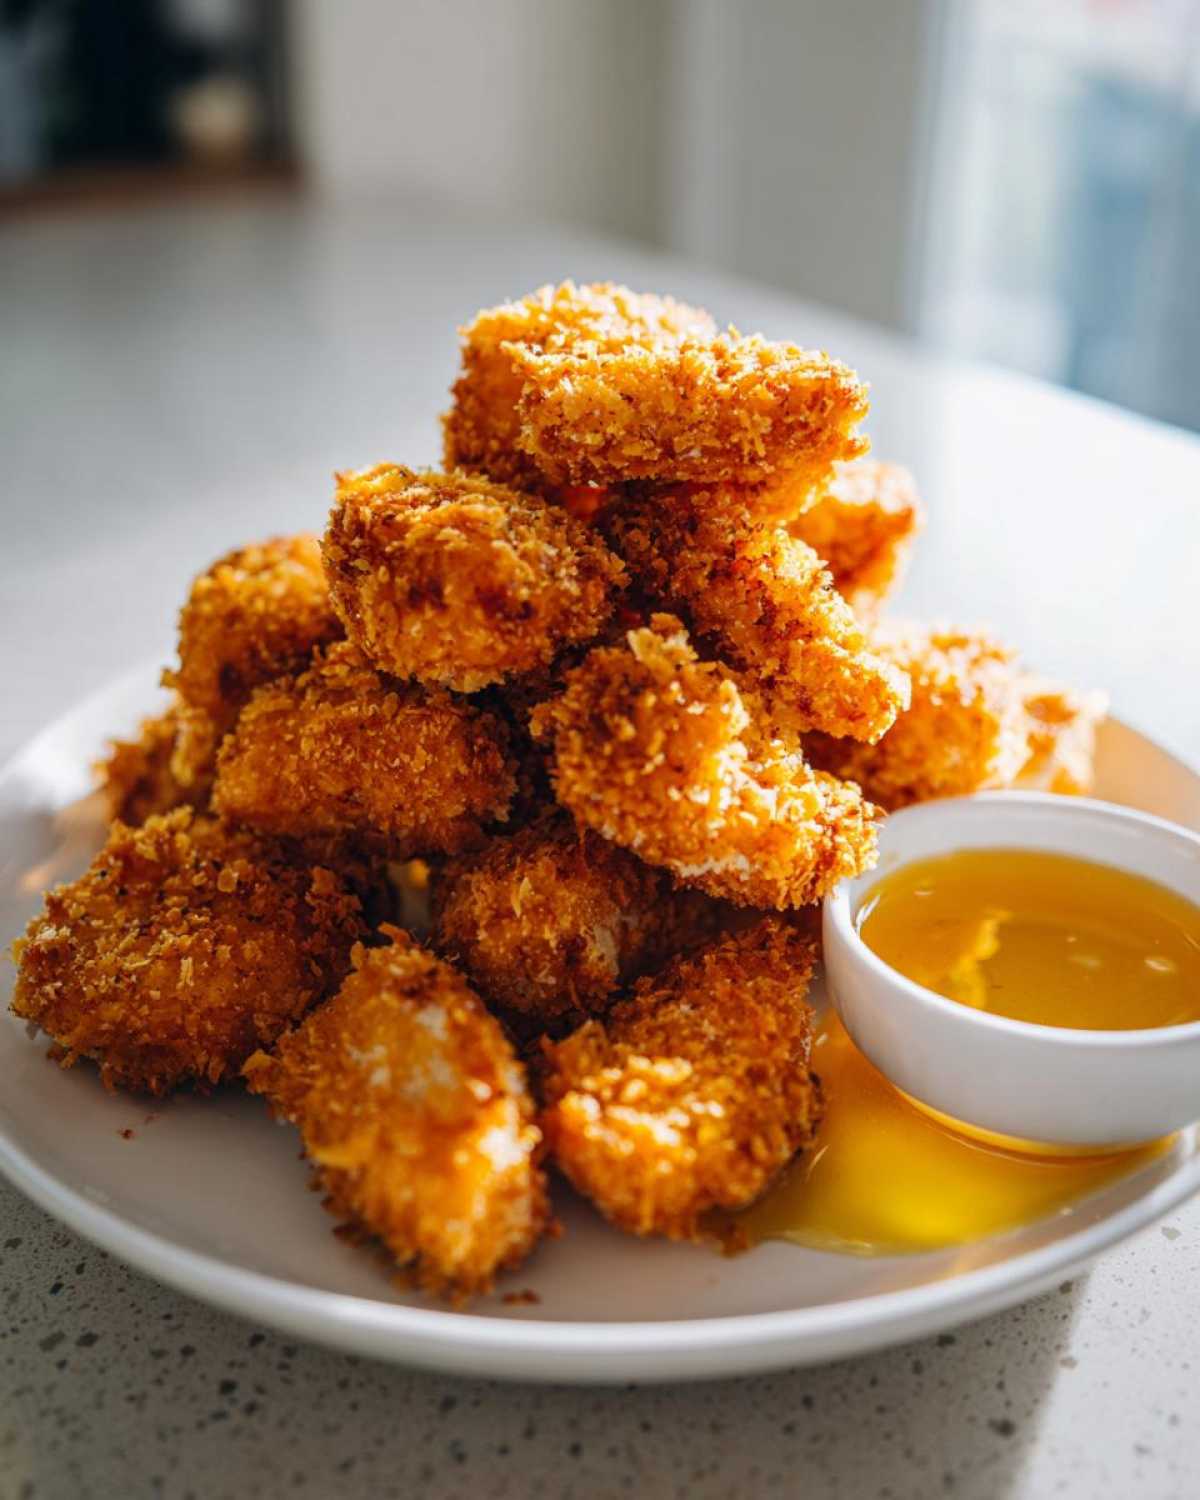
Think of this as an assembly line for crunch! You need three shallow dishes lined up in order: first the flour, second the beaten eggs, and third, your glorious Panko and cornflake mixture. Take one seasoned piece of chicken and give it a nice tumble in the flour—make sure every side is covered, then really shake off the extra dust. Next, dip it quickly into the egg bath. The final step is the most important for that look of restaurant style chicken nuggets at home: once it’s wet from the egg, press it firmly into that crumb mix. I mean *press* it in there, covering all the gaps! This firm press is what guarantees the coating sticks for that long, satisfying fry.
Frying for Maximum Crunch
You absolutely need a heavy-bottomed pot or a dedicated fryer for this! We need at least two inches of vegetable oil heated up and holding steady at 350°F (175°C). This temperature is make-or-break; too low, and the nuggets soak up oil and get soggy; too high, and the coating burns before the middle cooks. Fry your nuggets in small batches—don’t crowd the pot, seriously, or the oil temperature will plummet! They only need about 4 to 6 minutes total, turning them gently until they are deep golden brown. Use a meat thermometer, too; that internal 165°F (74°C) check is crucial for food safety!
Once they look perfect, pull them out with a slotted spoon and let them drain on a wire rack lined with paper towels. Never drain them directly on more paper towels, or the bottom side will steam and lose its crunch! Serve immediately with that amazing dip!
Alternative Cooking Methods for Crispy Chicken Nuggets with Honey Dip
Look, I get it. Deep frying is the gold standard for that crackle you hear in the commercials, but sometimes you want that incredible crunch without standing over a pot of hot oil for twenty minutes. We love these Crispy Chicken Nuggets with Honey Dip so much that I have perfected ways to get that crispiness using air fryers and even the regular old oven. The secret in these methods is making sure that beautiful coating—the one we worked so hard on—gets hit with dry, circulating heat.
Air Fryer Crispy Chicken Nuggets Instructions
If you have an air fryer, this is my second favorite way to make these nuggets. It’s faster cleanup, and you still get fantastic results. You must spray the breaded nuggets *very well* with cooking spray before they go in. Think of that spray as your replacement for the hot oil bath. Place the chilled, coated nuggets in a single layer in your air fryer basket; do not overlap them, or they’ll steam instead of crisp! Set the temperature high—we’re cooking these at 390°F (200°C). Cook them for about 12 to 15 minutes total, but you have to remember to flip them halfway through. That second side needs contact with the hot air too!
Oven Baked Crunchy Chicken Bites Tips
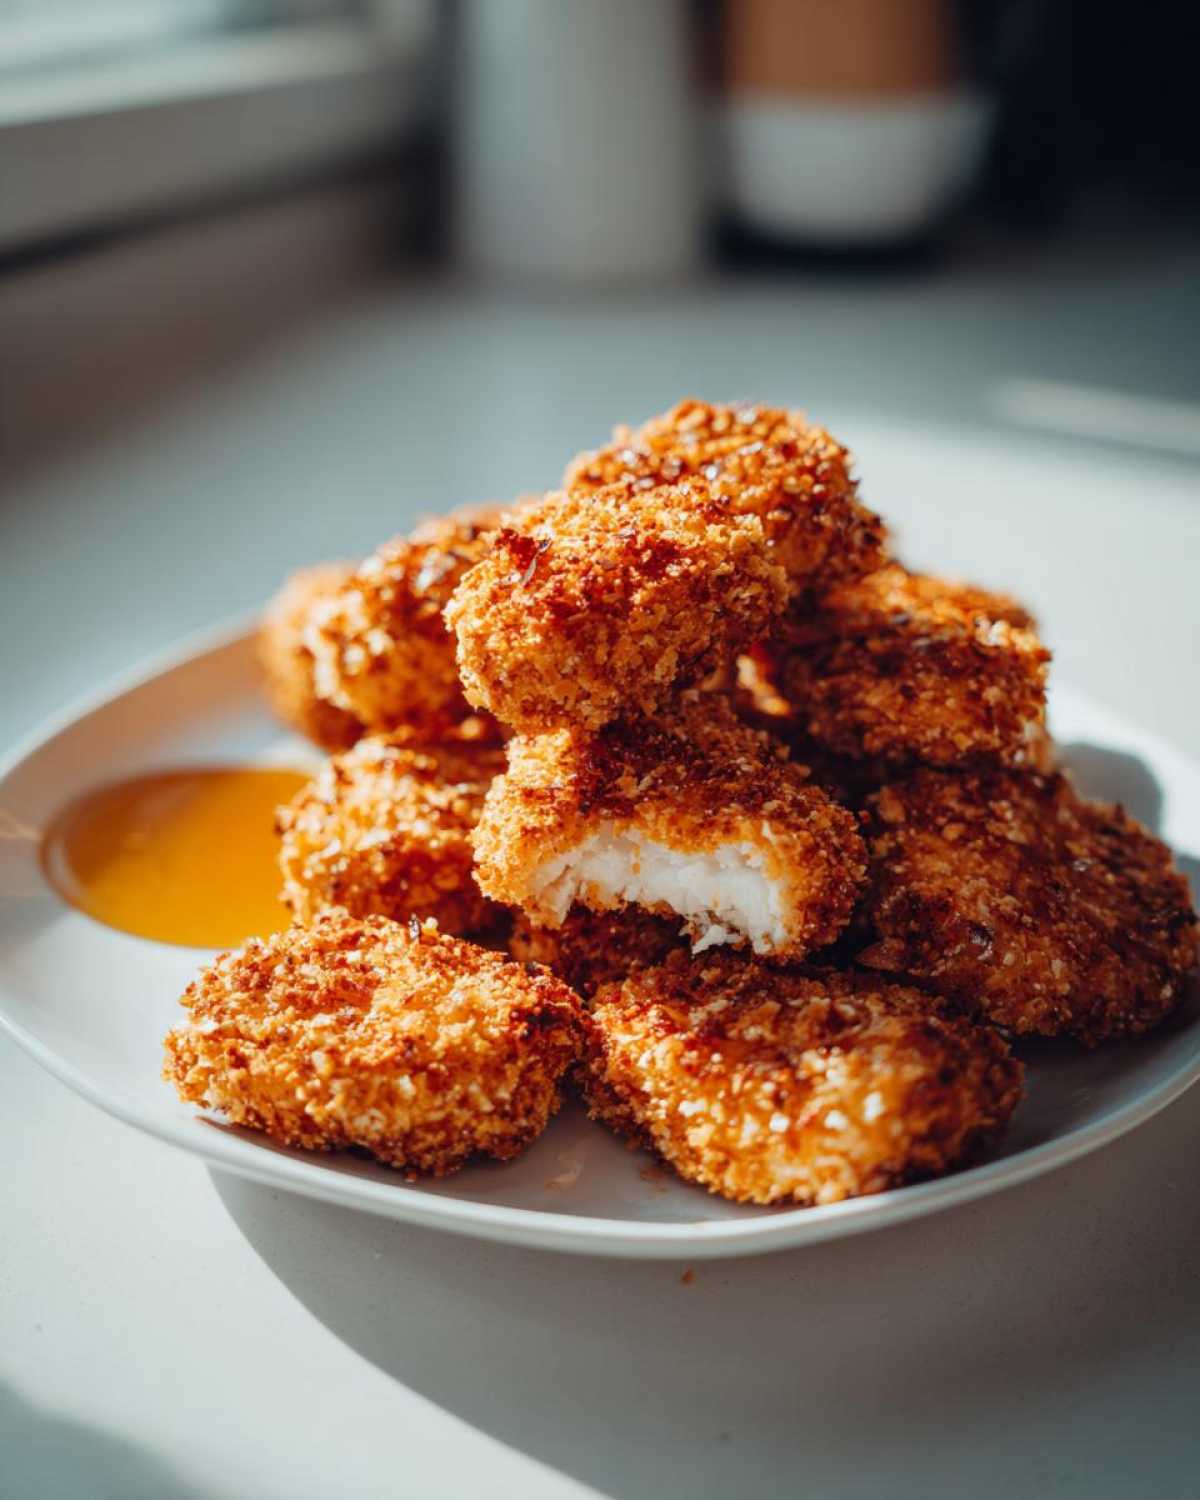
For those of you who prefer the oven, don’t worry—we can still make these crunchy! The trick here is elevation. Always place your coated nuggets on a wire rack set over a sturdy baking sheet. This allows air to circulate underneath so the bottoms don’t sit in their own little puddle of steam as they bake. Before you pop them in the oven—usually around 400°F (200°C)—give them a good, generous spritz of cooking oil on top. These Oven Baked Crunchy Chicken Bites will take longer, maybe 20 to 25 minutes, depending on your oven, so keep an eye on them until they are deeply golden brown.
And don’t forget, since you put in all this effort for the perfect coating, you definitely want to check out our guide on keeping air fryer foods crispy, it really helps with the principles of dry heat cooking!
Tips for Success with Your Homemade Chicken Nuggets Recipe
You’ve nailed the dredging, you’ve got your oil at the perfect temperature, but sometimes even the best recipes need a little nudge to go from great to legendary. I’ve learned a few small, specific tricks over the years that you just won’t find written on a standard recipe card. These are the little details that stop the coating from falling off or, worse, prevent that dreaded soggy bottom layer.
First, let’s talk oil. You need a neutral oil with a really high smoke point. Canola or vegetable oil works perfectly fine—save your fancy olive oil for salad dressing! You want that oil to be hot enough to immediately start sealing the breading, not slowly heating up the chicken. If you drop a tiny bit of flour in and it sizzles immediately and floats, you’re good. If it just sits there sadly on the bottom, wait five more minutes!
Next, I want to talk about preventing soggy coatings, which is my personal nemesis. When the nuggets come out of the fryer, you have to let them drain on something raised, like a wire rack placed over a baking sheet. If you put them flat onto paper towels, the steam gets trapped underneath, and that beautiful, crunchy exterior turns into a greasy sponge. The rack allows air to circulate completely around every side of the nugget while the excess oil drips away. It’s a small setup change that makes a huge difference in texture!
Finally, regarding the chicken itself: make sure your cubes are roughly the same size, about an inch. If you have some tiny little slivers and some giant chunks, they won’t cook evenly. Those tiny ones will burn by the time the chunks are done! If you have time, even a quick 15-minute freeze after coating, even when you’re deep frying, seems to make the coating bond tighter. It’s counterintuitive, but trust me, it works like magic. Make sure you give our guide on classic baking mishaps a look if you ever have trouble with things sticking!
Make Ahead Freezer Nuggets and Storage Instructions
One of the best things about mastering a fantastic recipe like this is knowing you don’t have to do it all in one day! These Make Ahead Freezer Nuggets are a lifesaver for busy weeks. Being able to pull out pre-breaded nuggets when you need a super-fast, kid-friendly chicken dinner is such a game-changer. I always try to double the batch just for this reason alone.
When you are setting up your dredging station, take the coated nuggets—the ones that have already chilled for 30 minutes—and put them on a clean, parchment-lined baking sheet. Make sure the pieces aren’t touching each other at all! We need every side exposed to the air so they freeze individually, which is so important for easy scooping later. Pop that whole sheet right into the freezer for about two hours until every nugget is rock hard.
Once they are frozen solid, you can toss them all into a large, heavy-duty freezer bag. Just squeeze out as much air as you can before sealing them up. They keep great like this for about three months! When you’re ready to cook them straight from the freezer, just add a couple of extra minutes to your frying or air frying time mentioned in the main instructions. It works like magic!
Now, if you have leftovers (which is rare in my house!), you have to reheat them correctly if you want that amazing crispness back. Don’t even think about the microwave; it’s the enemy of crunch! The best way to reheat cooked nuggets is in an air fryer or a hot oven. Pop them on a clean wire rack set over a baking sheet at about 375°F (190°C) for 5 to 8 minutes. They come out crispy again, ready for a quick dip. If you want more freezer efficiency tips, you should definitely check out my dedicated guide on freezer cooking!
Serving Suggestions for Crispy Chicken Nuggets with Honey Dip
These nuggets are definitely snack-worthy, but come on, we all know dinnertime requires a little more structure, especially when you’re feeding the family! My favorite part of making a big batch of these Crispy Chicken Nuggets with Honey Dip is planning the rest of the meal around that savory, crunchy bite. It’s so easy to turn these into a complete, kid-friendly chicken dinner without spending hours in the kitchen.
For the simplest, fastest weeknight setup, you can’t go wrong with classic pairing that everyone loves. Think crispy, salty fries, maybe some sweet potato wedges if you want a slight variation. But I like to sneak some veggies in there without anyone noticing they’re eating vegetables!
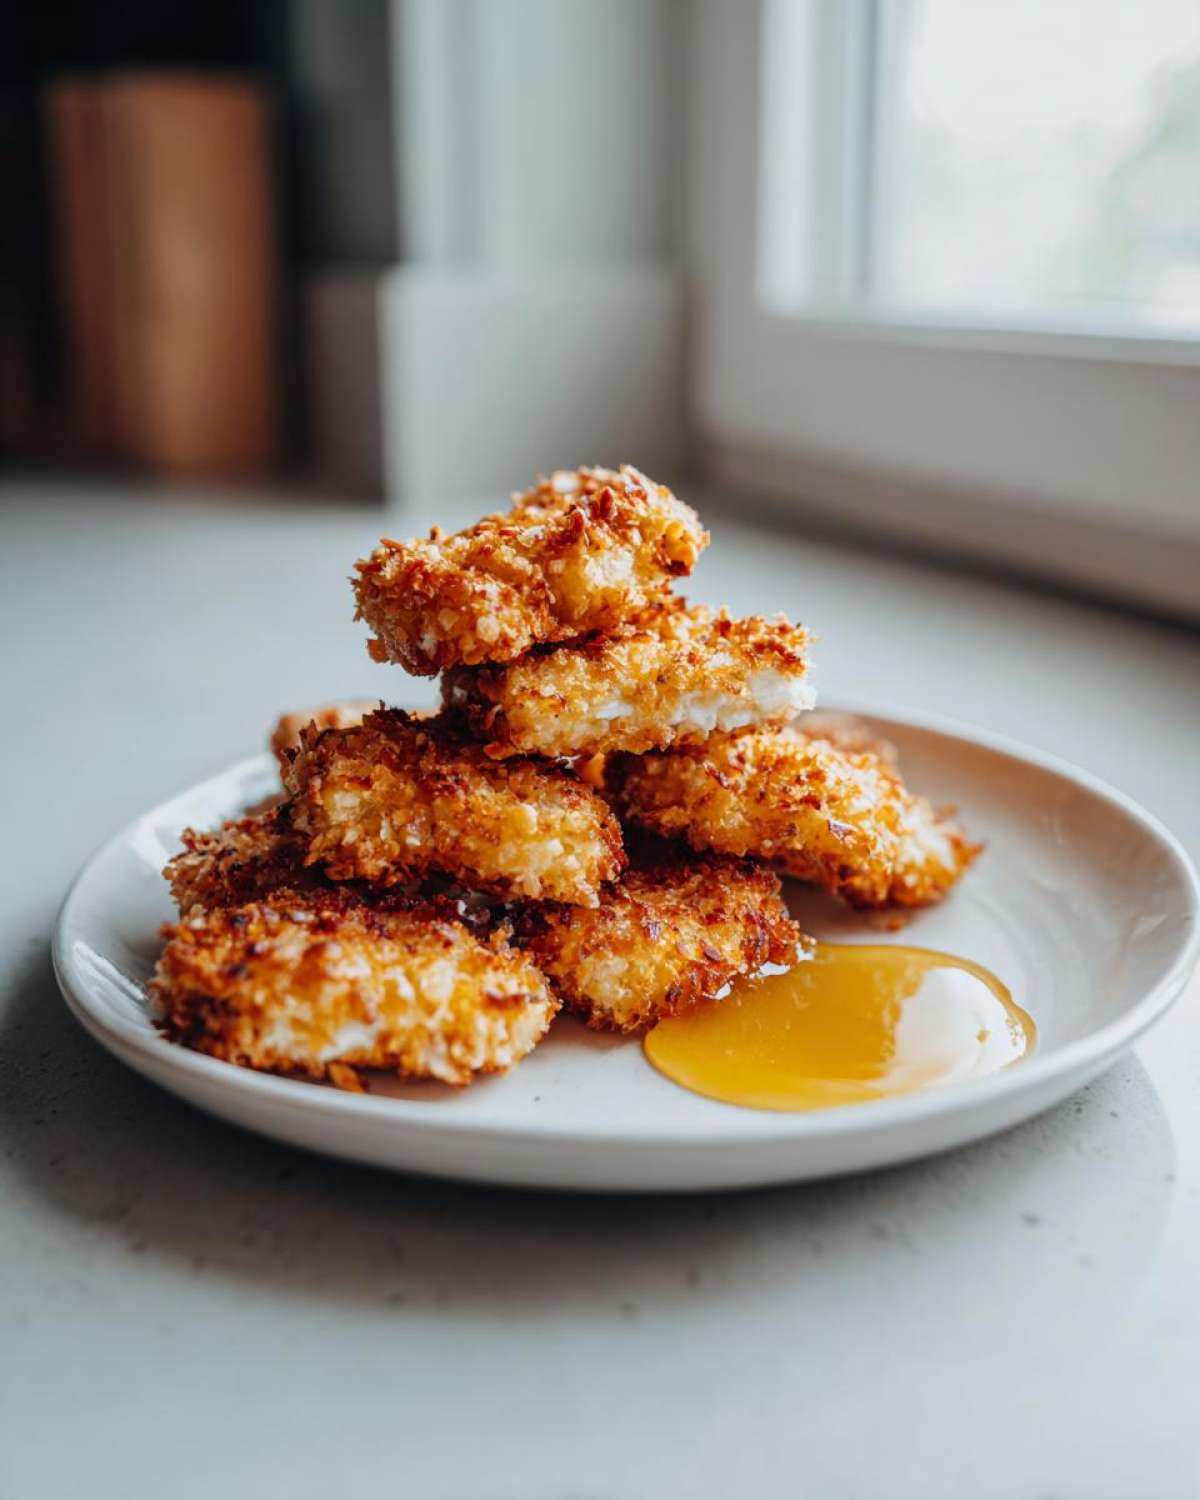
Here are a few ways I stretch this into a full meal that still feels fun and easy:
- The Rainbow Plate: Serve the nuggets alongside some steamed broccoli tossed lightly with sesame oil and a side of sliced cucumbers or sliced bell peppers. The freshness contrasts so nicely with the fried coating.
- Nugget Salad Bar: For older kids (or grown-ups!), set out bowls of toppings like shredded carrots, cheese cubes, cherry tomatoes, and some crunchy lettuce. Dip the nuggets in the honey sauce, then use them like little protein croutons on top of their salad bowls.
- Tater Tot Casserole Boost: If you’re making a comfort food night, use the nuggets on top of a simple tater tot casserole instead of ground meat. It turns it into a crunchy, elevated classic for an easy weeknight chicken meal.
Honestly, the key is just keeping the sides simple—letting the nuggets and that amazing dip steal the show! Whatever you choose, make sure to leave plenty of that honey dip on the side because you won’t want to run out. If you need more quick meal inspiration now that you’ve mastered the main event, definitely take a look at my guide on fast, fail-proof weeknight chicken dishes!
Frequently Asked Questions About Crispy Chicken Nuggets with Honey Dip
I know when you’re making something this delicious, you might have a few little questions pop up. That’s totally normal! We want your first batch of these Crispy Chicken Nuggets with Honey Dip to be absolutely perfect. Sometimes it’s just a quick tweak or a little reassurance about the process, like how important that initial dredging technique for crispy chicken really is for success.
Can I use chicken thighs instead of breasts in this recipe?
Oh, you certainly can! Chicken thighs are actually richer because they have more fat, which means they stay incredibly moist—I mean, almost impossible to overcook! The only change you need to make is adjusting your cooking time slightly. Because thighs are often a bit denser than breast meat, I’d add about one or two extra minutes to the deep-frying time just to make absolutely sure they are cooked through safely to 165°F.
How do I make the honey dip tangier?
That’s easy, and it depends on what kind of ‘tang’ you are after! If you want more punch without adding heat, simply increase the apple cider vinegar by half a tablespoon. If you want that sharper, vinegary kick to balance the sweetness of the honey, add another half teaspoon of Dijon mustard. Sometimes I even throw in a tiny squeeze of fresh lemon juice right at the end—that brightens up the whole best honey dipping sauce recipe instantly!
What is the best oil to use for frying the nuggets?
When you are deep frying, you have to be fussy about the oil because a smoke point that’s too low means you’re going to get a burnt, acrid coating before the chicken inside is finished. Stick to a neutral oil like vegetable oil or canola oil. They both have high smoke points, they don’t impart any flavor into your beautiful coating, and they are relatively inexpensive, which is important since we use a couple of inches of it! Trust me, those are the workhorses of my deep fryer. If you want to explore more cooking guides, check out this great article on deep-frying basics!
Nutritional Estimates for Crispy Chicken Nuggets with Honey Dip
Now, I know some of you are tracking macros, or maybe you’re just curious about what exactly goes into these amazing little bites. I always tell people that cooking from scratch means you control the quality, but it also means the nutritional numbers can change depending on how much oil your nugget absorbs or exactly how much honey you put into your dip!
The numbers listed below are just estimates based on standard portion sizes and preparation methods described in the main recipe steps. Please take these with a grain of salt—or maybe a grain of cornflake! You should use these figures for general guidance only. If you need precise information for dietary needs, you’ll want to plug in your exact brand measurements into your favorite tracking app. Remember, these estimates are based on a serving size of just 6 nuggets and a nice dollop of that amazing dip—and let’s be honest, it’s hard to stop at six!
- Serving Size: 6 nuggets (plus dip)
- Calories: Around 350
- Protein: About 22g (See? Great protein source!)
- Fat: Approximately 18g (This is mostly from the frying oil, so keep that in mind!)
- Carbohydrates: Around 25g
- Sugar: Roughly 18g (Most of that sweet stuff comes right from our irresistible honey dip!)
- Sodium: Around 450mg
Enjoying this recipe is about enjoying the moment and the flavor, but it’s still smart to know the general breakdown. For a full liability statement and more details on how we calculate these figures, you can always check out our official nutritional disclaimer page. Happy cooking!
PrintCrispy Chicken Nuggets with Homemade Honey Dip

Make restaurant-style crispy chicken nuggets at home using a double-dredge method for maximum crunch. This recipe includes instructions for a simple, sweet, and tangy honey dipping sauce.
- Prep Time: 20 min
- Cook Time: 15 min
- Total Time: 65 min
- Yield: 4 servings
- Category: Dinner
- Method: Deep Frying
- Cuisine: American
- Diet: Low Fat
Ingredients
- 1.5 lbs boneless, skinless chicken breasts, cut into 1-inch pieces
- 1 cup all-purpose flour
- 2 large eggs, beaten
- 1 cup panko breadcrumbs
- 1/2 cup crushed cornflakes (for extra crunch)
- 1 teaspoon salt
- 1/2 teaspoon black pepper
- 1/2 teaspoon garlic powder
- 1/4 teaspoon paprika
- Vegetable oil, for frying
- For the Honey Dip:
- 1/2 cup honey
- 2 tablespoons apple cider vinegar
- 1 tablespoon Dijon mustard
- 1 teaspoon soy sauce
- 1/4 teaspoon cayenne pepper (optional)
Instructions
- Prepare the chicken: Pat the chicken pieces completely dry with paper towels. Season lightly with salt and pepper.
- Set up the dredging station: Place flour in a shallow dish. In a second dish, place the beaten eggs. In a third dish, mix the panko breadcrumbs, crushed cornflakes, remaining salt, pepper, garlic powder, and paprika.
- Dredge the chicken: Take one piece of chicken and coat it thoroughly in the flour, shaking off excess. Dip it into the egg mixture, letting excess drip off. Finally, press the chicken firmly into the breadcrumb mixture to coat completely. Repeat for all pieces.
- Chill the nuggets: Place the coated nuggets on a wire rack set over a baking sheet. Refrigerate for at least 30 minutes; this helps the coating adhere during frying.
- Make the honey dip: While the nuggets chill, whisk together the honey, apple cider vinegar, Dijon mustard, soy sauce, and cayenne pepper (if using) in a small bowl until smooth. Set aside.
- Fry the nuggets: Heat 2 inches of vegetable oil in a deep, heavy-bottomed pot or deep fryer to 350°F (175°C).
- Carefully add the nuggets to the hot oil in batches, ensuring you do not overcrowd the pot. Fry for 4 to 6 minutes, turning occasionally, until golden brown and cooked through (internal temperature reaches 165°F or 74°C).
- Remove the nuggets with a slotted spoon and place them on a clean wire rack lined with paper towels to drain excess oil.
- Serve the hot, crispy nuggets immediately with the prepared honey dip.
Notes
- For an air fryer method, spray the chilled, coated nuggets lightly with cooking spray and cook at 390°F (200°C) for 12 to 15 minutes, flipping halfway through.
- To make these nuggets ahead, freeze the raw, coated nuggets on a baking sheet until solid, then transfer them to a freezer bag. Cook directly from frozen, adding 2-3 minutes to the cooking time.
Nutrition
- Serving Size: 6 nuggets
- Calories: 350
- Sugar: 18
- Sodium: 450
- Fat: 18
- Saturated Fat: 3
- Unsaturated Fat: 15
- Trans Fat: 0
- Carbohydrates: 25
- Fiber: 1
- Protein: 22
- Cholesterol: 95