

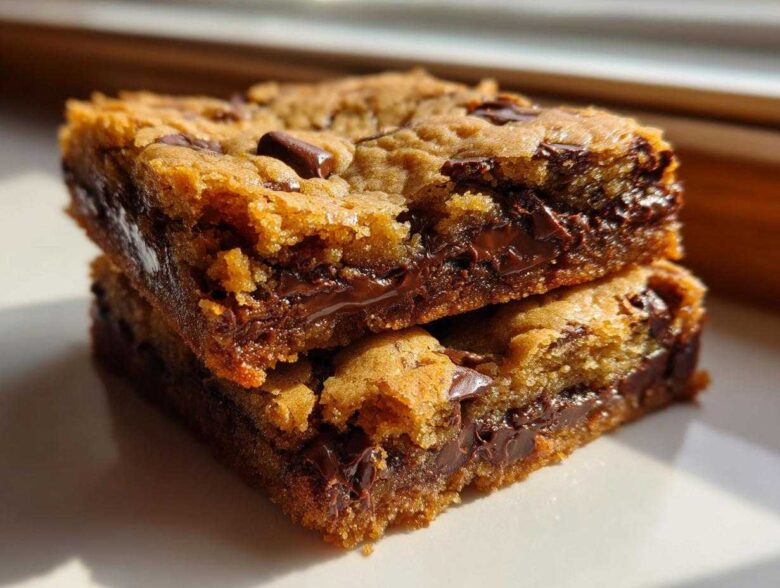
Oh, friends, I know the feeling. You want that perfect, slightly gooey center, those crisp, buttery edges, but sometimes cookies just spread too thin, or they turn frustratinglycakey. Ugh! I spent ages trying to convince individual chocolate chip cookies to behave, but honestly, that’s why I fell head-over-heels for this cookie recipe format. I’m obsessed with these Chewy Chocolate Chip Cookie Bars because they deliver exactly what we crave: thick, fudgy centers that melt in your mouth and edges you actually want to fight over. Seriously, mastering this bar means less fuss with scooping and more consistent, unbelievably chewy baked goods every single time. They’re my absolute go-to!
Why These Chewy Chocolate Chip Cookie Bars Are Your New Favorite Dessert
Why bother with individual cookies when you can have this glorious one-pan bake? These bars solve so many baking headaches. Trust me, once you nail down the technique for these Chewy Chocolate Chip Cookie Bars, you’ll never look back. They’re just easier!
- Texture Guaranteed: We promise that rich, fudgy center that resists falling apart—it’s dreamy!
- Simple Preparation: This truly is the easiest way to get gourmet results without the effort.
- Perfect Portioning: You get exactly 16 satisfying squares, making serving for a crowd super simple.
Texture Guaranteed: Fudgy Centers and Chewy Edges
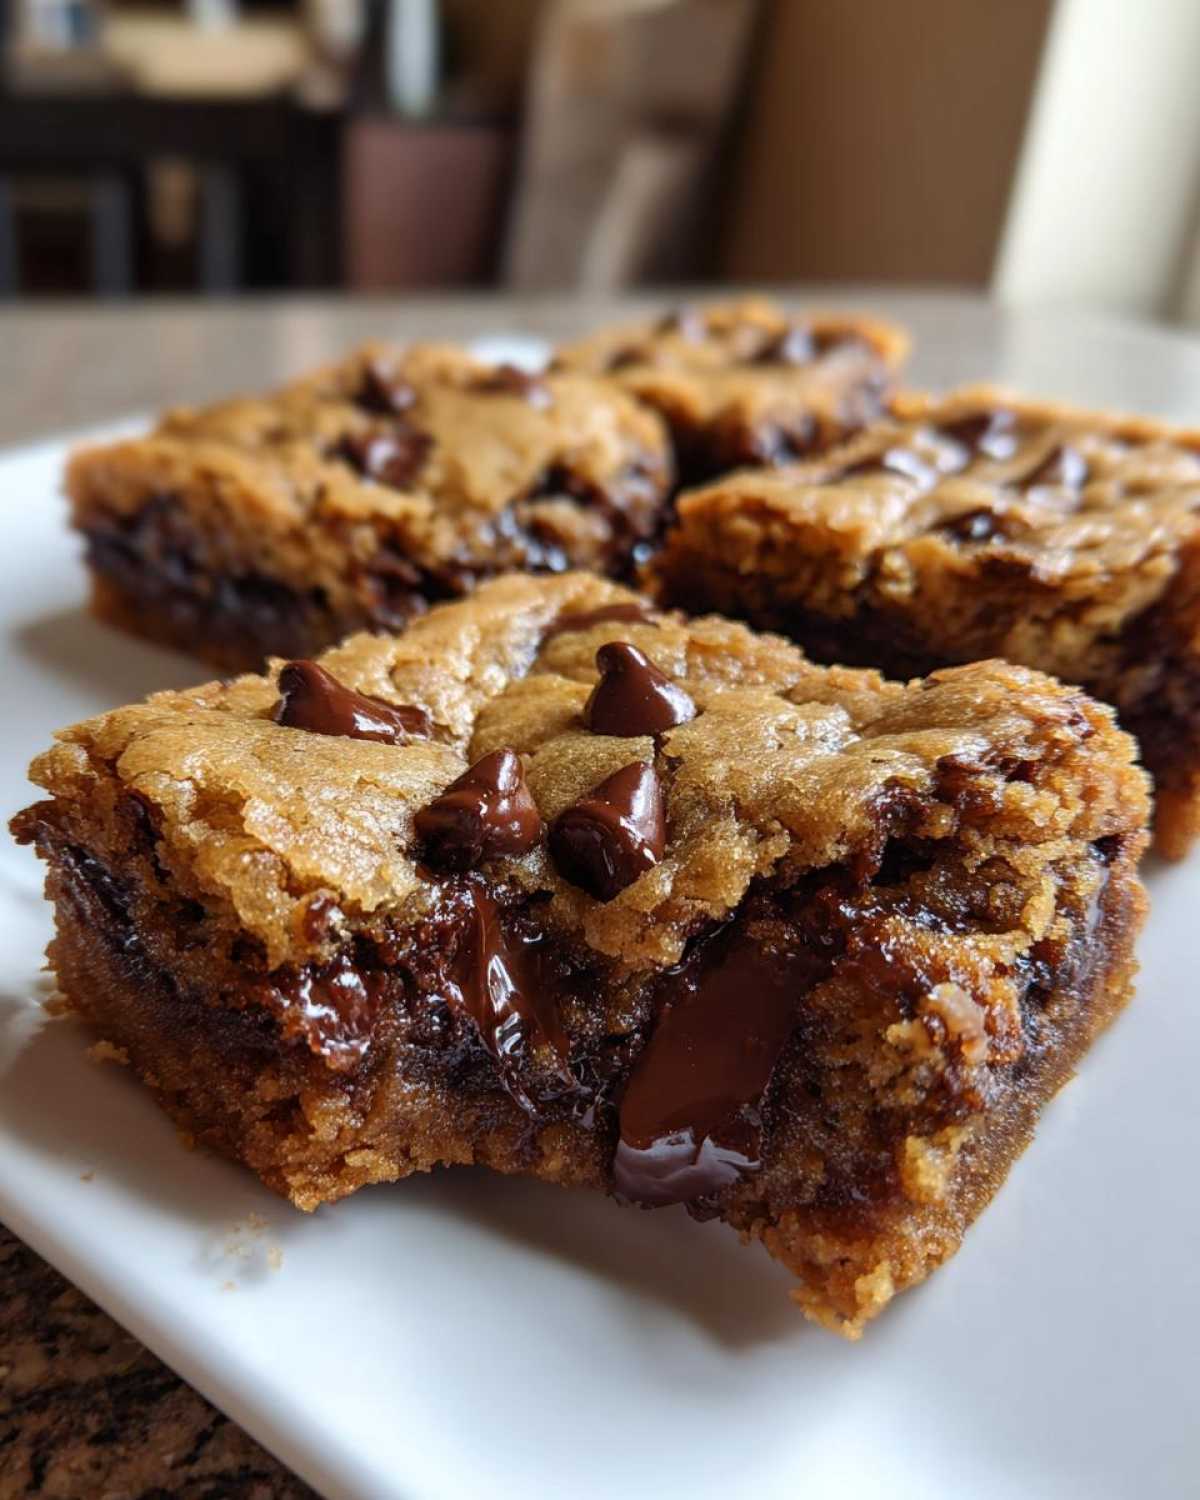
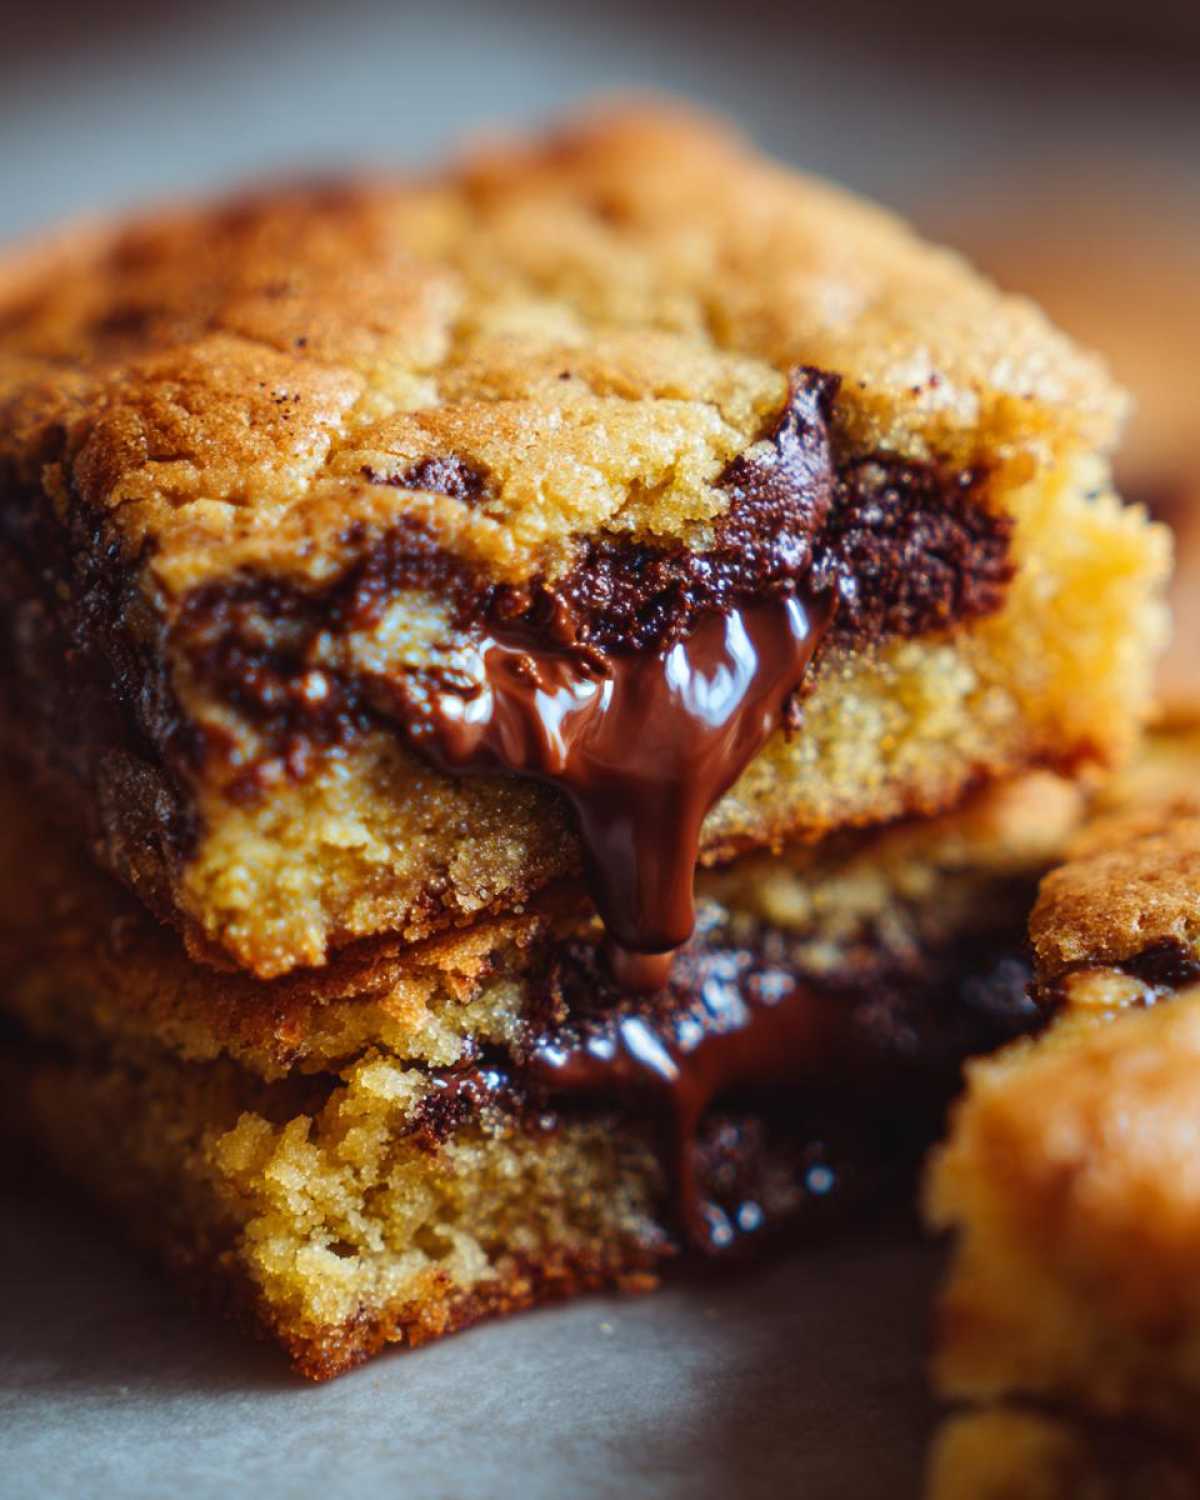
The secret to getting that incredible chewiness often comes down to the density of the dough, and bars just bake up better when you want that satisfying squish. Because we’re pressing the dough right into the pan, we retain more moisture throughout the bake. Cookies spread out on a sheet; bars stack up, keeping the chocolate gooey for longer!
Simple Preparation: The Best Chewy Cookie Bars Recipe
Honestly, this recipe saves cleaning up too! We don’t have to worry about spoons or parchment rounds for individual cookies. You mix it all in one bowl, dump it in the pan, and bam—you’ve got yourself a full batch of easy chocolate chip bars. It’s the perfect one-pan chocolate chip dessert for any weeknight craving.
Gathering Ingredients for Perfect Chewy Chocolate Chip Cookie Bars
Okay, now for the fun part: getting everything ready! For these Chewy Chocolate Chip Cookie Bars to be legendary, you can’t eyeball anything. We need precision, especially with the sugars and fats. Before you even start dumping things in a bowl, make sure you have your 1 cup of unsalted butter fully melted—no soft room temp butter here! We also need 1 cup of packed light brown sugar (make sure it’s packed!) and 2 large eggs. That combination sets the stage for chewiness.
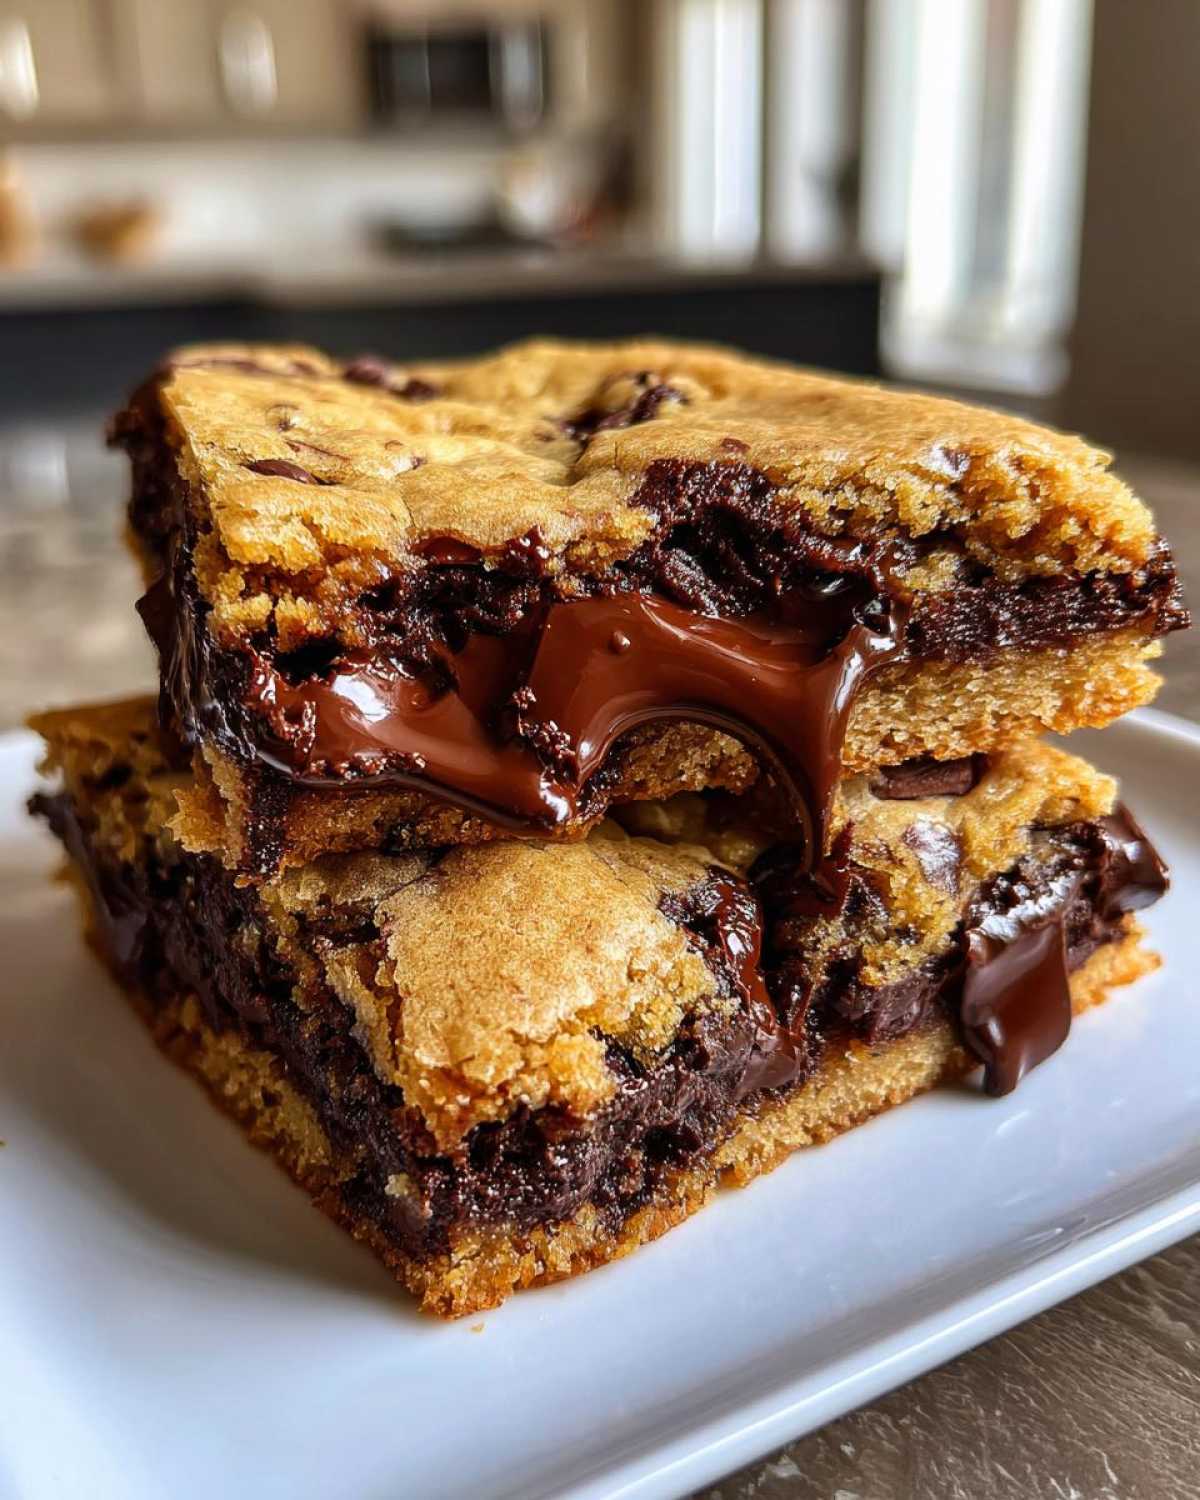
Don’t forget the 2 cups of semi-sweet chips, of course! I like tossing in about a half cup of pecans, but you can skip them if nuts aren’t your thing. A light sprinkle of flaky sea salt on top at the end is non-negotiable for me, though. It just elevates everything!
Ingredient Notes and Substitution Tips for Chewiness
When we talk about baking secrets for chewy desserts, the sugar ratio is what matters most. We use a mix of brown and white sugar here, but if you want maximum chew and that deep molasses warmth, try swapping the granulated sugar entirely for more brown sugar. Brown sugar holds onto moisture better than white sugar, which is the key to keeping these bars thick and chewy baked goods for days. If you check out how to make soft maple brown sugar cookies, you’ll see the same principle applies—more molasses equals more chew!
Step-by-Step Tutorial: How to Make Thick Cookie Bars
Alright, here we go! This is where we put all that prep work to good use. I promise this fudgy cookie bars tutorial is so straightforward, you’ll wonder why you ever stressed over making cookies drop perfectly onto a sheet. The total time is super short, but the way we handle the cooling is what separates the good bars from the truly legendary ones, so stick with me to the very end! If you’re ever curious about other gooey treats, my recipe for cream cheese brownies uses a similar philosophy about not overmixing!
Preparing the Pan and Oven for Your Chewy Chocolate Chip Cookie Bars
First things first—we need heat! Set your oven to 350 degrees Fahrenheit. Don’t try to rush this by setting it higher; we need even heat for that perfect chew. Next, grab your 9×13 inch baking pan. This is important: line it completely with parchment paper, but leave some overhang on the sides. Think of the parchment as little handles. These handles are your best friends when it comes to lifting the entire glorious slab out of the pan after baking. Trust me, you want that overhang!
Mixing Wet and Dry Components Correctly
We start with our wet ingredients. In your big bowl, whisk up that melted butter, the brown sugar, and the white sugar until everything is smooth. Then beat in your two eggs, one at a time, stirring well after each one, followed by your vanilla extract. Now, in a separate bowl, just give your flour, baking soda, and salt a quick whisk together—that just means the leavening is distributed evenly. Slowly, slowly, add the dry stuff to the wet stuff. I mix this on low speed, and I mean *low*. Stop stirring the second those flour streaks disappear. Seriously, overmixing develops gluten, and gluten means cakey, not chewy. We want tender, not tough!
Baking and Achieving the Perfectly Chewy Chocolate Chip Cookie Bars Center
Once you gently fold in those chocolate chips and nuts, spread that thick dough evenly into your prepared pan. If you’re feeling fancy, sprinkle on that flaky sea salt now. Slide it into the preheated oven for about 25 to 30 minutes. How do you know when they are done? This is the key for chewiness! The edges should look set and maybe just starting to turn golden brown, but the very center needs to still look a tiny bit soft, almost underbaked. That soft center will set up perfectly as it cools. Speaking of cooling—this is mandatory for clean cuts! Let these babies cool completely in the pan on a wire rack. If you try to cut them warm, they turn into a gooey, frustrating mess. Patience pays off here!
Expert Tips for Perfectly Chewy Dessert Bars
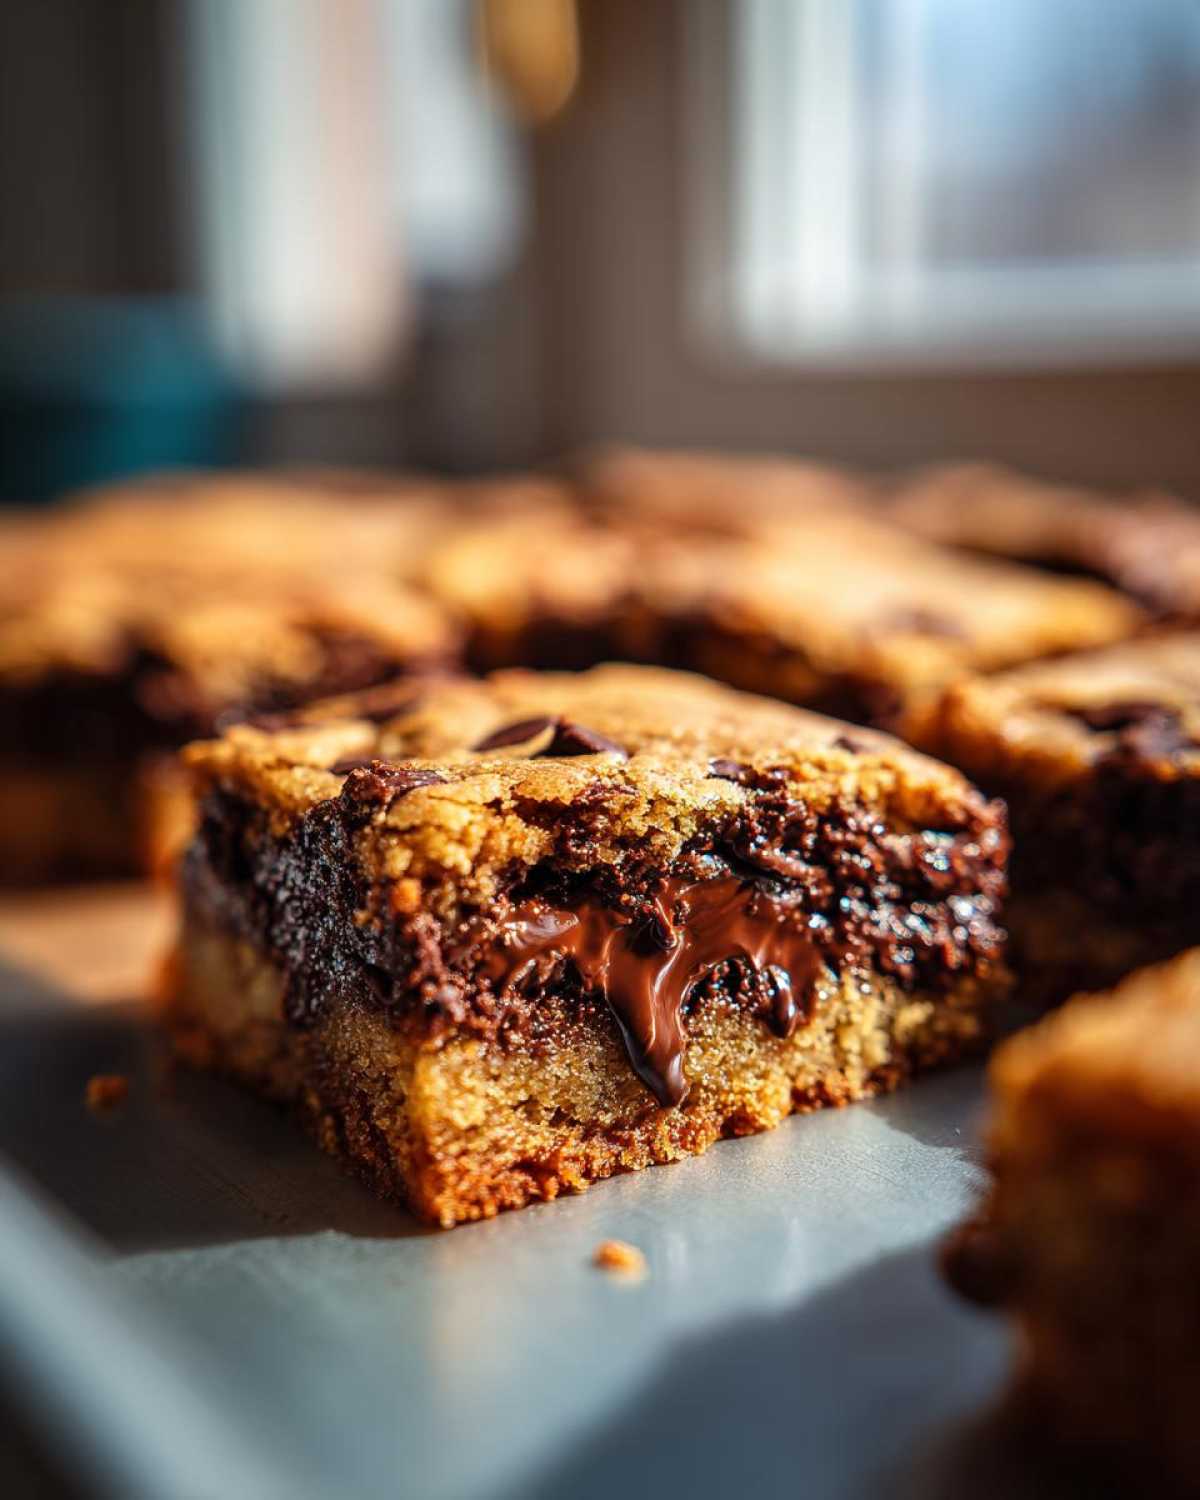
We’ve covered the basics, but if you want to level up your Chewy Chocolate Chip Cookie Bars from great to unforgettable, here are a few little tricks I picked up over the years. The biggest baking secrets for chewy desserts usually involve controlling moisture and heat. For example, I mentioned slightly underbaking them, but another huge factor is the pan you choose!
If you’re making these for a super fudgy, decadent experience—maybe like a brownie but better—you absolutely must try using an 8×8 inch pan next time. Yes, it bakes longer, but you get these incredibly satisfying, thick cookie bars with satisfyingly crisp sides. They are just glorious when they come out that tall!
Baking Secrets for Thick and Chewy Baked Goods
When I test things out in my kitchen, I find that if I grab my eggs and everything else that theoretically shouldn’t be warm, I let them sit out for just 15 minutes. That slight temperature boost helps the vanilla and eggs incorporate better into that buttery sugar base. Also, pay attention to your chocolate chips! If you use milk chocolate, they melt completely, making the bar softer overall. For chewiness, stick to semi-sweet or even dark; they hold their structure better during the bake. If you want to see how these secrets apply elsewhere, check out my tips for getting those perfect soft, chewy snickerdoodles—the science of chew is surprisingly consistent across baking!
Variations on Your Chewy Chocolate Chip Cookie Bars
You know I love keeping things interesting in the kitchen! Even though this recipe is fantastic as is, sometimes you just need a little twist to feel like you’re making something totally new. These Chewy Chocolate Chip Cookie Bars are so versatile. Instead of just using semi-sweet chips, try mixing in some dark chocolate chunks and peanut butter chips. That combination is amazing, I promise!
Another simple switch is using different extracts. A half teaspoon of almond extract mixed in with the vanilla during the wet ingredients? Wow. It adds such a subtle, gourmet note to the whole thing. It just feels a little fancier, doesn’t it?
Making Brown Butter Cookie Bars
If you really want to take these bars to the absolute next level—a true homemade gourmet cookie bars experience—you have to try browning the butter first. It only takes about five extra minutes, but the flavor transformation is huge! You just melt the butter over medium heat and keep swirling it until you see little brown bits forming on the bottom and it smells nutty and rich. Let it cool down until it’s just warm again, and then use that brown butter in place of the melted butter called for in the recipe.
The nutty depth of brown butter pairs unbelievably well with the dark sugar we use. If you want to explore that flavor profile more, you should definitely check out my guide on brown butter cookies—it walks you through the browning process perfectly so you don’t burn it!
Storage and Keeping Your Chewy Chocolate Chip Cookie Bars Fresh
It’s always a struggle when you have too many amazing Chewy Chocolate Chip Cookie Bars left over, but luckily, these do great at room temperature! The easiest path is stacking them up inside a completely airtight container. I usually stick a piece of parchment or wax paper between the layers just so they don’t stick together—especially if your center is super gooey!
They stay perfectly fresh, maintaining that chewy texture, for about four days. Honestly, if you can manage to keep your hands off them that long! If the kitchen gets really warm, you *can* pop them in the fridge, but I find they firm up a bit too much there. If you do refrigerate, just let one warm up on the counter for 15 minutes before devouring it. Simple, right?
Frequently Asked Questions About Gooey Chocolate Chip Squares
I always get so many questions after people try baking these! It makes total sense, because getting that perfect texture can be tricky sometimes. I wanted to gather the most common things I hear about making these gooey chocolate chip squares so you can worry less about troubleshooting and just focus on eating them!
Can I skip chilling the dough for these Easy Chocolate Chip Bars?
Yes, absolutely, and this is one of my favorite parts! Unlike regular cookies where chilling helps prevent spreading, these bars are already locked into that 9×13 pan shape. Since this recipe uses melted butter, you don’t need to chill the dough at all. You mix it up and put it right into the oven. It’s truly a fantastic recipe for when you need dessert fast—no waiting involved!
What is the best way to get edges that are crisp but not hard?
This is all about the exact moment you pull them out. For that perfect structural crunch around the edge without turning into a rock, you need to watch your baking time closely. The recipe calls for 25 to 30 minutes, but you should pull them out the *second* you see those sides set and look golden. If you wait even two extra minutes, those edges get tough instead of slightly crisp. Also, using that combination of brown sugar and white sugar helps create a crisper edge while keeping the interior soft, which is a perfect balance!
Are these Chewy Chocolate Chip Cookie Bars suitable for kids to help make?
Oh, they are excellent for involving little helpers! This is definitely a kid friendly cookie bar recipe. Since the butter is melted, you don’t need electric mixers for the creaming step, which is much safer. Kids can easily handle whisking the melted butter and sugars, stirring in the vanilla, and—my favorite part for them—folding in the chocolate chips and nuts. Just make sure you handle the hot oven part yourself, of course! The best part is they won’t complain about scooping dough!
If you want to see how some of these chewy principles apply to other desserts, check out my post on getting those wonderfully soft fudgy crinkle cookies!
Estimated Nutritional Data for Chewy Chocolate Chip Cookie Bars
Now, I have to give you the fine print because, let’s be real, these bars are pure indulgence! I ran the numbers for you based on the recipe using standard ingredients, including the nuts, for 16 squares. But remember, this is just an estimate; if you swap out the chocolate chips for dark chocolate or decide against the pecans, your totals are going to shift a little bit. We’re definitely in the “worth every bite” category here!
Here is the estimated breakdown per bar for these wonderful Chewy Chocolate Chip Cookie Bars:
- Serving Size: 1 bar
- Calories: 280
- Fat: 16g
- Saturated Fat: 10g
- Carbohydrates: 33g
- Sugar: 22g
- Protein: 4g
- Cholesterol: 55mg
See? Worth it! If you want to explore other delicious recipes where we analyze the nutritional content—or just sneak a peek at what else is cooking in my kitchen—feel free to browse through my main recipe blog!
Share Your Perfectly Chewy Dessert Bars Experience
I really hope you get a batch of these Chewy Chocolate Chip Cookie Bars in the oven this week, because I just can’t wait to hear what you think! Baking should always be fun, and sharing the results makes it even better. Seriously, if you try this, I need to know!
Did you manage to keep your hands off them long enough to get those clean slices? What did you think of the fudgy center compared to the crisp edges? Please, don’t be shy!
Drop a comment down below this post and tell me how they turned out—I read every single one! If you snapped a picture of your gooey golden squares, tag me on social media so I can see your beautiful bake. It truly makes my day when I see readers enjoying something I perfected in my own kitchen. If you have questions, or just want to tell me your favorite way to customize them, you can always reach out directly too. Happy baking, everyone!
PrintChewy Chocolate Chip Cookie Bars
A simple recipe for thick, chewy chocolate chip cookie bars with fudgy centers and crisp edges.
- Prep Time: 15 min
- Cook Time: 30 min
- Total Time: 45 min
- Yield: 16 bars
- Category: Dessert
- Method: Baking
- Cuisine: American
- Diet: Vegetarian
Ingredients
- 1 cup (2 sticks) unsalted butter, melted
- 1 cup packed light brown sugar
- 1/2 cup granulated sugar
- 2 large eggs
- 1 tablespoon vanilla extract
- 2 1/4 cups all-purpose flour
- 1 teaspoon baking soda
- 1/2 teaspoon salt
- 2 cups semi-sweet chocolate chips
- 1/2 cup chopped walnuts or pecans (optional)
- Flaky sea salt for topping (optional)
Instructions
- Preheat your oven to 350 degrees Fahrenheit. Line a 9×13 inch baking pan with parchment paper, leaving an overhang on the sides for easy removal.
- In a large bowl, whisk the melted butter, brown sugar, and granulated sugar together until fully combined.
- Beat in the eggs one at a time, mixing well after each addition. Stir in the vanilla extract.
- In a separate medium bowl, whisk together the flour, baking soda, and salt.
- Gradually add the dry ingredients to the wet ingredients, mixing on low speed until just combined. Do not overmix.
- Fold in the chocolate chips and nuts, if using.
- Spread the dough evenly into the prepared baking pan. Sprinkle the top lightly with flaky sea salt, if desired.
- Bake for 25 to 30 minutes. The edges should look set and golden brown, but the center should still look slightly soft or gooey.
- Let the bars cool completely in the pan on a wire rack before lifting them out using the parchment paper overhang.
- Cut into squares and serve.
Notes
- For extra chewiness, slightly underbake the bars by about 2 minutes.
- Using only brown sugar instead of a mix will result in a chewier, more molasses-flavored bar.
- If you prefer thicker bars, use an 8×8 inch pan, but increase the baking time to 35 to 40 minutes.
- Store cooled bars in an airtight container at room temperature for up to 4 days.
Nutrition
- Serving Size: 1 bar
- Calories: 280
- Sugar: 22
- Sodium: 150
- Fat: 16
- Saturated Fat: 10
- Unsaturated Fat: 6
- Trans Fat: 0
- Carbohydrates: 33
- Fiber: 1
- Protein: 4
- Cholesterol: 55