

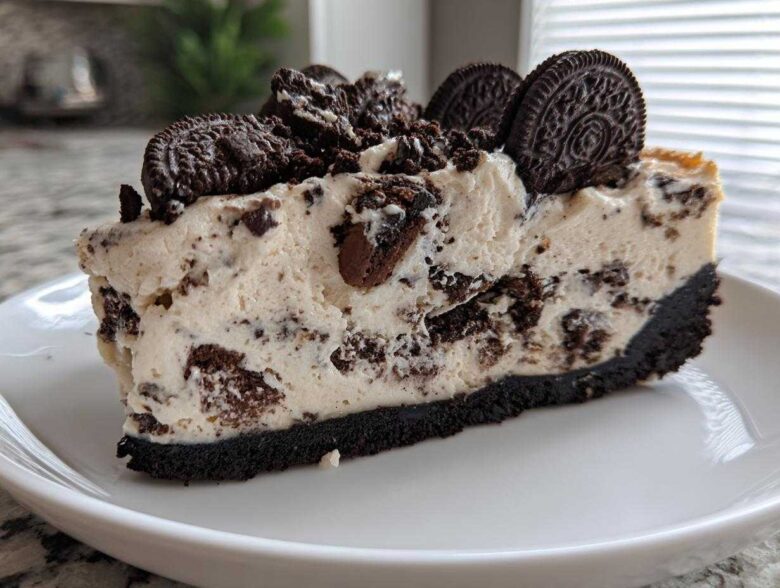
Listen, if you think dessert needs to be complicated or fussy to be truly show-stopping, I’m here to tell you that you absolutely must make this oreo cheesecake. When Mateo and I think about the rich desserts we keep coming back to, this one is always at the top. It’s so decadent and creamy; honestly, it puts half the restaurant versions to shame! This isn’t just another recipe; this is the one we pull out when we need a ‘wow’ factor for a party, and it always makes everyone stop talking when it hits the table. We finally perfected this baked version after hours of testing, and I promise, the effort is so completely worth that first, soul-satisfying bite.
For those moments when you crave that deep, luxurious texture, this is the ultimate indulgence. We’ve perfected the creamy texture and the perfect sandwich of cookie crust, filling, and chocolate topping. If you’re looking for other showstoppers, you might also want to try our famous best chocolate chip cookie recipe, but trust me, this cheesecake will steal the show. Check out our tips below; they helped us capture that truly special feeling in every slice.
Why This Baked Oreo Cheesecake Recipe is the Best Oreo Cheesecake Recipe
What makes this recipe the ultimate one? It’s all about that rich, velvety mouthfeel we all crave in a great dessert. We cracked the code on what makes this the Best Oreo Cheesecake Recipe you’ll ever make. It’s simply superior!
- It delivers that incredible, dense, yet Creamy Oreo Dessert texture.
- We nailed the ratio for a perfectly buttery crust that holds up beautifully.
- It tastes exactly like that famous slice you get when you go out for a fancy dessert.
When you’re ready to bake, remember you can check out our cream cheese brownies recipe for another decadent option!
Achieving Cheesecake Factory Style Dessert Perfection
Want that perfect texture? It all comes down to temperature and technique. You absolutely must use room temperature cream cheese and eggs—no shortcuts there! And yes, committing to the water bath during baking is non-negotiable. That’s the secret sauce that stops the edges from cooking too fast and gives us that signature smooth Cheesecake Factory Style Dessert finish.
Gathering Ingredients for Your Ultimate Oreo Cheesecake
Okay, let’s talk about the lineup! Getting your ingredients ready is half the battle, and since we want a truly spectacular oreo cheesecake, precision matters here. Don’t just grab things out of the fridge willy-nilly; we need things prepped perfectly. Mateo always lays everything out on the counter before we even touch the mixer—it keeps the chaos manageable!
Here is what you need to gather for this rich dessert:
- Crust: 1 3/4 cups Oreo cookie crumbs (that’s about 25 cookies!), and 1/4 cup unsalted butter that’s melted.
- Filling: Three whole 8-ounce packages of cream cheese that must be softened, 1 1/2 cups granulated sugar, 1 teaspoon vanilla extract, 1/4 teaspoon salt, 4 large eggs taken out while they warm up, 1 cup of room-temperature sour cream, and 1 cup of crushed Oreos for texture.
- Topping: A final 1/2 cup of Oreo cookie crumbs, plus an optional ganache made from 1/2 cup heavy cream and 4 ounces of chopped semi-sweet chocolate.
Ingredient Notes and Substitutions for Oreo Cheesecake
Seriously, please, pay attention to the temperature notes! For a perfectly smooth texture in your oreo cheesecake, that cream cheese has to be totally soft—if it’s cold, you’ll end up with little lumps, and we just can’t have that. Same for the eggs; cold eggs emulsify poorly with the fat. If you’re out of sour cream, you can sometimes substitute it with an equal amount of full-fat Greek yogurt, but honestly, the sour cream just gives the cheesecake that signature lovely tang and structure we are aiming for, so try to keep it if you can!
Also, Crush your Oreos yourself if you can! The flavor is just better when you make the crumbs fresh versus using the pre-bagged stuff. You can check out how we make our red velvet cheesecake brownies for another idea using cream cheese!
Step-by-Step Baked Oreo Cheesecake Tutorial
Alright, time to get down to business! Making this incredible oreo cheesecake involves a few crucial stages, but if you follow them exactly, you’ll end up with something flawless. Don’t rush this part—precision here ensures that rich, creamy reward later. First things first, get your oven preheated to 325 degrees F. Now, grab that 9-inch springform pan and wrap the outside *tightly* in heavy-duty aluminum foil. I mean tight! We’re making a water bath, and we sure don’t want any sneaky water seeping in.
Preparing the Chocolate Cookie Cheesecake Crust
This is where the crunch starts. Just combine your 1 3/4 cups of Oreo crumbs with the melted butter until it looks like wet sand. Press that mixture firmly and evenly into the bottom of your prepared pan. You want to pack it down well so it holds together! Pop that crust into the oven for exactly 10 minutes. Once that’s done, pull it out and let it cool off a bit while we move onto the filling magic.
Mixing the Creamy Oreo Dessert Filling
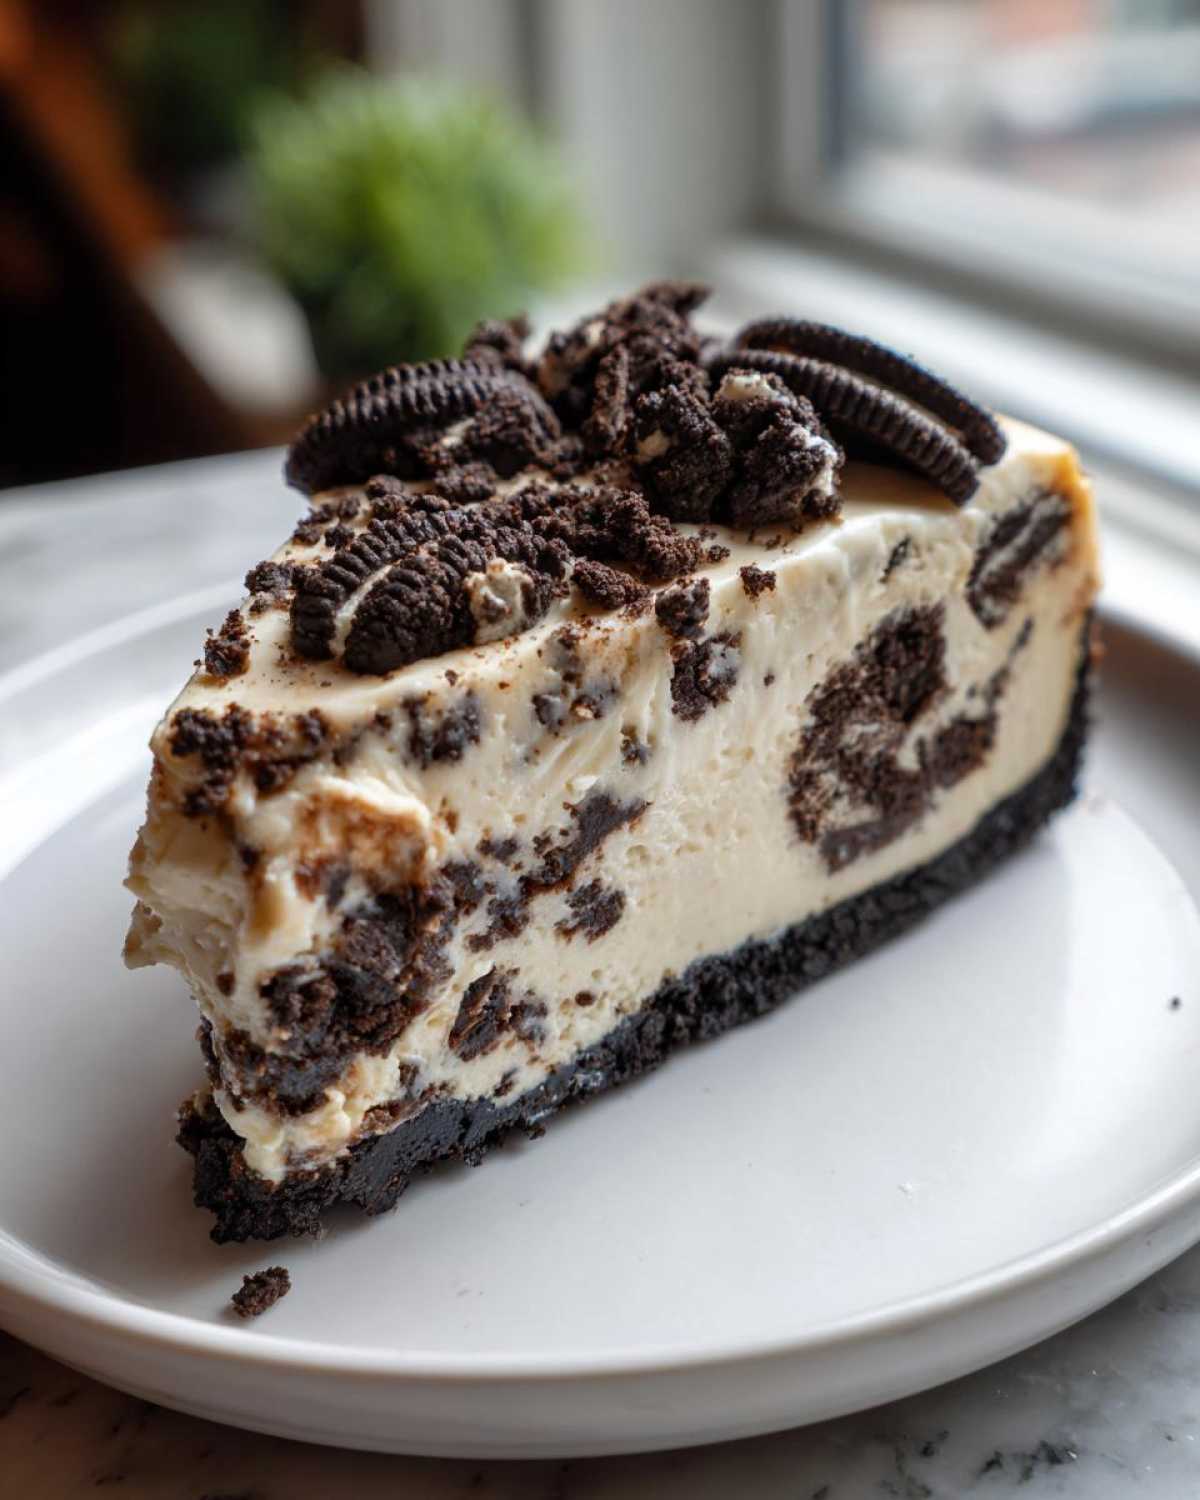
This is where experience really counts! In a big bowl, whip that softened cream cheese until it is gloriously smooth. Seriously, scrape down the sides and make sure there are zero lumps. *Then* add your sugar, vanilla, and salt, and mix only until combined. My biggest piece of advice? Mix in the 4 eggs one at a time, making sure each one is *just* incorporated before adding the next. Over-beating once the eggs are in introduces air, and we don’t want air—we want dense luxury! Finally, gently fold in the cup of crushed Oreos. You’re creating the most decadent base!
Baking Your Oreo Cheesecake Using a Water Bath
Time to set up the steam room! Place your foil-wrapped pan carefully inside a larger roasting pan. Now, gently—and I mean *gently*—pour hot water into the roasting pan until it comes halfway up the sides of your springform pan. This water bath acts like a thermal blanket, ensuring even baking. Pop it all into the oven and bake for between 60 to 75 minutes. You’ll know it’s ready when the edges look set up, but if you give the whole pan a nudge, the very center still has a little wobble to it. Trust me on that slight jiggle!
When you’re done baking, don’t pull it out yet! Close the oven door, turn the heat off, and prop the door open slightly—a wooden spoon works perfectly for this. Let your Yorkshire pudding trick give your cheesecake a gentle one-hour cool-down. You can find another incredible recipe inspiration over at Handle the Heat if you need something else delicious for dessert planning!
Crucial Cooling Steps for a Perfect Oreo Cheesecake
Okay, people, this is where 90% of home bakers mess up their beautiful creation, and we are not going to be those people! You’ve just spent all that time crafting the perfect, rich oreo cheesecake, and the last thing you want is a giant crack right down the middle. It’s heartbreaking, I know. The secret, just like with any good story, is a slow, gentle ending. We can’t shock the cake!
Once that 60 to 75 minutes is up and the center has that tiny little shimmy, turn your oven off. No peeking, no opening the door yet! You need to prop the door open just slightly—I use a wooden spoon handle jammed in there—and let the cheesecake hang out in that slowly cooling oven environment for a full hour. This gradual temperature drop lets the structure settle without shrinking suddenly.
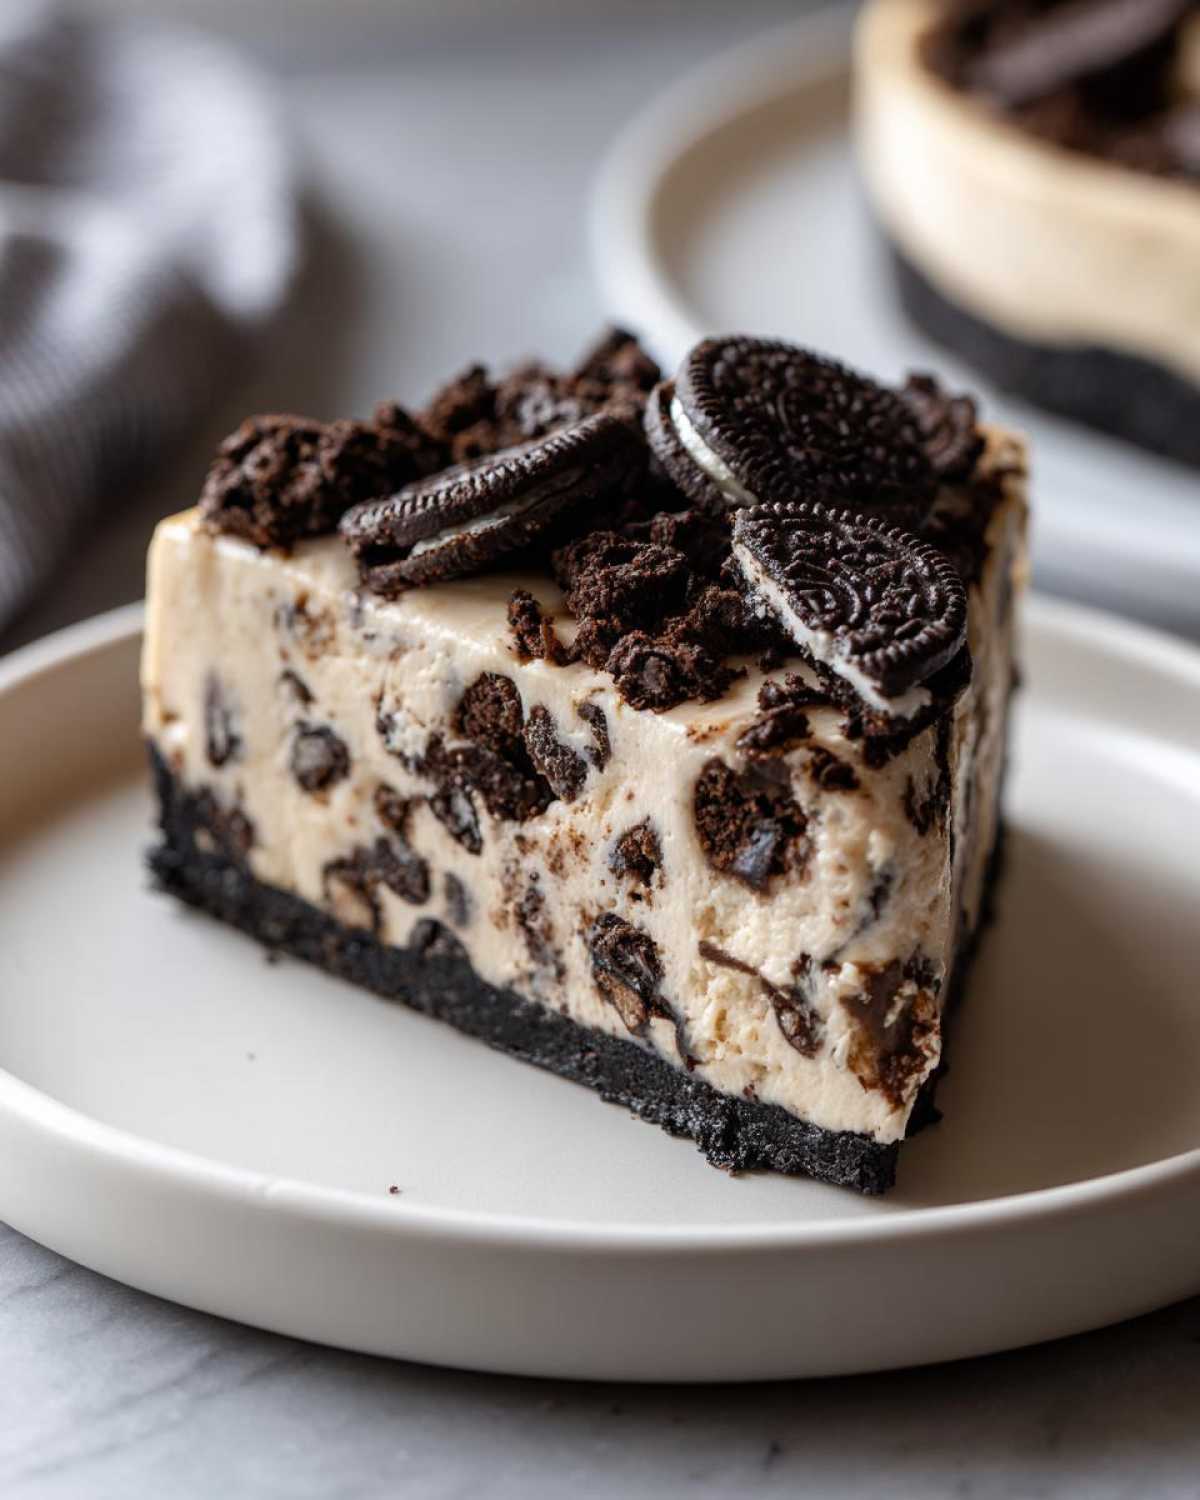
After that hour in the oven’s warmth, you can finally transfer it out of the water bath and strip off that foil wrapping. Let it sit on a wire rack until it comes down to room temperature. Why? Because putting a warm cheesecake straight into the cold fridge is another big no-no! Once it’s totally cool to the touch, cover it up. And this is the hardest part: you have to chill it for *at least* six hours, but honestly, overnight is where the magic really happens for slicing. This chilling time sets up that beautiful, dense texture, making it the perfect Make Ahead Cheesecake option for your next gathering!
For more timing tips for desserts you can make ahead, check out our guide on make ahead cheesecake tips!
Optional Ganache Topping for Your Decadent Cheesecake Recipe
This baked oreo cheesecake is already amazing on its own, right? It’s a creamy dream! But if you’re feeling extra dramatic—and let’s be honest, sometimes we are—then this optional ganache topping pushes it straight into over-the-top territory! This is when it truly earns the title of Decadent Cheesecake Recipe. It’s super simple, so don’t let chocolate scare you.
You just need two things: 1/2 cup of heavy cream and 4 ounces of semi-sweet chocolate that you’ve chopped up finely. Pop that cream into a little saucepan and heat it up until it just starts to simmer gently around the edges. Don’t let it boil hard, please! Then, take that hot cream right off the heat and pour it straight over your chopped chocolate that’s waiting patiently in a bowl. Let it sit there for five full minutes without touching it. This lets the heat do the melting work!
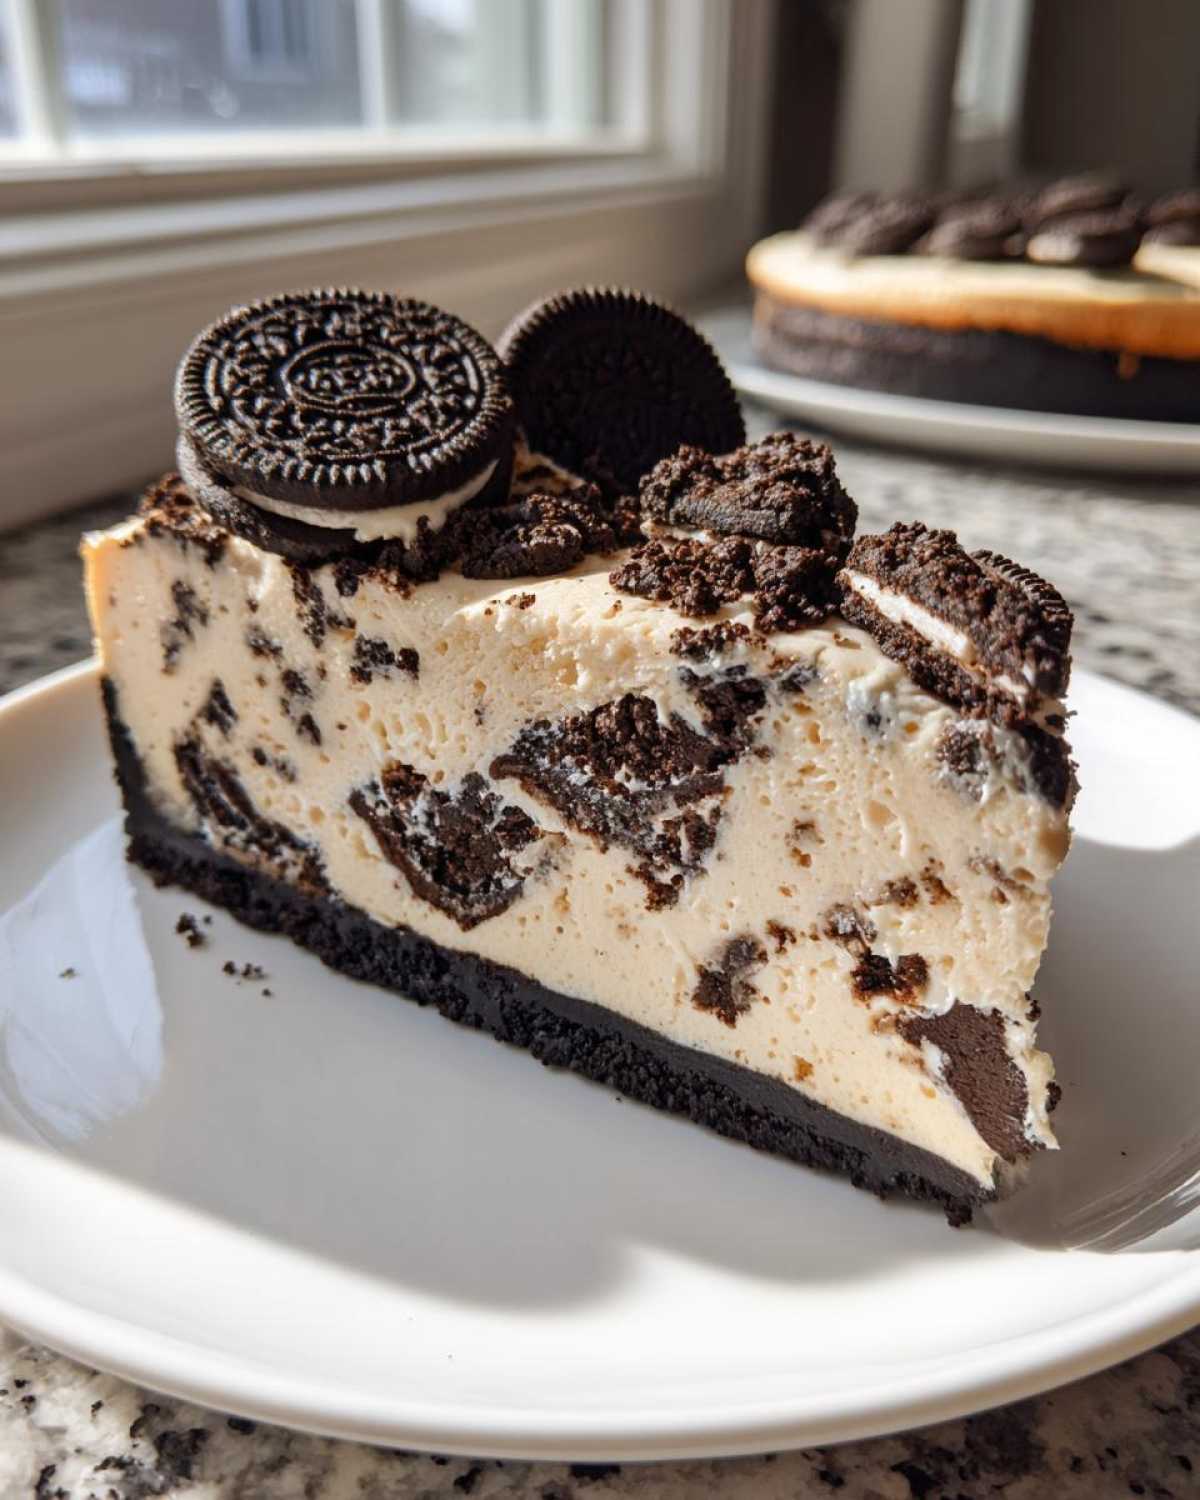
After that resting time, grab a whisk and just gently stir everything together until it’s completely smooth and glossy. That’s it! Let that ganache cool down a tiny bit so it’s pourable but not piping hot. Then you can drizzle it lovingly over your perfectly chilled cheesecake. If you’re looking for other chocolate fix ideas, check out our guide on the best chocolate chip cookie recipe!
Tips for Success with Homemade Oreo Cheesecake
Okay, you’ve baked this magnificent creation, and now you need the final little nudges to make it absolutely perfect. Handling this decadent dessert correctly before serving is key to getting that amazing slice every time. Seriously, trust me on these final steps for your oreo cheesecake!
- Slicing Secret: Never try to slice this while it’s cold straight from the fridge! Let it sit out at room temperature for about 30 minutes first. A warm knife works wonders, too—run your knife under hot water and wipe it dry between every single cut.
- Room Temp is King: I keep saying it because it matters so much: your cream cheese and eggs MUST be room temperature. Lumps are the enemy of the creamy texture we are after!
- Don’t Touch That Oven: The slow cooling process is non-negotiable. If you skip the hour in the slightly ajar oven, you invite cracks into your perfect dessert.
If you’re looking for something savory to go alongside this masterpiece, check out our easy slow cooker cranberry meatballs!
Storage and Make Ahead Cheesecake Guidelines
One of the absolute best things about this rich oreo cheesecake is that it’s fantastic when made ahead of time! Seriously, this is a huge win when you’re planning Party Dessert Recipes because you can focus on everything else the day you host. We usually plan to make ours the day before we need it, but it holds up beautifully for longer!
Since this specific dessert relies on that chilled, dense structure, it’s the perfect Make Ahead Cheesecake candidate. Once it’s completely chilled after that long mandatory rest in the fridge—I mean down to the core—it’s ready for storage. You need to cover it really well. I usually use plastic wrap right against the surface of the cheesecake itself to stop it from drying out or picking up fridge smells, and then wrap the whole thing loosely with foil or place it in an airtight container.
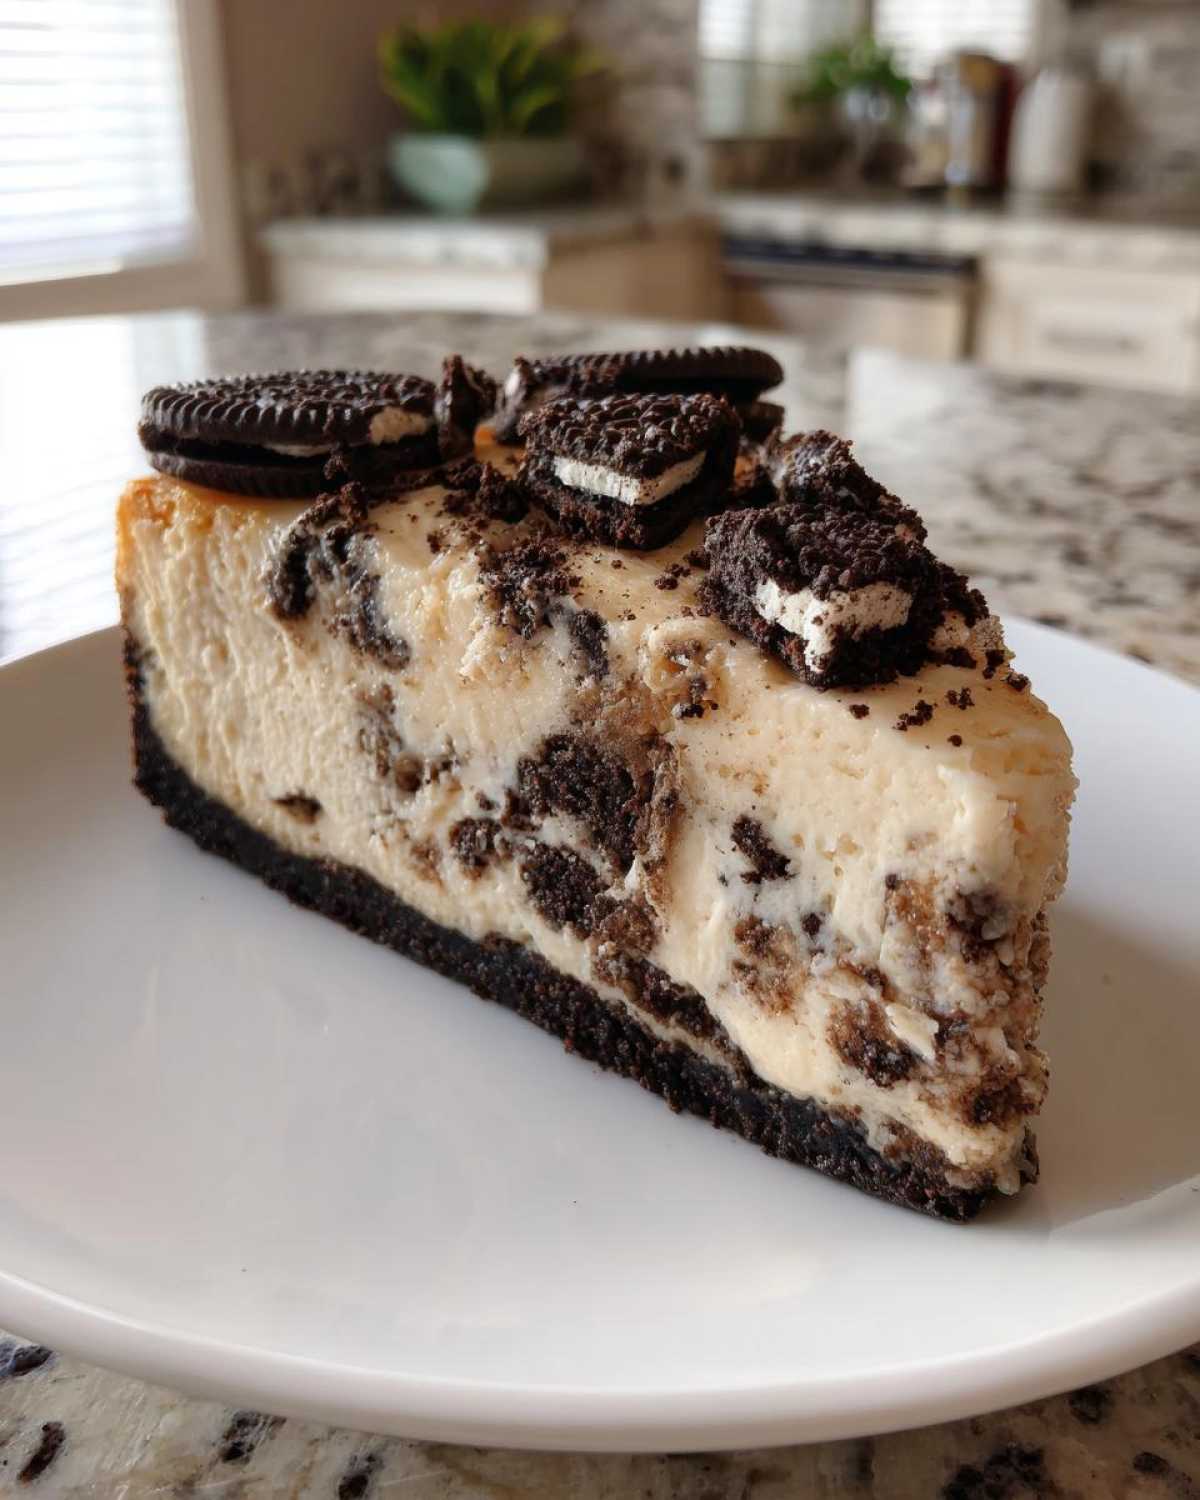
How long does it stick around? Honestly, it tastes great for 4 to 5 days tucked away in the refrigerator. Now, here is the deal with reheating: we don’t! Cheesecake is just not the same once it gets warm, because that creamy texture softens up way too much, and we worked so hard to get it perfectly set.
If you are traveling with it, keep it chilled as long as you can! If you need to bring it somewhere, pack it in a cooler with ice packs. It’s an investment of time, but saving the headache on party day makes all the care worth it. For some other great time-savers, you should look at Mateo’s recipe for easy apple crisp with buttery oat topping—that can also be made mostly ahead of time!
Frequently Asked Questions about Oreo Cheesecake
I hear you! Making a truly great oreo cheesecake can bring up a few burning questions, especially when you’ve put in all that effort. We’ve been there, staring at the oven wondering if it’s time to panic. Let’s tackle the biggest concerns so you can feel confident serving this up!
Can I make a No Bake Oreo Cheesecake instead?
Oh, I know the siren call of the No Bake version! It’s definitely quicker and great for those hot days when you don’t want to use the oven. And yes, there are some fantastic No Bake Oreo Cheesecake recipes out there, often relying on stabilized whipped cream or gelatin to set things up fast. But honestly, those recipes deliver a fluffier, lighter finish. If you want that truly rich, thick, luxurious decadence that actually rivals that famous restaurant slice—the one that needs that beautiful, dense structure—you really need this baked version. It’s just a different, but equally delicious, experience!
How do I prevent my baked Oreo cheesecake from cracking?
This is the number one fear, isn’t it? I’ve learned that preventing cracks is all about avoiding temperature shock and mixing carefully. Remember those two major things we talked about? First, ensure every single dairy item—cream cheese and sour cream—is perfectly at room temperature before you even start mixing. Cold spots equal lumpy, overworked batter! Second, that slow, gradual cooling process we discussed is vital. Baking it, turning the oven off, and letting it lounge in the residual warmth for an hour before moving it to the counter is non-negotiable. That gentle transition stops the cheesecake from contracting too fast and causing fissures.
If you’re looking for a fantastic, quick recipe for breakfast after all that dessert making, check out our guide on easy French toast recipe for fluffy results!
If you want to see how another popular site approaches this classic, you can check out the recipe over at Recipe Horizon!
Sharing Your Flavor Zine Oreo Cheesecake Creation
Wow, you made it to the end! I truly hope you enjoyed the process of making this ultimate oreo cheesecake. Remember, this is your story now, not just mine. Please snap a picture and share your creation! We absolutely love seeing how you bring our recipes to life. Drop a rating below; Mateo and I cherish every piece of feedback we get on our little zine!
If you want to see more of our published stories and recipes, wander over to the main Flavor Zine blog! Can’t wait to see what deliciously chaotic masterpiece you publish next!
PrintThe Ultimate Baked Oreo Cheesecake Recipe
Create a rich, creamy, and decadent baked Oreo cheesecake that rivals your favorite restaurant versions. This recipe features a buttery Oreo crust and a luscious filling studded with chocolate cookies, perfect for any gathering.
- Prep Time: 30 min
- Cook Time: 75 min
- Total Time: 120 min
- Yield: 12 servings
- Category: Dessert
- Method: Baking
- Cuisine: American
- Diet: Vegetarian
Ingredients
- 1 3/4 cups Oreo cookie crumbs (about 25 cookies)
- 1/4 cup unsalted butter, melted
- 3 (8 ounce) packages cream cheese, softened to room temperature
- 1 1/2 cups granulated sugar
- 1 teaspoon vanilla extract
- 1/4 teaspoon salt
- 4 large eggs, room temperature
- 1 cup sour cream, room temperature
- 1 cup crushed Oreo cookies (for filling)
- 1/2 cup Oreo cookie crumbs (for topping)
- Optional Ganache Topping: 1/2 cup heavy cream, 4 ounces semi-sweet chocolate, chopped
Instructions
- Preheat your oven to 325 degrees F. Wrap the outside of a 9-inch springform pan tightly in heavy-duty aluminum foil to prepare for a water bath.
- Make the crust: Combine the 1 3/4 cups of Oreo cookie crumbs and melted butter. Press the mixture firmly into the bottom of the prepared springform pan. Bake the crust for 10 minutes. Remove from the oven and let it cool slightly.
- Prepare the filling: In a large bowl, use an electric mixer to beat the softened cream cheese until it is completely smooth. Scrape down the sides of the bowl.
- Add the sugar, vanilla extract, and salt to the cream cheese. Beat on medium speed until just combined and smooth. Do not overmix.
- Beat in the eggs one at a time, mixing only until each egg is incorporated. Mix in the sour cream until the batter is uniform.
- Gently fold in the 1 cup of crushed Oreos for the filling.
- Pour the filling over the cooled crust in the springform pan. Sprinkle the remaining 1/2 cup of Oreo crumbs over the top of the batter.
- Create a water bath: Place the foil-wrapped springform pan into a larger roasting pan. Carefully pour hot water into the roasting pan until the water reaches about halfway up the sides of the springform pan.
- Bake for 60 to 75 minutes. The edges should look set, but the center should still have a slight jiggle when gently nudged.
- Turn off the oven. Prop the oven door open slightly (use a wooden spoon) and allow the cheesecake to cool slowly in the oven for 1 hour. This slow cooling helps prevent cracking.
- Remove the cheesecake from the water bath and foil. Let it cool completely on a wire rack. Once cool, cover and chill in the refrigerator for at least 6 hours, or preferably overnight, before serving.
- Optional Ganache: Heat the heavy cream in a small saucepan until it just begins to simmer. Remove from heat and pour over the chopped chocolate in a bowl. Let it sit for 5 minutes, then whisk until smooth. Let the ganache cool slightly before pouring it over the chilled cheesecake.
Notes
- For the silkiest texture, make sure your cream cheese and eggs are truly at room temperature before you start mixing.
- If you want a Cheesecake Factory Style Dessert texture, chill the cheesecake completely before slicing. A cold cheesecake cuts much cleaner.
- This rich dessert is excellent made a day ahead of time, making it a great party dessert recipe.
Nutrition
- Serving Size: 1 slice
- Calories: 450
- Sugar: 35
- Sodium: 350
- Fat: 30
- Saturated Fat: 18
- Unsaturated Fat: 12
- Trans Fat: 0.5
- Carbohydrates: 40
- Fiber: 1
- Protein: 7
- Cholesterol: 110