

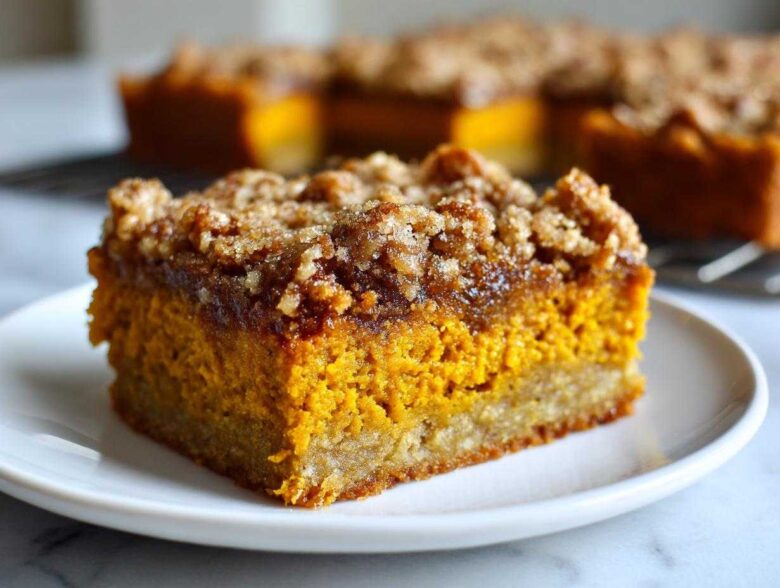
Oh, friends, can you smell it? That crisp air that demands spices, butter, and way too much sugar? Autumn baking is officially here, and for Mateo and me, that means one thing: we are bringing out the big guns, but keeping it ridiculously easy. If you’ve been searching for the ultimate cozy treat that requires zero fuss but makes everyone think you spent all day in the kitchen, you’ve landed in the right spot. This **pumpkin crunch** cake isn’t just a dessert; it’s a layered miracle. It’s simple, totally reliable, and Mateo swears by it because it’s the epitome of minimal effort delivering maximum flavor. It’s the perfect snapshot of fall chaos we capture here at Flavor Zine. Check out more about our story right here.
Why This Easy Pumpkin Crunch Recipe is Your New Fall Favorite
I am telling you, this dessert is going to take over your holiday menu. Seriously, stop looking at complicated pies! What makes this **pumpkin crunch** cake so special is that it checks every single box for a busy home cook. It tastes complex, sure, but I promise you, it’s secretly one of the easiest things we’ve ever published in the Zine. It’s the warm, spiced hug you need this season.
- It only takes about 15 minutes of active prep before it goes into the oven. That’s practically instant gratification for a beautiful dessert!
- It’s completely layered, giving you that interesting textural play in every single square.
- It’s consistently good! This is my no-fail secret weapon when I need a guaranteed winner for a potluck. You can find another favorite simple bake here, too.
Simple Assembly: Almost Dump Cake Style
If you love the idea of a dump cake but want something slightly more structured, this is it! We aren’t talking about measuring three separate bowls for the layers; we are talking about mixing one thing, pouring it, and then mixing another thing, pouring that, and sprinkling the rest. The process for mixing up the base and the topping is so fast, it feels like cheating. Trust me, this easy pumpkin crunch recipe is perfect for when you need that comforting, autumn spice cake flavor without the fuss.
Perfect Textural Contrast in Every Bite
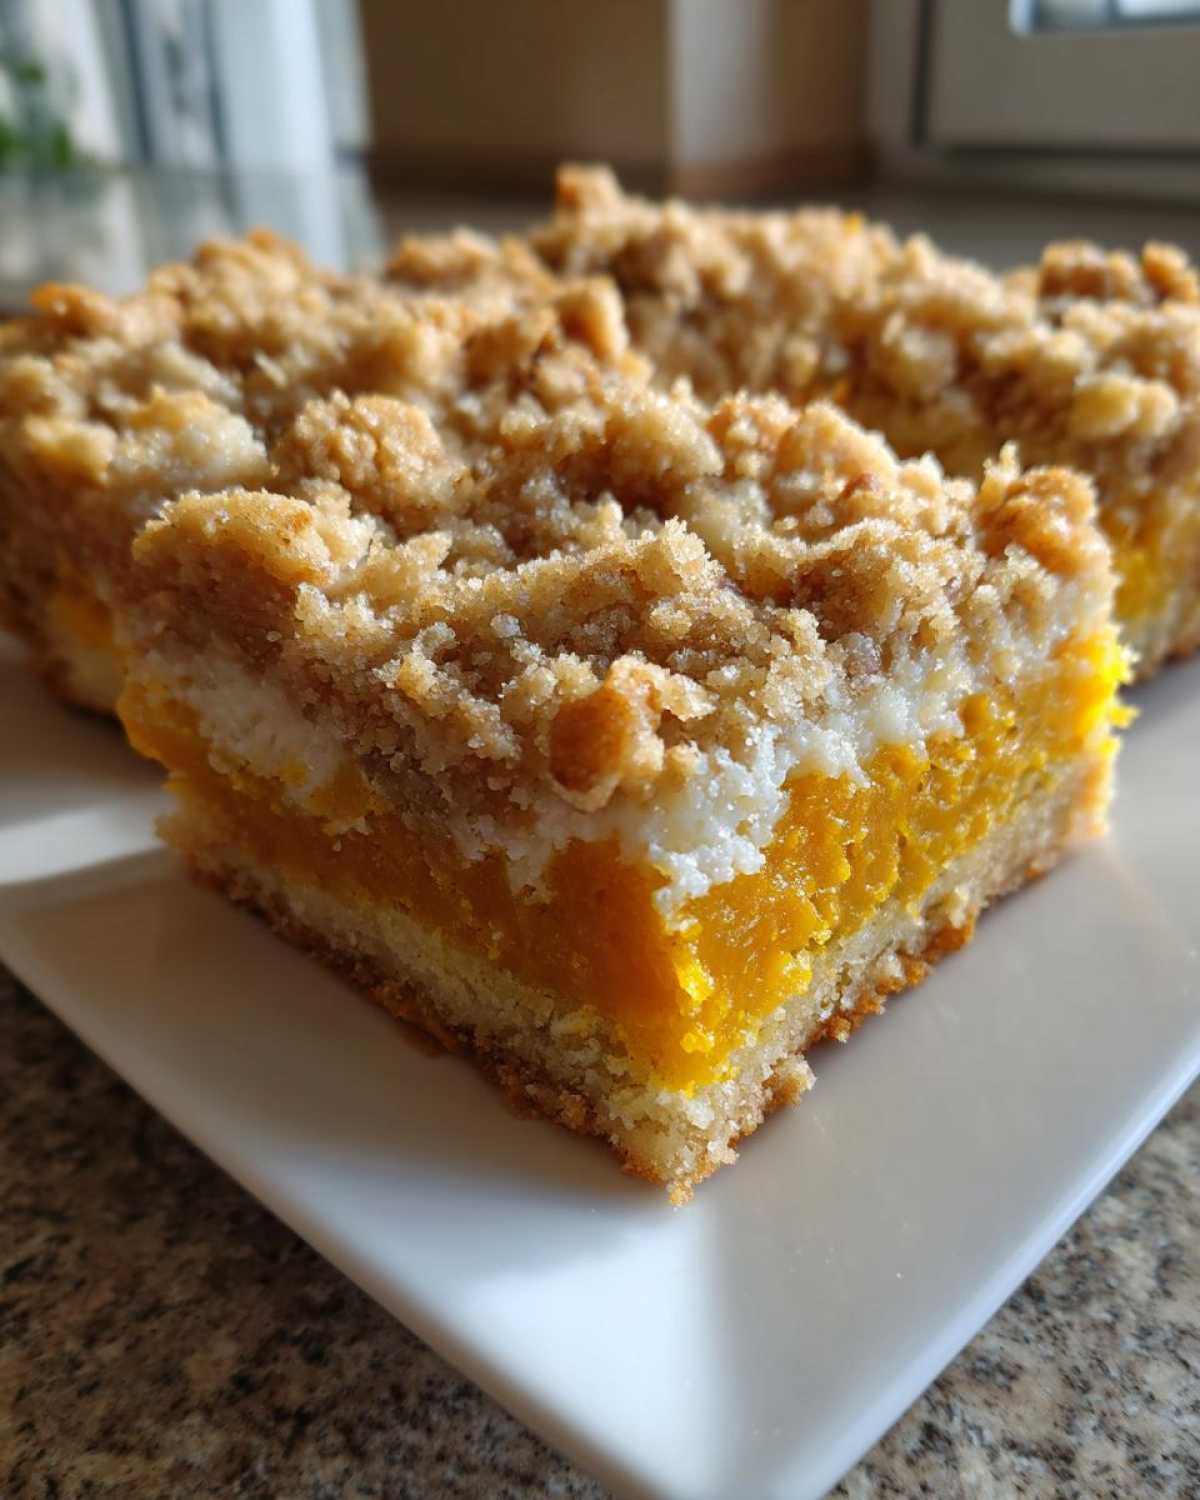
You absolutely need dessert that has contrast, right? If everything is mushy, where is the fun? This recipe shines because of the creamy pumpkin filling nestled right between the buttery cake layers. Then, you hit that top layer—that gorgeous, sweet, crunchy dessert topping baked until golden brown with those toasted pecans. That satisfying crackle you get when you press your fork down? That’s the magic right there.
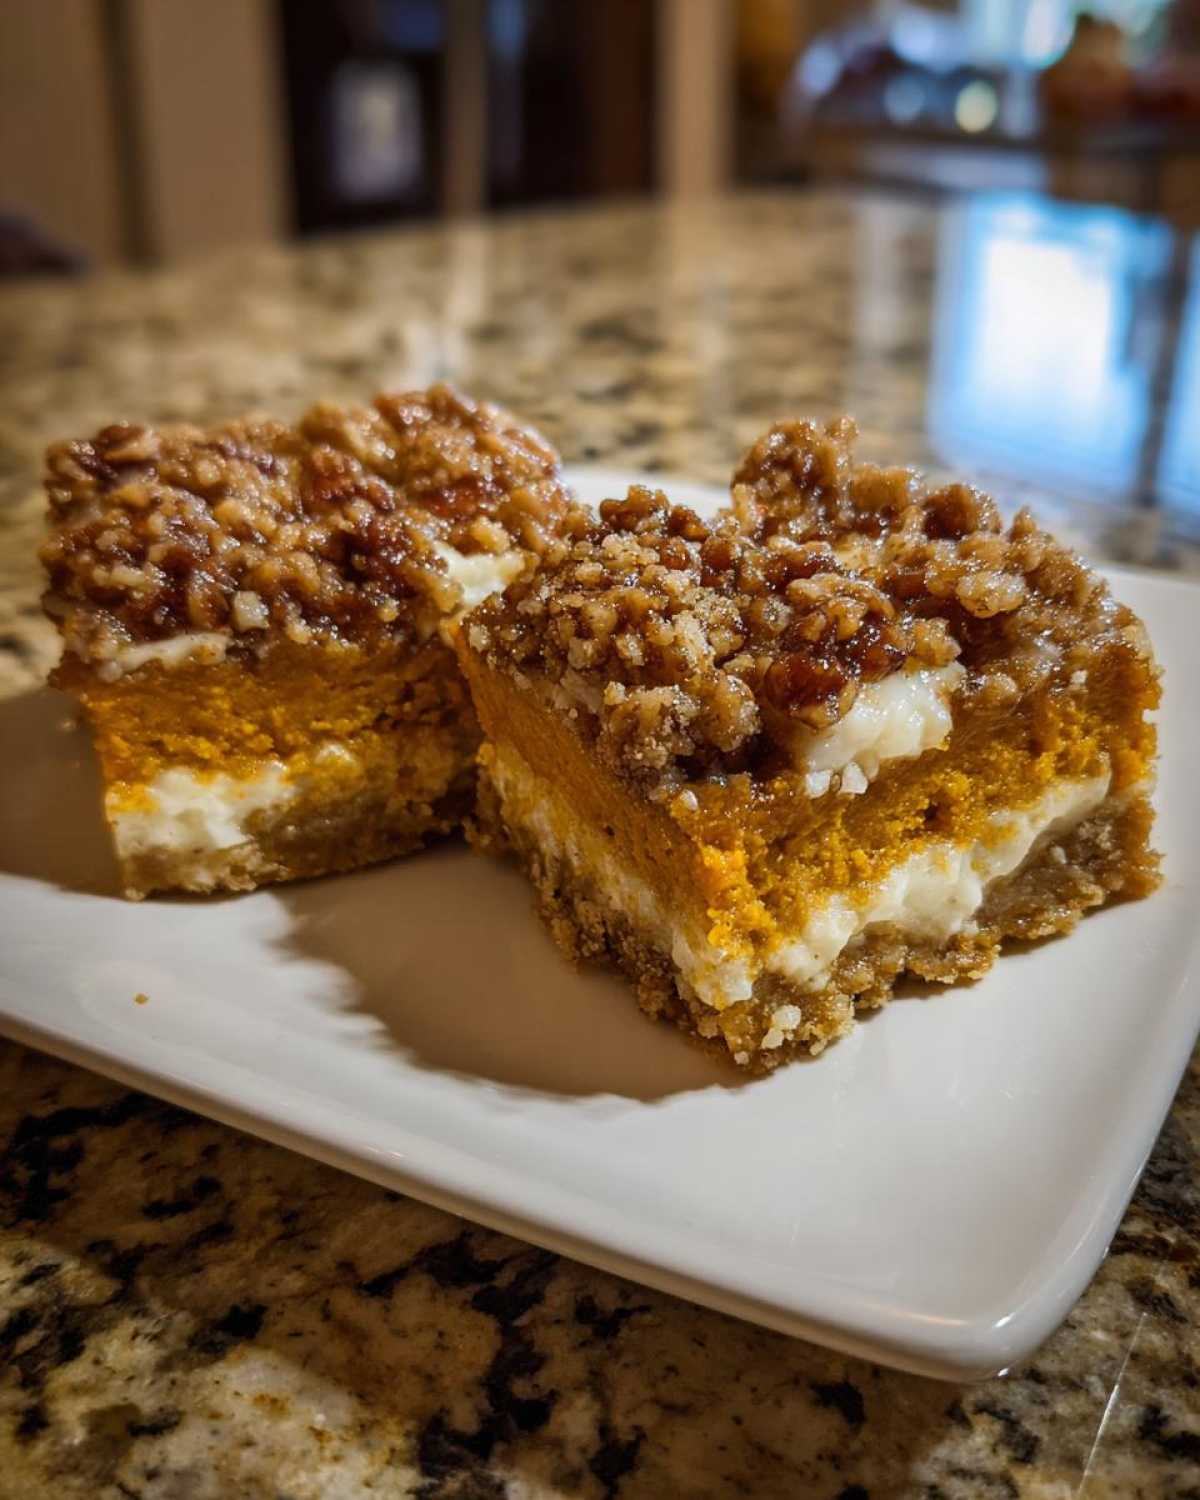
Gathering Ingredients for the Ultimate Pumpkin Crunch Cake
Okay, so we are moving into the actual assembly phase, but we need to talk about the players first. Since this layered pumpkin dessert only has a few major components, every single ingredient needs to pull its weight. You can’t substitute willy-nilly when you’re dealing with structural layers like this if you want that perfect set in the end! We’re using simple pantry staples, but I want you to be precise here, especially with the pumpkin—no confusing it with pie mix!
We need to get organized before we start mixing, because remember, the prep time is only about 15 minutes. Which reminds me, if you want to check out the definitive guide to my favorite nut-based dessert, Mateo’s Classic Southern Pecan Pie is fantastic when you have a little more time.
For the Butter Cake Pumpkin Base and Topping
This is the stuff that gives us our crunch factor—it’s the best part of the pumpkin crunch cake! You’ll notice we use the same mixture for the bottom crust and the top sprinkle. That’s efficiency, people! You just need to make sure you chop those pecans nicely, but not too small.
- 1 box yellow cake mix (And yes, it has to be yellow cake mix—it provides the best buttery flavor for the crust!)
- 1 cup chopped pecans
- 1 cup unsalted butter, melted
For the Creamy Pumpkin Filling
This is where the real autumn flavor lives. Pay attention here: grab 100% pure pumpkin puree, not the canned pumpkin pie filling which is already spiced and sweetened too much for this recipe. We are controlling the spice blend ourselves!
- 1 (15 ounce) can pure pumpkin puree
- 1 (14 ounce) can sweetened condensed milk
- 2 large eggs, lightly beaten
- 1 teaspoon vanilla extract
- 2 teaspoons pumpkin pie spice
- 1 teaspoon ground cinnamon
Step-by-Step Instructions for Perfect Pumpkin Crunch
Alright, deep breath! This is where all that beautiful ingredient prep pays off. Don’t stress over the layers; we’re keeping this moving fast, and you’ll see how they naturally settle into place. This process is quick, efficient, and leads straight to that amazing **pumpkin crunch** everyone talks about. First things first: preheat your oven to 350 degrees F. Also, make sure your 9×13 inch baking dish is lightly greased. We don’t want sticking, especially with all that wonderful butter!
If you want to see how we handle high-heat baking with perfect results every time, check out how we manage our Yorkshire pudding rise—same principle of careful preparation!
Preparing the Pecan Crunch Topping Mixture
Grab that medium bowl where you planned to mix everything. We’re making the streusel mixture that serves dual duty here. Combine your dry yellow cake mix with those chopped pecans. Now, slowly pour in that melted butter. Don’t just dump it! Stir this until every single crumb looks coated and a little sandy. This is your crust and your topping, so you need a good, even coating.
Here’s the crucial expert move: take about two-thirds of that buttery crumb mixture and press it down firmly into the bottom of your prepared baking dish. Use the bottom of a glass or a measuring cup to press it in evenly—you want a solid base layer. The remaining one-third? Set that aside. That’s going on top later!
Assembling the Layered Pumpkin Dessert
Time for the creamy heart of the operation! Take the bowl where you whisked together the pumpkin puree, sweetened condensed milk, eggs, spice, and vanilla. Give it one last good whisk to make sure that sweetened condensed milk is totally incorporated into the pumpkin. You want a uniform, velvety texture for this creamy pumpkin filling.
Now, gently, gently, pour that filling mixture right over the pressed-down crust. Spread it carefully without digging into the bottom layer too much. Once that’s smooth, take the reserved one-third of the crumb mixture and sprinkle it lightly and evenly over the top of the pumpkin layer. This forms your beautiful pecan crunch topping, ready for baking!
Baking and Setting the Pumpkin Crunch Cake
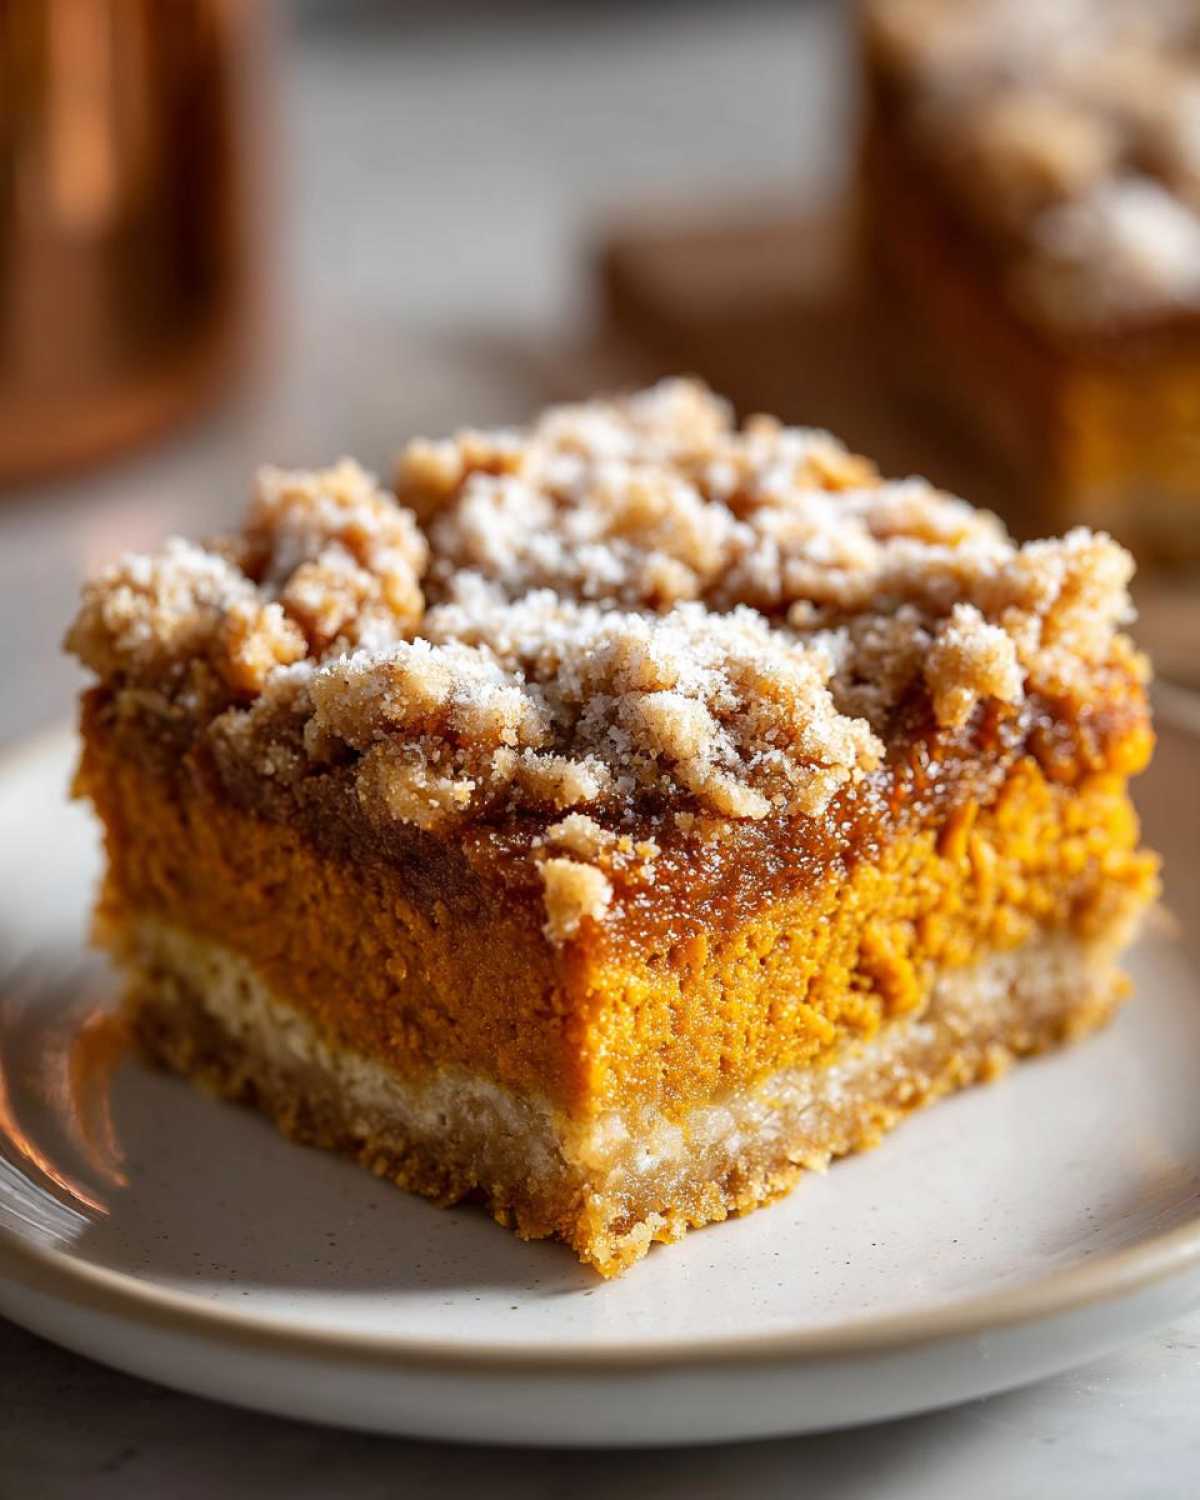
Pop that beauty into the preheated oven. It needs to bake for about 50 to 60 minutes. You are looking for that top to get golden brown, and the middle should look mostly set. When you test it near the center with a toothpick, you want moist crumbs clinging to it—not wet batter, but not bone dry either. That’s the sign you nailed the internal cooking!
Once it’s out, the hardest part begins: waiting! Transfer it to a wire rack. You absolutely must let this cool completely before you try to slice it. I mean it—chilling for at least four hours, or even overnight, is what allows the layers to firm up perfectly. If you cut it hot, it will definitely run everywhere, and we want structure!
Tips for a No-Fail Pumpkin Crunch Success
You’ve mastered the layering and baking, but to turn this from a good dessert into the best thing at the potluck, we need to talk about the final polish. Eva and I have made this layered dessert dozens of times now—for holidays, for weeknight comfort, you name it—and we’ve learned a couple of tricks to ensure your success. This is where we earn our reputation as reliable bakers! Remember, the success of this **pumpkin crunch** relies on patience after it comes out of the oven. If you’re looking for another recipe where patience really pays off in the texture, check out my tips on the Best Chocolate Chip Cookie Recipe!
Spicing Up Your Creamy Pumpkin Filling
If you happen to open your spice cabinet and realize you love things a little warmer, a little bolder in spice flavor, don’t hold back! The recipe calls for two teaspoons of pumpkin pie spice, which gives a really classic fall taste. But honestly? If you’re like me and you want that flavor to really sing against the sweetness of the condensed milk, I suggest bumping it up to three teaspoons. Go ahead and try it next time! It just enhances that autumnal feel we’re going for, making the creamy pumpkin filling even more irresistible.
The Secret to the Best Pumpkin Crunch Setting Time
Listen to me closely on this one, because this advice is non-negotiable if you want clean slices for your company. You must, must, must let this dessert chill completely. I know it’s tempting right out of the oven, and it smells glorious, but if you cut into it warm, that creamy layer will just ooze everywhere, making a beautiful mess instead of beautiful squares. Seriously, wrap it up snugly after it has cooled to room temperature and let the whole pan sit in the fridge for at least four hours, preferably overnight. This chilling time allows the structure to firm up perfectly. When you serve that chilled **pumpkin crunch**, you’ll get perfect layers that show off all your hard work. It takes patience, but it’s worth every minute of cooling!
Variations and Regional Twists on Pumpkin Crunch
Part of the fun here at Flavor Zine is looking at the way people adapt and celebrate recipes in their own kitchens. This **pumpkin crunch** cake is famous across the country, and it has some really cool regional flare! It’s one of those desserts that travels well and picks up little personality quirks everywhere it goes. And hey, if you want to check out another stellar variation on buttery goodness, you should definitely look at our Maple Brown Sugar Cookies recipe; they have a similar comforting vibe!
Embracing the Hawaiian Pumpkin Crunch Style
So, this layered dessert has some serious roots, especially out in Hawaii. People talk about the Aiea Bowl version or recipes inspired by Sam Choy’s famous style. If you want to lean into that regional inspiration, it’s super easy! The biggest, most delicious swap you can make is replacing the pecans in your butter cake pumpkin base and topping with macadamia nuts. Mac nuts toast up beautifully and give it a slightly different, almost buttery richness that pairs wonderfully with that creamy pumpkin filling. You can read a bit more about that style here if you’re curious!
Swapping the Streusel for a Cinnamon Crisp
What if someone at your gathering isn’t a fan of pecans, or maybe you just ran out? No worries! This recipe is flexible enough to handle substitutions without collapsing. If you want to move away from nuts entirely, you can totally swap the pecans for walnuts. Walnuts provide a slightly earthier flavor, but they still give you that essential crunch. Alternatively, if you need to make it nut-free, just leave the nuts out completely when mixing the dry cake mix! You’ll end up with a beautiful cinnamon crisp top layer that still browns perfectly. It’s just as delicious, maybe just a little less noisy when you bite into it!
Serving Suggestions for This Thanksgiving Pumpkin Dessert
We’ve gotten this beautiful, firm, layered dessert out of the fridge, and now it’s time for the grand finale! Because this is so satisfying and rich, you really don’t need a ton of flair, but presentation matters, especially when it’s the co-star of your Thanksgiving pumpkin dessert spread. Mateo always insists on making things look special, even when the recipe is this easy!
When you slice it, aim for generous squares. This dessert is decadent, so a little sliver just won’t do. Use a long, sharp knife, and wipe the blade clean between slices—this trick keeps those layers looking super crisp and clean when you put them on the serving plate. Seriously, wiping the blade makes a huge visual difference!
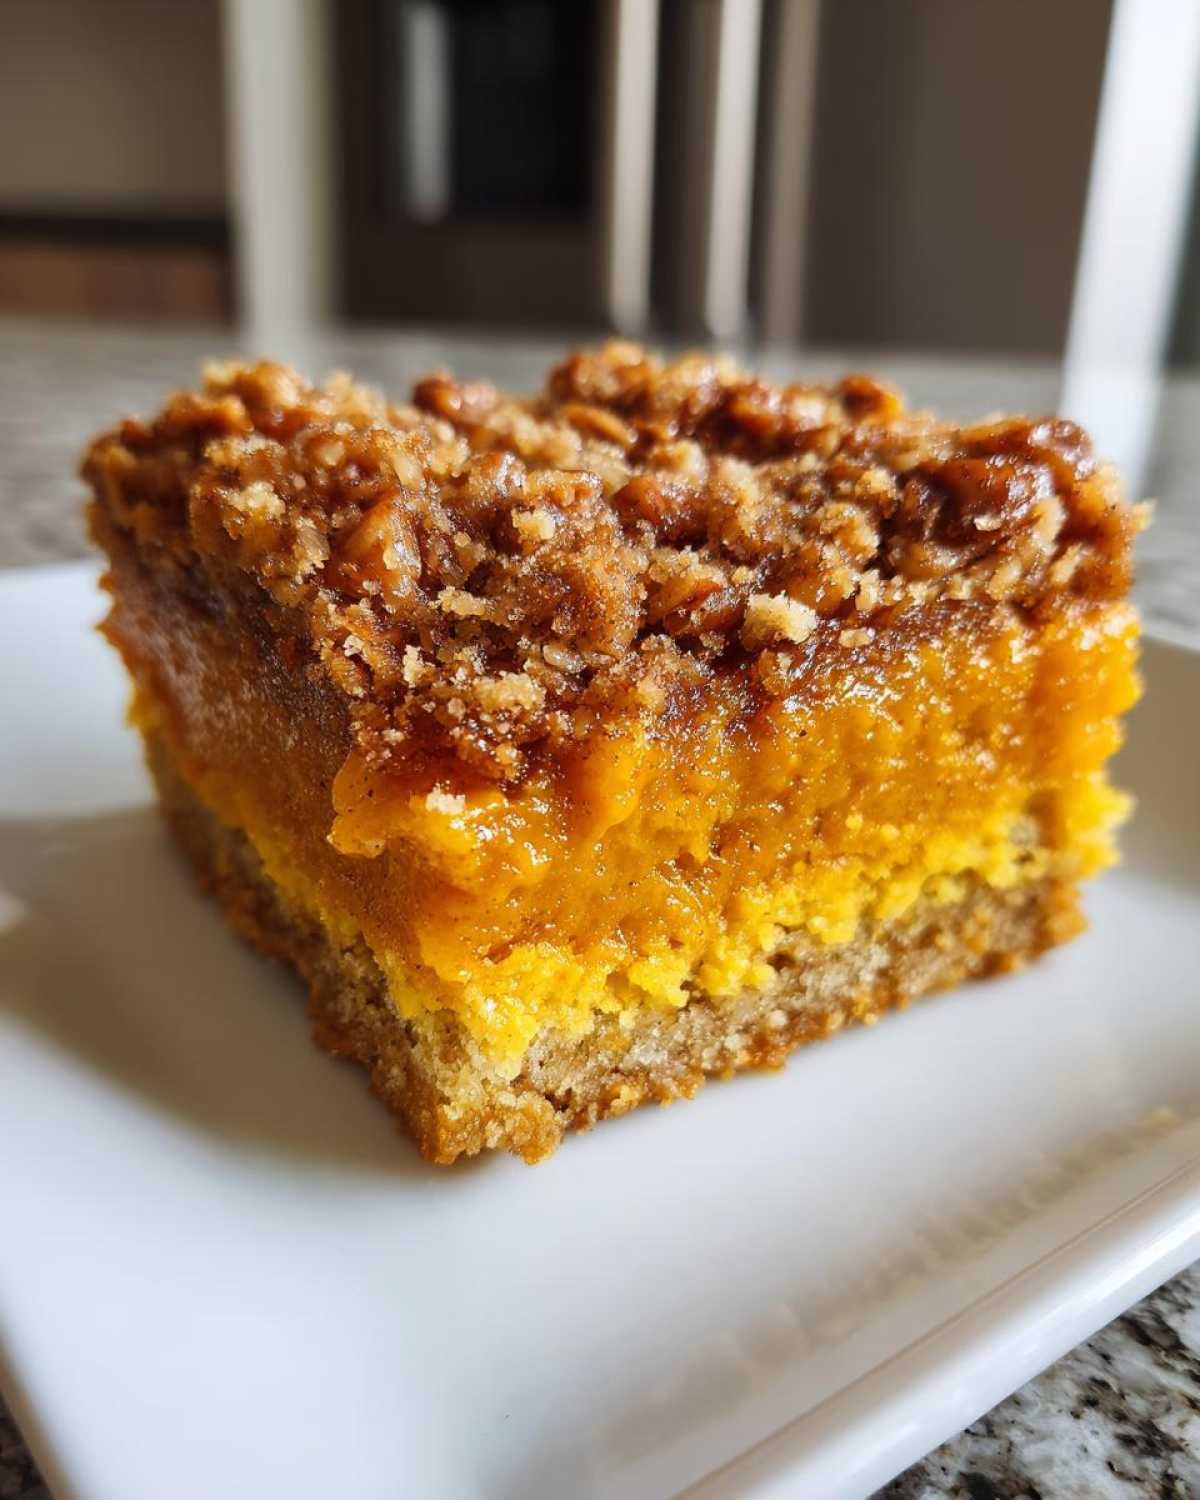
For toppings, simplicity is usually best since the crunch layer is already doing so much work. Here are a few things we love to serve alongside it when we bring this to gatherings:
- A Cloud of Whipped Cream: A big, fluffy swirl of unsweetened or lightly sweetened whipped cream melts slightly into the cool cake and balances the sweetness of the filling perfectly.
- Vanilla Bean Ice Cream: If you serve this slightly warmer (after letting it sit out for 30 minutes after chilling), a scoop of high-quality vanilla bean ice cream is pure heaven.
- A Bit of Zest: Because the pumpkin and cinnamon are so warm, a tiny dusting of fresh orange zest right over the top of your serving platter really brightens everything up. It smells incredible and looks so festive!
And speaking of festive—if you need an easy drink to go alongside this sweet triumph, you absolutely have to check out Mateo’s recipe for Cranberry Orange Thanksgiving Punch. It’s tart, bubbly, and cuts right through the richness of this layered dessert!
Storage and Make Ahead Tips for Pumpkin Crunch
This is, perhaps, the most practical section for anyone trying to manage that chaotic holiday week. If you are planning your timing for Thanksgiving or any big fall gathering, you are going to love this about the **pumpkin crunch** cake: it is designed to be made ahead! In fact, making it ahead actually improves its final texture. We treat this dessert like a lasagna—it gets better overnight!
Because you have that lovely, rich, creamy pumpkin layer mixed with the buttery crust, this dessert needs time for everything to mingle and set up firmly in the cold. Trying to serve it warm means guessing games with slicing, and we decided long ago that guessing games aren’t worth sacrificing a perfectly structured dessert. If you plan your baking around your schedule instead of the other way around, stress melts away!
If you’re looking for other things you can prep days in advance and freeze, check out our tips for Make Ahead Breakfast Burritos—same philosophy, different meal!
- Chilling is Key: Once completely cooled, cover the 9×13 dish tightly with plastic wrap or foil. It needs a minimum of four hours in the refrigerator, but 12 to 24 hours is honestly the sweet spot for the best results.
- Flavor Deepens: Just like a good spice cookie, the flavors of the cinnamon and pumpkin actually bloom and deepen after resting overnight.
- Serving Temperature: While it needs to be stored cold, I think it tastes best if you let it sit on the counter for about 20-30 minutes before you start slicing into it. It softens just enough, but the layers stay intact!
- Longevity: Kept tightly covered in the fridge, this dessert holds up wonderfully for 3 to 4 days. It never lasts that long in our house, but I’d count on it staying fantastic through the weekend!
Frequently Asked Questions About Pumpkin Crunch Cake
I knew you’d have questions! When something is this delicious and this simple, people naturally get a little suspicious, right? Mateo and I are always tinkering, so we’ve run into almost every situation possible while making this **pumpkin crunch** cake. We’ve gathered up the most common things people ask when trying this recipe for the first time. If you’re looking for even more inspiration from our kitchen experiments, you can always dive into the rest of our Zine blog right here!
Can I use a different cake mix flavor for this easy pumpkin crunch recipe?
That’s a great question about the base of our easy pumpkin crunch recipe! I highly recommend sticking to either the yellow cake mix or the plain white cake mix. Why? Because they are neutral and buttery, which lets the pure pumpkin and the spice blend really shine through. If you use something like a spice cake mix or a chocolate mix, you run the risk of having the flavors clash awkwardly with the creamy pumpkin filling. We want harmony, not a flavor fight!
How do I prevent the topping from getting soggy on my sweet crunchy dessert?
This happens if you assemble the dessert too far ahead of time *before* baking, or if you don’t chill it long enough *after* baking. Remember when we talked about sprinkling that remaining bit of topping on right before it goes in? Do that! The heat of the oven quickly toasts that butter and cake mix, setting that crunchy texture. Post-baking, the secret weapon is that long, cold chill time in the fridge. That allows the layers to firm up, keeping your sweet crunchy dessert topping delightfully crisp against the soft center!
Is this pumpkin crunch recipe suitable for a make ahead fall dessert?
Oh, absolutely! As I mentioned in the previous section, this is actually my favorite way to make it for any holiday gathering. It’s a perfect make ahead fall dessert because those autumn spices actually taste better the next day. Just follow the rule: bake it completely, let it cool on the counter, and then cover it tightly and stick it in the fridge. It holds beautifully for days. When company arrives, just pull it out, let it sit on the counter for about 20 minutes so it’s not rock solid, slice, and serve!
Share Your Flavor Zine Pumpkin Crunch Creation
Whew! You did it! You’ve published your very own delicious issue of our Zine by conquering this incredible **pumpkin crunch** cake. Now, the best part of any publication is getting feedback from the readers, and that’s you!
We put our hearts into these recipes, and seeing how they turn out in *your* kitchens is seriously the highlight of our month. Did you try increasing that spice level? Did you go for the macadamia nut variation? Did you serve it with ice cream? Tell us everything!
Don’t be shy! We want to see the beautiful, slightly messy, authentic results on your tables. Please take a picture of your final, set dessert—those gorgeous layers deserve an audience! You can share your snaps or just drop a comment below telling us how it went. Your experience helps the next baker who picks up this issue of Flavor Zine.
If you have any nagging questions that I didn’t cover in the FAQ, or if you just want to say hi and tell Mateo your favorite fall baking memory, feel free to reach out to us directly on our contact page. We never want this to feel fully polished or distant; it should always feel like we’re sharing a kitchen counter. Happy baking, and thank you for publishing with Flavor Zine!
PrintEasy Pumpkin Crunch Cake: Your New Favorite Fall Dessert
Make this simple, layered pumpkin crunch cake. It features a creamy pumpkin filling, a buttery cake mix base, and a satisfying pecan crunch topping. It is a no-fail dessert perfect for Thanksgiving.
- Prep Time: 15 min
- Cook Time: 60 min
- Total Time: 75 min
- Yield: 12 servings
- Category: Dessert
- Method: Baking
- Cuisine: American
- Diet: Vegetarian
Ingredients
- 1 box yellow cake mix
- 1 cup chopped pecans
- 1 cup unsalted butter, melted
- 1 (15 ounce) can pure pumpkin puree
- 1 (14 ounce) can sweetened condensed milk
- 2 large eggs, lightly beaten
- 1 teaspoon vanilla extract
- 2 teaspoons pumpkin pie spice
- 1 teaspoon ground cinnamon
Instructions
- Preheat your oven to 350 degrees F. Lightly grease a 9×13 inch baking dish.
- In a medium bowl, combine the dry yellow cake mix and the chopped pecans. Pour the melted butter over this mixture and stir until the crumbs are evenly coated.
- Press about two-thirds of this crumb mixture evenly into the bottom of the prepared baking dish to form the base layer.
- In a separate large bowl, whisk together the pumpkin puree, sweetened condensed milk, eggs, vanilla extract, pumpkin pie spice, and cinnamon until the mixture is smooth and well combined. This is your creamy pumpkin filling.
- Carefully pour the pumpkin filling mixture over the crust layer in the baking dish. Spread it gently to cover the base completely.
- Sprinkle the remaining one-third of the crumb mixture evenly over the top of the pumpkin layer. This forms your pecan crunch topping.
- Bake for 50 to 60 minutes, or until the center is mostly set and the topping is golden brown. A toothpick inserted near the center should come out mostly clean.
- Let the pumpkin crunch cake cool completely on a wire rack before slicing. Cooling allows the layers to set properly.
- Serve chilled or at room temperature. You can add a dollop of whipped cream if you wish.
Notes
- For an even easier preparation, you can skip mixing the topping ingredients separately; just sprinkle the dry cake mix and pecans over the butter, then sprinkle over the pumpkin layer.
- This dessert tastes best when chilled for at least four hours, making it a great make ahead fall dessert.
- If you prefer a stronger spice flavor, increase the pumpkin pie spice to 3 teaspoons.
- This recipe is very similar to a dump cake style pumpkin dessert, making assembly quick.
Nutrition
- Serving Size: 1 square
- Calories: 410
- Sugar: 35
- Sodium: 320
- Fat: 22
- Saturated Fat: 10
- Unsaturated Fat: 12
- Trans Fat: 0
- Carbohydrates: 50
- Fiber: 2
- Protein: 5
- Cholesterol: 45