

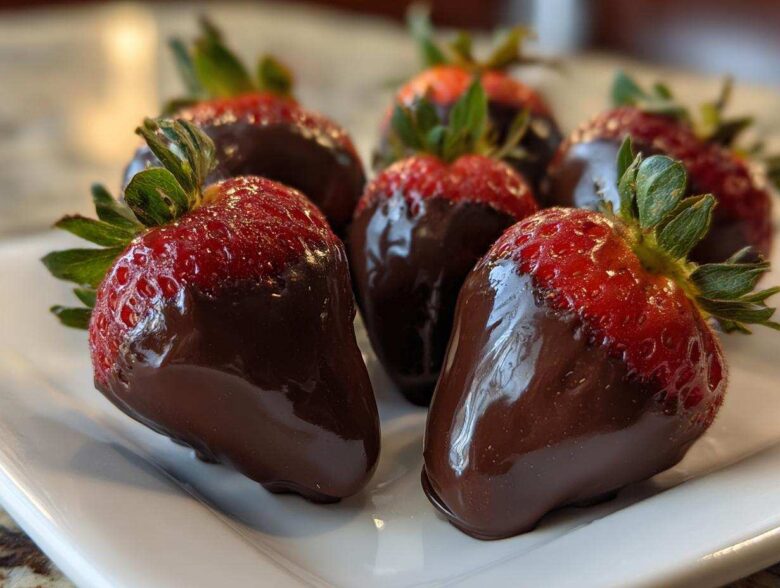
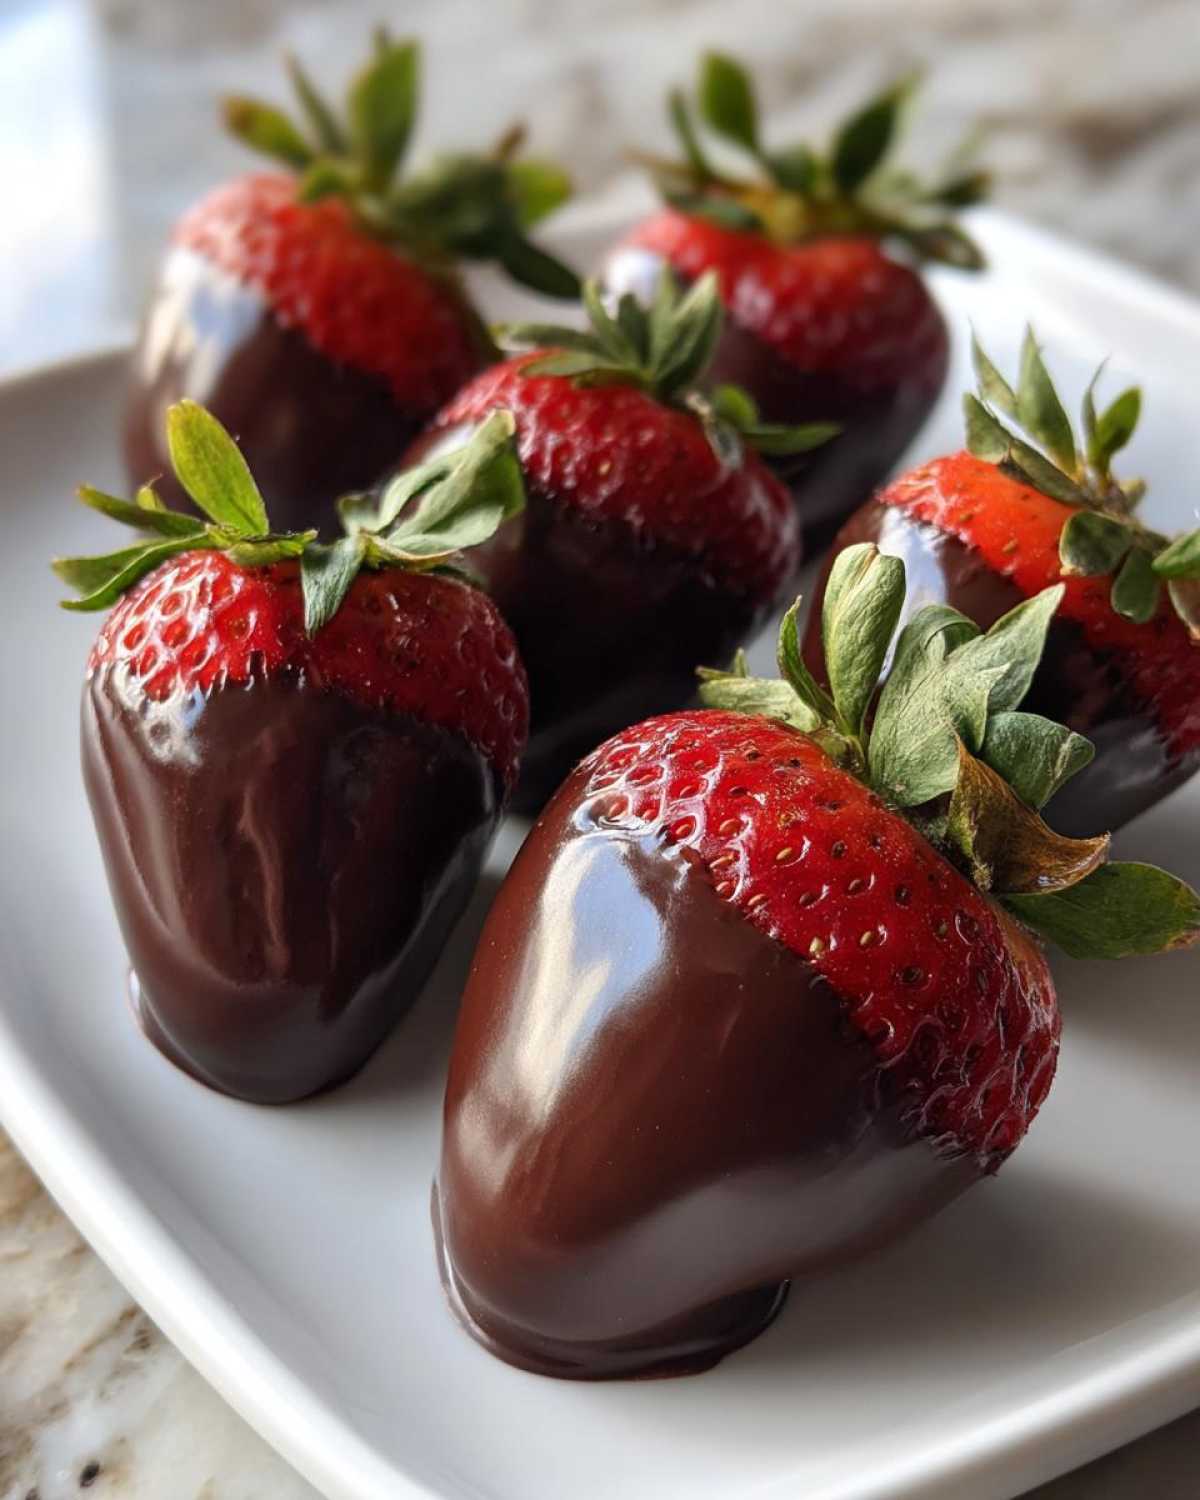
Oh, my goodness, are you ready to feel like a pastry chef without actually having to go to pastry school? Because I have the secret sauce—or should I say, the secret chocolate dip—for you today. Mateo and I are obsessed with turning everyday moments into something special, and what’s more special than glittering, perfect chocolate covered strawberries?
Forget the lumpy, bloopy failures you might have had before! Here at Flavor Zine, we capture the chaos, but we also nail down the repeatable magic. This isn’t just another recipe; this is our *foolproof guide* to achieving that glass-smooth, professional, glossy finish that makes everyone ask, “Where did you buy those?!” Trust me, making these elegant fruit desserts is so much easier than you think, and we are going to walk you through every single step!
When you master dipping fruit in chocolate, a whole world of romantic homemade treats opens up! Before we dive into the actual dipping part, I want you to peek behind the curtain at how we document our kitchen adventures. It’s all about making memories, not just measuring flour. You can read a little about our zine philosophy over here: this is our story.
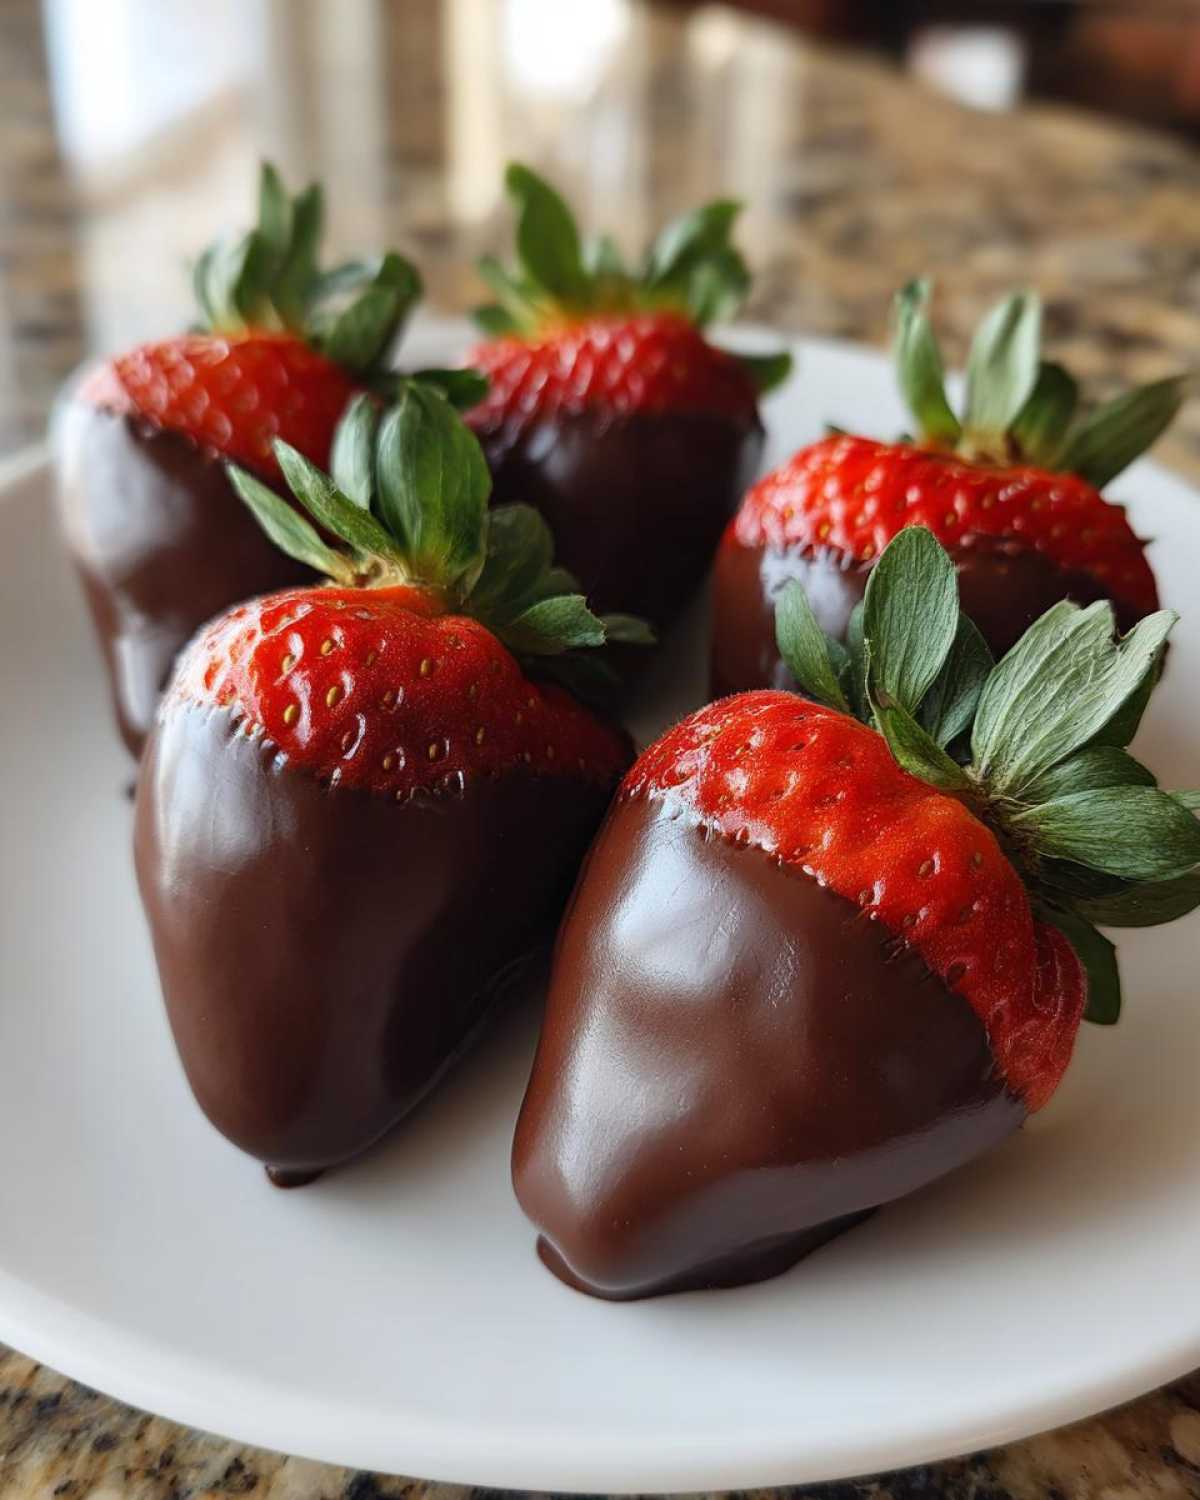
Why This Easy Chocolate Covered Strawberries Recipe Works Every Time
Honestly, this recipe is my definition of a quick gourmet dessert because it takes almost no time, but the results look like something you’d buy at a fancy bakery. Seriously, it’s practically a simple 3 ingredient dessert if you skip the toppings! The reason it’s foolproof is that we focus intensely on the two things that usually go wrong: making sure the berries are bone dry and choosing the right chocolate.
If you skip drying them, you get that awful gray, bloopy chocolate shell. No thanks! We nail this down so you can relax and know your coating is going to be smooth and beautiful. Plus, this method keeps beautifully, which is great when you need easy party snacks!
Quick Gourmet Dessert for Any Occasion
Don’t save these just for Valentine’s Day! Mateo and I make these berries just because we feel like it on a random Tuesday. They are perfect for making a regular dinner feel special, they look stunning on a platter for gatherings, and they transport beautifully. If you want elegant party snacks that wow the crowd without stressing you out, this is it. You get maximum impact for minimum effort, I promise!
If you’re looking for other quick wins, you absolutely have to check out our secrets for the best chocolate chip cookie recipe—it follows the same ‘less stress, more flavor’ rule!
Gathering Ingredients for Perfect Chocolate Covered Strawberries
Okay, assembling your ingredients is nearly as important as the dipping itself! Remember, we are going for that stunning, smooth chocolate coating, so quality matters here. You really just need three things for the basic chocolate dipped fruit, but the quality of the chocolate will make or break your final look.
Here’s what you need to gather for this simple 3 ingredient dessert:
- One pound of really fresh strawberries—and I mean *completely* dried. I usually wash mine in the morning and let them sit on paper towels for hours!
- About 10 ounces of good quality melting chocolate. This is crucial!
- A tiny bit of coconut oil or shortening if you want extra insurance on that glossy finish.
Ingredient Notes and Substitutions for Chocolate Dipped Fruit
When shopping, forget the cheap standard chips if you can; they often have stabilizers that skip the nice snap we want. If you want the BEST chocolate for dipping strawberries, look for couverture chocolate bars that you chop up, or high-quality melting wafers. They melt cleaner and give you that professional, shatter-crisp shell. That tiny bit of coconut oil we add? It’s my favorite chocolate covered strawberry hack! It lowers the viscosity just enough to make dipping non-messy and guarantees a smoother chocolate coating after they set up. It really helps with those smooth chocolate coating tips!
How to Make Chocolate Dipped Strawberries with a Smooth Chocolate Coating Tips
Alright, let’s get messy! This is where we turn those perfectly dry berries into stunning chocolate covered strawberries. I need you to pay close attention to the melting, because this step is everything for achieving that beautiful, even coat. We are going to skip the double boiler fuss for this easy chocolate covered strawberries recipe and keep it simple.
The Secret to Smooth Chocolate Coating Tips
We melt our chocolate right in the microwave! Pop your good quality chocolate in a sturdy bowl. Then, you microwave it in short bursts—only 30 seconds at a time. The trick after each 30 seconds is to take it out and stir vigorously, even if it doesn’t look melted yet. Seriously, keep stirring until the residual heat does its job and everything is silky. If you’re using that optional coconut oil or shortening, stir that in right at the end. This is what gives you the ultimate smooth chocolate coating tips for that mirror-like shine. It makes dipping so much easier; you won’t believe it!
Dipping and Setting Your Chocolate Covered Strawberries
Now, grab your berries by their stems—that’s your built-in little handle! You want to dip the berry into the chocolate, but don’t go all the way to the stem, just coat about two-thirds. Tilt the bowl gently as you pull the berry up. Let the extra chocolate drip right back in. If you’re doing toppings, sprinkle them on *immediately*! Don’t wait even ten seconds, or they won’t stick. Then, place them gently on parchment paper. Please, please, please make sure your strawberries aren’t straight out of the fridge! Cold berries meet warm chocolate, and that’s how you get cracking. A room-temperature berry sticks perfectly. Pop the tray in the fridge for about 15 to 20 minutes until they’re totally firm. You can read more about our kitchen lessons over at the blog: Check out our latest ramblings!
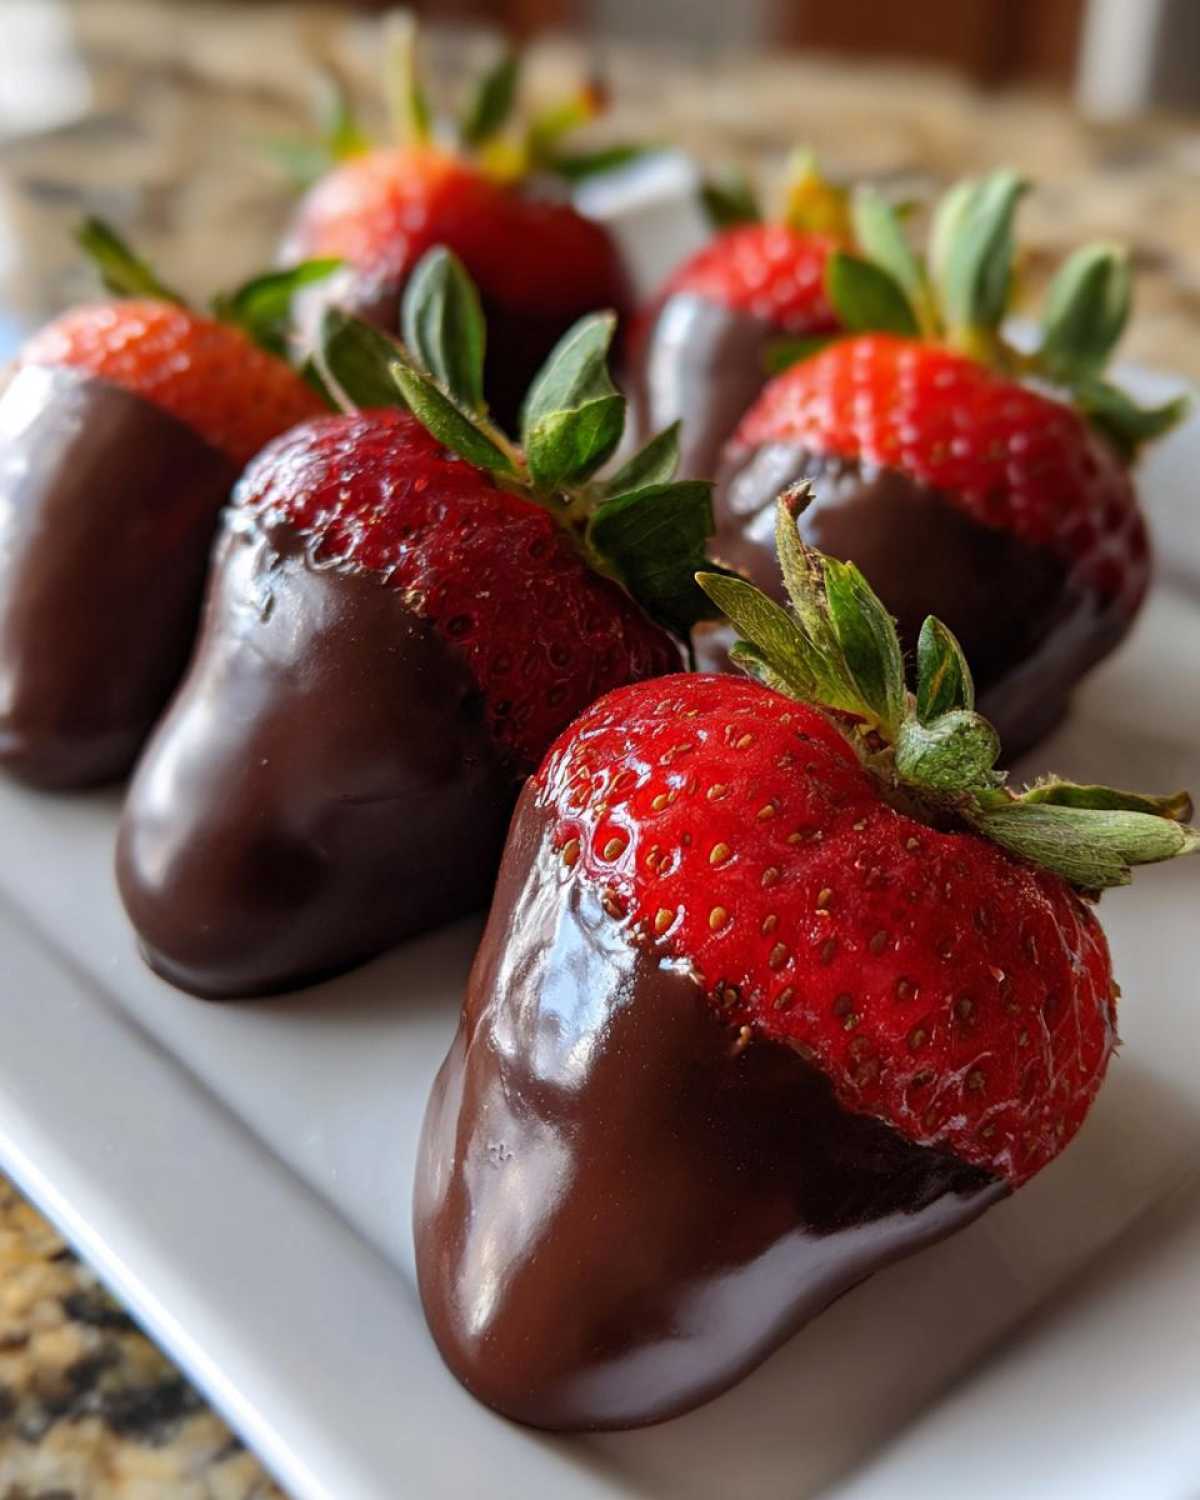
Elevating Your Chocolate Covered Strawberries with Toppings
Now that you have that gorgeous, perfect chocolate shell, it’s time for the fun part—decorating! This is where you can really make these romantic homemade treats your own. We love using contrasting colors because it makes them look instantly fancy. Think about crushed pistachios for a bright green pop or maybe a little flaky sea salt if you used very dark chocolate.
When it comes to chocolate covered strawberry toppings, keep it simple! Sprinkles are always a winner, especially if you’re making homemade valentines strawberries. For the extra flair, this is where chocolate drizzling techniques come in handy. You don’t need fancy tools, either! Just melt a little bit of contrasting chocolate—say, white chocolate over dark—and use a fork to flick thin, messy, beautiful ribbons all over the dipped berries before they set.
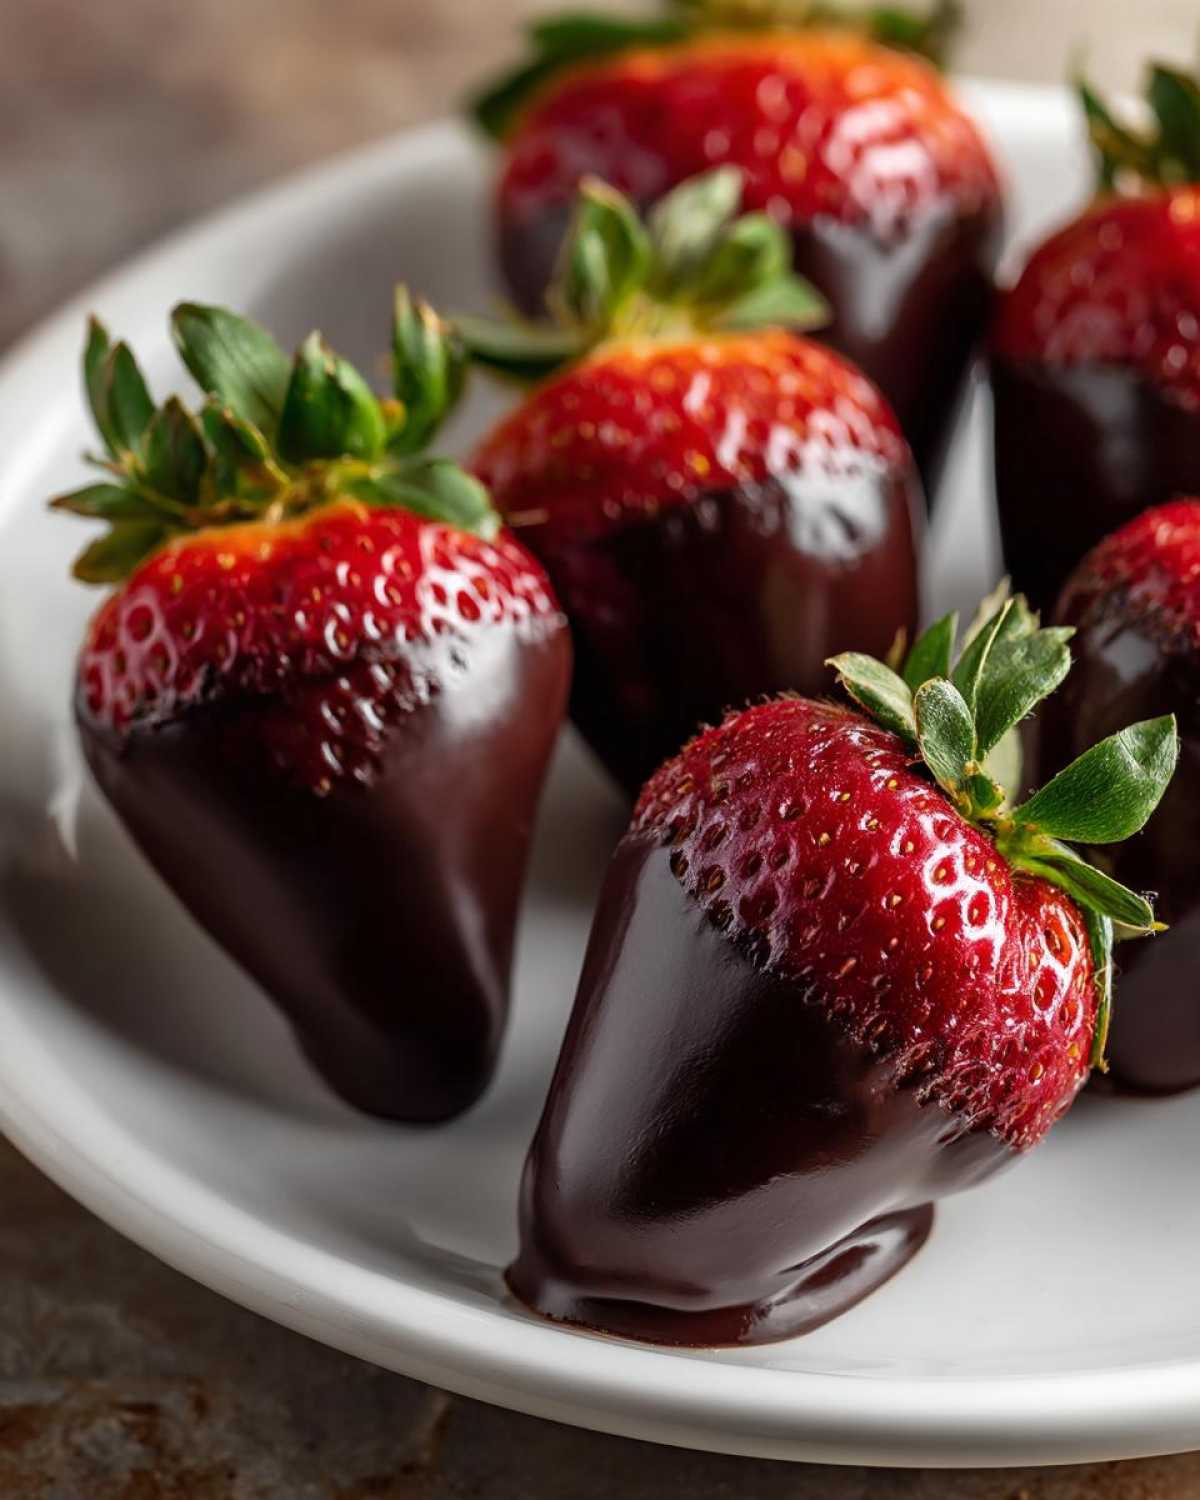
We also made a super simple recipe for stuffed dates recently that use a similar coating trick if you want to try another easy party snack!
Variations: White Chocolate Covered Strawberries and More
Once you’ve mastered the basic dipping, you have to play around! Mateo insists that every batch needs at least one tray of white chocolate covered strawberries. White chocolate can be a little trickier to work with since it melts differently, so make sure the berries are *super* dry when you use it, or it might seize up on you.
If you want to keep things dramatic, pour your leftover dark chocolate back into the bowl, melt it down again (gently!), and use that for a contrasting drizzle over your white-coated ones. That contrast looks so elegant! Or, if you’re feeling super low-effort but want a cool look, just lightly dust your set dark chocolate strawberries with a little unsweetened cocoa powder after they chill. It gives them a dusty, rich, almost truffle-like finish. Fancy dessert ideas made simple, right?
Speaking of easy chocolate treats, you have to check out our recipe for hot chocolate cupcakes sometime—they let you use the same delicious chocolate work!
Tips for Success When Making Chocolate Covered Strawberries
Whew! We’ve covered the dipping and the decorating, but I want to drop a few non-negotiable keeper tips here—the things I learned the hard way so you don’t have to! Remember, making these chocolate dipped strawberries look professional is all about temperature control. I mentioned it before, but it bears repeating: never dip a cold berry into warm chocolate! If your fruit comes straight from the fridge, the chocolate will tighten up too fast and crack when it cools down completely. Let them sit on the counter while you melt the chocolate so they come to room temperature.
Another thing that trip Mateo up? If he pulls the stems off a few to make them look fancier, he forgets to stick a toothpick in the bottom right away! Without the stem, you have nowhere to hold on, and then you end up with sticky fingers or bumpy bottoms where you touched the chocolate before it set. A little toothpick makes it easy to handle them while setting them on the parchment paper.
If you want to make sure your results are perfect every time, try reviewing our truly foolproof easy French toast recipe—it relies on the same kind of detailed temperature mindfulness!
Storage and Serving Suggestions for Homemade Chocolate Covered Strawberries
Okay, you’ve made your masterpieces! Now, how do we keep them looking beautiful? Because these are such fresh strawberry dessert recipes, we can’t keep them forever, sadly. For the absolute best texture and sheen, these should be eaten the day you make them, but they’ll hold up nicely for up to two days. You MUST store your beautiful chocolate covered strawberries in an airtight container in the refrigerator.
Don’t stack them too high, or you risk crushing that perfect shell! I always suggest adding a little piece of wax paper between any layers you do make. When it’s time to serve these elegant fruit desserts, pull them out about 15 minutes before you plan to eat them so they aren’t rock hard from the cold. They taste so much better when the berry starts to soften just a tiny bit. They go wonderfully next to a hot cup of coffee, by the way!
If you want another recipe that uses the slow cooker but still feels elegant, check out this recipe for easy slow cooker cranberry meatballs—it’s a flavor bomb for parties!
Frequently Asked Questions About Dipping Strawberries
Okay, so you’ve dipped, you’ve drizzled, and now you have some questions! That’s totally normal when you’re creating something this fancy looking. We answer a lot of these same questions whenever Mateo tries a new chocolate to berry ratio! Here are the biggest things people ask when they are making these decadent treats.
Can I make chocolate covered strawberries ahead of time?
Yes, you absolutely can, but keep the window tight! For the best experience, try to make them the day you plan to serve them. They hold up well in the fridge for about 48 hours in an airtight container, but after that, the moisture from the berries starts to affect that gorgeous chocolate coating. You risk condensation forming, which can make the chocolate look dull or even cause tiny cracks. So, for picture-perfect treats (especially if you’re aiming for romantic homemade treats), aim for same-day serving!
What is the best way to prevent the chocolate from seizing?
Seizing is when your beautiful melted chocolate suddenly turns into a gritty, thick mess, and honestly, it’s usually caused by one tiny drop of water or steam hitting that bowl! Keep your microwave completely dry, and never use a bowl that had any water in it, even if you think you dried it. Also, this is why we always add that tiny bit of coconut oil or shortening when melting. It acts as insurance! That extra fat helps keep the chocolate flowing smoothly and discourages seizing, even if there’s a tiny bit of sneaky moisture lurking around.
How do I get that professional, crack-free shell?
This is the number one question for anyone trying to master how to make chocolate dipped strawberries! The crack-free, shatter-crisp shell comes down to two things we’ve talked about, so let’s hammer them home: First, the berries must be completely dry—no damp spots allowed! Second, they must be at room temperature before dipping. If you dip a fridge-cold berry, the temperature shock is too harsh, and the chocolate tightens up too fast and breaks later. If you follow those two steps, you’ll have flawless chocolate covered strawberries guaranteed!
If you want to master another technique where temperature control is key, you should check out my guide on achieving the perfect rise when making Yorkshire pudding—it’s all about the science!
Share Your Flavor Zine Issue
And just like that, you’ve published your very own issue! That’s what making these chocolate covered strawberries feels like to me—a tiny, perfect edition of our Flavor Zine. I’m Eva, and I truly hope you got that glossy, professional finish we talked about. Seriously, snap a picture because I want to see your beautiful work!
Don’t forget to leave a star rating right here on the recipe card; that helps us know which recipes are making it into the next printing! I’m so proud of you for mastering this elegant fruit dessert. Now, tell me in the comments below: What chocolate covered strawberry toppings did you choose? Did you go classic nuts, or did you get fancy with a white chocolate drizzle?
If you loved how simple and achievable this turned out, you might enjoy our method for perfect caramelized onions—it also proves that patience and good ingredients trump complicated tools every single time. Happy creating, friends!
PrintEasy Chocolate Covered Strawberries: A Foolproof Guide for a Glossy Finish

Learn how to make stunning, professional-looking chocolate covered strawberries at home. This simple recipe focuses on getting that perfect, smooth, and glossy chocolate coating every time, making it ideal for beginners.
- Prep Time: 15 min
- Cook Time: 0 min
- Total Time: 35 min
- Yield: About 18-20 servings
- Category: Dessert
- Method: Dipping
- Cuisine: American
- Diet: Vegetarian
Ingredients
- 1 pound fresh strawberries, washed and completely dried
- 10 ounces good quality melting chocolate (dark, milk, or white)
- 1 teaspoon coconut oil or vegetable shortening (optional, for smoother dipping)
Instructions
- Prepare the strawberries: Gently wash the strawberries and dry them thoroughly. Moisture is the enemy of smooth chocolate coating, so let them air dry completely or gently pat them with paper towels. Leave the green stems intact for easy dipping and a nice presentation.
- Melt the chocolate: Place the chocolate in a microwave-safe bowl. Microwave in 30-second intervals, stirring well after each interval, until the chocolate is almost completely melted. Stir until the residual heat melts the remaining pieces smooth. If using, stir in the coconut oil or shortening for a thinner, glossier dip.
- Dip the strawberries: Hold a strawberry by the stem. Dip it into the melted chocolate, tilting the bowl slightly to coat about two-thirds of the berry. Lift the berry out, letting excess chocolate drip back into the bowl.
- Add toppings (optional): Immediately after dipping, sprinkle with crushed nuts, sprinkles, or drizzle with contrasting chocolate before the coating sets.
- Set the coating: Place the dipped strawberries onto a baking sheet lined with parchment paper or wax paper.
- Chill: Place the baking sheet in the refrigerator for about 15 to 20 minutes, or until the chocolate is completely firm.
- Serve: Enjoy your homemade, elegant fruit desserts immediately or store them in an airtight container in the refrigerator for up to two days.
Notes
- For the smoothest chocolate coating, use high-quality chocolate chips or chopped bars designed for melting. Avoid standard chocolate chips unless they contain stabilizers.
- If you want a professional, shatter-crisp shell, you can temper the chocolate using a double boiler method, but for simple home use, the microwave method with a small amount of oil works well.
- If you want to add a white chocolate drizzle, melt white chocolate separately and use a fork or piping bag to create thin lines over the set dark chocolate layer.
- Make sure your strawberries are at room temperature before dipping; cold berries can cause the chocolate to seize or crack when cooling.
Nutrition
- Serving Size: 1 strawberry
- Calories: 85
- Sugar: 9
- Sodium: 5
- Fat: 5
- Saturated Fat: 3
- Unsaturated Fat: 2
- Trans Fat: 0
- Carbohydrates: 10
- Fiber: 1
- Protein: 1
- Cholesterol: 0