

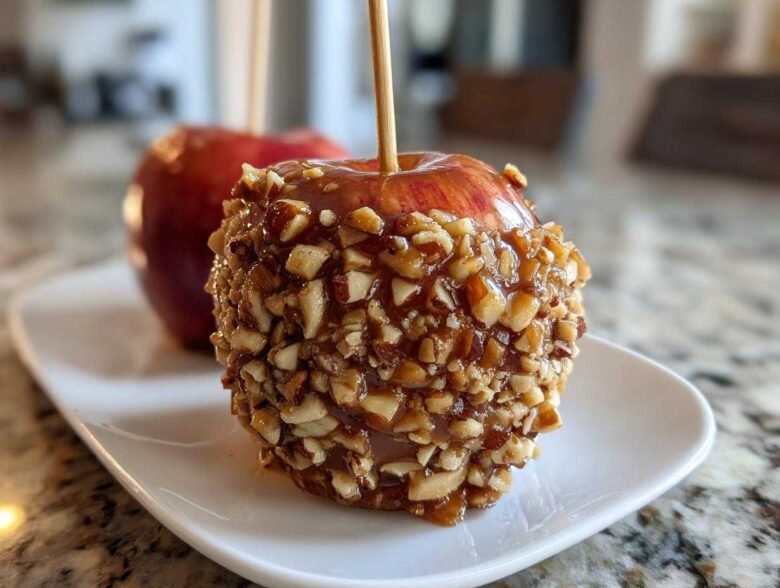
Oh my gosh, you guys, is there anything that screams ‘Autumn Magic’ louder than a perfectly shiny, impossibly sticky caramel apple? I just love this time of year! But let’s be real: making incredible caramel apples at home can feel like a high-stakes cooking competition. You worry about the caramel sliding off, or worse, it ends up hard as a rock!
Well, fear not, because Mateo here, the resident chaos conductor behind Flavor Zine, took on the challenge to make this recipe completely foolproof. We’ve tested this guide until the caramel behaved exactly how we wanted it to: rich, chewy, and stuck tight. I promise you, this is the only guide you’ll ever need for that perfect, no-slide coating every single time. If you want more of our kitchen experiments, you can always peek at our latest posts right here! Let’s get sticky!
Why This Is The Best Homemade Caramel Apples Recipe
Listen, I’ve made more messy batches of caramel than I care to admit! The difference between a beautiful, gooey confection and a puddle of sadness on parchment paper comes down to two things we nail in this recipe. This is truly the Best Caramel Apple Recipe Chewy because we refuse to let you deal with runny goop. Because we walk you through every detail, this ends up being the ultimate Beginner Caramel Apple Recipe.
- Guaranteed Chewy Texture: We use a specific temperature to lock in that perfect pull.
- Caramel Sticks Like Glue: We troubleshoot the slippery apple surface issue right up front.
- Minimal Ingredients, Maximum Flavor: No weird additives here, just pure autumn indulgence!
Check out our favorite chocolate cookie recipe for when you need a different kind of sweet fix soon, too! Click here for the guide.
The Secret to Chewy, No Slide Caramel Coating Tricks
The success of your caramel apples hinges on these two non-negotiables. First up is the temperature. We MUST hit that 245-degree mark—that’s the soft-ball stage—which gives you the wonderfully chewy bite. If you skip the thermometer, you’re guessing, and guessing leads to disappointment! Second, and this is key for the No Slide Caramel Coating Tricks? You have to prep the apples. If they aren’t perfectly dry, the caramel has nothing to grab onto, and it slides right off when it cools. Trust me, a little extra drying time makes all the difference in the world.
Gathering Your Ingredients for Perfect Caramel Apples
Alright, let’s talk about what you actually need for these gorgeous caramel apples. I’ve kept this list super tight because we want to focus on quality over quantity. Remember, the ingredients list is what ensures we get that beautiful chewiness later.
You’ll need about 6 crisp apples—and please, pick something tart or firm, like Granny Smith or Honeycrisp. Those mushy apples won’t hold up against the deep, rich caramel. Grab your sticks too; I like the plain wooden ones!
- 6 medium crisp apples (Granny Smith or Honeycrisp work well)
- 12 wooden or paper lollipop sticks
- 1 (14-ounce) bag of soft caramel candies, unwrapped
- 2 tablespoons heavy cream
- 1 tablespoon unsalted butter
- Optional Toppings: chopped nuts, mini chocolate chips, sprinkles, melted white chocolate for drizzling
For more complex flavor stories in the kitchen, check out my favorite caramelized onions recipe right here!
Ingredient Notes and Substitutions for Caramel Apples
The foundation here is the soft caramel candy. You cannot substitute hard caramels; they just won’t melt down into that glorious, smooth coating we want. The heavy cream helps keep the final product wonderfully soft, so don’t skip it! And that tablespoon of butter? That’s just for a touch of velvety richness. If, and I mean *if*, you only have those slightly firmer caramels on hand, you can recover by adding just one extra teaspoon of cream—but no more!
For the fun stuff, lay out your toppings before you start dipping. Once that caramel hits the apple, you need to move fast if you want those chopped nuts to stick securely. Those little colorful sprinkles make them look so festive, perfect for any of our Autumn Dessert Classics!
Easy Caramel Apple Tutorial: Step-by-Step Instructions
Okay, deep breath, we’re entering the main event of this Easy Caramel Apple Tutorial! The actual dipping process flies by super fast, but if your prep work is solid, you’re golden. The first steps are all about getting the apples ready so our beautiful caramel has something to actually grip. Honestly, the very first time I made these, I skipped the drying step because I was rushing to get to the fun part. Big mistake! The caramel dripped right down the side like it was ice skating.
When I finally invested in a candy thermometer, everything changed. I remember thinking, “This metal stick is going to tell me when my candy is ready?” But friends, it’s the secret weapon for that perfectly Best Caramel Apple Recipe Chewy result. It takes the guesswork out completely!
If you want to check out a similarly simple breakfast fix, I have a fluffy French toast recipe waiting for you over here.
Crucial Prep: How to Dip Apples in Caramel Correctly
This is where most people fail! We need to strip the apple of any waxy coating or surface moisture, which creates an invisible barrier against the caramel. Start by washing those apples really well, then pat them *aggressively* dry. If you are using those standard grocery store apples, try this trick: wipe each apple down with a paper towel slightly dampened with white vinegar or a little lemon juice before you dry them the final time. Seriously, this unlocks the secret to How to Dip Apples in Caramel successfully! Then, pierce them firmly with the stick, making sure it goes all the way to the center core.
Cooking the Caramel to the Perfect Soft-Ball Stage
Now for the gooey center! Throw your caramels, cream, and butter into a saucepan over medium-low heat. Stir constantly until it’s all melted and smooth—keep that heat low so it doesn’t scorch, please! This is where you pull out that candy thermometer. We are aiming for exactly 245 degrees Fahrenheit. This specific temperature is what stops the caramel from being runny (too cool) or too hard (too hot). Once you hit 245°F, pull it straight off the heat. Let it sit for about five to ten minutes before dipping. It needs to thicken up just a touch so it doesn’t immediately run right off the apple!
Gourmet Caramel Apples Guide: Topping and Finishing Touches
Okay, now that you’ve mastered the dipping, let’s talk about elevating these beauties into something truly special. This is where our Gourmet Caramel Apples Guide comes into play! The absolute best time to add texture and visual flair is the second you pull that apple out of the warm caramel bath. You have about a ten-second window before that coating starts setting up, so you need your toppings ready to go—think of it like setting up an assembly line!
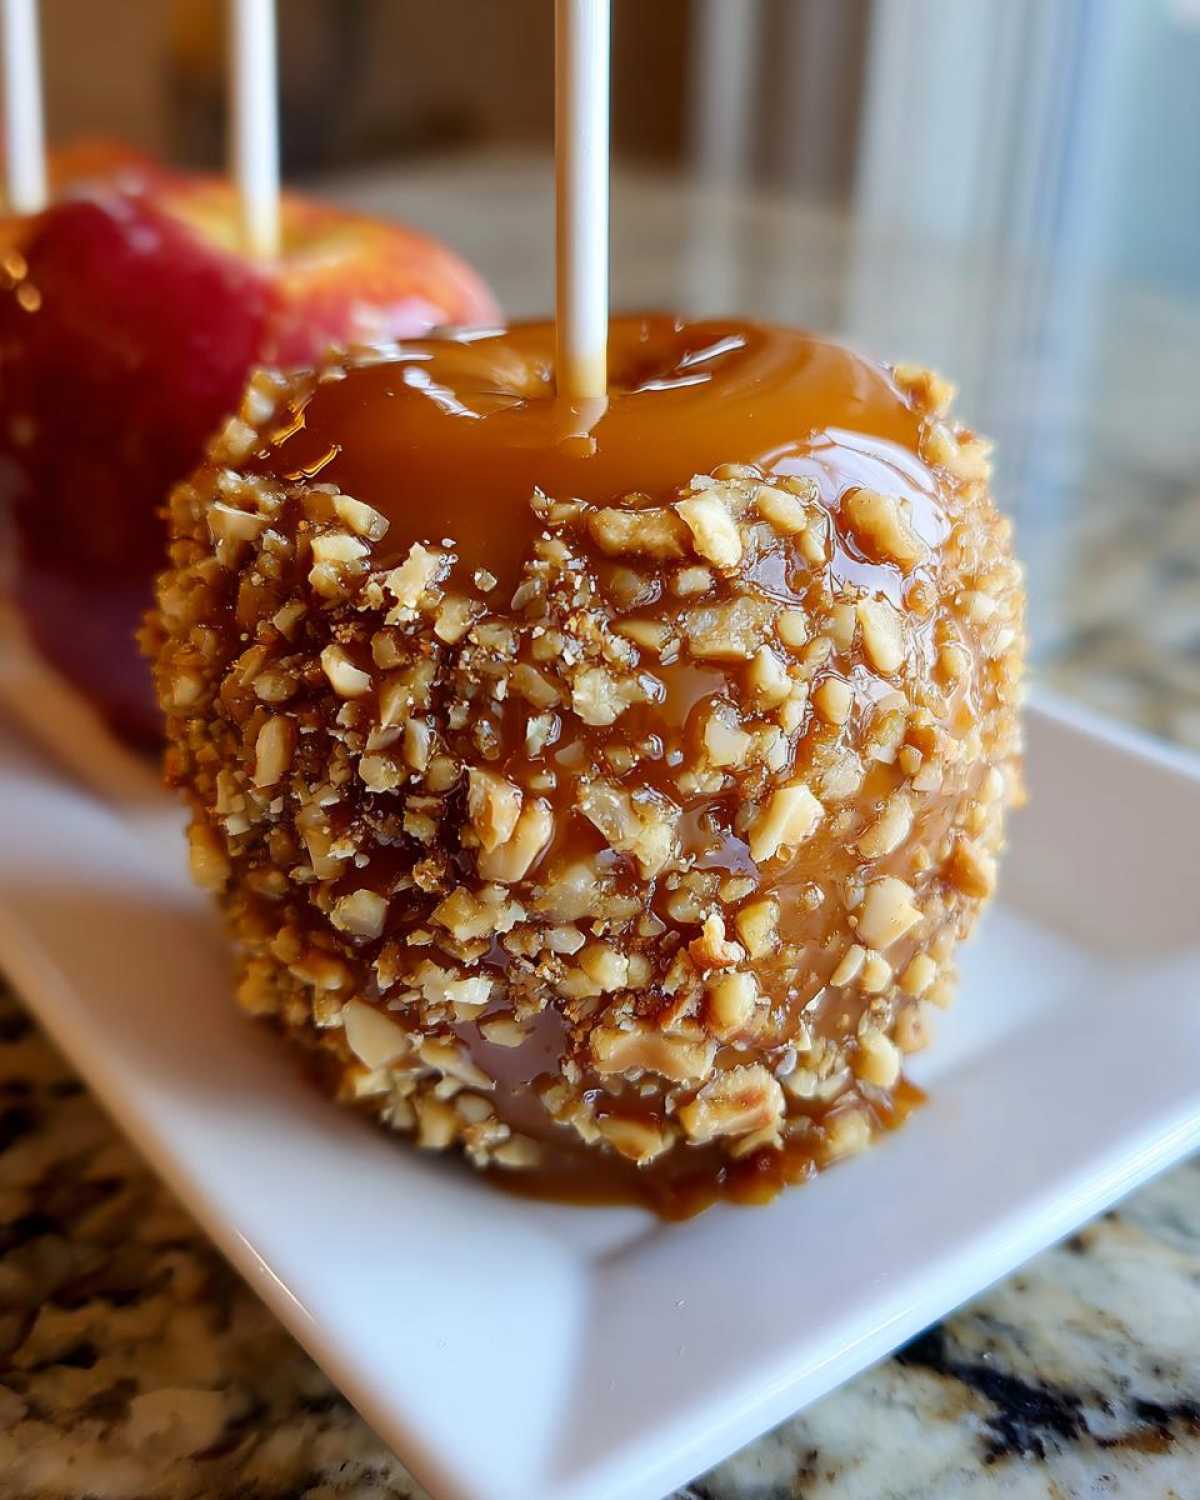
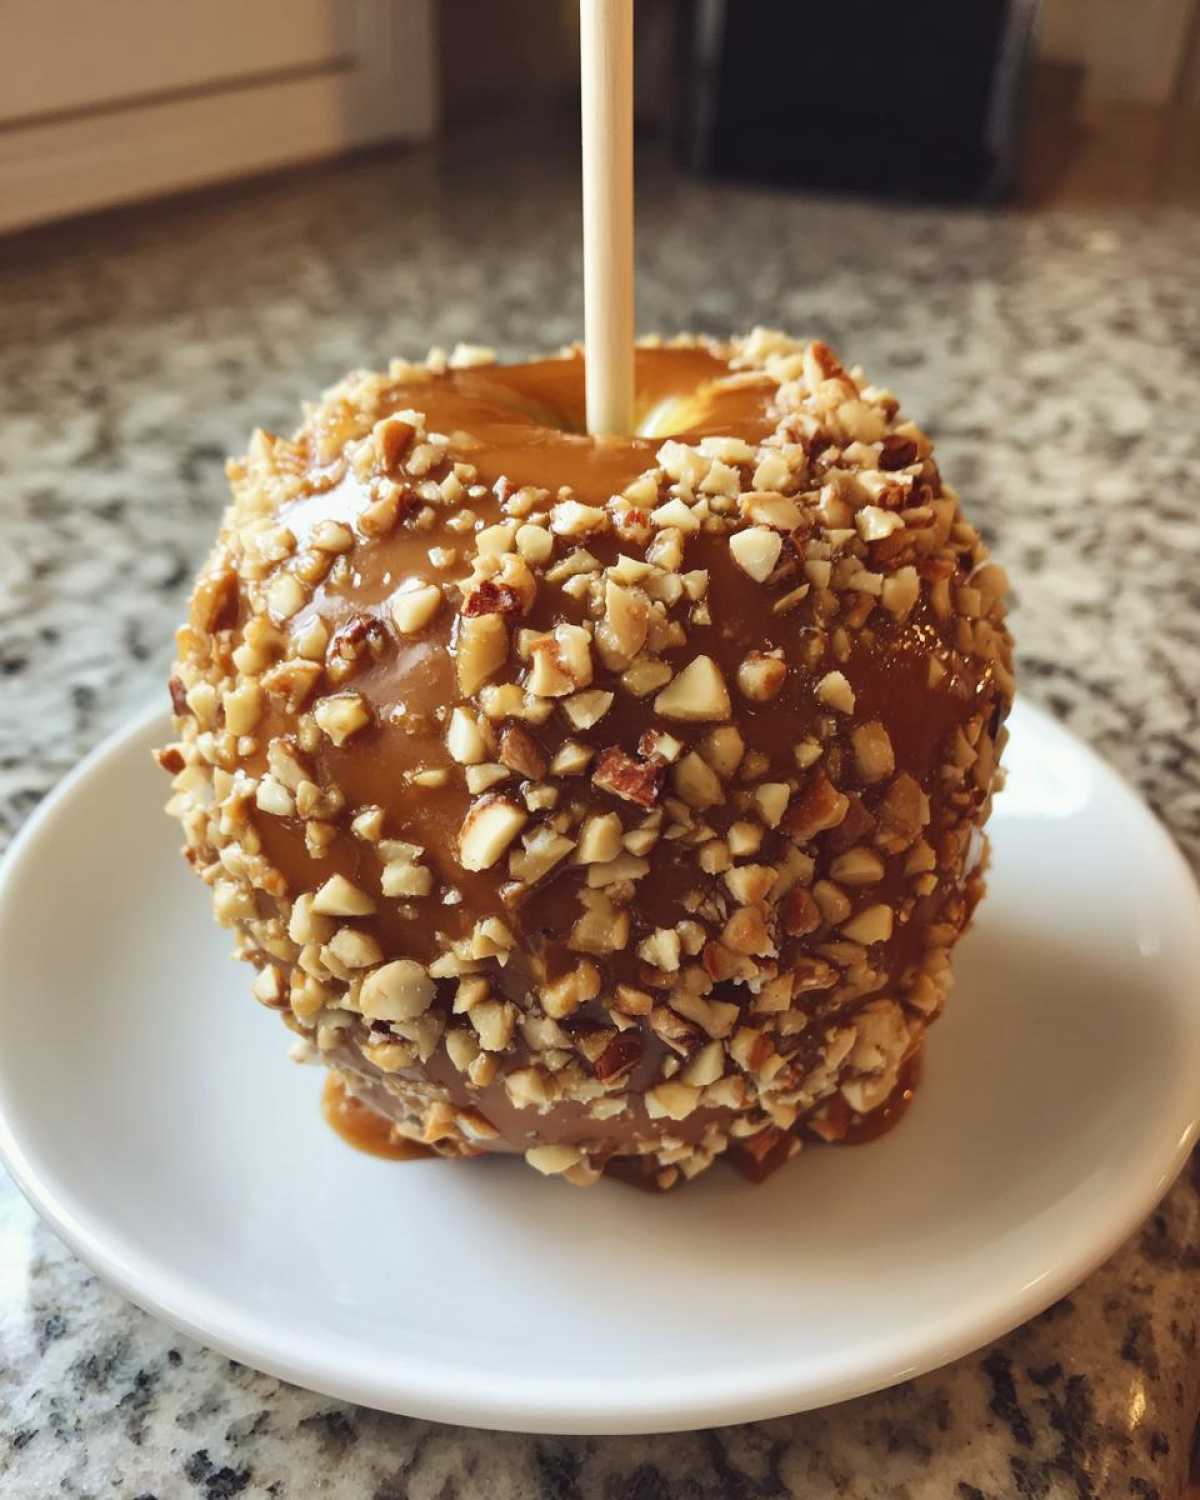
We’ve got so many Caramel Apple Topping Ideas swirling around here at Flavor Zine. Chopped pecans are a classic for a reason, or maybe some mini chocolate chips? If you want a cleaner look, you can skip the full coating of nuts and just dip the bottom third of the apple. For a really fancy finish, try drizzling some melted white chocolate back and forth across the top once the caramel has set.
Speaking of finishes, if you’re making savory-sweet appetizers for your fall party, you absolutely have to try my recipe for bacon-wrapped dates. They are incredible! Find that recipe here.
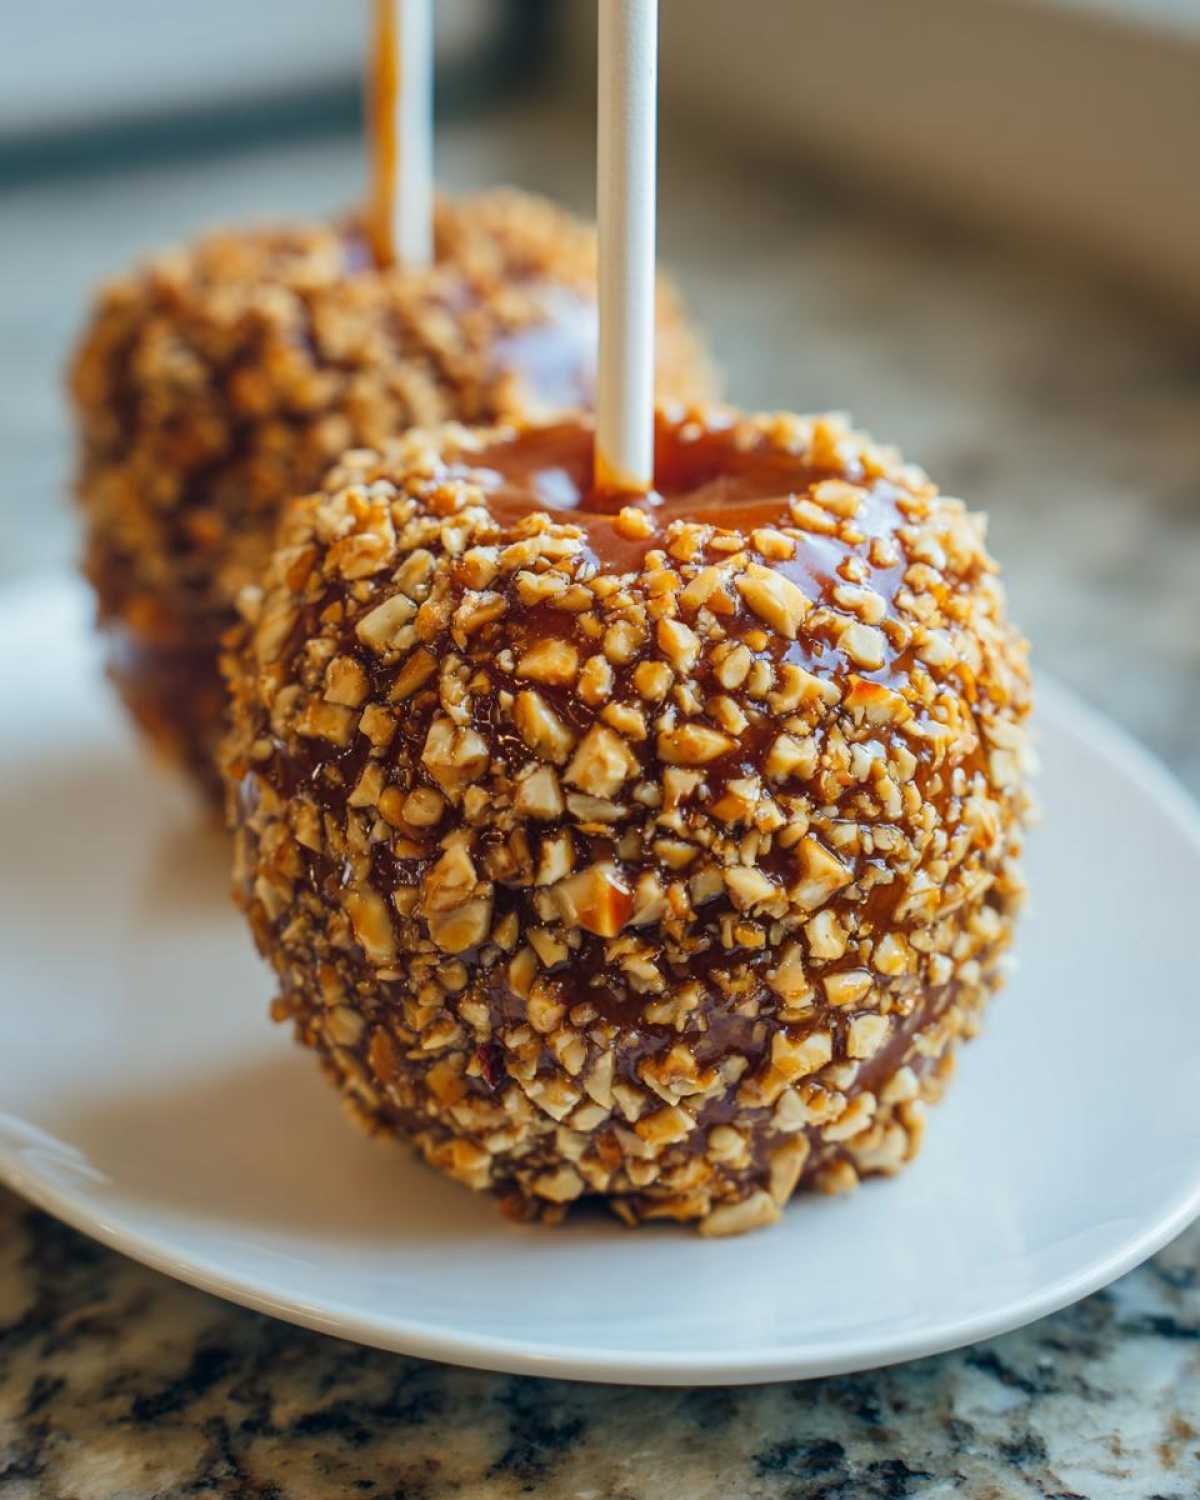
Once dressed up, they need to dry completely. Place them gently on parchment paper—they should stand up fine on their own, but if you’re worried, just poke the stick into a piece of styrofoam or a block of wood so the caramel doesn’t touch the surface. You want that beautiful, flawless coating on all sides! If you want to see how the pros handle their decorations, check out this guide from some fellow food storytellers.
Tips for Perfect Caramel Apples Success
Welcome to my personal Editor’s Notes section for our caramel apples issue! This is where I pass along the little hard-learned lessons that make the difference between an okay treat and a show-stopping Autumn Dessert Classic. First up: Cooling. Let them set at room temperature if you can. Refrigerating them makes the caramel firm up too fast and sometimes causes those tiny hairline cracks.
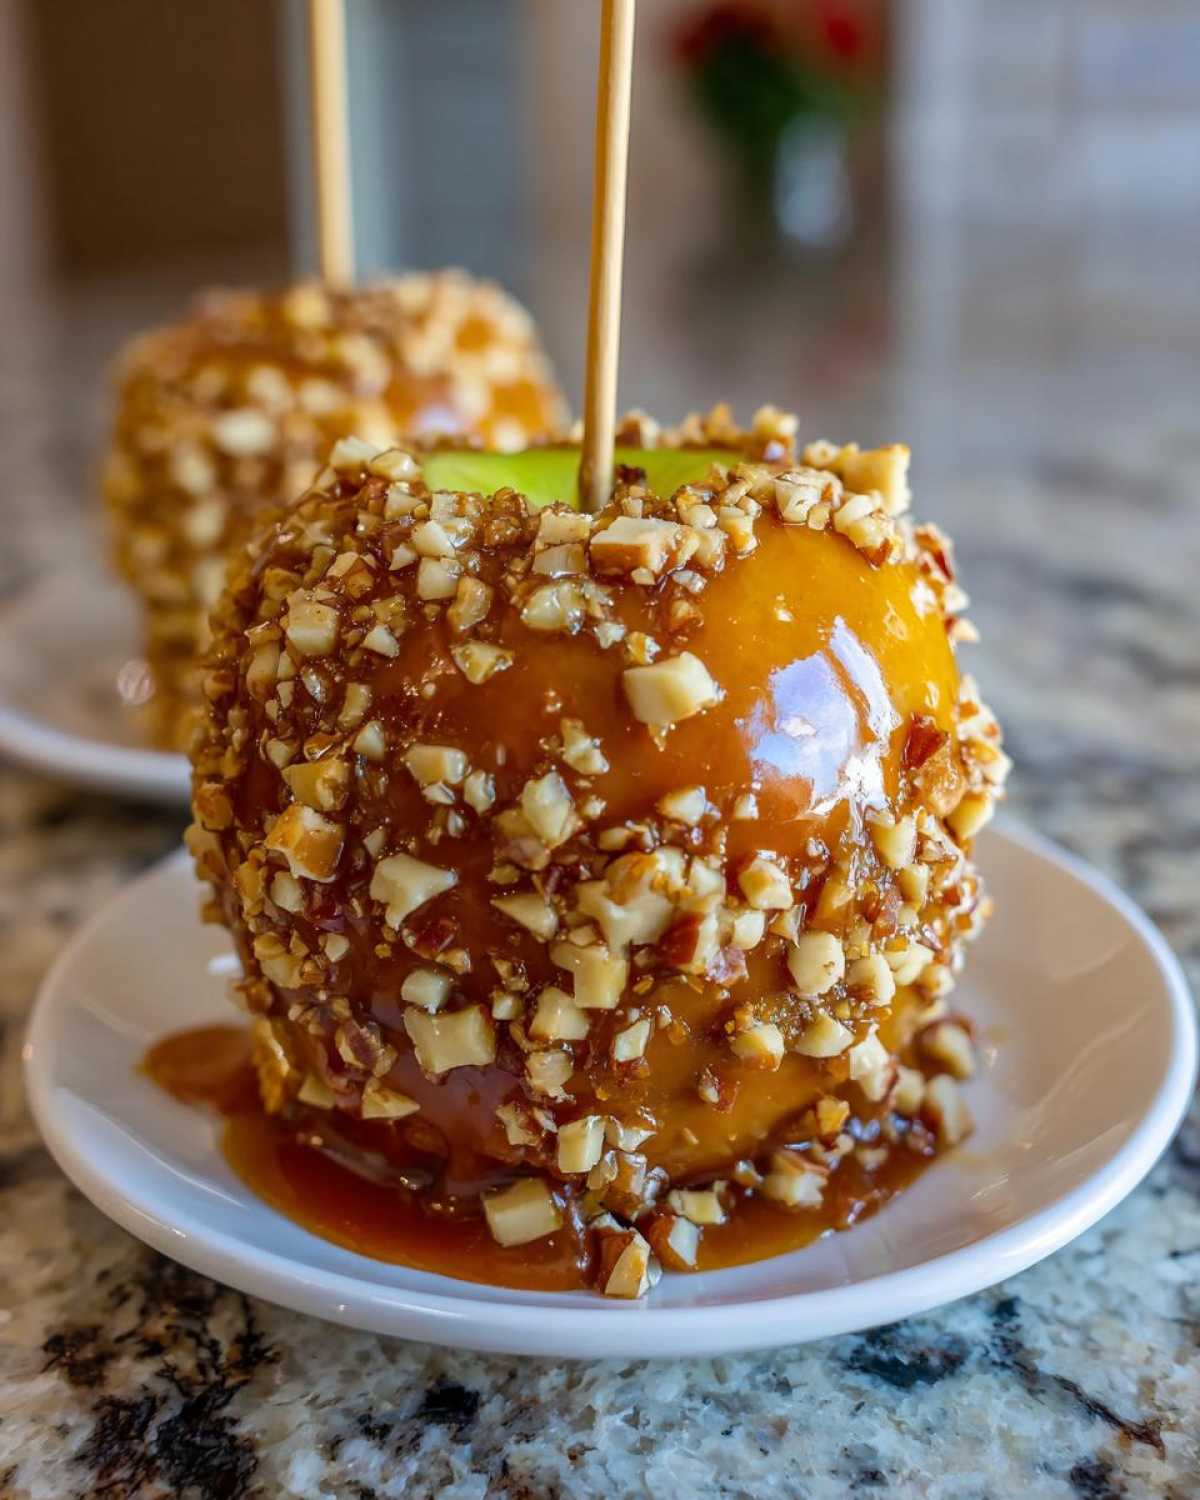
Now, troubleshooting! Did your pot get too thick while you were dipping? Don’t panic! Just return the saucepan to super low heat for about 30 seconds—no boiling allowed—just enough to stir it back into a perfectly fluid dipping consistency. Remember what I said about Yorkshire puddings? Precision matters! Grab my pudding guide if you ever struggle with rising things!
For storage advice that never fails, these are best eaten the day they are made, but they hold up beautifully for about three days stored loosely covered at cool room temperature. If your house is really warm, pop them in the fridge, but let them sit out for an hour before serving so that chewy caramel softens up again. For more great tips, check out this seasoned baker’s advice right here!
Variations on Classic Caramel Apple Flavor
The beauty of mastering the base recipe for caramel apples is that you immediately unlock the door to endless possibilities! Even though our classic soft-ball temperature creates that sublime, chewy texture, we can play with what goes on top or even how we serve them. This is where we move from a simple comfort food into true Gourmet Caramel Apples territory, especially when we introduce richer flavors.
I adore making Chocolate Drizzle Caramel Apples. Once the main caramel layer has set—give it at least an hour to firm up—you melt down some good quality semi-sweet or milk chocolate. Melt it slowly, just until smooth. Then, use a fork or a small spoon to drizzle thin, messy ribbons back and forth over the hard caramel. It dries quickly and gives you that stunning visual contrast.
If you love the gooey texture but don’t want the commitment of a whole apple—maybe you have a big crowd or lots of little ones—we can adapt this entirely. Check out the details for how to make those super convenient soft and fudgy crinkle cookies sometime, but for now, let’s stick to apples!
Making Caramel Apple Slices Recipe for Easy Serving
This is Mateo’s favorite trick for large gatherings because who wants to wrestle a huge apple while mingling? The Caramel Apple Slices Recipe adaptation is extremely simple. After you’ve washed and dried your apples—don’t skip that drying step even for slices!—slice them thickly, maybe half an inch wide. You need a different piercing tool here, though. Grab sturdy toothpicks instead of the long sticks. You only dip the edge of the slice, maybe dunking about two-thirds of the way in, and you dip them much faster than the whole apple.
Because the surface area is smaller and the slice is lighter, the caramel cools and sets almost instantly, especially if you lay them out on that prepared parchment paper immediately. They look so elegant arranged on a platter!
Storage and Reheating Instructions for Caramel Apples
This is the part where we talk about preservation, which is huge, especially when you’ve made such an incredible batch of caramel apples! People always ask me, “Mateo, how long do these things actually last?” And the answer depends entirely on where you keep them. The caramel layer, since it’s cooked properly to that chewy stage, actually holds up better than you might think.
If you have a cool, dry spot in your pantry—we’re talking maybe 65°F—you can let them sit right there on the counter on parchment paper for a good two or three days. If your house is warm, though, definitely go for the fridge. But here’s the catch: cold air makes that glorious, chewy caramel turn hard and tight. If you refrigerate them, you absolutely MUST remember to pull them out about an hour before you plan to serve them.
Think of it like this: the caramel needs time to relax and soften back up to that perfect, slightly yielding texture. Nobody wants to break a tooth on a holiday treat! Storing them loosely covered prevents them from picking up weird smells in the fridge, too. It’s all about keeping the story fresh!
If you’re looking for another easy dish that keeps well, my favorite slow-cooker cranberry meatballs are fantastic leftovers! You can find that recipe on the zine!
Frequently Asked Questions About Caramel Apples
This is where we wrap up our Flavor Zine issue by tackling all those lingering questions I get whenever I post pictures of these beauties on social media! I try to cover everything I learned while perfecting this caramel apples recipe, especially since we are aiming for that truly perfect, chewy texture. It’s all about getting the technique right for these Fall Apple Desserts!
If you have a question not covered here, please don’t hesitate to reach out and connect with us on our contact page!
What temperature should the caramel be for chewy caramel apples?
This is probably the most important technical question, and the answer is non-negotiable if you want that satisfying chew! You absolutely must cook your caramel mixture until it hits 245 degrees Fahrenheit. We call this the soft-ball stage. If you pull it off the heat too soon, the caramel will be soupy and won’t stick. If you go much past that, it gets too hard, losing that wonderful texture we worked so hard for, so stick to the thermometer for that genuine, Best Caramel Apple Recipe Chewy finish!
Can I use store-bought caramel sauce instead of melting candies for my caramel apples?
Oh, I wish you could, but honestly? I strongly advise against it for this particular treat. Store-bought caramel sauce is designed to be pourable and soft *at room temperature*—it’s already cooked to a lower temperature than we need, so it’s designed to stay gooey and runny. If you use it here, your beautiful apples will just end up sliding right off into a sad puddle as soon as they warm up a little! Stick to melting down those soft caramels and adding the cream for the integrity of this recipe.
Share Your Caramel Apples Creations
Seriously, now that you’ve mastered the perfect, chewy, no-slide coating for your caramel apples, I absolutely need to see what you created! Eva and I started Flavor Zine because we believe the best stories are the ones we publish together, messy kitchen experiments and all. Did you go classic? Did you drizzle yours with dark chocolate? Or maybe you went wild with the sprinkles?
Snap a photo of your finished beauties, share how you served them up for your Fall parties or Halloween treats, and tag us! We love seeing your unique flair pop up in our community. Seeing your kitchen stories through your camera lens is honestly my favorite part of publishing these issues.
When you share, tell us what was your biggest ‘aha!’ moment while making them—was it finally nailing the 245 degrees, or maybe finally wiping down those apples with vinegar? Head over to our About Us page if you want to read more about how we try to capture those perfect, imperfect moments in the kitchen!
PrintFoolproof Homemade Caramel Apples: The Secret to Chewy, No-Slide Coating
Learn the simple secrets to making the best homemade caramel apples with a perfectly chewy coating that sticks every time. This easy tutorial is ideal for your fall parties and Halloween treats.
- Prep Time: 20 min
- Cook Time: 10 min
- Total Time: 30 min
- Yield: 6 servings
- Category: Dessert
- Method: Stovetop Cooking
- Cuisine: American
- Diet: Vegetarian
Ingredients
- 6 medium crisp apples (Granny Smith or Honeycrisp work well)
- 12 wooden or paper lollipop sticks
- 1 (14-ounce) bag of soft caramel candies, unwrapped
- 2 tablespoons heavy cream
- 1 tablespoon unsalted butter
- Optional Toppings: chopped nuts, mini chocolate chips, sprinkles, melted white chocolate for drizzling
Instructions
- Prepare the apples: Wash the apples well. Remove the stems and insert a wooden stick firmly into the core of each apple.
- Dry the apples completely: This step is crucial for the caramel to stick. Pat each apple dry with a paper towel. You can also briefly dip the apples in a bowl of ice water and then dry them thoroughly to help the coating adhere better.
- Prepare the caramel: In a medium saucepan over medium-low heat, combine the unwrapped caramels, heavy cream, and butter. Stir constantly until the caramels are completely melted and the mixture is smooth. Do not let it boil rapidly.
- Check the temperature (for a chewy coating): Use a candy thermometer. Cook the caramel mixture, stirring gently, until it reaches 245 degrees Fahrenheit (soft-ball stage). This temperature ensures a chewy, non-runny coating.
- Cool the caramel slightly: Remove the saucepan from the heat and let the caramel cool for about 5 to 10 minutes. It should still be pourable but slightly thicker.
- Dip the apples: Holding the stick, tilt the pan slightly and dip one apple into the caramel, rotating it to coat evenly. Lift the apple out, allowing excess caramel to drip back into the pan.
- Apply toppings (optional): If using toppings like nuts or sprinkles, apply them immediately while the caramel is still warm and sticky.
- Set the apples: Place the coated apples on a baking sheet lined with parchment paper or a silicone mat. Let them cool completely at room temperature, or chill briefly in the refrigerator until the caramel is firm.
- Serve or store: Serve your gourmet caramel apples or wrap them individually for holiday gifting.
Notes
- For a no-slide trick, wipe the apples with a small amount of white vinegar or lemon juice before drying them completely. This removes any waxy residue.
- If the caramel becomes too stiff while you are dipping, return the pan to very low heat for a minute to soften it, then remove it from the heat again before continuing.
- If you want to make caramel apple slices, cut the apples into thick wedges after washing and drying, insert toothpicks instead of sticks, and dip the slices quickly.
Nutrition
- Serving Size: 1 apple
- Calories: 350
- Sugar: 45
- Sodium: 120
- Fat: 18
- Saturated Fat: 10
- Unsaturated Fat: 8
- Trans Fat: 0
- Carbohydrates: 50
- Fiber: 2
- Protein: 3
- Cholesterol: 30