

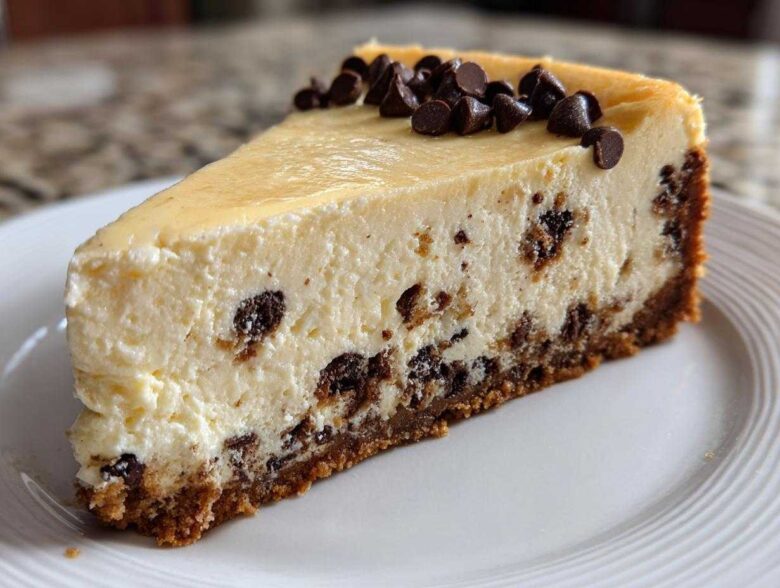
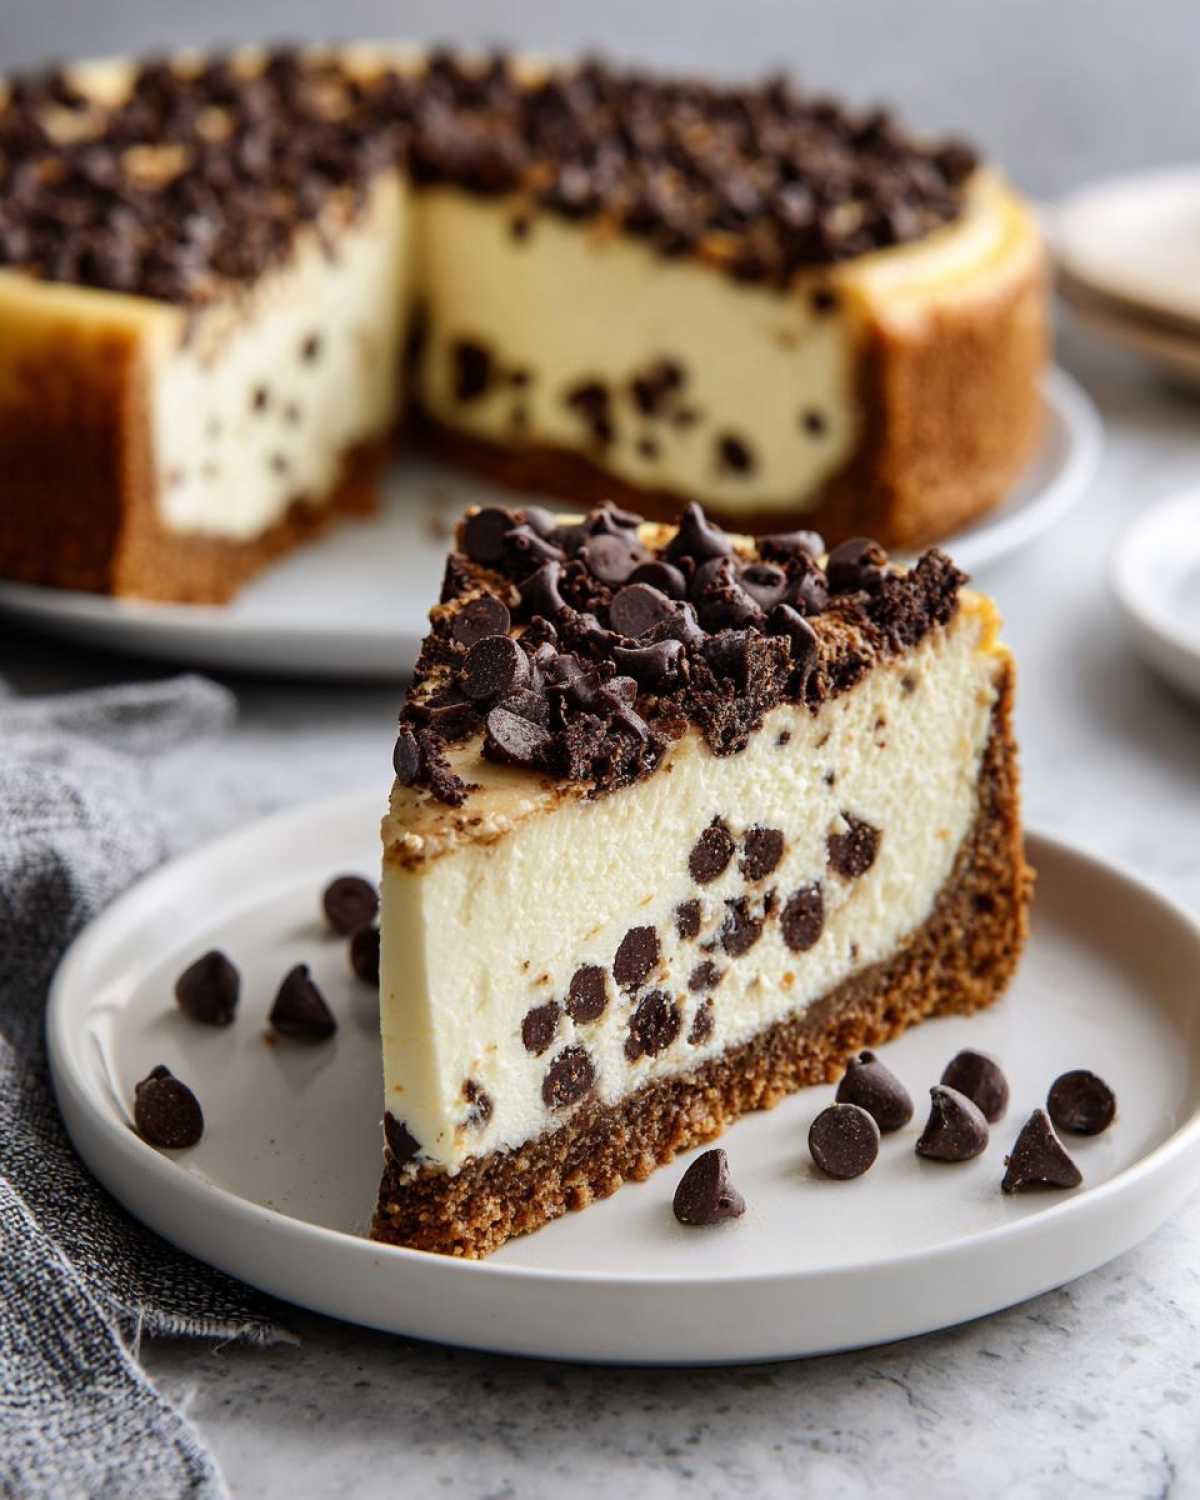
When you need a dessert that screams decadent but whispers, “I didn’t even break a sweat making this,” you reach for cheesecake. And not just any cheesecake, but the king of indulgence: the chocolate chip cheesecake. I’m Mateo, and Eva and I swear this particular baked version is the absolute best. It’s effortlessly creamy, it slices like a dream, and honestly, it makes homemade cheesecake look way easier than it has any right to be. This recipe isn’t just food; it’s the perfect finale to our cozy Sunday dinners. Every time we pull that giant, perfect circle out of the oven, we know we’ve bottled up a moment of pure, sweet happiness for the week ahead. You absolutely have to try it!
Why This Baked Chocolate Chip Cheesecake Recipe Works (The Flavor Zine Promise)
We stand by this recipe because it actually delivers on its promises. It’s our secret to serving a truly decadent dessert without the usual stress!
- It guarantees that famous, super creamy cheesecake recipe texture every single time.
- The water bath technique makes it a genuinely easy cheesecake dessert, virtually guaranteeing no surface cracks.
- It’s sturdy enough to slice perfectly for huge gatherings—seriously, this is the best chocolate chip cheesecake you’ll ever make.
- It’s the ultimate party desserts cheesecake because it tastes way more complicated than it really is!
Gathering Ingredients for Your Creamy Cheesecake Recipe
Okay, let’s talk about the assembly crew! Getting the right ingredients lined up is half the battle, and making sure they’re happy when they enter the mixing bowl is the other half. Seriously, this is where we lock in that incredible texture. For this recipe to truly become the creamy cheesecake recipe we rave about, you absolutely must let that cream cheese and those eggs sit out for at least an hour. Cold ingredients hate each other; they clump, they fight, and they leave you with a lumpy mess instead of perfection. Trust me, room temperature is non-negotiable!
When you’re ready to mix, grab your ingredients, take a deep breath, and remember that this whole thing comes together surprisingly fast once everything is prepped right. We’ll divide our focus between the crunchy base and the luxurious filling below. If you’re looking for other ways to use up that cream cheese, check out our ridiculously easy cream cheese brownies!
Crust Components
This base is simple, buttery perfection. We use classic graham crackers here, but feel free to get creative later! Just make sure you handle the butter.
- 1 1/2 cups graham cracker crumbs
- 1/4 cup granulated sugar
- 6 tablespoons unsalted butter, melted (Yes, melted! It holds everything together nicely.)
Rich Cream Cheese Dessert Filling
This is the star! The secret to a truly rich cream cheese dessert is not skimping on the blocks—we need all three! And remember, beat the cream cheese until it’s completely smooth *before* adding anything else.
- 3 (8 ounce) packages cream cheese, softened (Remember: Room temp!)
- 1 1/2 cups granulated sugar
- 1 teaspoon vanilla extract
- 1/4 teaspoon salt
- 4 large eggs (Again, room temperature!)
- 1 cup semi-sweet chocolate chips
Step-by-Step Instructions for Baked Cheesecake with Chocolate Chips
Alright, showtime! Now that we have our ingredients all fluffed up and ready to mingle, we dive into the actual magic. This process is straightforward, but those crucial steps like the water bath are what separate an okay cheesecake from the absolute pinnacle of baked cheesecake with chocolate chips perfection. It’s all about creating a gentle, steamy environment so our filling cooks evenly and gently. Get that oven preheated to 325 degrees F, and have a roll of heavy-duty foil handy—we’re wrapping this baby up tight! If you want to see how we tackle savory cooking with the same level of care, check out our guide for making homemade brown gravy recipe from scratch; the principle of careful layering applies everywhere!
Creating the Graham Cracker Crust Base
First up, the foundation! In a bowl, just mix those graham crumbs, the little bit of sugar, and the melted butter until it clumps together perfectly. Press that mixture right into the bottom of your 9-inch springform pan. Press it down firmly; you want a sturdy base that can support all that creamy goodness later. Pop that crust into the oven for only 10 minutes. It just needs a little head start to set up. Then, yank it out and let it cool down a touch while we whip up the filling.
Mixing the Smooth Cheesecake Batter
Here’s where you really need to focus! Get that softened cream cheese going in your mixer until it is gloriously smooth—no lumps allowed! Only then do we sneak in the sugar, vanilla, and salt. Once that’s combined, add your eggs one at a time. Stop mixing the second an egg disappears into the batter. Seriously, once the eggs are in, overmixing is the enemy of smooth texture in this chocolate chip cheesecake. Finally, gently fold in those chocolate chips. We want them suspended, not beaten into oblivion!
The Water Bath Technique for Perfect Baking
This step is the secret sauce to making this an easy cheesecake dessert that looks professional. Wrap the foil-covered pan completely—top, bottom, sides—like you’re packing it for a swim! Place this wrapped pan inside a larger roasting pan. Now, carefully pour hot water into that outer roasting pan until it comes about halfway up the sides of your springform. This steam dome keeps the heat low and moist, which cooks the cheesecake evenly and keeps it from cracking. You’ll bake it for about 55 to 65 minutes until the edges are set but the center still wobbles a tiny bit.
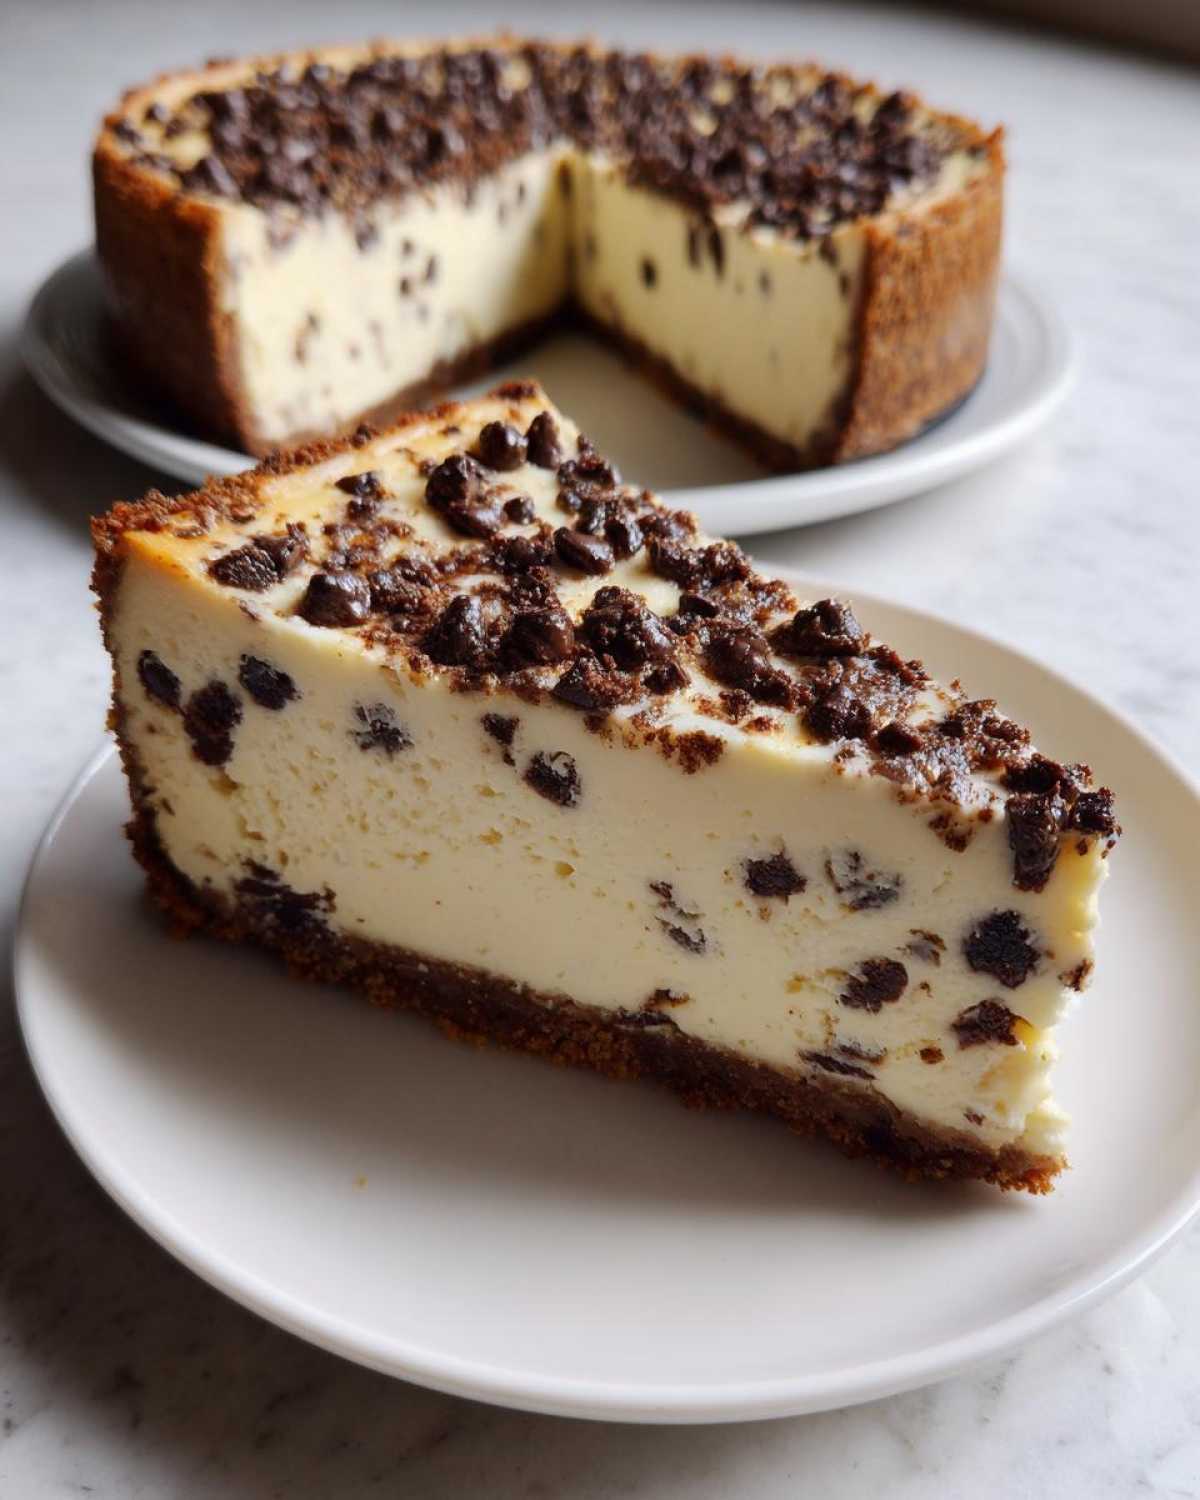
Tips for the Best Chocolate Chip Cheesecake Experience
We’ve gotten it baked, but the journey to the best chocolate chip cheesecake isn’t over when you turn the oven off. The waiting game, while torturous, is actually part of the technique here! If you want that silky, rich texture that makes this an unbelievable party desserts cheesecake, you have to respect the cooling process. Seriously, this is where the experts separate themselves from the hurried bakers. If you’re looking for other easy make-ahead dishes for your next party, you should absolutely check out our guide on easy slow cooker cranberry meatballs—they pair surprising well with rich desserts!
Achieving Ultimate Creaminess
I can’t stress this enough: use room-temperature ingredients! If your cream cheese is cold or your eggs are straight from the fridge, you will never get that silky smooth filling we’re aiming for. It’s just chemistry, folks. When everything is at the same gentle temperature, it whips up beautifully. Also, remember that note about chilling overnight? Don’t skip the 6-hour minimum. That deep chill is what fully sets the cream cheese, giving you that satisfying slice that doesn’t ooze everywhere. It truly transforms this into the dreamiest, creamy cheesecake recipe imaginable.
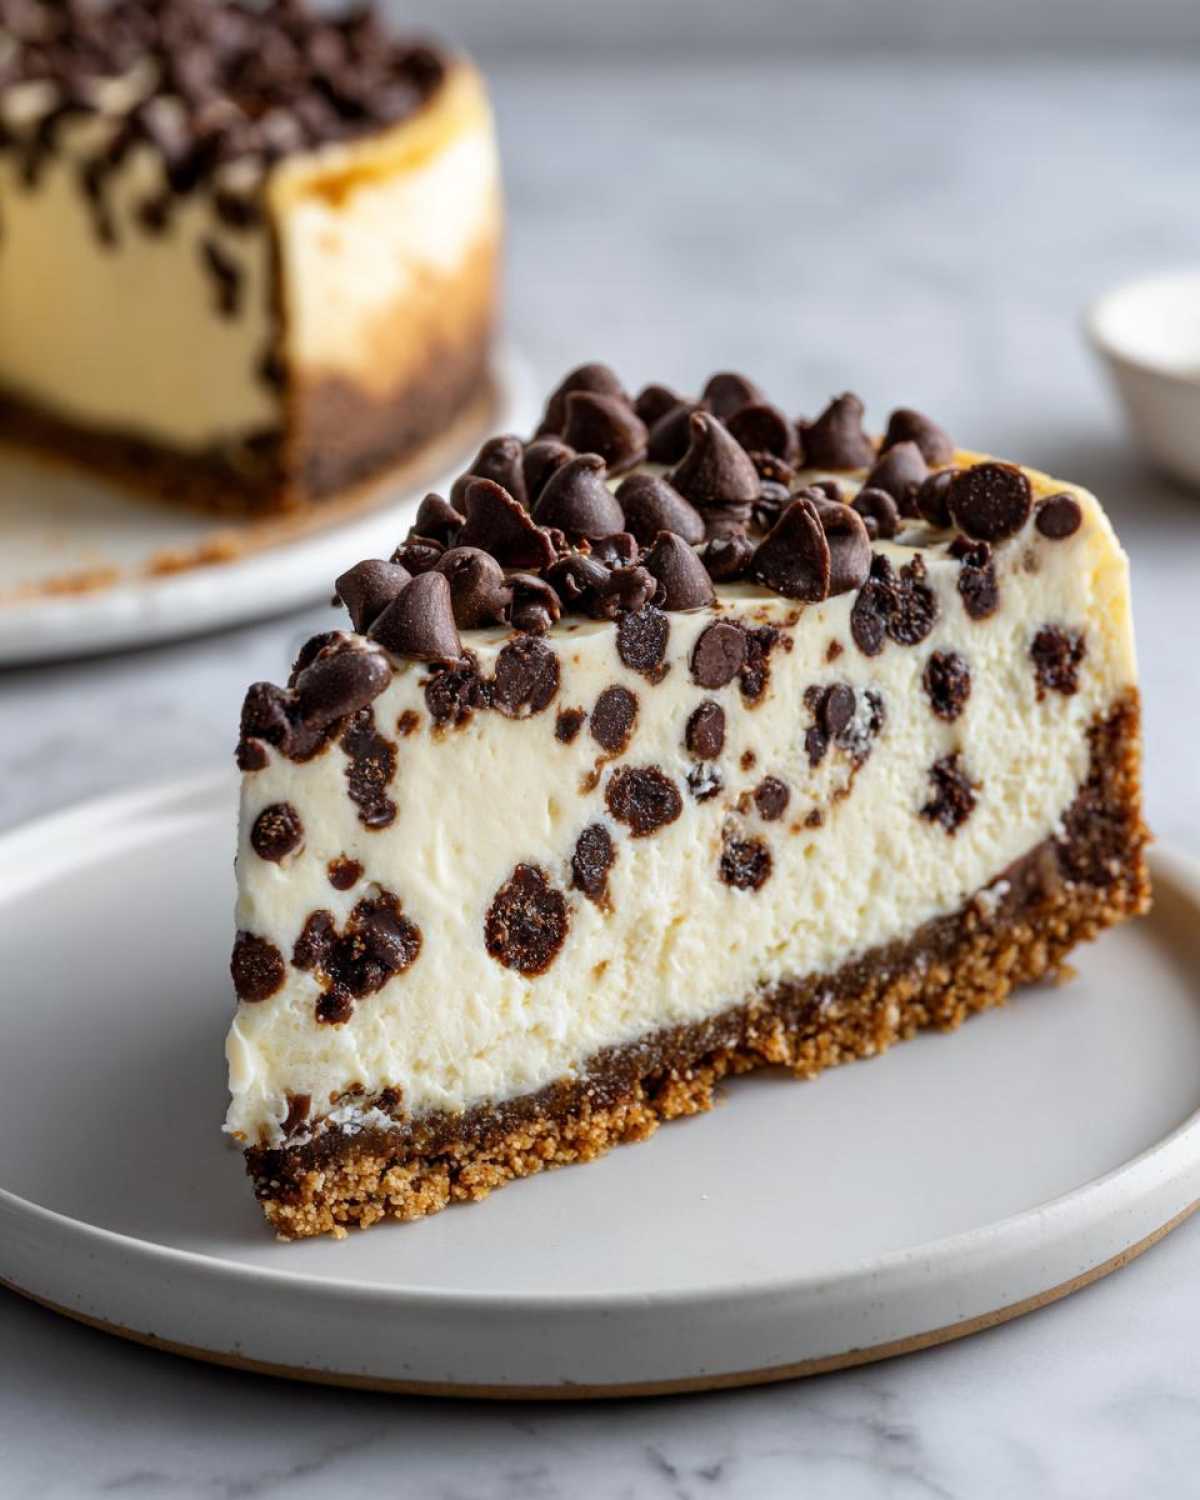
Preventing Cracks in Your Homemade Cheesecake
The absolute villain in the cheesecake world is the dreaded crack. We’ve already armed you with the water bath, which handles 90% of the problem, but the final shock of cold air causes the rest of the trouble. So, once that 60 minutes of cooling inside the *turned-off* oven is up, it’s time for the slow transition. Eva usually opens the oven door just a crack, props it open with a wooden spoon, and leaves it there. This gentle temperature drop protects the integrity of the top surface.
Once it’s safely sitting on the counter and cool to the touch, cover it and get it into the fridge. This slow, deliberate cooling and chilling process is the real secret to a gorgeous, professional-looking homemade cheesecake every single time. It’s worth the patience, promise!
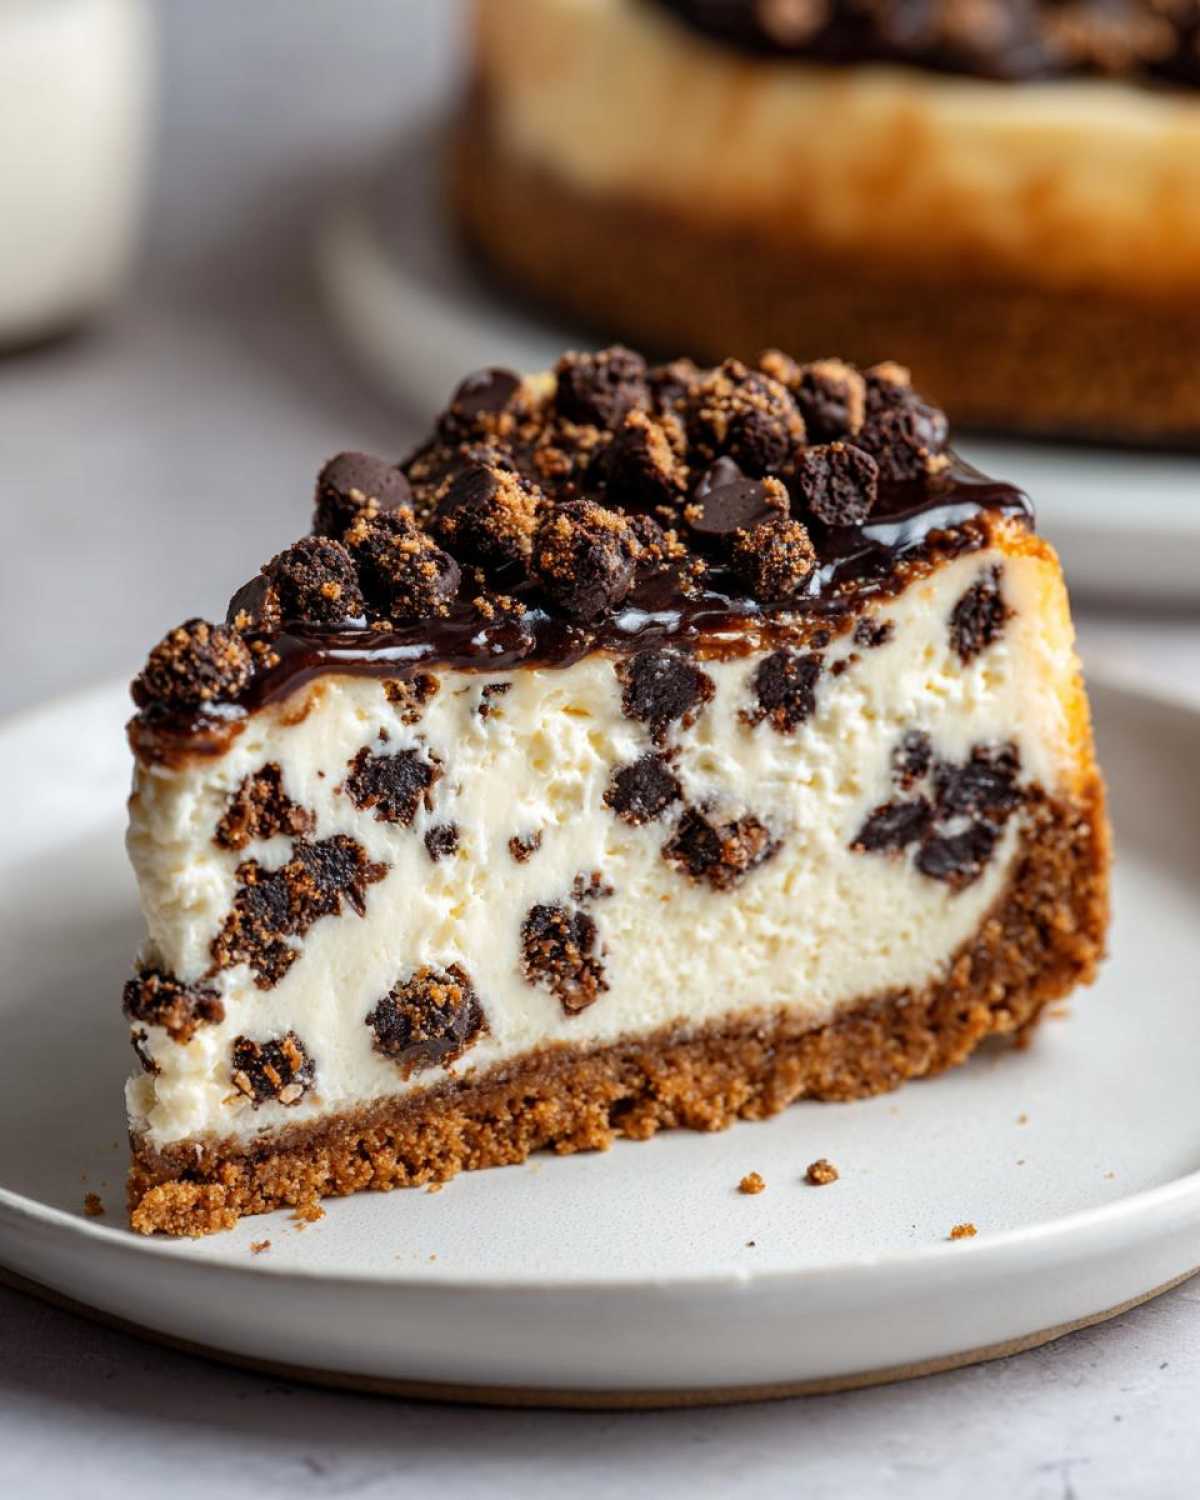
Variations: From Cheesecake to Chocolate Chip Cheesecake Bars Recipe
Now, I know what you’re thinking. While this round, glorious chocolate chip cheesecake is perfect for a centerpiece dessert, sometimes you need something that slices up smaller, maybe for a huge potluck or just because you want easy squares you can grab without a fork. That’s where the dessert bar concept comes in clutch!
If you want to transform this recipe into a killer chocolate chip cheesecake bars recipe, it’s super simple because the filling is so wonderfully rich. You just need to swap out that 9-inch springform pan for something bigger—I usually reach for a 9×13 inch baking dish. It’s a totally different vibe, but just as delicious and decadent!
The main thing you’ll notice is the baking time. Since the batter is spread much shallower in a 9×13 pan compared to a deep springform, it’s going to cook faster. Keep a close eye on it! Start checking around the 35 or 40-minute mark, even though the main recipe calls for over an hour in the round pan. You still want that slight jiggle in the center, but the thinner layer means less time in the heat.
You can follow all the steps exactly: make the crust, pre-bake it, mix the filling, fold in the chips. Then pour it into your buttered and parchment-lined 9×13 pan. You can still use the water bath if you want that ultra-creamy texture, but it requires a much, much larger roasting pan—sometimes it’s easier to just bake it gently without the bath when making bars, though you risk tiny cracks. For a fantastic visual guide on transforming cakes into bars, take a peek at my favorite tips over at Hannah’s recipe for bars!
If the bar idea doesn’t quite stick, maybe you prefer something spiral! We also have an amazing recipe for strawberry cheesecake sweet rolls that capture that same tangy flavor profile in a completely different way. The point is, this creamy base is versatile—it just demands that rich, familiar flavor!
Storage and Reheating Instructions for Your Decadent Dessert Ideas
One of the absolute best things about making a chocolate chip cheesecake ahead of time is that it’s actually better the next day! This is why it makes such a brilliant decadent dessert idea when you’re planning for a party or holiday gathering. You can actually conquer this recipe the day before your event, which sounds like a dream, right?
The cooling step we talked about—where it rests on the counter for an hour after the oven swim—is the first cooling stage. Once it’s completely cool at room temperature, you need to cover it up. I usually just use a piece of foil first, gently draped over the top so it doesn’t stick to any residual moisture. Then, it needs to chill. And I mean *chill*! We need a minimum of six hours, but let’s be real, if you let this sit overnight, it firms up beautifully, and that rich cream cheese quality really settles in.
Refrigeration is king here. Once chilled, you can store leftovers in an airtight container right in the fridge for about five to seven days. That’s almost a week of glorious leftover dessert! If you try to rush it, you risk it getting soft, especially with all those chips nestled inside.
Now, can you freeze this masterpiece? Yes, you totally can! If you know you won’t eat it within a week, this freezes like a champ. Make sure it’s completely chilled first. Then, wrap it super tight—first in plastic wrap (like, wrap it like you’re hiding a secret) and then wrap it again in foil or stick it in a large freezer bag. This double layer prevents freezer burn, which would ruin that creamy texture we worked so hard for!
When you want to serve the frozen cake, just transfer the whole wrapped thing into the fridge the day before you want to eat it. It can take a full 24 hours to thaw slowly, but that slow thaw keeps it eating like it was freshly baked. It’s so comforting knowing you have a high-end dessert tucked away for unexpected cravings. If you’re looking for other sweet things you can stash away for later, check out how we make our easy cool whip cookies!
Frequently Asked Questions About Chocolate Chip Cheesecake
We get so many wonderful notes and questions rolling in about this recipe, and I love hearing what everyone is trying! It shows you’re publishing your own delicious issues at home. Here are a couple of the biggest questions we get regarding achieving that perfect texture and trying out variations on our classic baked style.
Can I make a no bake chocolate chip cheesecake using this recipe?
That’s a great question, especially when the heat is cranking up outside! This specific recipe we’ve detailed is a true, classic baked cheesecake with chocolate chips. We use the heat to set that rich cream cheese structure properly. If you are set on a no bake chocolate chip cheesecake, you’ll need a completely different formula. No-bake versions rely heavily on stabilizers like gelatin or folding in substantial amounts of whipped heavy cream after chilling the cream cheese mixture. Those recipes usually use a cookie crust that doesn’t get pre-baked, either! If you want that easy dessert, you’ll need to search specifically for a genuine no-bake version, but for the creamiest thing possible, stick to the water bath method we detailed!
What is the best type of chocolate chip to use?
This is where personal preference really comes into play, but I have a strong feeling about what works best for this rich dessert! I highly recommend using semi-sweet chocolate chips. They offer the best balance against the sweetness of the cream cheese filling—it prevents the whole thing from tasting like one giant sugar rush. If you use milk chocolate, it can sometimes melt too much and overpower the tanginess we want in a creamy cheesecake recipe.
Now, the size! We call for standard semi-sweet chips in the recipe, and they give you those great pockets of chocolate when you slice through. However, if you *really* want maximum chip distribution throughout the entire filling, you could use mini chips. They scatter more evenly when you fold them in. If you’re interested in learning about other ways to use chocolate in unexpected ways, check out my guide on the best easy homemade pizza dough recipe—we put chocolate on it sometimes, don’t judge!
We’ve seen folks rave about using dark chocolate, too, which really cuts the sweetness for a more sophisticated flavor profile. For inspiration on other incredible no-bake treats, definitely see what my friends over at Dishes by Daisy are whipping up!
Nutritional Snapshot of This Sweet Treat Recipes
Okay, fellow flavor publishers, let’s talk brass tacks. We know this chocolate chip cheesecake is rich—it’s meant to be decadent! But since we like to be totally transparent here at Flavor Zine, we’ve gathered the estimated nutritional information based on the ingredients listed in the recipe. We always say that tracking calories takes the fun out of baking, but knowing the general breakdown is helpful, especially when you’re planning ahead!
Keep in mind that your measurements might shift slightly depending on the exact brand of chocolate chips or how much crust you end up with. These numbers are just a serving estimate for one slice of this wonderful dessert.
- **Serving Size:** 1 slice
- **Calories:** Approximately 450
- **Sugar Total:** About 35g
- **Fat Content:** Roughly 30g
- **Protein:** Around 8g
This is definitely a treat, not an everyday snack, which is why it’s so perfect for holidays or special celebrations! Since we are all about authentic, imperfect publishing here, please remember that these figures are based on our ingredient ratios and are just a general guide for your sweet treat recipes planning.
Publish Your Delicious Issue: Share Your Chocolate Chip Cheesecake
Wow, you made it! You managed the water bath, you resisted eating the batter (mostly!), and now you have the absolute best, creamiest chocolate chip cheesecake cooling perfectly in your fridge. That’s cause for celebration, friend!
Now comes my favorite part, the actual publishing phase. We created Flavor Zine not just to share recipes, but to share stories about making them. So, when you finally cut into that gorgeous, chilled cake, I want to hear all about it! Did you serve it for a special occasion? Did the graham cracker crust hold up just like you hoped? Did the chocolate chips melt perfectly throughout the filling?
Please, jump down into the comments section below and leave us a rating! Hearing from you helps the next person who is nervously approaching their first cheesecake bake. It builds our little community of authentic, imperfect home cooks. We absolutely cherish seeing your creations popping up online, so if you share photos on social media, tag us! It makes our whole week when we see our recipes out in the wild.
If you’re looking for more inspiration on how to keep publishing delicious issues, check out the main Flavor Zine archives for more stories and recipes. And if you’re already thinking about your next major bake, maybe take a peek at what the folks over at Goody Foodies have been up to—they always have something fun brewing!
Thank you again for picking up this issue. We love having you join our little press. Happy baking!
Warmly,
Eva & Mateo
PrintCreamy Baked Chocolate Chip Cheesecake with Graham Cracker Crust
This recipe delivers a rich, creamy chocolate chip cheesecake set on a simple graham cracker crust. It is an easy dessert that tastes decadent and is perfect for parties or any time you want a satisfying sweet treat.
- Prep Time: 25 min
- Cook Time: 65 min
- Total Time: 8 hours 30 min
- Yield: 12 servings
- Category: Dessert
- Method: Baking
- Cuisine: American
- Diet: Vegetarian
Ingredients
- 1 1/2 cups graham cracker crumbs
- 1/4 cup granulated sugar
- 6 tablespoons unsalted butter, melted
- 3 (8 ounce) packages cream cheese, softened
- 1 1/2 cups granulated sugar
- 1 teaspoon vanilla extract
- 1/4 teaspoon salt
- 4 large eggs
- 1 cup semi-sweet chocolate chips
Instructions
- Preheat your oven to 325 degrees F. Wrap the outside bottom of a 9-inch springform pan tightly with heavy-duty aluminum foil.
- Prepare the crust: Mix graham cracker crumbs, 1/4 cup sugar, and melted butter in a medium bowl until combined. Press the mixture firmly into the bottom of the prepared springform pan. Bake for 10 minutes. Remove from the oven and let it cool slightly.
- Prepare the filling: In a large bowl, beat the softened cream cheese with an electric mixer until smooth. Gradually beat in the 1 1/2 cups of sugar, vanilla extract, and salt until fully combined and creamy.
- Beat in the eggs one at a time, mixing just until each egg is incorporated. Do not overmix the batter once the eggs are added.
- Gently fold in the chocolate chips. Pour the cheesecake batter over the cooled crust in the springform pan.
- Bake the cheesecake using a water bath (Bain-Marie) for best results. Place the foil-wrapped springform pan inside a larger roasting pan. Carefully pour hot water into the roasting pan until it reaches about halfway up the sides of the springform pan.
- Bake for 55 to 65 minutes, or until the edges are set but the center still jiggles slightly when gently nudged.
- Turn off the oven, crack the oven door open slightly, and let the cheesecake cool inside the oven for 1 hour. This prevents cracking.
- Remove the cheesecake from the water bath and foil. Cool completely on a wire rack. Once cool, cover and refrigerate for at least 6 hours, or preferably overnight, before serving. This ensures you get that rich cream cheese dessert texture.
Notes
- For the creamiest texture, make sure your cream cheese and eggs are at room temperature before you start mixing.
- If you skip the water bath, watch the baking time closely, as it may cook faster and risk cracking.
- This recipe makes a fantastic party dessert; chilling overnight truly sets the texture for clean slicing.
Nutrition
- Serving Size: 1 slice
- Calories: 450
- Sugar: 35g
- Sodium: 280mg
- Fat: 30g
- Saturated Fat: 18g
- Unsaturated Fat: 12g
- Trans Fat: 0.5g
- Carbohydrates: 40g
- Fiber: 1g
- Protein: 8g
- Cholesterol: 95mg