

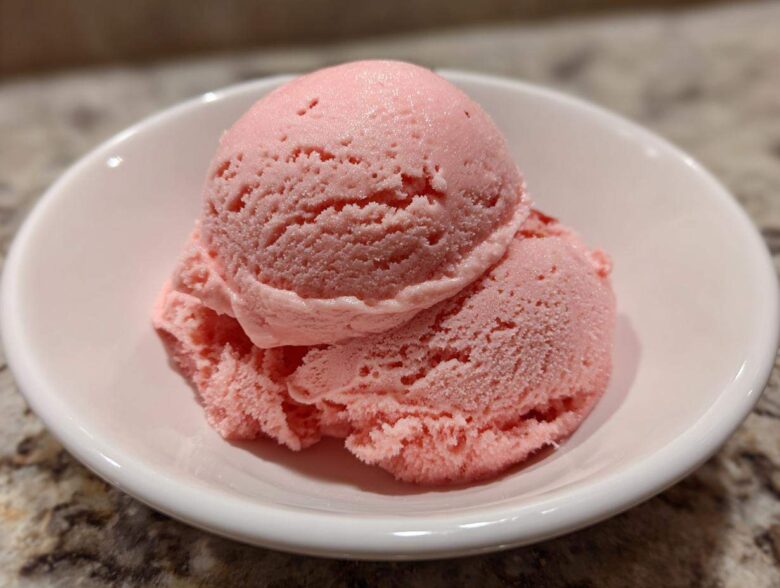
When that blazing summer heat rolls in, you know what I crave? Real, honest-to-goodness homemade strawberry ice cream. Not the stuff you scoop out of a plastic tub where the berries are questionable specks. No, I mean the super-creamy, ridiculously flavorful kind. Eva and I were trying to escape the July humidity last year, and honestly, I was tired of hauling out the big ice cream maker. That’s when I leaned into the magic of the no-churn method and landed on what might be the best strawberry ice cream recipe we’ve ever published. It’s our dazzlingly simple, Easy 3-Ingredient No-Churn Strawberry Ice Cream. It’s proof that simple is sometimes genius. I swear, watching that heavy cream turn into velvety clouds destined for a freezer is pure kitchen therapy, even when you’re just mixing three things! If you want to know more about our philosophy on capturing kitchen stories, check out our About Us page.
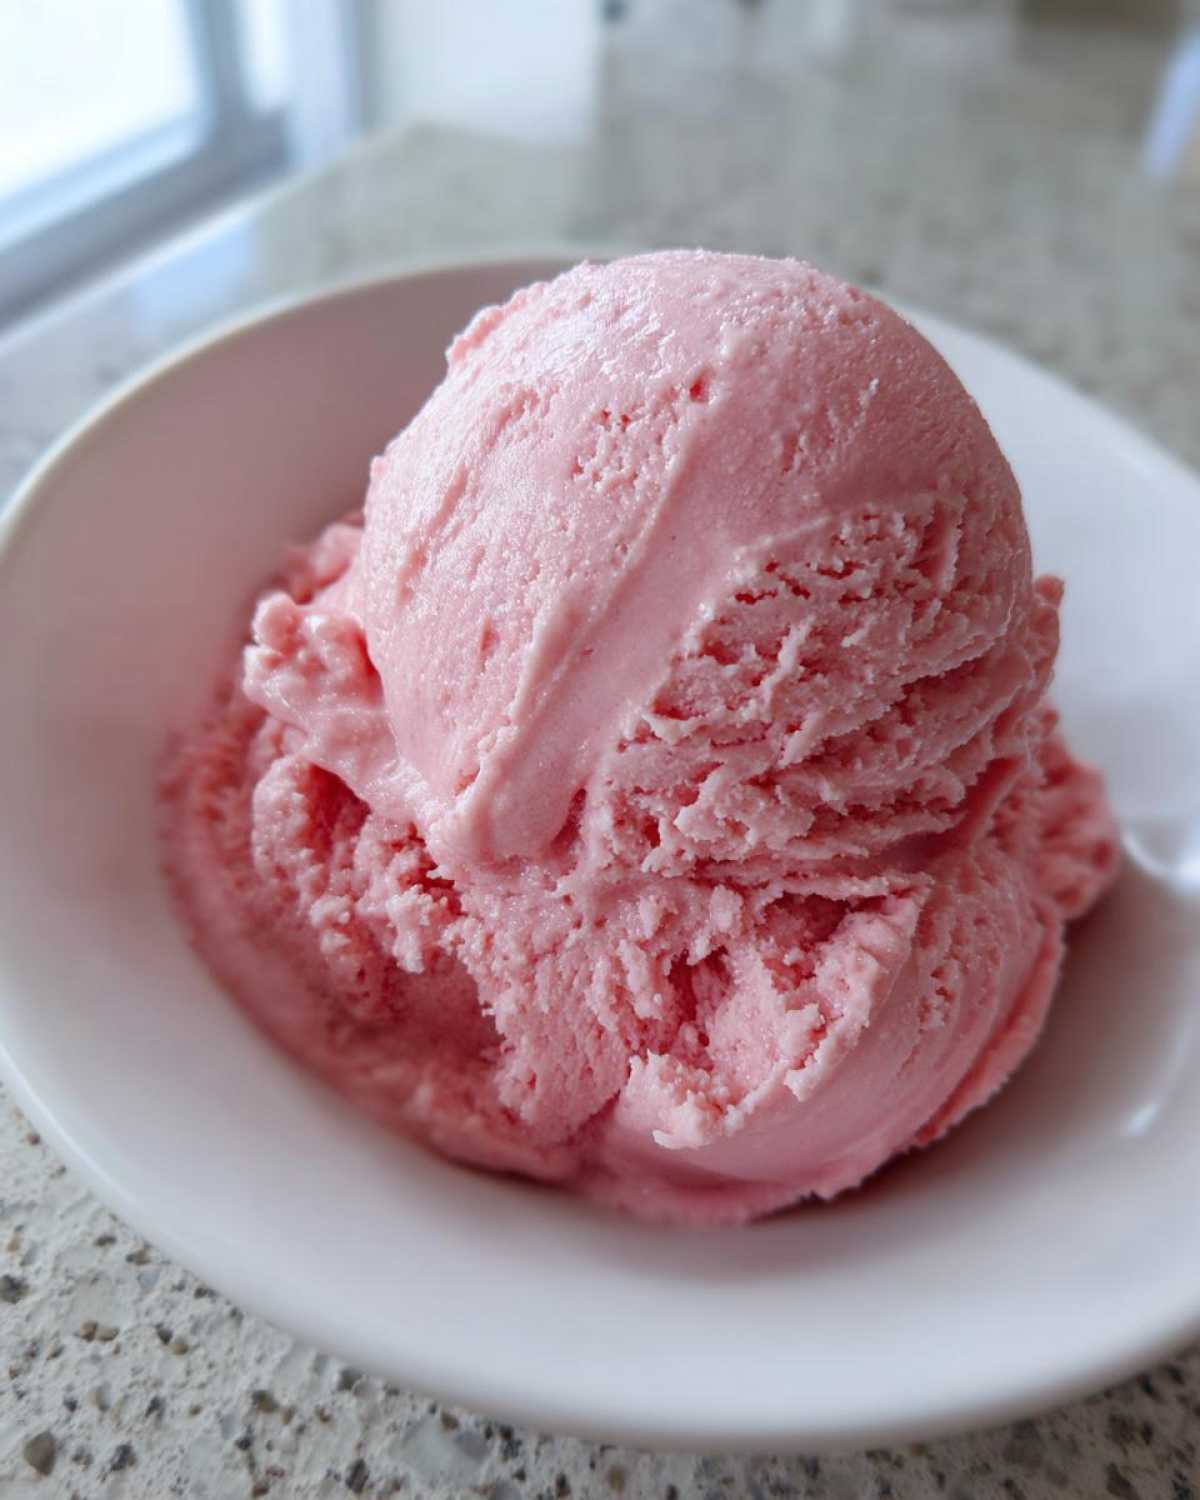
Why This No-Churn strawberry ice cream Recipe is Your New Favorite Summer Treat
Look, I get it. When it’s ninety degrees outside, you don’t want to wait around for churning or dealing with electric components. That’s why this recipe is such a winner for us during the summer. It’s incredibly fast to put together, and it delivers that rich, full flavor you expect from a truly fantastic, homemade strawberry ice cream.
- Seriously fast prep—we’re talking under 15 minutes before it goes into the freezer!
- Only three main players required! Less shopping, less pantry stress.
- The texture is ridiculously smooth for a no-cook dessert.
- It’s the ultimate easy summer dessert when you need something sweet, fast.
If you’re curious about other super quick bakes we love, you have to check out our guide to the best chocolate chip cookie recipe. Sometimes you just need simple results!
Achieving Creamy Strawberry Ice Cream with Minimal Effort
The secret sauce here isn’t a sauce at all—it’s the whipping of the cream. By whipping the heavy cream to stiff peaks first, we’re introducing tons of stable air pockets. When you fold in that sweet, dense condensed milk and the fruit puree, those air pockets lock in, meaning those tiny ice crystals that ruin cheaper creamy strawberry ice cream just don’t have an easy way to form. No machine needed!
Gathering Ingredients for Your Easy strawberry ice cream
Okay, so this is where the magic starts, and honestly, it’s a tiny, easy shopping list. Because this is our Easy strawberry ice cream, we are relying on just three core ingredients to do all the heavy lifting. You absolutely must use a full 14-ounce can of sweetened condensed milk—don’t grab the low-fat stuff here, trust me! Next, you need two cups of *cold* heavy whipping cream. Cold is non-negotiable, it whips up so much better that way. Finally, you need one cup of strawberries, pureed. I prefer fresh when they look gorgeous at the market, but frozen works just as well if you blend them from thawed.
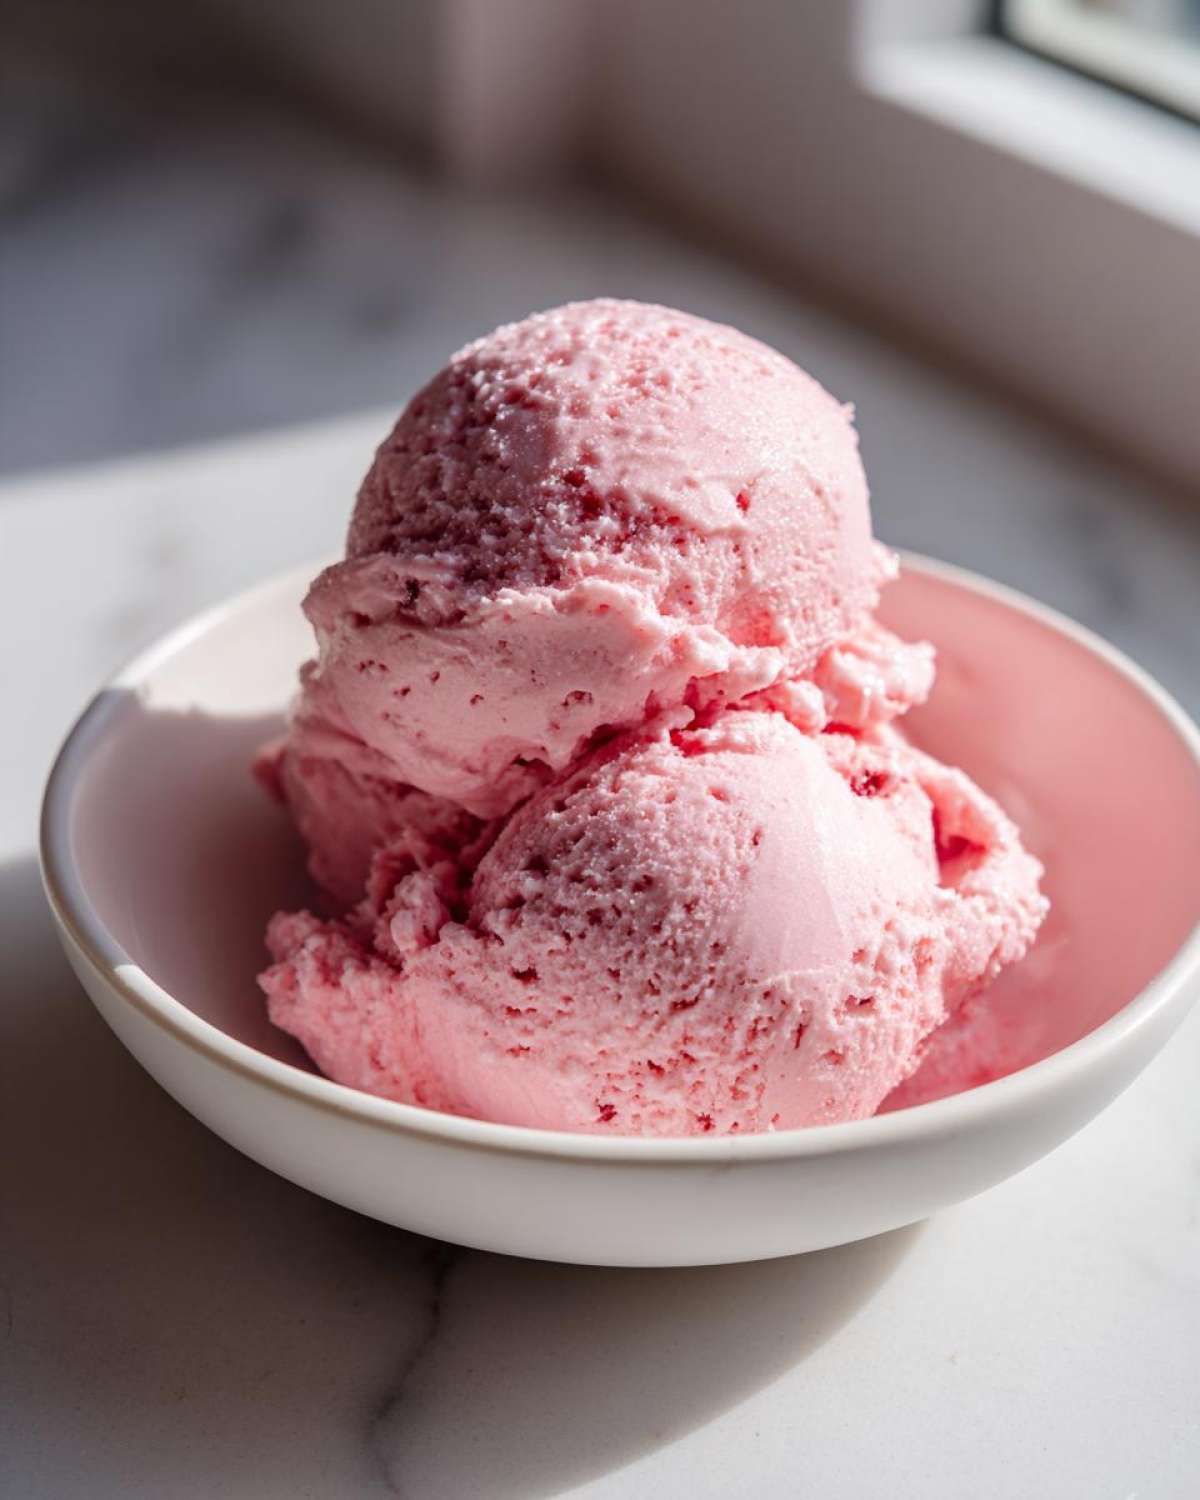
The simplicity of this recipe means the quality of those three ingredients shines through. If you want to enhance it just a bit, think about adding a splash of vanilla. We also made sure this recipe is egg-free, which keeps the process totally clean and quick!
Ingredient Notes and Substitutions for Homemade Strawberry Ice Cream
Since this is a no egg ice cream base, you don’t need to worry about tempering or scrambling anything—huge win! If you aren’t using the perfect summer strawberries, frozen ones work great, just make sure they are pureed smooth before you fold them in. And here’s a little flavor booster that’s listed in our official notes: stir in 1 teaspoon of pure vanilla extract right when you add the condensed milk. It just rounds out that bright strawberry flavor and makes your homemade strawberry ice cream taste professionally done. For more tips on making richer frozen concoctions, take a peek at our creamy strawberry ice cream recipe guide!
Step-by-Step Instructions for Perfect No Churn Strawberry Ice Cream
Alright, putting this amazing strawberry ice cream together is basically watching magic bloom in your mixing bowls! We need to work in stages here, focusing first on volume, then flavor incorporation. Don’t rush the blending of the fruit puree—we want that vibrant color and flavor locked in early. Once your strawberries are ready, we tackle the cream. Remember, since this is a quick ice cream recipe, we skip the complicated cooking steps, but we don’t skip the important texture steps!
After we mix everything, the final, crucial part is patience while it freezes. Trust me, trying to scoop it before it’s fully set is a recipe for disappointment. Aim for that 6-hour minimum, but if you can let it sit overnight, even better for the best, most scoopable consistency. It’s all about setting up the structure early on!
Whipping Cream to Stiff Peaks for Creamy Strawberry Ice Cream
This is Step 2, and it gets you that amazing texture. Grab your *cold* heavy cream and whip it! You’re looking for stiff peaks—that means when you lift the whisk, the peak stands straight up and doesn’t flop over at all. This trapping of air is what keeps your finished product from becoming a solid brick!
Folding Techniques for Distributing Flavor in Your Strawberry Ice Cream
Now for the gentle part! Once the cream is perfect, slowly fold in the condensed milk first until it’s just barely mixed. Then, add your strawberry puree. Use a spatula and cut straight down the middle and sweep up the side of the bowl—do this slowly! We are trying to *fold*, not stir, because stirring deflates all that beautiful air we just worked so hard to incorporate for that perfect creamy strawberry ice cream.
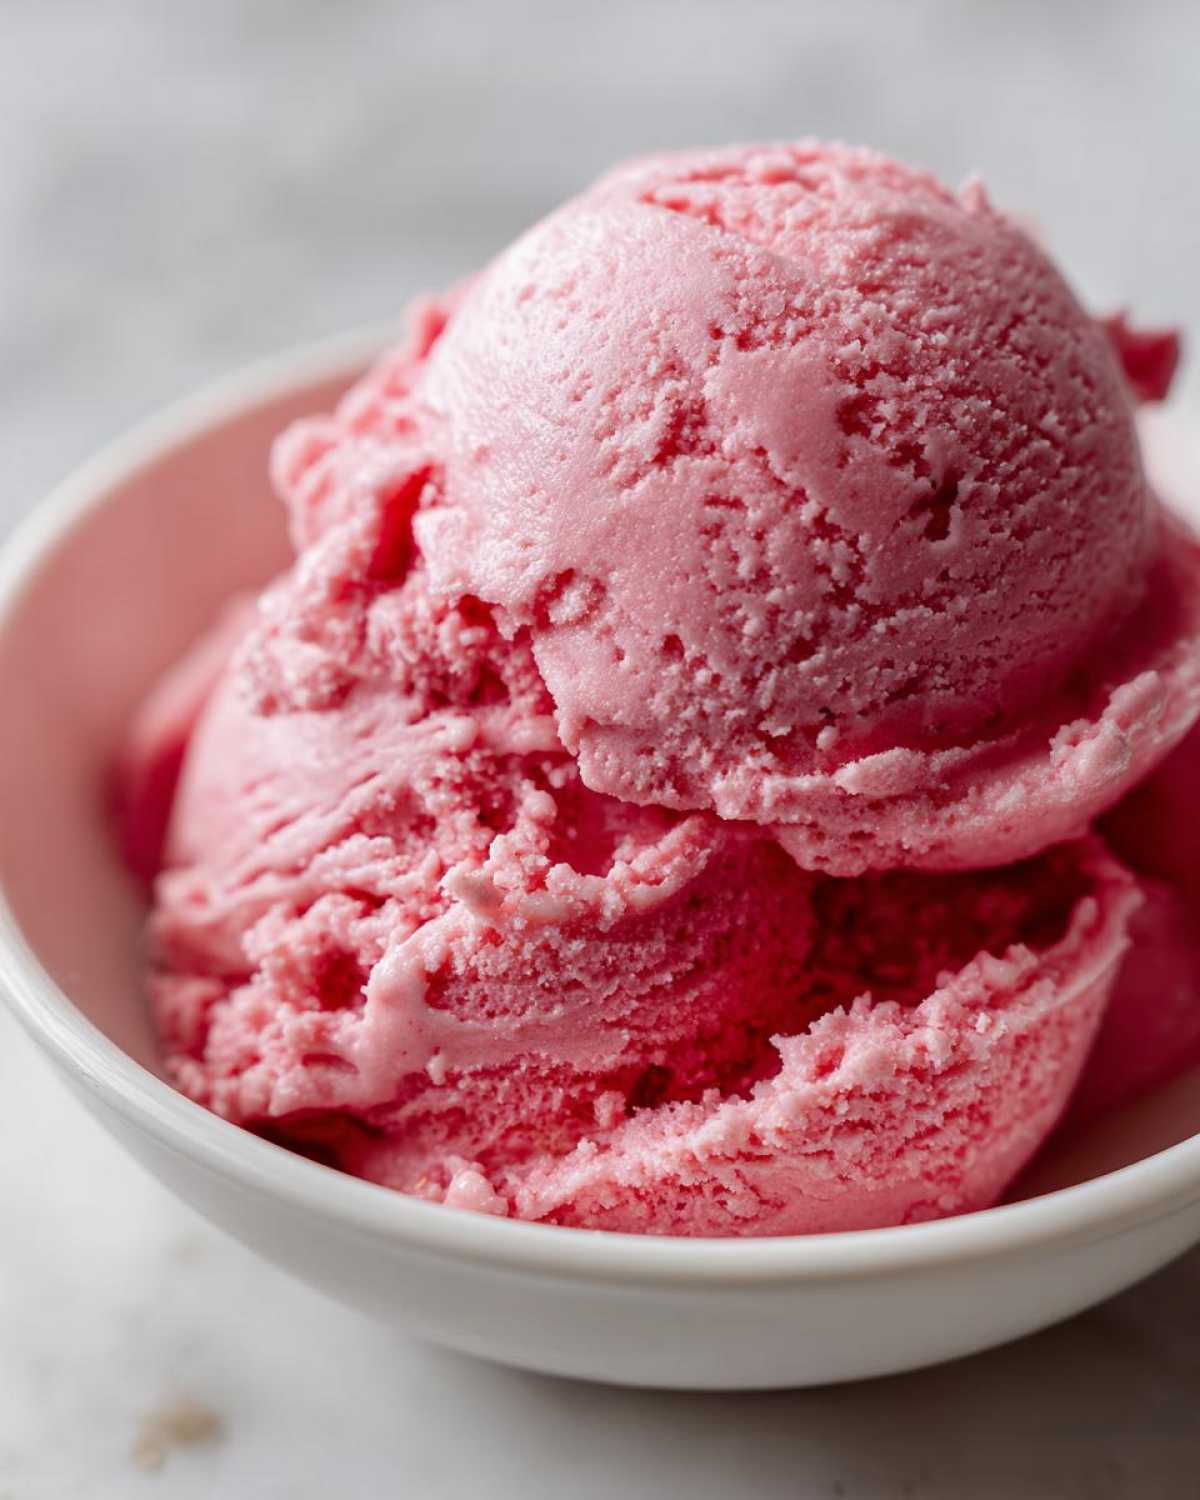
Once the color is uniform and pretty, transfer it right away to your freezer container. Before that lid goes on, lay a piece of plastic wrap right on top of the mixture itself. This small step is huge for locking out those nasty ice crystals. Then, pop it in the freezer and try not to open the door for at least six hours. If you’re looking for more tips on setting up your kitchen for success, check out my thoughts on making perfect easy French toast!
Essential Tips for the Best Homemade Strawberry Ice Cream Texture
We’ve covered the mixing, but let’s talk about the final stretch—freezing! That’s usually where beginners run into fluffy, icy issues instead of that luxurious strawberry ice cream texture we’re chasing. The number one enemy is air exposure. That plastic wrap barrier I mentioned? It’s not optional; it’s the gatekeeper preventing freezer burn and those hard, crunchy ice crystals from settling on top of your beautiful dessert.
For scoopability, remember that because this is no-churn and egg-free, it freezes firmer than traditional custard-based ice cream. You absolutely cannot expect to scoop it straight from a deep freeze. When you’re ready to serve your homemade strawberry ice cream, pull it out of the freezer about 10 to 15 minutes before you plan to serve it. Let it sit on the counter. This little bit of “softening time” transforms it perfectly, making it easy to glide your scoop right through that creamy texture. It makes all the difference between a fight and a fantastic scoop!
If you want to see how I handle the structure in other tricky things, check out my foolproof guide to getting the perfect rise on Yorkshire pudding. The principles of handling structure are often the same!
Variations on Your Creamy Strawberry Ice Cream Base
Now that you have the absolute easiest foundation for strawberry ice cream known to humankind, we can start having some fun! This base is so neutral and perfect that it begs for a little extra flair. If you want to elevate this from simply great to utterly unforgettable, think about adding mix-ins right before the final freeze. I’ve seen folks swirl in crushed graham crackers for a quick strawberry shortcake vibe, and others fold in softened cream cheese chunks for an instant surprise. We even have a whole post dedicated to those flavors if you check out our strawberry cheesecake sweet rolls!
Don’t be afraid to try other summer fruits mixed with those strawberries, either. A handful of raspberries or even a few chopped peaches makes for a lovely combination in this creamy base.
Adding Vanilla Bean Strawberry Ice Cream Depth
If you really want to impress someone, add some vanilla depth. You can just toss in a teaspoon of high-quality pure vanilla extract with the condensed milk, which officially puts this into the category of Vanilla Bean Strawberry Ice Cream territory, even without the speckles! If you happen to have a vanilla bean pod, scrape out those gorgeous seeds and mix them right in. Oh man, the aroma is just incredible. That little touch of warm vanilla plays so beautifully with the sweet strawberries.
Storage and Reheating Instructions for Strawberry Frozen Dessert
Since this is a homemade strawberry ice cream and not a traditional custard base, storage is super important to keep it fresh and scoopable. You absolutely MUST use an airtight freezer-safe container. Before you put the lid on, press a layer of plastic wrap directly onto the surface of the strawberry frozen dessert. This simple trick stops frost and those awful ice crystals from settling on top, keeping your texture smooth for weeks!
Now, let’s talk about serving because you can’t really reheat ice cream, right? What we mean is getting it ready to eat! When you’re ready for a scoop, just pull that container straight from the coldest part of your freezer and leave it on the counter for about 10 to 15 minutes. That little bit of ambient warming is the perfect ‘reheat’ to make it scoop like a dream. Don’t let it get soup-y, just let it ease up a bit!
Serving Suggestions for This Fresh Strawberry Dessert
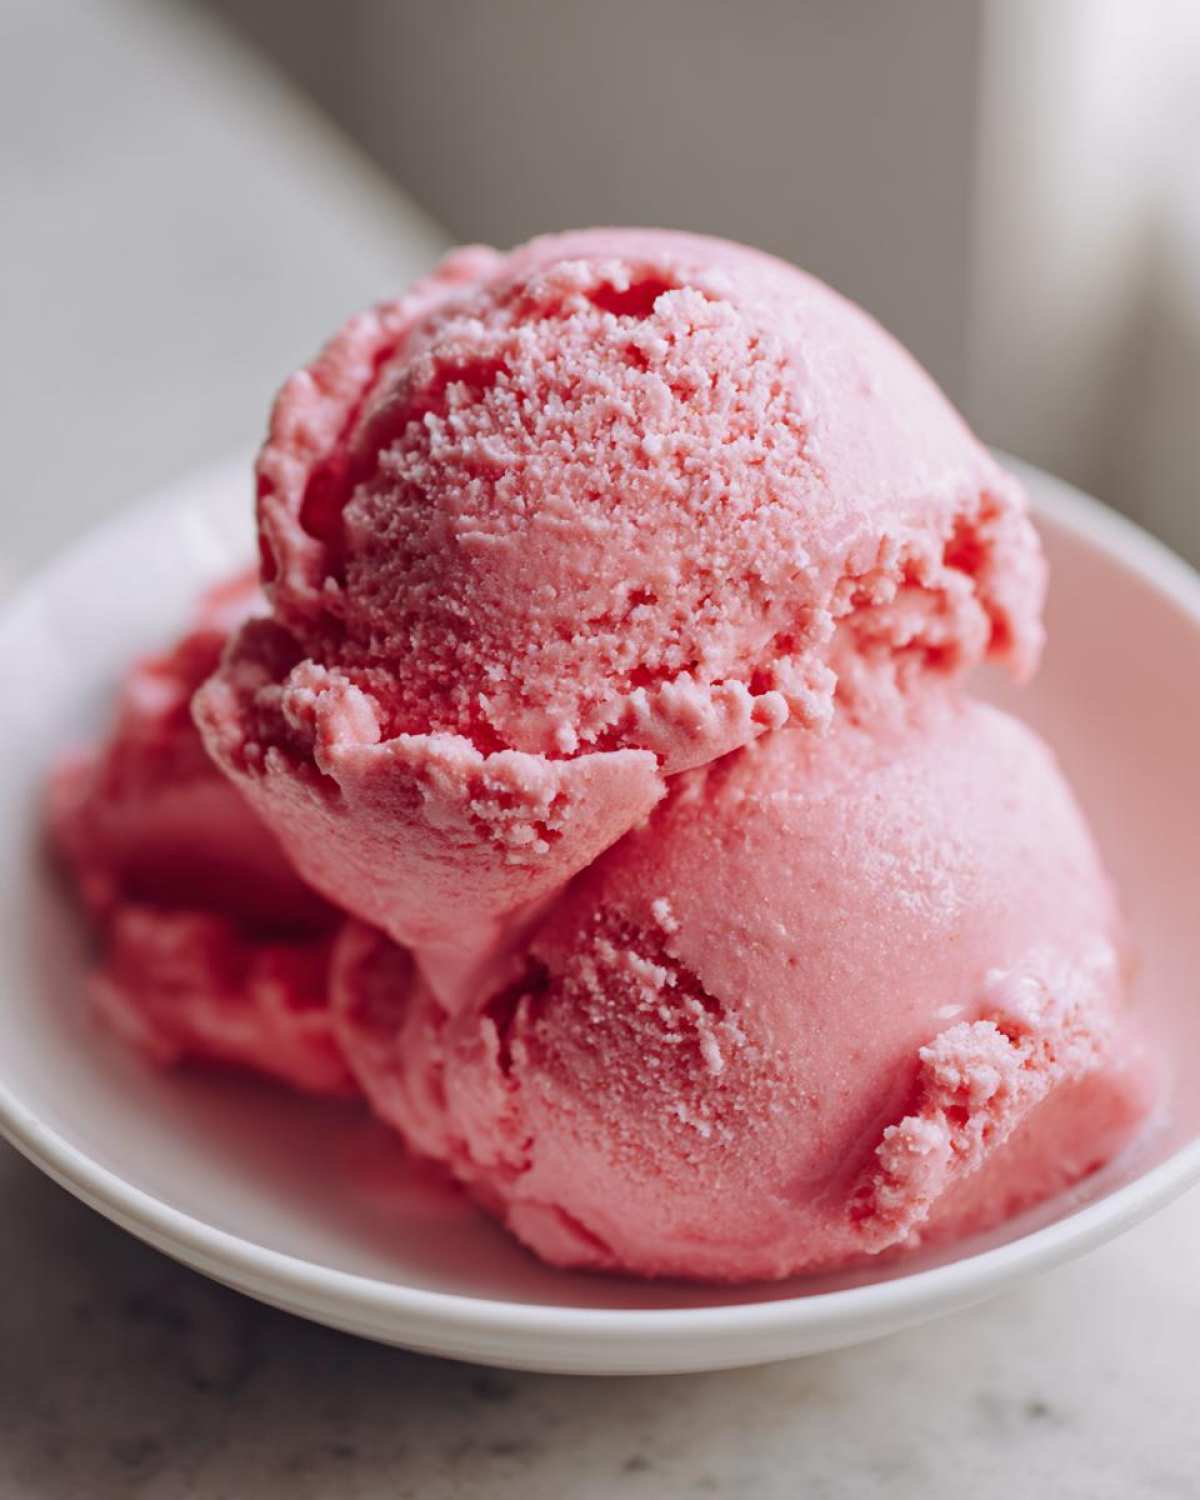
Okay, the hardest part is over! Now you have this gorgeous, vibrant, creamy strawberry ice cream that screams summer. What do you do with it? Well, you could obviously eat the whole thing with just a spoon—I won’t judge! But if you want to make it look fancy, try serving a scoop atop a warm, fudgy brownie. The contrast between the warm chocolate and the cold berry flavor is spectacular. We also love making a simple strawberry float by topping a scoop with sparkling lemonade instead of soda for a lighter fizz. If you want a showstopper, grab one of our recipes for classic Southern pecan pie and serve a small slice with a scoop melting right alongside it. It’s just the best way to enjoy these desserts with strawberries!
Frequently Asked Questions About Making Strawberry Ice Cream
I know you might have a few lingering questions after whipping up this batch of strawberry ice cream. It’s totally normal! When you’re ditching the machine, sometimes you worry if the texture will hold up, or if it’s safe for everyone. Don’t worry a bit; I’ve tackled a few common concerns right here to ensure your results are perfect and you have plenty of Family Friendly Frozen Treats!
Can I use frozen strawberries instead of fresh ones for this recipe?
Oh, absolutely you can! This is one of the easiest parts of this whole recipe. If you’re making this last minute or your fresh berries aren’t looking their best, frozen ones are your friend. The key is that you still need to blend them into a puree before folding them in. If they are still partially frozen when you blend them, they’ll chill your mixture down quickly, which often helps the whipped cream keep its volume. It’s a win-win for quick results!
My no-churn strawberry ice cream turned out icy. What went wrong?
This is the absolute worst, isn’t it? Ice crystals mean two things usually happened: moisture got exposed, or you didn’t introduce enough air. First, did you press that plastic wrap directly onto the surface before you put the lid on? That prevents those hard, crunchy bits from forming on top. Second, make sure you whipped your heavy cream to *stiff* peaks—no soft, floppy peaks allowed! Stiff peaks hold the necessary air to keep the whole mixture light.
Since this recipe has no eggs, is it safe for kids?
Yes, that’s one of the major perks of this easy strawberry ice cream! Since there’s no cooking involved and we skip eggs entirely, you don’t have to worry about raw yolks or achieving a specific cooked temperature. It’s a fantastic, family friendly frozen treat that even younger helpers can usually manage on the folding stages. Just make sure everyone knows not to lick the beaters until the mixture is safely tucked into the freezer!
How long do I need to freeze this for the best scoopable texture?
The total time is really dependent on your freezer’s temperature, but you should plan for a minimum of six hours. If you check it before then, you might find it’s still too soft for scooping. I usually make this the night before I plan to serve it because overnight freezing guarantees that dense, yet easily scoopable, consistency we expect from the best strawberry ice cream.
If you have any other recipe questions or just want to say hello and tell us how much you loved this homemade strawberry ice cream, don’t hesitate to reach out through our Contact page. We love hearing from our readers!
Nutritional Estimates for Your Creamy Strawberry Ice Cream
Okay, let’s chat numbers for a minute. Because this creamy strawberry ice cream is so simple and relies heavily on cream and condensed milk, I always get questions about the nutrition. I’ve put together the estimates based on our specific ingredient amounts, but I want to be super clear: these are just guidelines!
Depending on the brand of heavy cream you use, or whether your strawberries were particularly heavy on sugar when pureed, these numbers can bounce around a little bit. That’s why we always emphasize cooking with love over tracking every single detail here in the Flavor Zine kitchen—but it’s good to have a ballpark!
Here’s the breakdown per 2/3 cup serving, based on our recipe testing:
- Calories: 320
- Fat: 18g (With 11g being Saturated Fat)
- Carbohydrates: 38g
- Sugar: 35g (That’s the condensed milk and the fruit sweetness!)
- Protein: 5g
- Sodium: 85mg
We also noted that this is generally around 0.5g of Trans Fat and 1g of Fiber per serving. As always, for the most accurate picture for specific dietary needs, I always point people toward our full official disclaimer page. But for a rich, homemade treat, I think these numbers are wonderfully manageable for a summer indulgence!
PrintEasy 3-Ingredient No-Churn Strawberry Ice Cream
You can make rich and creamy homemade strawberry ice cream without an ice cream maker using just three simple ingredients. This recipe is perfect for a quick summer dessert.
- Prep Time: 15 min
- Cook Time: 0 min
- Total Time: 6 hr 15 min
- Yield: 6 servings
- Category: Dessert
- Method: No-Churn
- Cuisine: American
- Diet: Vegetarian
Ingredients
- 1 (14 ounce) can sweetened condensed milk
- 2 cups heavy whipping cream, cold
- 1 cup fresh or frozen strawberries, pureed
Instructions
- Prepare your strawberries: If using fresh strawberries, wash and hull them, then blend them until you have a smooth puree. If using frozen, thaw them slightly and blend until pureed.
- In a large bowl, whip the cold heavy whipping cream using an electric mixer until stiff peaks form. This usually takes 3 to 5 minutes.
- Gently fold the sweetened condensed milk into the whipped cream until just combined. Do not overmix, or you will deflate the cream.
- Fold in the strawberry puree until the mixture is uniformly pink and the fruit is distributed throughout the base.
- Transfer the mixture to a freezer-safe container, like a loaf pan or an airtight container. Cover the surface directly with plastic wrap to prevent ice crystals from forming.
- Freeze for at least 6 hours, or until firm enough to scoop. This no-churn method requires patience, but the result is worth the wait for this creamy strawberry frozen dessert.
Notes
- For an even richer flavor, add 1 teaspoon of pure vanilla extract along with the condensed milk.
- If you want a more intense strawberry flavor, you can reduce the heavy cream slightly and add more puree.
- This recipe is egg-free, making it a great option for beginners looking for simple homemade strawberry ice cream.
Nutrition
- Serving Size: 2/3 cup
- Calories: 320
- Sugar: 35
- Sodium: 85
- Fat: 18
- Saturated Fat: 11
- Unsaturated Fat: 7
- Trans Fat: 0.5
- Carbohydrates: 38
- Fiber: 1
- Protein: 5
- Cholesterol: 65