

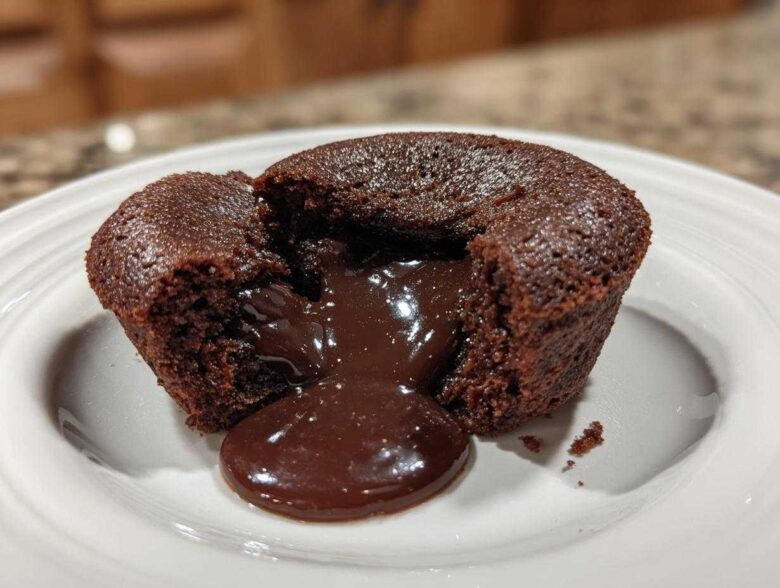
There’s nothing that whispers “special occasion” quite like something intensely chocolatey that takes less than 30 minutes to pull off, right? Mateo often dreams up these last-minute date night desserts, and if I’m being honest, the only thing he’s allowed to touch are the ramekins—because this chocolate lava cake recipe is non-negotiable for me.
I’ve spent years practicing this specific formula until it was totally foolproof. Seriously, you don’t have to stress about whether you’re going to get that beautiful river of chocolate. This is the one that guarantees a wonderfully molten center every single time. It looks like it came straight from a fancy bistro, but it’s secretly the easiest, most decadent chocolate dessert you’ll ever whip up from scratch. Trust me, it’s the hero of our spontaneous celebrations!
Why This Classic Chocolate Lava Cake Recipe Works Every Time
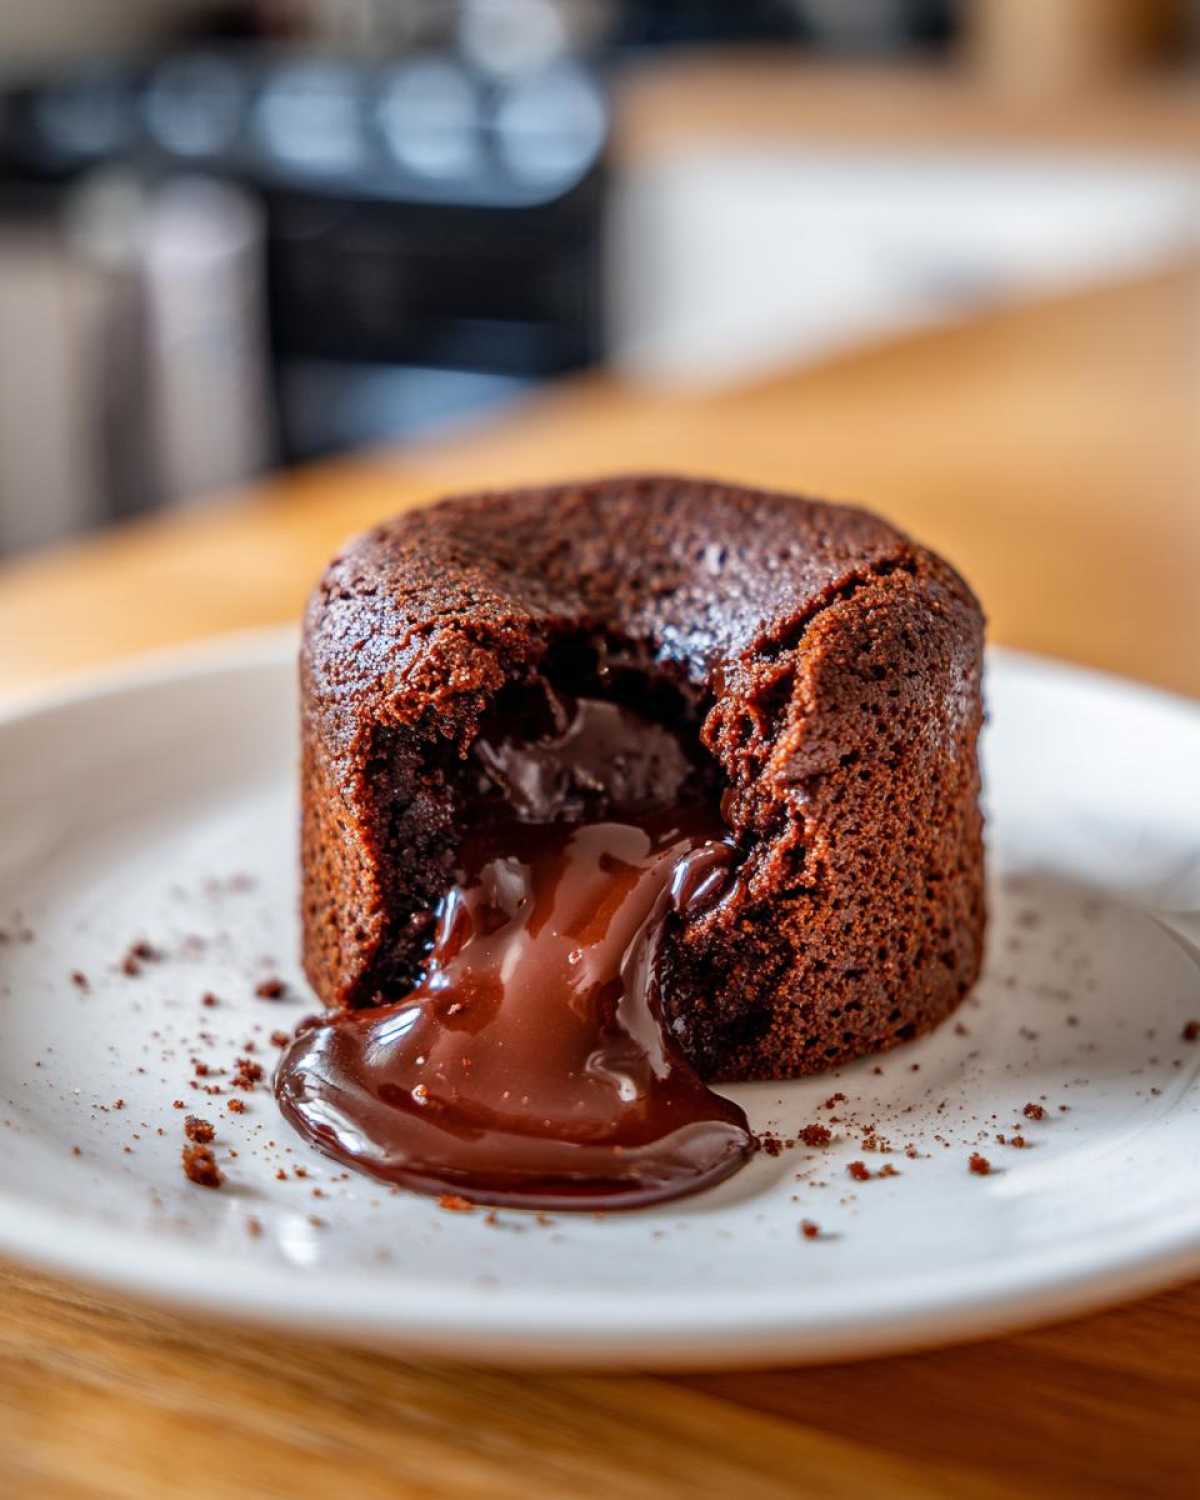
I get asked all the time how I pull off this bakery style dessert at home, and it all comes down to trusting the process here. This isn’t some fussy recipe that demands your attention for an hour. We are talking 10 minutes of prep, tops! Because the cook time is so short (just 14 minutes!), you have to trust the timing.
- The guaranteed molten center happens because we deliberately underbake the edges slightly.
- We use a specific combination of whole eggs and extra yolks for structure without too much bulk.
- It’s truly an easy lava cake that always delivers shock and awe!
Gathering Your Ingredients for the Perfect Lava Cake
Pulling together this amazing chocolate lava cake recipe is so simple because the ingredient list is short! We only need a few heavy hitters to create that decadent experience. Remember, for the best result, the quality of your chocolate really matters here.
- 4 ounces bittersweet chocolate, finely chopped
- 4 ounces unsalted butter
- 2 large eggs plus 2 large egg yolks
- 1/4 cup granulated sugar
- 1 tablespoon all-purpose flour
- A small pinch of salt
- Butter and cocoa powder for prepping those little ramekins!
Key Ingredient Notes and Substitutions
Don’t swap the bittersweet chocolate for standard chips if you can help it; chips have stabilizers that stop them from melting into that gorgeous pool we want. If you absolutely must, chop them finely! Also, if you’re wanting a deeper flavor, switch to using dark chocolate. And yes, you can totally sneak in some Nutella lava cake recipe goodness by swapping just two tablespoons of the melted chocolate for Nutella—but keep the rest bittersweet for structure!
How to Make Lava Cake: Step-by-Step Instructions
Okay, this is where the actual magic happens, but don’t panic! Even though these look fancy, we’re sticking to simple active steps. Our main mission is achieving that perfect molten center recipe without turning your kitchen into a chocolate warzone. Follow these steps exactly, and you’ll be spooning out pure dessert bliss in under 25 minutes total.
Preparing the Ramekins and Oven
First things first: Get that oven screaming hot to 425 degrees Fahrenheit. Next, grab those beautiful little ramekins. You need to be generous! Butter the insides really well—don’t miss any nooks. Then, dust them completely with cocoa powder, tapping out the extra until they look sandy. I always use cocoa powder instead of flour for dusting because it gives the outside of the cake a slightly darker, richer color and releases cleaner than a flour coating would. Put those prepped guys on a baking sheet so they are ready to load.
Creating the Rich Chocolate Lava Cake Batter
Time to melt! Set a bowl over simmering water—don’t let the water boil up and touch the bottom of your bowl, or you’ll scramble everything. Melt down your chopped chocolate and butter until it’s silky smooth, then pull it away and let it cool down just a tiny bit. While that cools, grab a separate bowl and vigorously whisk your eggs, yolks, and sugar until it’s pale and thickened up nicely. This is important! If the chocolate is too hot when you mix it in, you’ll accidentally cook your eggs. Gently whisk the slightly cooled chocolate into the egg mixture until it’s just combined. Finally, whisk in your flour and salt until you don’t see any white streaks anymore.
Baking and Serving Your Homemade Lava Cakes
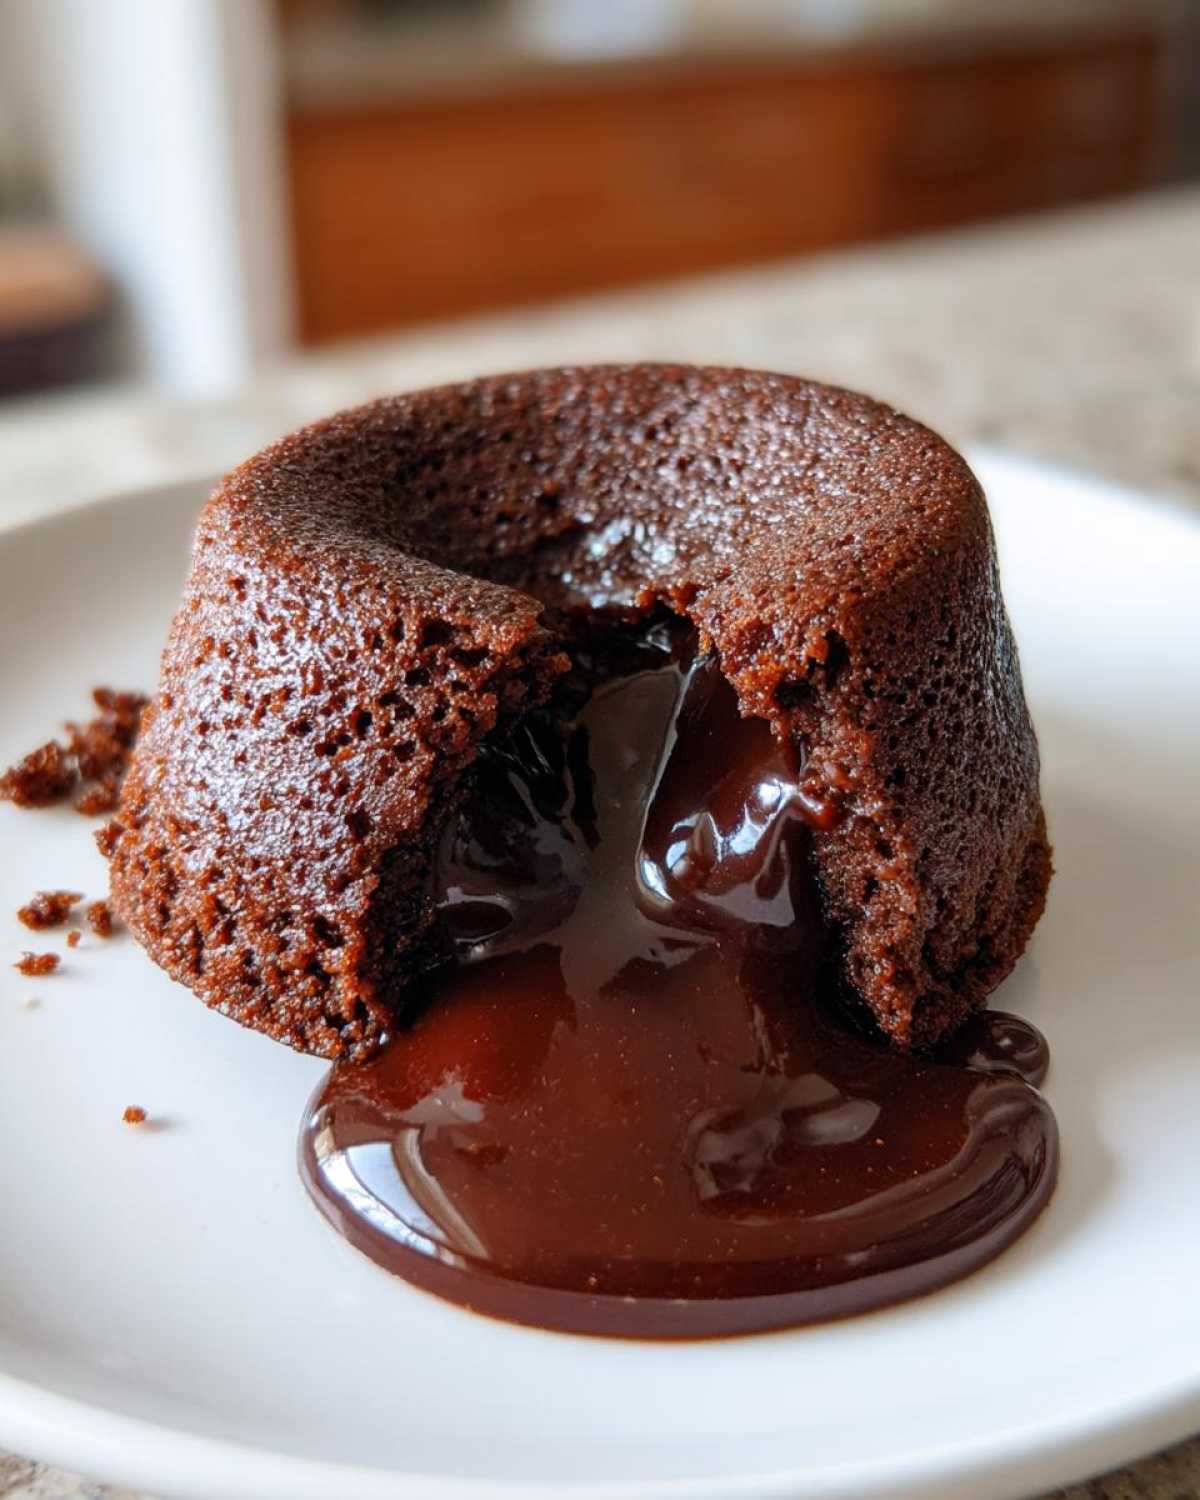
Pour that gorgeous batter evenly into your four prepared ramekins. Now the nerve-wracking part: baking for 12 to 14 minutes. Here’s the secret: you want the edges to look set and firm, but the very center has to still look soft and jiggly when you gently nudge the pan. That wobble means success! Pull them out and let them hang out for exactly one minute—no more! Run a thin knife around the edge, find your serving plate, and flip it over fast! This technique gets you that divine gooey center dessert.
Tips for the Best Chocolate Lava Cake Results
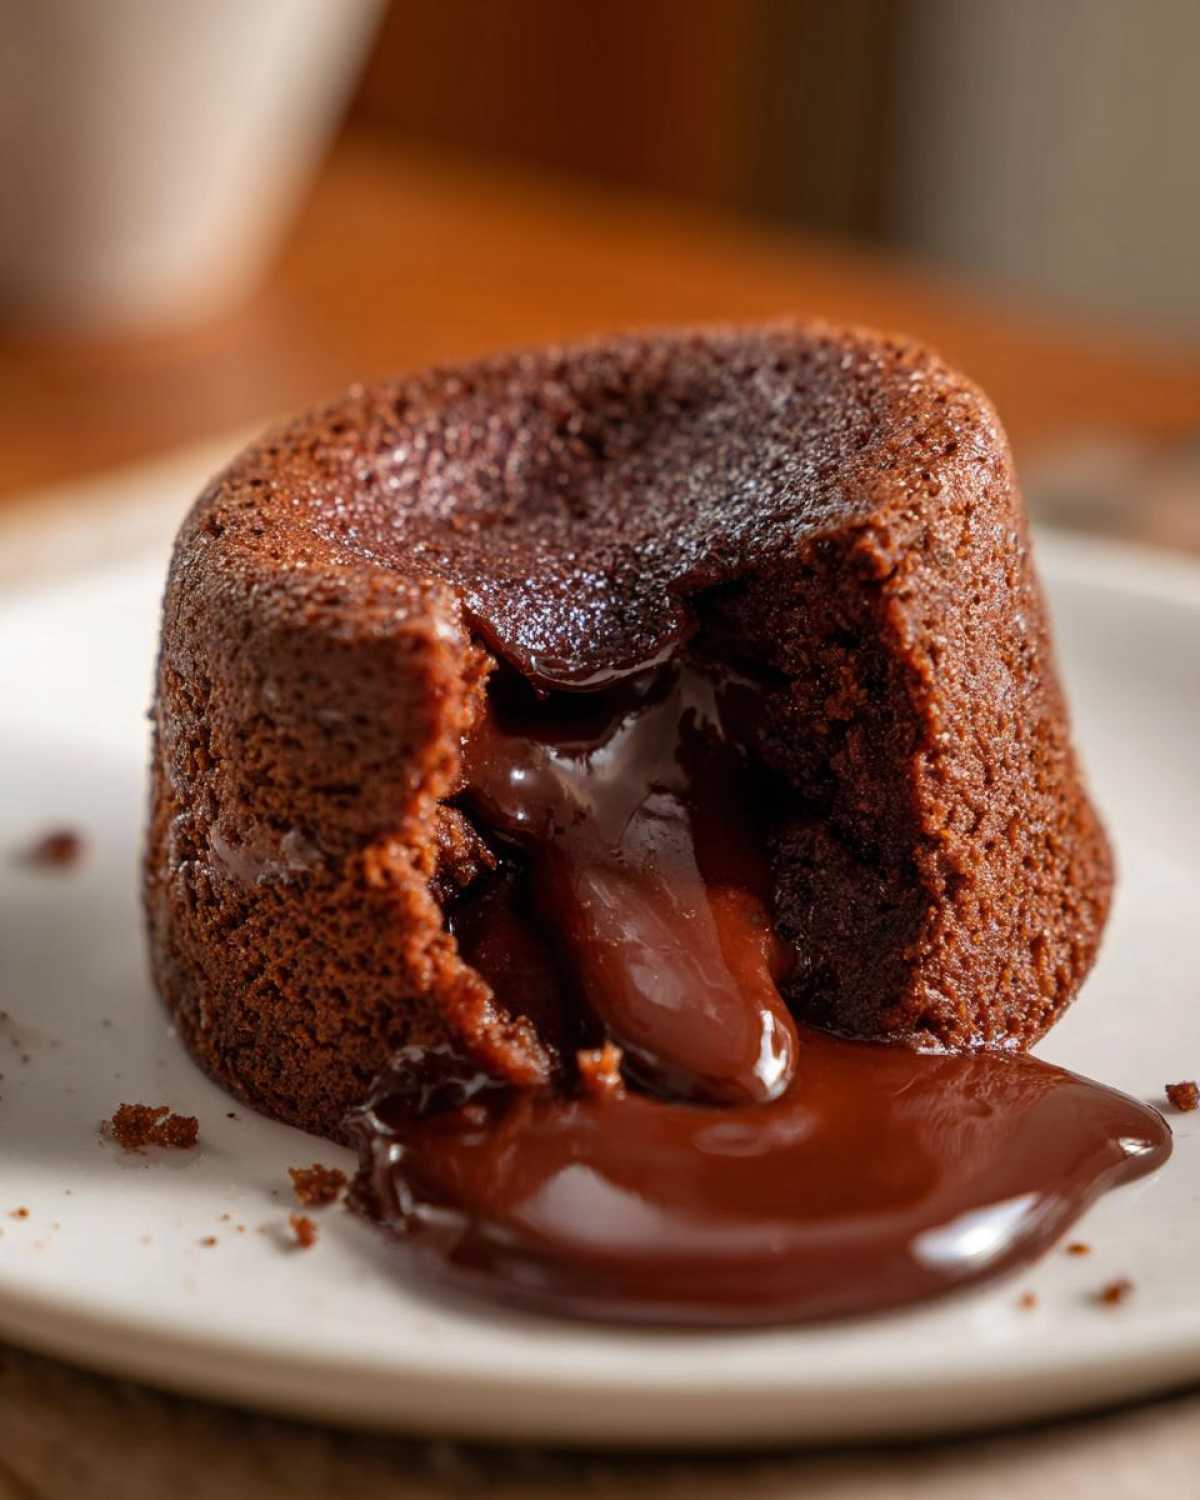
Listen, I know that 12-to-14-minute window feels brutally short, and timing is everything when you are aiming for that liquid gold center. I remember the first time I baked these without paying attention for maybe two minutes too long. When I flipped it, the whole thing was just a beautifully shaped, slightly dry chocolate cupcake. No ooze! That’s when I learned you absolutely must watch them near the end.
If you are nervous about the timing, here is my trick: Bake exactly when the recipe says, pull them out, and if the center looks just *too* set, put them back in for 60 seconds at a time. You can always bake longer, but you can never un-bake an overcooked lava cake!
Also, a 425°F oven is non-negotiable. If your oven runs cool, you’ll definitely need that extra minute or two, so get an oven thermometer! This is how you guarantee that perfect, decadent flow we are looking for every single time.
Variations on the Classic Lava Cake
While the classic bittersweet version is pure perfection, sometimes you want to switch things up, right? Mateo is always pushing for new ideas, and I’ve tested a few ways to change our basic from scratch lava cake formula without ruining the molten magic. It’s so easy to adapt these individual chocolate cakes!
For a wonderful twist, try making a Nutella lava cake recipe. We follow the exact same directions, but we use a mix of bittersweet chocolate and creamy Nutella. You get that beautiful hazelnut underpinning mixed right into the deep chocolate flavor—it’s such an indulgent chocolate treat.
If you want something richer, absolutely go for a dark chocolate lava cake. Just make sure that chocolate is at least 70% cacao, or it might be too bitter against the sugar. We usually bump the sugar up by just half a teaspoon when we go dark.
I’ve also seen people experimenting with different tools, which is fun to see! We stick to the oven, but if you search around, you can find great instructions for an air fryer lava cakes version or even a slow-cooker option if you’re making a really large batch for a crowd. When you change the cooking vessel, though, you have to watch the timing like a hawk!
Serving Suggestions for Your Decadent Chocolate Dessert
The moment you successfully flip that warm little cake onto the plate and the molten chocolate starts to slowly seep out—that’s the victory moment! But we can’t stop there, right? We need to finish the presentation so it looks exactly like something you’d pay way too much for at a high-end spot. These individual chocolate cakes deserve a little something extra.
The absolute classic, and my personal favorite, is a scoop of really good vanilla bean ice cream perched right on top. The contrast between the hot, rich cake and the creamy, cold ice cream is just spectacular. It melts perfectly into the overflow of chocolate. If you don’t have ice cream, a simple dusting of powdered sugar looks elegant, too!
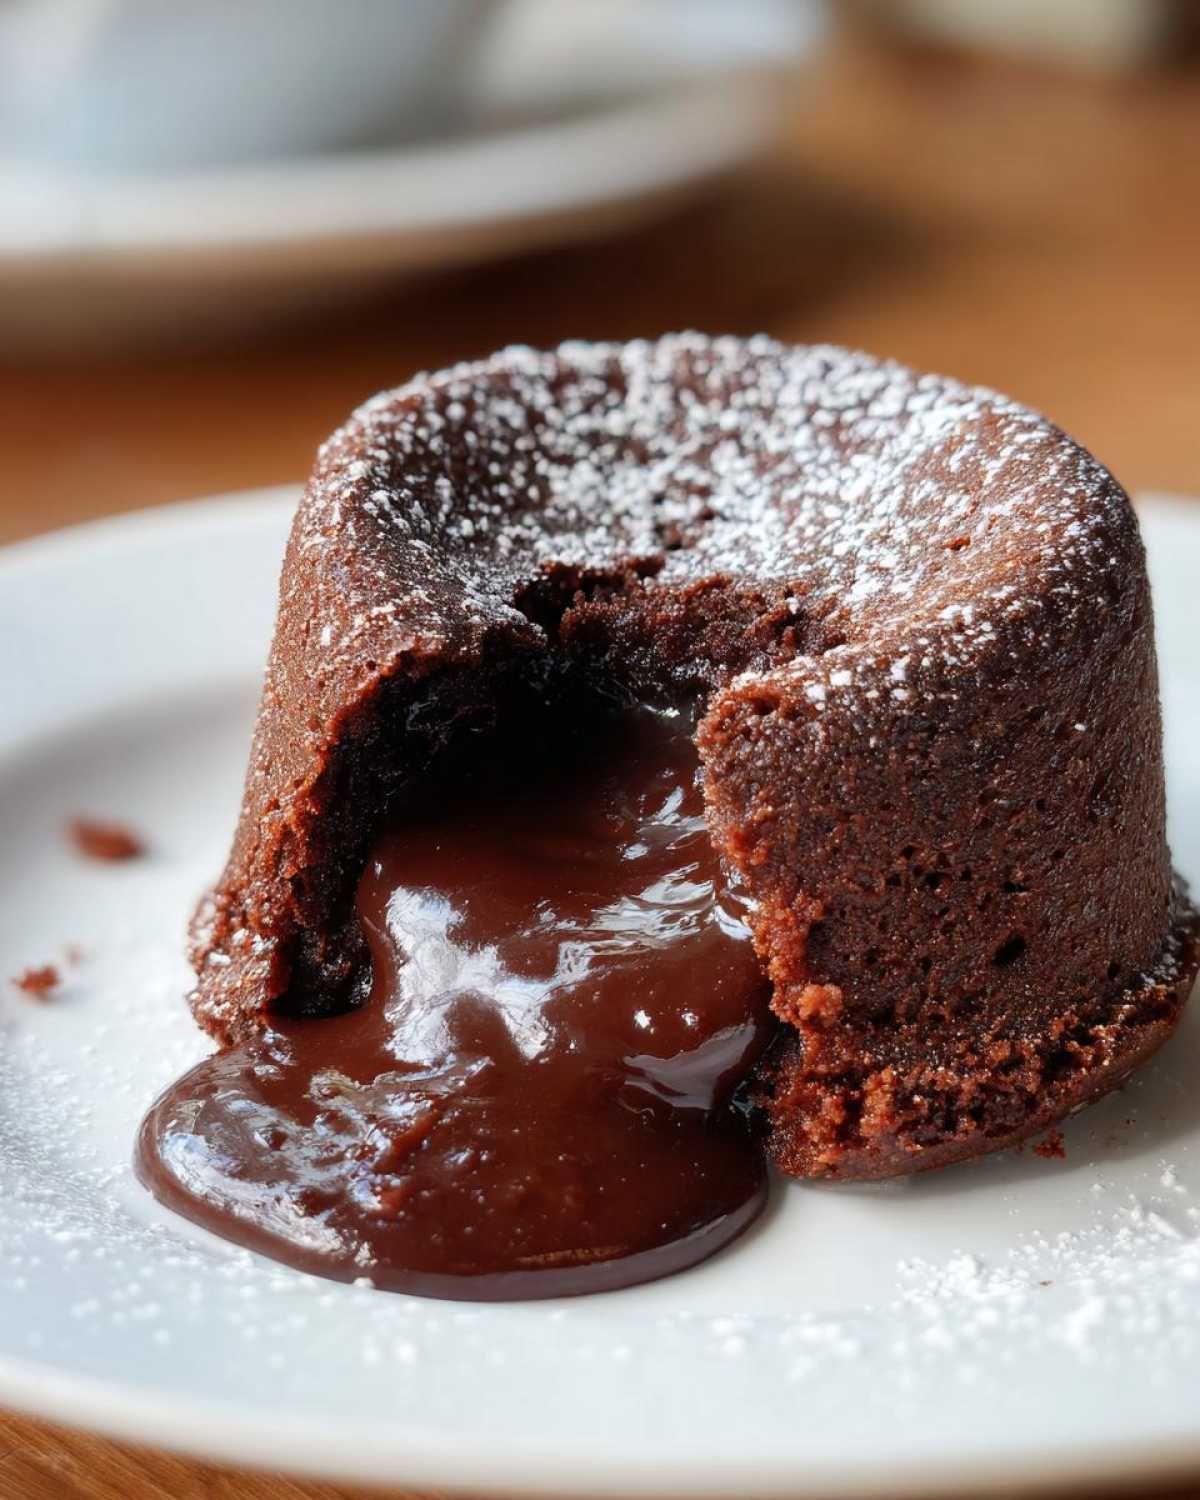
To really elevate it and make it look like you spent hours, think color! A few vibrant red raspberries or maybe some thinly sliced strawberries arranged around the base just pop against that dark chocolate background. Mateo tried once to make a caramel drizzle, but it turned into a sticky mess, so I usually stick to the fruit or just rely on that powdered sugar for a truly bakery style dessert at home look. Quick, easy, and utterly gorgeous!
Storage and Reheating Instructions for Leftover Lava Cake
Who knew we’d ever have leftovers of this rich chocolate dessert? Honestly, these are best eaten seconds after they come out of the oven, but sometimes life happens, or maybe Mateo batch-baked them because it’s just too much fun pulling them out of the oven! If you do have any leftover cakes, you don’t want to throw them away!
The key to storing them is keeping that outer cake structure intact while protecting that amazing center from drying out. If you think you’ll eat them within 24 hours, just cover the cooled cakes loosely with plastic wrap and leave them on the counter at room temperature. If they need to last longer—say, up to three days—pop them into an airtight container and stick them in the fridge. They will firm up a lot when cold; that’s normal!
Reheating is where you bring the molten magic back to life! You absolutely should not microwave these for too long; we don’t want to cook the liquid center solid. Instead, pop the cooled cakes onto a small, oven-safe plate and heat them in a toaster oven or a regular oven set to about 325 degrees Fahrenheit for just 5 to 8 minutes. You want them warmed through gently so the edges soften up, but the center returns to that beautiful, ooey-gooey state. Give it a minute or two to cool before you flip it out. It’s like getting a second chance at this amazing dessert!
Frequently Asked Questions About Making Lava Cake
We’ve covered the whole process, but I know when you’re about to bake something this amazing—something that hinges on timing—you’re probably going to have a few last-minute wobbles. That’s totally normal! Here are the questions I get asked most often about getting this recipe just right, especially for those special date night desserts.
How do I ensure the center of my lava cake is truly molten?
This is the million-dollar question! The key is to trust the jiggle and pull them out when they look just slightly underdone. You want the outside edges to look completely baked—set firm—but when you carefully nudge the baking sheet, the center needs to move like liquid soap. Seriously, it should look visibly soft. Remember, these little cakes are like mini ovens; they keep cooking for about two or three minutes after you pull them out, thanks to the residual heat still trapped inside the ramekin. That carryover cooking is what finishes the edges perfectly while leaving that gorgeous lava river untouched!
Can I make this quick chocolate dessert ahead of time?
Yes, absolutely! This is great for dinner parties because you can prep ahead. You can mix up the batter, pour it into your prepared ramekins, cover them tightly with plastic wrap, and stick them right in the fridge for up to 24 hours beforehand. When it’s time to bake your rich chocolate dessert, you might need to add just one or two extra minutes to the baking time since the batter is starting cold. Keep checking around the 13-minute mark! If you’re planning further out, you can bake the cakes completely solid, store them, and gently reheat them later following the storage instructions, though the molten center won’t be quite as dramatic as when they are fresh from the oven.
What is the best chocolate to use for the best chocolate lava cake?
For that smooth, velvety, flowing center, skip the standard chocolate chips, please! Chips are designed to hold their shape, and we want the opposite—we want total meltdown. I always use high-quality baking bars, ideally in the 60% to 72% cacao range for that perfect bittersweet balance. If you use something higher than 75%, it can get a little bitter, so compensate by bumping up the sugar just a tiny bit. But honestly, using real, good quality chopped chocolate is the biggest secret to making this feel like a true molten chocolate cake!
Nutritional Estimates for This Indulgent Chocolate Treat
Okay, let’s get real for a second. When you make a decadent chocolate dessert like this, you aren’t exactly counting macros, but I believe in sharing all the details! Because this is made from scratch lava cake with real butter and rich chocolate, it is certainly an indulgent treat, not an everyday staple.
These numbers are just estimates per serving for one individual cake. Don’t stress about them too much—just enjoy the fact that you made something truly special!
- Serving Size: 1 cake
- Calories: About 410
- Sugar: 25g
- Fat: 28g
Foolproof Classic Chocolate Lava Cake Recipe
Make this easy chocolate lava cake for a decadent dessert with a guaranteed gooey center. It is perfect for date nights or when you want an indulgent treat quickly.
- Prep Time: 10 min
- Cook Time: 14 min
- Total Time: 24 min
- Yield: 4 servings
- Category: Dessert
- Method: Baking
- Cuisine: American
- Diet: Vegetarian
Ingredients
- 4 ounces bittersweet chocolate, chopped
- 4 ounces unsalted butter
- 2 large eggs
- 2 large egg yolks
- 1/4 cup granulated sugar
- 1 tablespoon all-purpose flour
- Pinch of salt
- Butter and cocoa powder for dusting ramekins
Instructions
- Preheat your oven to 425 degrees Fahrenheit. Generously butter four 6-ounce ramekins. Dust the inside of each buttered ramekin with cocoa powder, tapping out any excess. Place the prepared ramekins on a baking sheet.
- In a heatproof bowl set over a saucepan of simmering water (or in a microwave in short bursts), melt the chopped chocolate and butter together until smooth. Stir until fully combined and remove from heat. Let it cool slightly.
- In a separate medium bowl, whisk together the eggs, egg yolks, and granulated sugar until the mixture is pale yellow and slightly thickened. This takes about two minutes of whisking.
- Gently whisk the slightly cooled chocolate mixture into the egg mixture until just combined. Do not overmix.
- Whisk in the flour and salt until no streaks of flour remain.
- Divide the batter evenly among the four prepared ramekins.
- Bake for 12 to 14 minutes. The edges should look set, but the center should still be soft and jiggly—this is key for the molten center.
- Let the cakes cool in the ramekins for just one minute. Carefully run a thin knife around the edge of each cake. Invert each cake onto a serving plate.
- Serve immediately for the best molten chocolate lava cake experience.
Notes
- For a Nutella lava cake variation, substitute 2 tablespoons of the melted chocolate with 2 tablespoons of Nutella.
- If you want a richer, darker flavor, use dark chocolate instead of bittersweet.
- To make this an air fryer lava cake, bake at 380 degrees Fahrenheit for 8 to 10 minutes, checking frequently after 8 minutes.
- Serve warm with vanilla ice cream or fresh raspberries for a truly indulgent chocolate treat.
Nutrition
- Serving Size: 1 cake
- Calories: 410
- Sugar: 25g
- Sodium: 120mg
- Fat: 28g
- Saturated Fat: 17g
- Unsaturated Fat: 11g
- Trans Fat: 0.5g
- Carbohydrates: 32g
- Fiber: 2g
- Protein: 8g
- Cholesterol: 175mg