

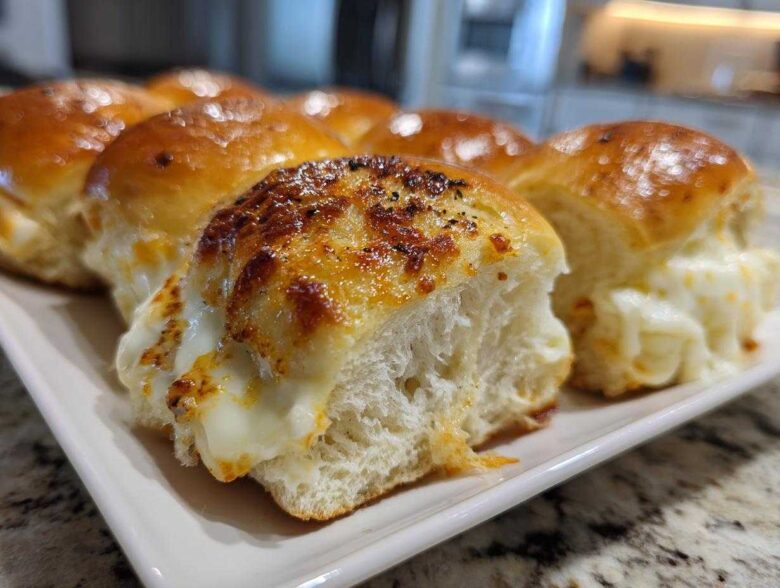
If you’re like us, sometimes you just need a recipe that comes together faster than you can decide which streaming service to commit to for the evening. Eva and I spend so much time dreaming up complicated, slow-simmered things, that when a huge crowd suddenly descends, or when we just realize we forgot to plan dinner—again—we need a hero. And folks, let me tell you, this recipe for **grinder sliders** is our absolute MVP. It takes everything we adore about a giant, messy, ridiculously flavorful Italian sandwich and shrinks it down into a perfect, shareable brick of happiness. Trust me when I say that once you try these **Italian Grinder Sliders**, you’ll want to print this out and stick it right on the fridge. It’s that good!
We discovered how essential easy, crowd-pleasing appetizers are during a particularly chaotic game night comeback last fall. We managed to pull this entire tin together in under 45 minutes. It was messy, everyone dug right in, and nobody noticed I was practically sweating trying to manage everything else. These **grinder sliders** are pure, unadulterated deliciousness without any of the usual fuss. It’s the kind of food that lets you actually enjoy your own party. We talk a lot about capturing moments here at the ‘zine—and honestly, the happiest moments usually involve a gooey roll and way too much deli meat. If you want to know more about how we capture our kitchen chaos, check out our philosophy over on the About Us page!
Why These Classic Baked Grinder Sliders Are Your New Go-To (EEAT Focus)
I know what you’re thinking: another slider recipe? But seriously, these aren’t just any slider; they are the ultimate package of convenience and flavor. We trust these so much we put them right up there with our tested favorites, like our crazy good Buffalo Chicken ones you can peek at later using this link. These **grinder sliders** nail that savory, hearty Italian profile you crave, but they bake up in one pan! It’s magic, I promise. They are truly some of the best slider recipes out there for reliability.
Quick Prep for Maximum Flavor in Your Grinder Sliders
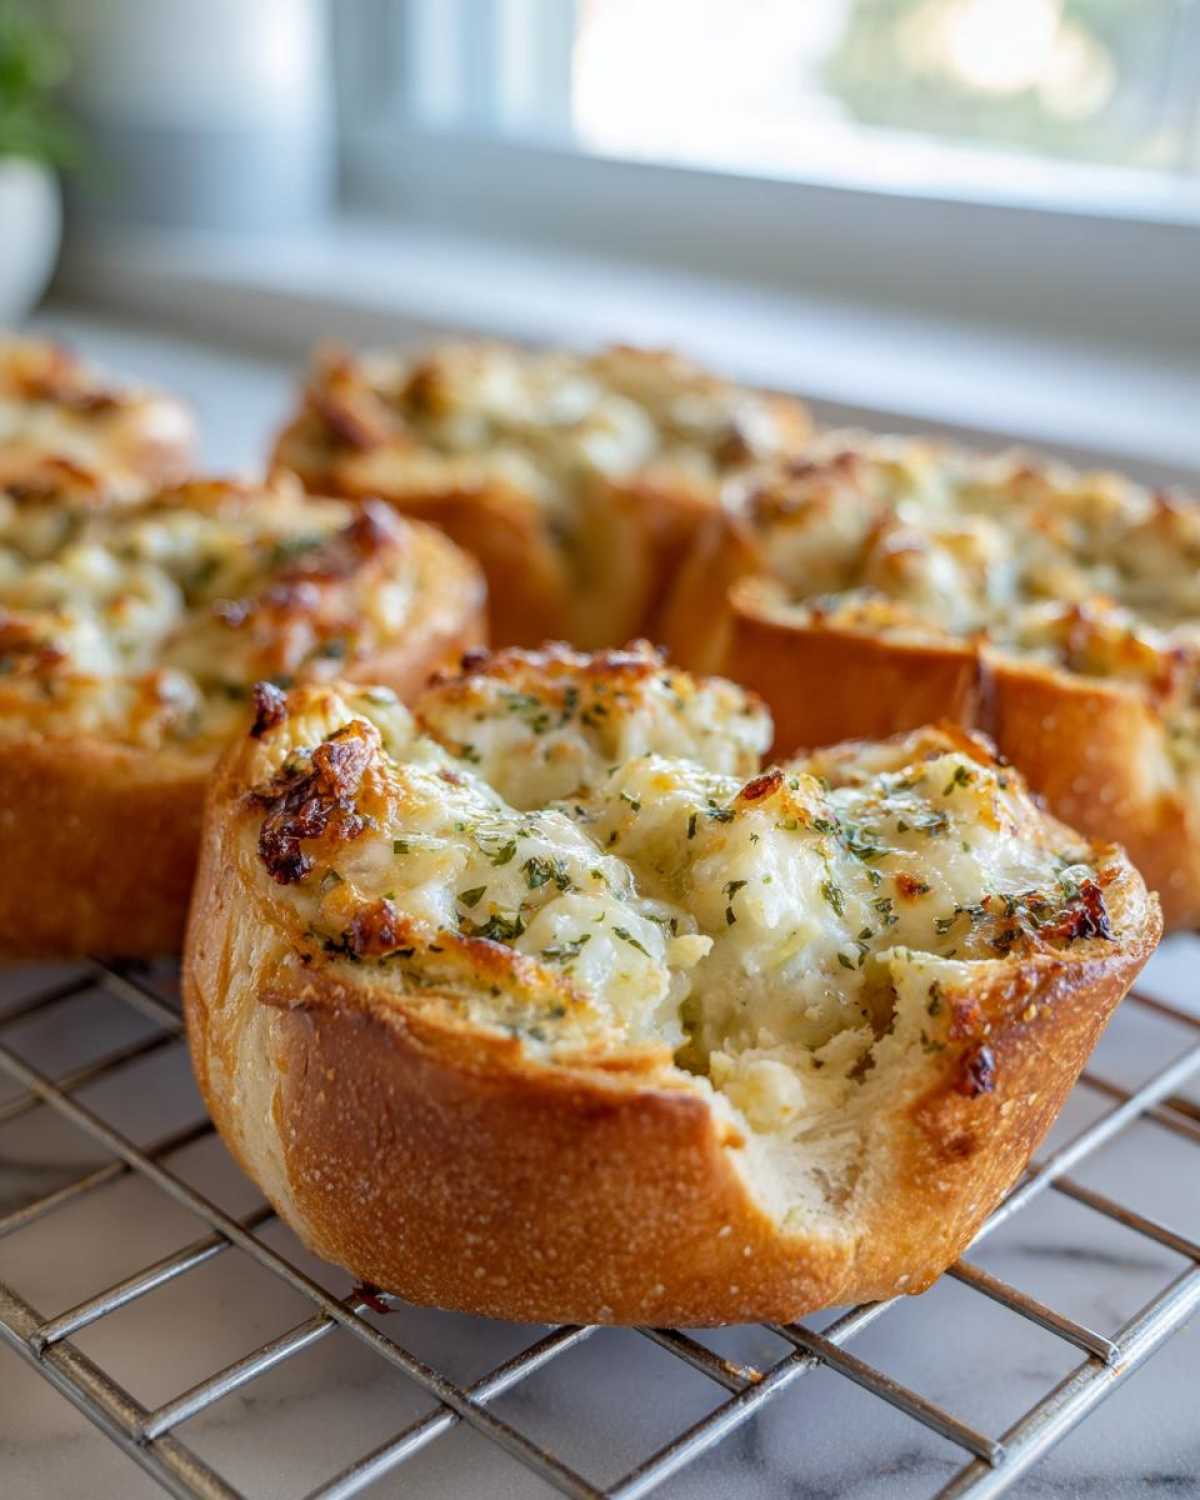
The beauty here is the speed. You’re looking at about 15 minutes of actual assembly time. We are using great quality, pre-sliced deli meats and cheeses because that’s the secret to keeping things fast and easy. We buy them thinly sliced so everything layers up perfectly, getting that ideal meat-to-cheese ratio. Don’t overthink the layering; the oven takes care of the rest, melting everything into one fantastic block of flavor!
Perfect Party Appetizer Sandwiches and Weeknight Dinner Sliders
Whether you need serious Game Day Sliders or just need to feed the family quickly on a Tuesday, this dish works overtime. This recipe yields 12 wonderful little sandwiches—perfect for sharing! They transform into incredible Easy Slider Sandwiches when you need Crowd Pleasing Appetizers that disappear the second you set them out. No one ever leaves the table hungry when these cheesy mini sandwiches are involved.
Gathering Ingredients for Your **Italian Grinder Sliders**
Okay, let’s get the good stuff assembled! These aren’t restaurant copycat recipes; these are the ingredients that make up the core, classic Italian profile we all love, just bundled up nicely for baking. When dealing with grinder sliders, precision in the prep makes everything melt together beautifully. Don’t worry about complex chopping lists here. We need clear quantities for the meats and cheeses so we guarantee that satisfying, cheesy pull when you lift the top roll. We are setting the stage for some truly amazing Party Appetizer Sandwiches here!
The Buns and Meats for Your **Grinder Sliders**
First up is the vehicle: grab that 12-count package of slider buns. I absolutely push the **Hawaiian Roll Sliders** because that hint of sweetness against the salty deli meat is just magic. If you can’t find them, potato rolls work nicely too. For the meat, we need a happy trifecta, all sliced super thin. Use half a pound each of thinly sliced ham, salami, and pepperoni. Half a pound of each might sound like a lot, but remember, you’re dividing it between 12 little guys!
Now for the cheese situation, which is equally important for our gooey outcome. We layer half a pound of provolone and half a pound of Swiss cheese. Layering alternating meats and cheeses ensures that every single slider gets a bit of every flavor—no boring bites allowed in our kitchen!
Crafting the Savory Garlic Butter Glaze for **Hot Italian Sliders**
This glaze is what separates these from just being baked ham and cheese. This is where the flavor gets deep, folks. You need half a cup of unsalted butter, and it absolutely must be melted (microwave is fine, just don’t let it brown!). Whisk that warm butter together with 2 tablespoons of Dijon mustard—trust me on the Dijon, it adds a nice tangy bite! Then, toss in 1 tablespoon of Italian seasoning and 1 teaspoon of onion powder.
Here is the E-E-A-T tip Matt always jokes about: use fresh minced garlic! Those little jarred bits just don’t cut it here. Two cloves, minced finely, will give you that punch of fresh, bright garlic that really screams authentic Hot Italian Sliders flavor when it hits the hot oven steam. We’ll finish this glaze with a sprinkle of grated Parmesan cheese right before it bakes.
Step-by-Step Instructions for Baked Grinder Sliders
Alright, let’s get these layers stacked! This is the fun part where your careful ingredient prep pays off. Remember, we are aiming for evenness so that every single one of these grinder sliders gets a perfect bite. I like to put on some music while I do this because it’s assembly-line fun. If you like making skewers, you can see how we handle layering with our Garlic Parmesan Skewers for inspiration, though this is much simpler!
Assembly and Layering the Deli Meat Sliders
Grab that 9×13 inch baking dish and give it a quick light grease. You don’t want anything sticking to these beautiful buns later. Now, the most important knife work: slice the entire package of slider buns horizontally, top from bottom. Try your absolute best to keep them connected—this keeps them straight and makes slicing them apart at the end way easier. Set the bottom halves into your greased dish.
Time to build! We layer methodically. Put down half of your ham, then half of your salami, and then half of your pepperoni. Now, we cap that with cheese: half the provolone, then half the Swiss. Don’t stop there! You need that second layer of flavor, so repeat the whole sequence: the remaining ham, salami, pepperoni, provolone, and finally, the last of the Swiss cheese goes on top of that meat mountain. Put the tops back on the buns to enclose everything.
Applying the Glaze and Baking Your Cheesy Mini Sandwiches
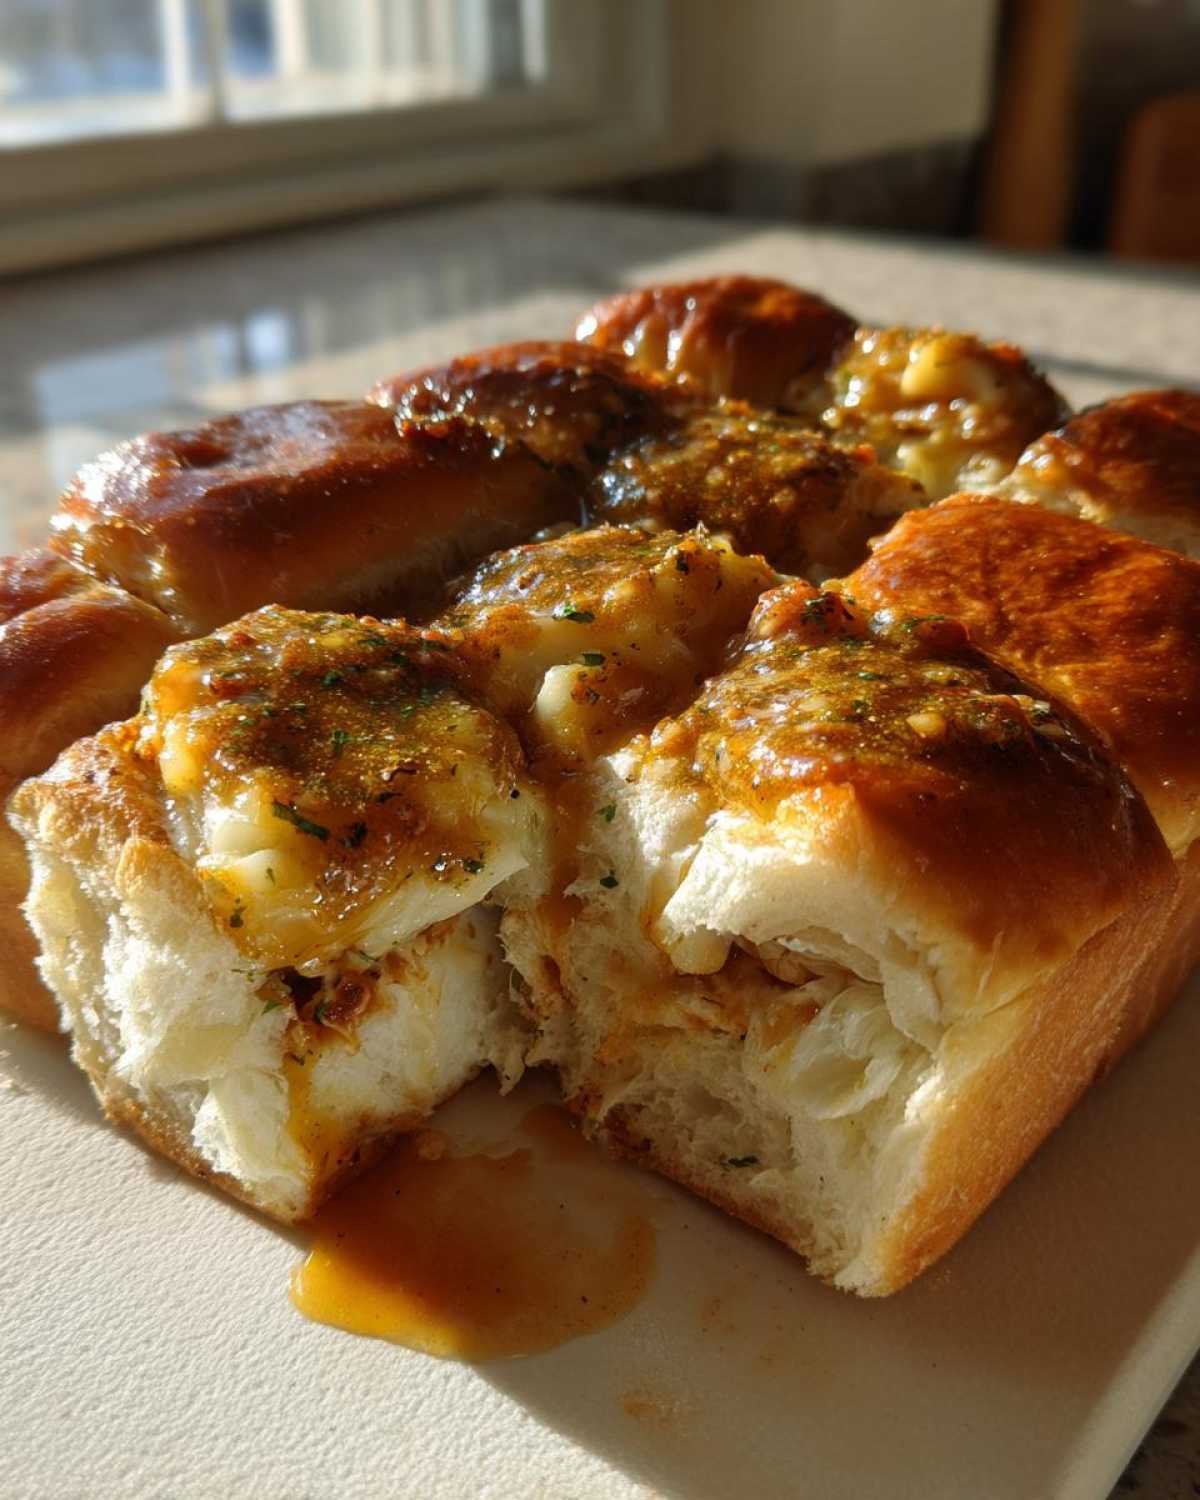
Now, let’s go back to that incredible garlic butter glaze we just mixed up. Take a spoon and carefully drizzle or brush that mixture all over the top of the buns. Make sure you get it into all the little nooks. Then, the finishing touch: sprinkle that grated Parmesan cheese evenly across the whole top; that’s what gives us that gorgeous, slightly crunchy crust.
We start at 350 degrees Fahrenheit. Cover that dish tightly with aluminum foil—this traps the steam and gets everything heated through properly. Bake it covered for exactly 15 minutes. After those initial 15, pull the foil off! Let them bake uncovered for another 5 to 10 minutes. You’re watching for two things: the cheese should be completely melted and gooey, and the top rolls should have a lovely, light golden-brown color. Once they look perfect, pull them out, let them cool just a second so you don’t burn your mouth, and slice them apart between those original roll lines. Enjoy those amazing Cheesy Mini Sandwiches warm!
Tips for Perfect Italian Grinder Sliders Every Time
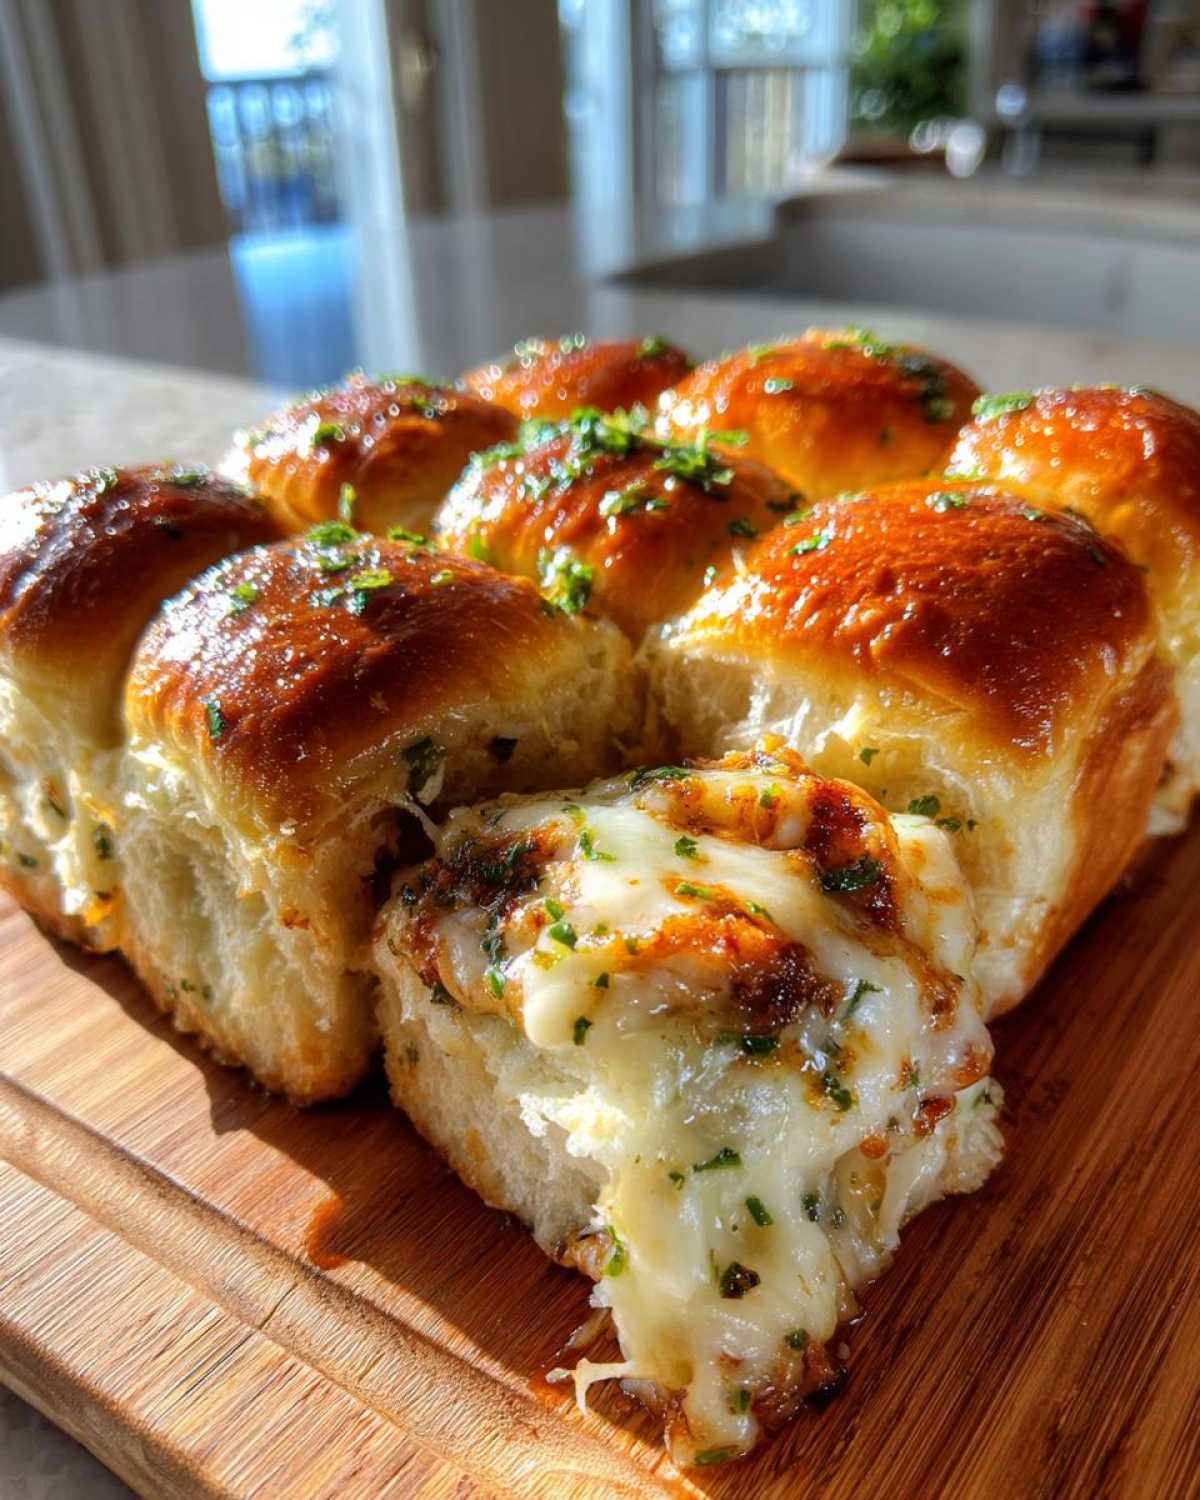
We’ve covered the core method to get these grinder sliders baked up perfectly, but Eva and I always end up tinkering just a bit to make them *our* own. That’s the fun of the whole ‘zine’ philosophy—making the recipe truly yours! I’ve got a couple of little secret weapons I use to push these over the top. These tricks build right on top of the base recipe, turning something great into something legendary. If you’re looking for more experimental flavor dives, check out our general recipe archives!
Flavor Boosts and Ingredient Swaps for Grinder Sliders
So, we used Dijon in the glaze, which is great, but if you want that true, slightly acidic zing that cuts through all the richness of the meat and cheese, try adding a very thin layer of mayonnaise or even a splash of bottled Italian dressing right onto the bottom buns before you start laying down the meat. It soaks right into the bread and adds incredible moisture. This is a game-changer, honestly!
I love some heat, so my personal go-to customization is adding thinly sliced pickled jalapeño peppers right in with the meat layers. Don’t use fresh ones unless you chop them tiny—pickled ones just taste better here, and they bring that necessary acidity. For the cheese situation, if you’re feeling extra adventurous, swap out half the Swiss for Muenster. It melts even gooier than Swiss, but keep the Provolone because that’s the authentic Italian flavor carrier!
Making Make Ahead Sliders for Future Gatherings
This is my favorite tip for hosting, because who wants to be stuck assembling food five minutes before guests arrive? You can totally make these Make Ahead Sliders! Go through every single step right up until the very last part of placing the Parmesan on top. Once assembled inside the baking dish and the glaze is on, cover the whole thing *super* tightly with plastic wrap, then foil, and pop it in the fridge. It holds up beautifully for about four hours this way.
Now, here’s the catch you need to know about baking cold sandwiches: since the ingredients are chilled, the heat takes a little longer to penetrate. If you bake them straight from the fridge, add about 5 to 10 minutes to that initial covered baking time. You still want that total of 20-25 minutes uncovered at the end to get the crust golden, but give it that extra warm-up time upfront. They turn out just as phenomenal!
Serving Suggestions for Your Game Day Sliders
So, you’ve pulled these gorgeous, melty, savory Game Day Sliders out of the oven—now what do you serve with them? Since the sliders are so rich, meaty, and cheesy, I always lean towards something bright and crunchy to balance things out. You can’t go wrong with some simple salted potato chips; the crunch factor is spot on!
If you’re having a bigger spread, a quick, crisp green salad with a sharp vinegary dressing is amazing. It just cuts right through that garlic butter glaze. We also love pairing them with something sweet and salty on the side, like our recipe for Bacon-Wrapped Stuffed Dates—they are ridiculously good alongside these!
Storage and Reheating Best Slider Recipes
Let’s face it, sometimes you have leftovers, even with the best grinder sliders in the house! These are undeniably best served fresh out of the oven when that cheese is still stretching. But if you do have some, they keep fine. Store any leftovers tightly covered in the fridge for about three days.
When you reheat them, please, please skip the microwave if crispness matters to you! That just makes them soft. The best way to resurrect these Best Slider Recipes is in a 350°F oven for about 10 minutes, or until heated through. It brings back a lot of that lovely crust!
Frequently Asked Questions About Grinder Sliders
I love hearing what you all are wondering about when you tackle a new recipe! Questions are the best way to make sure your kitchen experiment turns into a publishing success. Since these grinder sliders are so popular for parties, I get asked the same few things all the time. We’ve got quick answers right here so you can move on to enjoying the party!
Can I use a different type of roll besides Hawaiian Rolls for these Grinder Sliders?
Absolutely, darling! Hawaiian rolls are my first choice because that tiny bit of sweetness plays so well with the salty meats, but they aren’t required for delicious grinder sliders. You can totally use standard small white slider buns or soft potato rolls. Just know that if you skip the Hawaiian rolls, you miss out on that subtle sweet note. Potato rolls are a fantastic second place because they are so soft and hold up well to all that moisture!
What makes these Baked Slider Recipes different from a cold grinder sandwich?
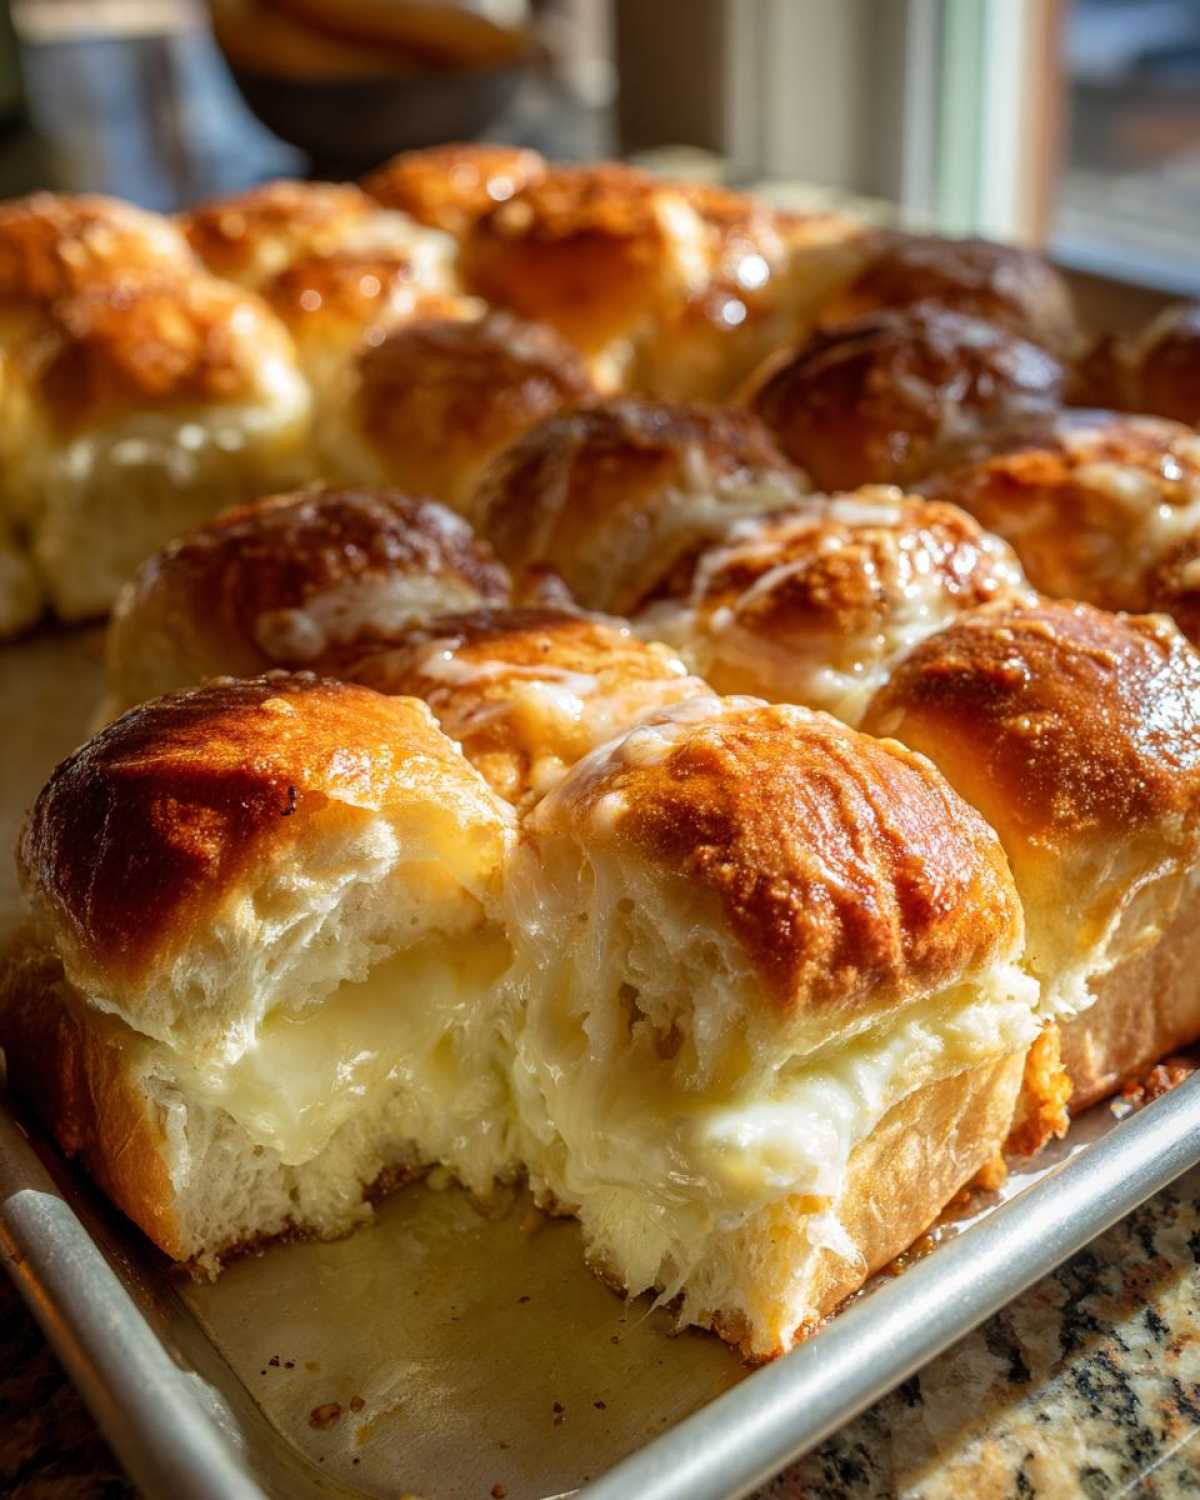
Oh, this is the key difference! A cold grinder sandwich is great, but these are next level delicious because we are baking them. When they bake, two amazing things happen: first, the cheese melts into that beautiful, gooey river that spills out when you bite in, and second, the garlic butter glaze soaks into the top of the roll, creating a slightly crisp, savory crust. That transformation from cold sandwich layers to hot, savory, soft-cheesy goodness is exactly what makes these Baked Slider Recipes so irresistible. They become true Garlic Butter Sliders!
If you need some inspiration for other quick baked favorites—maybe you need something for dessert after these savory sliders—you should check out our super easy Fluffy French Toast recipe!
Estimated Nutritional Snapshot for One Serving of Grinder Sliders
Now, it’s time for the part of the ‘zine’ that’s a little less story and a little more spreadsheet—the numbers! I always try to include this for completeness, especially when we’re piling on rich ingredients like deli meats and cheese for our grinder sliders. But hey, remember this is just a snapshot, not a prescription, okay? This data is based on dividing the entire recipe yield of 12 sliders by the ingredients listed and should be treated as an estimate.
When you’re loading up on savory meats and that fantastic garlic butter, you know you’re getting some serious satisfaction. If you want to see how much love goes into some of our truly complex, slow-baked recipes, take a peek at our guide on achieving the perfect rise on Yorkshire Pudding. Back to the sliders—here is what you can generally expect for one serving:
- Calories: 350 per slider
- Total Fat: 18g (including about 8g of that good saturated fat)
- Protein: A hearty 22g! These are surprisingly filling for a mini sandwich.
- Carbohydrates: Around 25g, thanks mostly to those sweet little rolls.
- Sodium: This is where the deli meats do their work—expect about 850mg. That’s why you only need one or two!
Keep in mind that if you swap the Hawaiian rolls for something less sweet or use lighter cheese, these numbers will shift a bit. But honestly, for crowd pleasing appetizers this good, I think we can forgive the sodium just this once!
Share Your Flavor Zine Issue: Your Italian Grinder Sliders Experience
And just like that, you’ve published a winner! Doesn’t that feel great? Creating something so delicious, so easy, and getting ready to watch everyone devour your hard work? That’s the whole point of Flavor Zine—making memories between one savory bite and the next. We just finished up the instructions for these incredible Italian Grinder Sliders, and now the story is yours to complete!
We absolutely live for hearing about how you managed the chaos in your own kitchen. Did you get distracted trying to make a side? Did the kids rush you pulling the foil off too early? Did you maybe sneak one or two before everyone else arrived? Tell us everything in the comments below! We want to know how these game day sliders performed at your gathering.
If you tweaked the recipe—maybe you went heavy on the Italian seasoning or experimented with a different cheese combo—please rate your experience and share your notes. Sharing your version helps us all learn and inspires the next issue we publish. If you tried the optional dressing boost we mentioned, let us know if it was a winner here! We’re always looking for new flavor angles to explore on recipes like these caramelized onions, too.
Don’t forget to snap a photo of your batch of grinder sliders! We’d love to see them looking golden and cheesy. You can tag us on social media, or if you found this recipe helpful for an easy weeknight dinner, feel free to share the direct link to this recipe with friends—because good stories (and great food) are meant to be passed around. Maybe check out what Delish Today had to say about their version right here for some extra inspiration!
From our little press to your table, thank you for publishing this issue with us. Happy eating!
PrintClassic Baked Italian Grinder Sliders with Garlic Butter Glaze
Make these easy Italian grinder sliders for your next party or weeknight dinner. They use classic deli meats and cheese baked on soft rolls with a savory garlic butter topping.
- Prep Time: 15 min
- Cook Time: 25 min
- Total Time: 40 min
- Yield: 12 servings
- Category: Lunch
- Method: Baking
- Cuisine: American
- Diet: Vegetarian
Ingredients
- 1 (12 count) package slider buns (Hawaiian rolls recommended)
- 1/2 pound thinly sliced ham
- 1/2 pound thinly sliced salami
- 1/2 pound thinly sliced pepperoni
- 1/2 pound thinly sliced provolone cheese
- 1/2 pound thinly sliced Swiss cheese
- 1/2 cup unsalted butter, melted
- 2 tablespoons Dijon mustard
- 1 tablespoon Italian seasoning
- 2 cloves garlic, minced
- 1 teaspoon onion powder
- 1/4 cup grated Parmesan cheese
Instructions
- Preheat your oven to 350 degrees Fahrenheit. Lightly grease a 9×13 inch baking dish.
- Slice the entire package of slider buns horizontally, keeping the tops and bottoms connected if possible. Place the bottom halves of the buns in the prepared baking dish.
- Layer the meats and cheeses evenly over the bottom buns. Start with half the ham, then half the salami, half the pepperoni, half the provolone, and half the Swiss cheese. Repeat the layers with the remaining meats and cheeses.
- Place the top halves of the buns over the fillings.
- In a small bowl, whisk together the melted butter, Dijon mustard, Italian seasoning, minced garlic, and onion powder to create the garlic butter glaze.
- Spoon or brush the garlic butter glaze evenly over the top of the assembled sliders. Sprinkle the grated Parmesan cheese over the top.
- Cover the baking dish tightly with aluminum foil. Bake for 15 minutes.
- Remove the foil and bake for an additional 5 to 10 minutes, or until the cheese is fully melted and the tops are lightly golden brown.
- Carefully slice the sliders apart between the rolls before serving warm.
Notes
- For extra flavor, you can add a thin layer of mayonnaise or a splash of Italian dressing to the bottom buns before adding the meat.
- If you want a spicier kick, add a few thin slices of pickled jalapeño peppers with the meat layers.
- These grinder sliders are great for make ahead preparation; assemble everything up to the baking step, cover, and refrigerate for up to 4 hours before baking. Add 5-10 minutes to the covered baking time if baking straight from the refrigerator.
Nutrition
- Serving Size: 1 slider
- Calories: 350
- Sugar: 5
- Sodium: 850
- Fat: 18
- Saturated Fat: 8
- Unsaturated Fat: 10
- Trans Fat: 0.5
- Carbohydrates: 25
- Fiber: 1
- Protein: 22
- Cholesterol: 55