

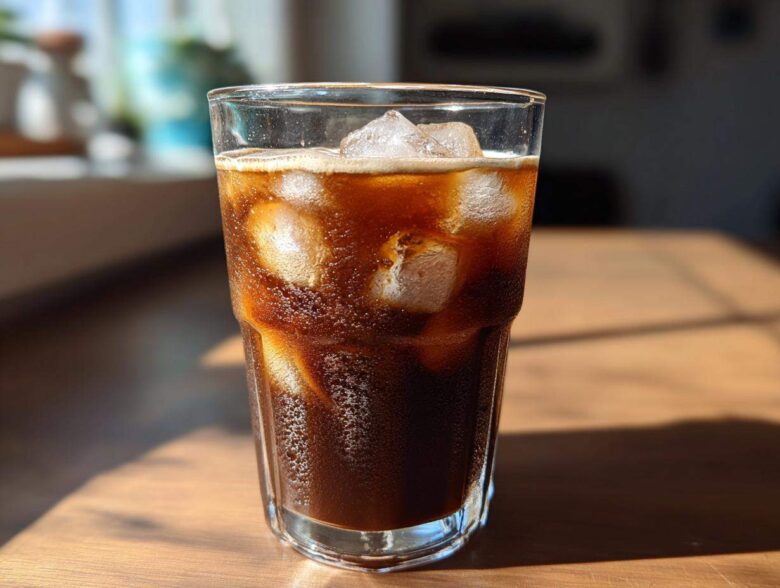
Oh, my gosh, when the heat hits and you need that perfect chill factor with a serious caffeine kick, nothing beats a handmade Iced Mocha, right? Forget those watered-down, overly sweet coffee shop mistakes! I’m showing you the easiest, most balanced recipe for the best iced mocha at home. Trust me, I spent an entire summer vacation mastering the chocolate-to-coffee ratio so it’s rich but never muddy. It’s unbelievably quick—you’ll never go back to buying these again!
You can check out more of my latest kitchen adventures over on the blog for even more inspiration! Visit the FlavorZine Blog Here.
Why This Is the Best Homemade Iced Mocha Recipe
Honestly, making your own iced mocha is a game-changer. Why spend five or six dollars on something that probably uses fake syrups? When you make it yourself, you control absolutely everything. That’s how you get the best iced mocha at home, every single time.
This recipe is fantastic because it’s so simple, but the flavor profile is so much richer than anything store-bought. I’ve used this method hundreds of times, especially when I need a quick afternoon boost. It’s all about fresh ingredients making a huge difference.
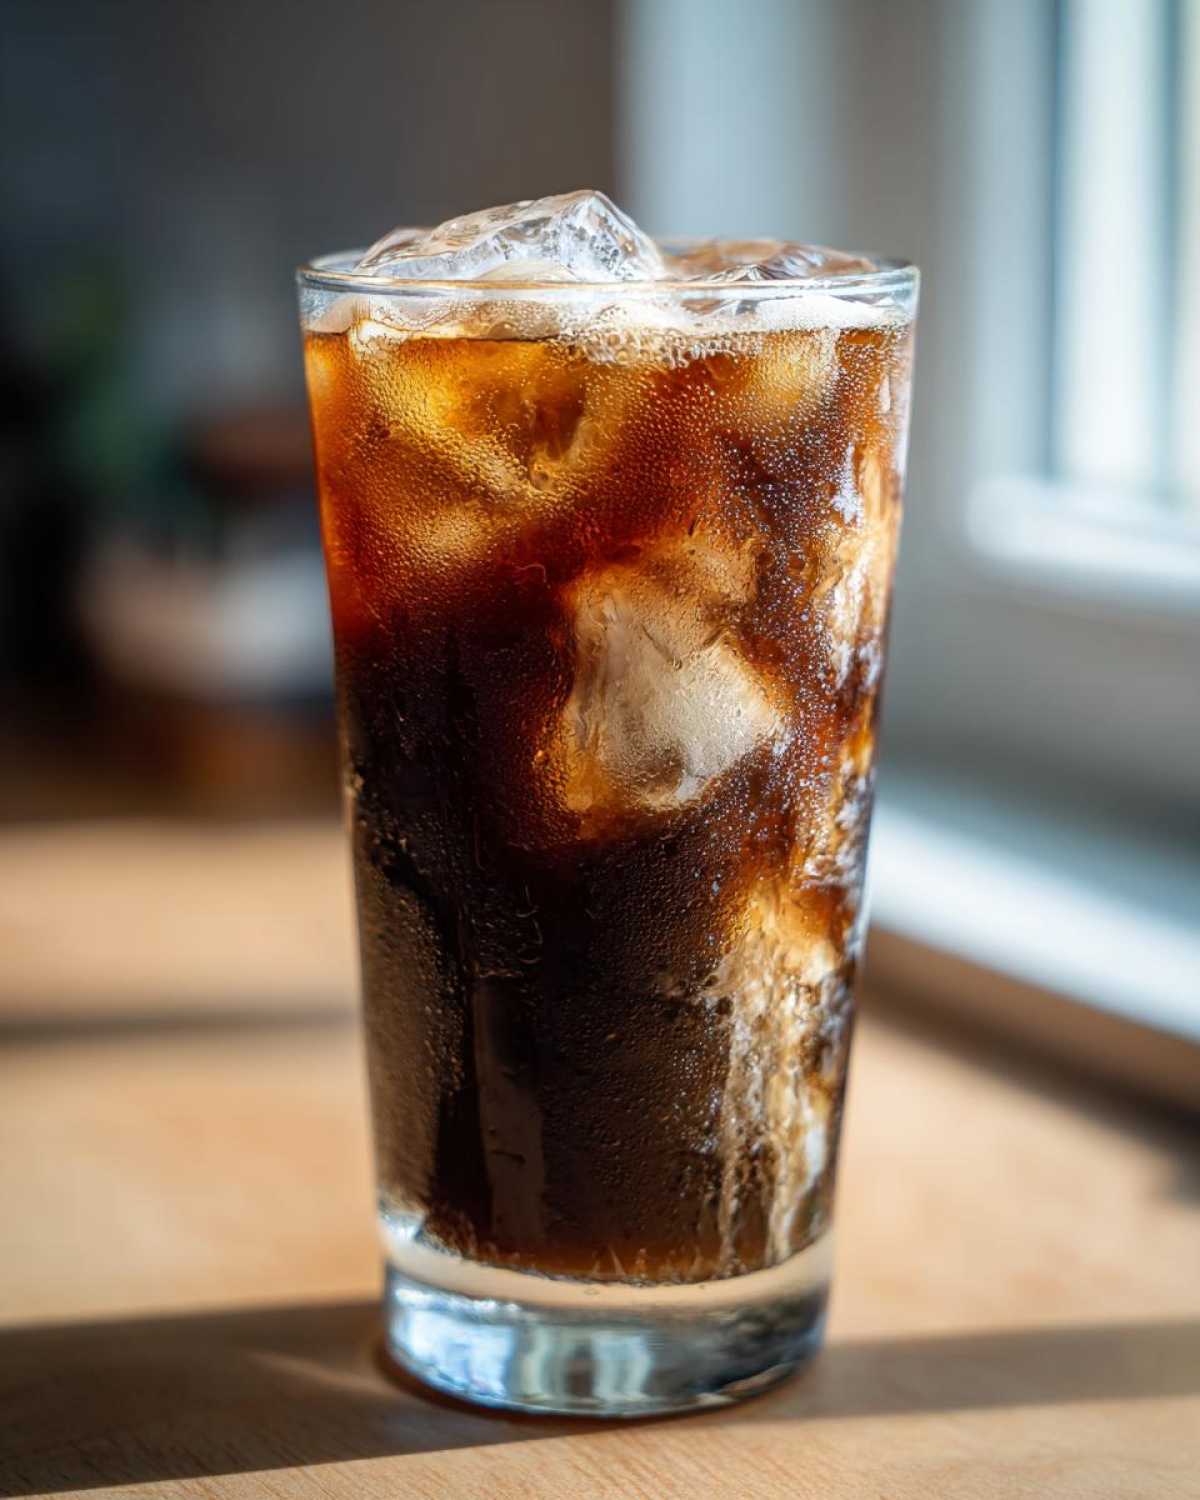
- You save tons of money, seriously!
- You can dial the chocolate intensity perfectly—more chocolate for me, please!
- It’s completely customized to your coffee preference.
Plus, you can link over to my chili recipe if you need a snack later! Perfect Chili Pairing Here.
Quick Prep Time for Your Iced Mocha
Don’t you hate recipes that demand hours? This one doesn’t! We’re talking about five minutes total if you already have cold coffee ready. That’s so fast, you could make this while waiting for your toaster to eventually pop up your toast. It’s truly an iced mocha for beginners because if you can stir, you can nail this recipe.
Gathering Ingredients for Your Iced Mocha
Okay, the ingredients list for this gorgeous summer coffee drink might seem basic, but where you start makes all the difference! We only need five core things, not counting the ice, which is practically a freebie in any cold coffee recipe. Getting these ingredients right means we avoid that sad, watery flavor you sometimes get with a poorly made iced mocha.
It’s important to measure the chocolate component carefully. Too little, and it’s just sweet coffee; too much, and it gets weirdly thick. I usually measure everything right into my favorite tall glass!
Coffee Base Options for the Perfect Iced Mocha with Espresso or Brewed Coffee
This is where you get flexibility, but you need strength! You absolutely must start with cold coffee, otherwise, you’re just melting your ice before you even pour it. You need one cup of super strong iced mocha with brewed coffee—think double strength on your normal pot. If you’re fancy and have an espresso machine, two good shots of iced mocha with espresso works beautifully. Just remember the golden rule: COLD coffee only!
Chocolate Component Clarity for Your Iced Mocha
Now for the magic! You have two paths here, and both work great for a cold coffee chocolate drink. Path one is super easy: just grab two tablespoons of your favorite chocolate syrup. Path two, which I sometimes prefer for that richer flavor, is using one tablespoon of cocoa powder mixed with one tablespoon of regular sugar. You have to mix the cocoa and sugar with a tiny splash of hot water first—make a paste! If you skip that paste step, expect chocolate lumps, and nobody wants that in their iced mocha with chocolate syrup situation!
Step-by-Step Instructions for Making Your Iced Mocha
This is where the magic happens, and trust me, it moves fast! If you’re standing around waiting for the coffee to cool, this is the perfect time to gather everything else—your milk, your vanilla, and your chosen chocolate component. We want zero downtime when that coffee finally chills down.
The whole process relies on making sure those chocolate flavors are completely dissolved so you get a smooth, consistent texture, whether you’re stirring gently or going full-throttle in a blender. It’s so straightforward, you’ll be sipping your rich chocolate coffee drink before you can decide what to watch next!
If you need a great breakfast idea to go with your mocha, check out my fluffy French toast recipe—it’s another five-minute wonder! Fluffy French Toast Link.
Preparing the Chocolate Base for a Rich Chocolate Coffee Drink
First things first: deal with the chocolate! If you’re using syrup, you lucky duck, just set that bottle onto the counter. But if you chose the cocoa powder route for your rich chocolate coffee drink, you have to take an extra second here. In a teeny tiny bowl, mix that tablespoon of cocoa powder and the tablespoon of sugar with just a splash of hot water or even some of that cooled coffee. You need to stir it vigorously until you have a totally smooth, thick paste—no dry spots allowed! If you skip this little step, the cocoa will just cling to the ice later, and that’s just sad.
Assembling and Mixing Your Iced Mocha
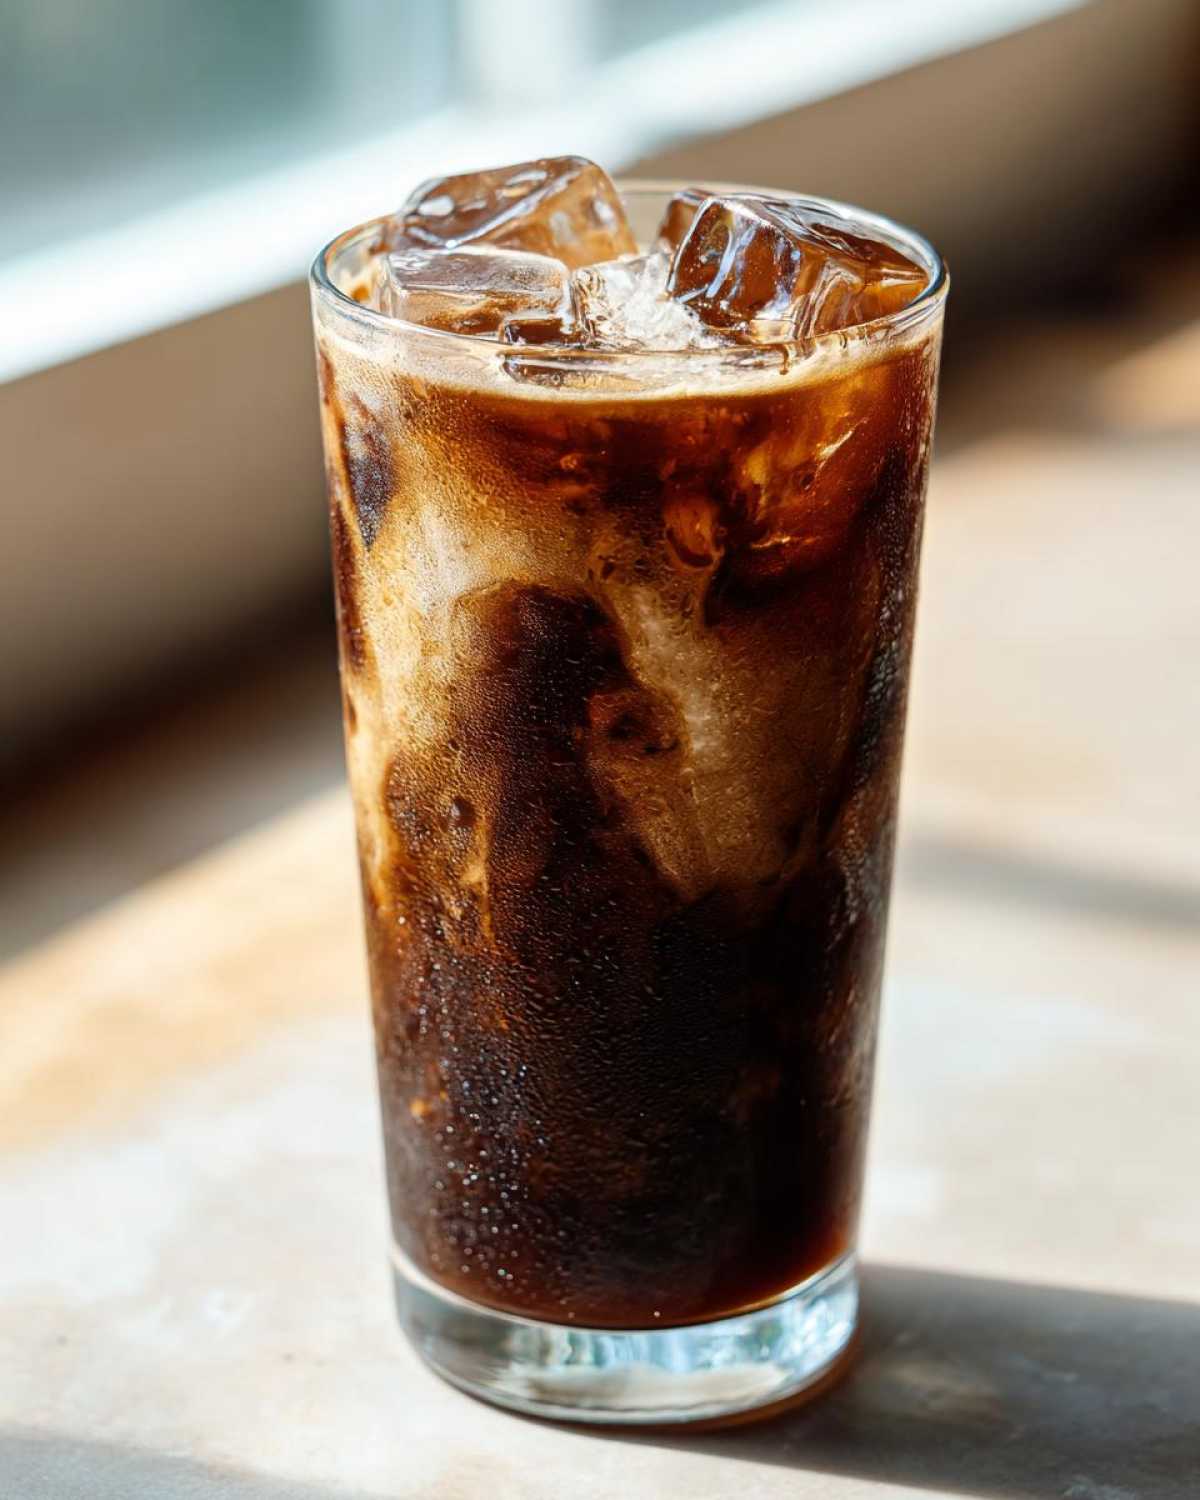
Once your paste is ready (or if you’re using syrup), grab your mixing glass or shaker. Pour in your cold coffee, the milk, the vanilla extract, and whatever chocolate you prepared. Now, shake that thing like you mean it! If you don’t have a shaker, aggressively stir until everything looks uniformly brown and cozy. Next, grab your biggest, prettiest glass and fill it right to the top with ice cubes. Pour your chocolate coffee mixture over that mountain of ice. Give it one final stir right down to the bottom.
Oh, and here’s a hack! If you want a blended iced mocha, just toss all the liquids *and* all the ice into your blender and hit pulse. Blend until it looks slushy and perfect. That’s how you make the mocha chillers!
Tips for the Ultimate Iced Mocha at Home
Making a great iced mocha isn’t just about dumping stuff over ice; it’s about those little tricks that elevate it from basic to outstanding. These are my favorite iced mocha hacks that I’ve picked up turning hundreds of basic cups of coffee into something spectacular. Getting the texture and the balance just right is key, especially when you’re trying to replicate that coffee shop quality!
Seriously, don’t skip the small details here. A tiny adjustment can make this the most satisfying summer coffee recipe you make all season. For more inspiration on perfecting sweet treats, check out my famous cookie recipe!
My Best Cookie Recipe is linked right here!
Customizing Sweetness and Coffee Intensity in Your Iced Mocha
This is where you get to be the boss of your beverage! Taste your coffee first—if it tastes super strong or slightly bitter—like good espresso should—you absolutely need to bump up that chocolate. I usually start with the basic two tablespoons of syrup, but if I use my strong cold brew concentrate, I might add a third spoonful. It’s all about balance.
If you want a bolder, less milky mocha, don’t add extra milk! Instead, reduce the milk by half and use that saved milk volume for more coffee or a tiny bit more chocolate paste. It keeps the flavor profile sharp and prevents it from tasting like flavored milk. Remember, this is a sweetened iced coffee drink, but the sweetness should complement, not dominate, the coffee.
Making a Simple Iced Mocha Syrup Recipe Ahead of Time
If you know you’re going to want quick iced coffee drinks all week long, you have to make a batch of syrup! It takes five minutes on the stove, and then you keep it in a sealed jar in the fridge. You just gently heat equal parts water and sugar, then whisk in cocoa powder until it dissolves completely. Cool it down, and boom! Perfect, ready-to-go chocolate sauce.
Having this syrup on hand means you can whip up an easy iced mocha recipe in under a minute whenever the mood strikes. It’s my favorite trick for making sure I don’t cheat and buy coffee out!
Variations: Creating Dairy Free Iced Mocha and Other Flavors
I love that this recipe is so naturally adaptable! Whether you’re trying to reduce dairy or maybe you just ran out of regular milk, swapping out ingredients is super painless here. It’s crucial that you can still get that creamy, luxurious mouthfeel even when you’re going dairy-free. That’s why we love these easy swaps!
If you’re looking for some delicious dessert alternatives, you absolutely must check out my recipe for vegan cookies. They are unbelievably good! Vegan Cookies Link.
How to Make a Dairy Free Iced Mocha or Vegan Iced Mocha
The beauty of this cold coffee chocolate drink is that the milk only needs to provide body and creaminess, not a lot of flavor complexity, which most alternatives do really well. For a dairy free iced mocha, you have so many options!

My top pick right now? Oat milk. It has a natural sweetness and thick texture that really mimics whole dairy milk beautifully. Almond milk is great too, if you want something lighter and less sweet. Soy milk is always a reliable stand-in for a classic texture. Since the recipe calls for creaminess, I suggest skipping rice milk unless you’re adding a little extra chocolate paste to compensate, because it tends to be too thin for a truly decadent vegan iced mocha experience.
Adding Fun Seasonal Flavors to Your Iced Mocha
Once you nail the basic coffee and chocolate foundation, you can really start playing around! This is where you turn a simple iced mocha into a seasonal favorite. For the holidays? Mix in just a quarter of a teaspoon of peppermint extract when you’re mixing everything together. Suddenly, you have a perfect winter treat!
Or, if you like caramel drizzle on top (which you totally should), try adding a small splash of high-quality caramel sauce right into the mix along with the sweetening component. It adds another layer of depth that feels really fancy, but it’s still faster than running to the drive-thru. Remember, the whole point of making this at home is getting to experiment!
Storage and Serving Suggestions for Your Iced Mocha
So, what happens if you manage to make this delectable iced mocha and you don’t totally guzzle it down in one go? Don’t ruin your next serving by trying to save the ice! Ice is a one-time-use item in the world of summer coffee recipes; it melts and gets watery, so always toss that leftover slush.
However, the brown, creamy liquid left behind? That’s pure gold! You can totally store that chocolate coffee mix. Just pour any extra into an airtight container or jar and keep it chilling in the fridge for up to two days. When that craving hits the next day, shake the liquid mixture up again—it might separate a tiny bit—and then pour it over fresh ice.
If you didn’t finish it all, check out the recipe for my famous hot chocolate cupcakes for another way to enjoy chocolatey goodness later! Hot Chocolate Cupcakes Link.
Serving Up the Perfect Cold Coffee Chocolate Drink
Presentation totally matters, even when you’re just making this for yourself on a Tuesday afternoon. You want that beautiful, layered look, right? Remember, the best way to serve this cold coffee chocolate drink is to always layer it correctly: ice first, then pour that chocolate coffee mixture slowly over the top.
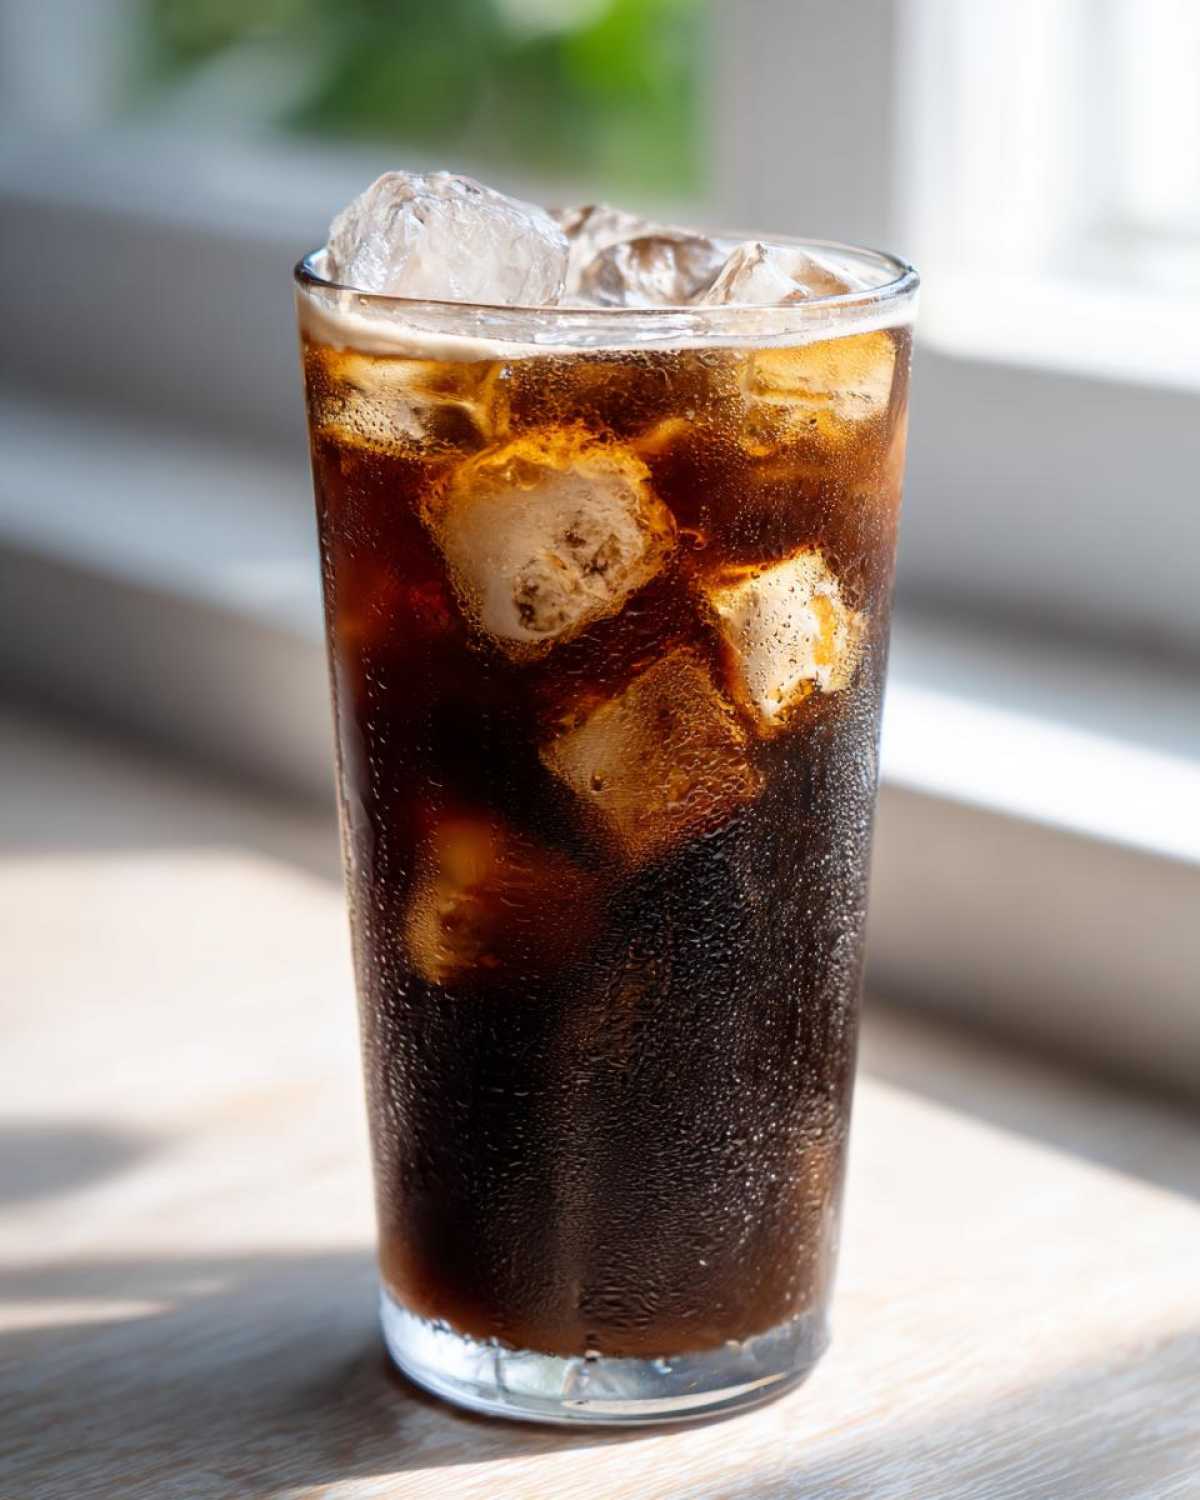
For a little pizzazz that screams “I’m fancy but also quick,” here are my go-to topping treats:
- Whipped cream is a must! If you have good quality, real whipped cream, it makes a huge difference over the spray can stuff. Dollop a big cloud a top.
- Dust the top lightly with unsweetened cocoa powder using a fine sieve. It looks super professional and adds a lovely bitter note to balance the sweetness.
- If you made a syrup earlier, drizzle a tiny bit of that extra chocolate syrup right over the whipped cream swirl for extra visual appeal!
It’s these little touches that turn a simple iced mocha into a five-star beverage experience, even if you’re drinking it while wearing fuzzy slippers!
Frequently Asked Questions About Making an Iced Mocha
People always have great questions when they first try making an iced mocha at home, and that’s fair because even small tweaks can change the whole experience! I’ve rounded up the ones I get asked the most frequently. Knowing the answers to these will definitely help you out, especially if you’re aiming for that perfect, rich finish every time.
If you’ve managed to make a batch but have leftovers, you can check out how I make my potato wedges if you suddenly need a savory side dish! Potato Wedge Recipe Link.
Can I make a frappe style iced mocha using this recipe?
Oh, yes, you absolutely can! That’s the fun part of sticking to a solid base recipe like this one. To transform your standard mixed iced mocha into a true frappe style iced mocha, you just need to blend! You’re going to use all your liquid ingredients—the coffee, milk, chocolate, vanilla—but instead of pouring it over ice in a glass, you toss it all right into the blender with a whole extra cup of ice.
The trick is to blend it really well until there are absolutely no discernible chunks of ice left, making it thick and frosty. If you like it extra thick, add a little more ice than you think you need. It’s the fastest way to make mocha chillers right on your counter!
What is the best way to sweeten my homemade iced mocha?
Seriously, there isn’t one “best” way—it’s all about what you have on hand and what profile you prefer for your sweetened iced coffee. If you want something super fast and easy, the store-bought chocolate syrup is unbeatable for quick assembly. It dissolves almost instantly, even in cold liquid.
But if you’re worried about added ingredients or just want a deeper cocoa flavor, making that little paste with cocoa powder and sugar is my personal favorite method. It forces the sugar to melt completely into the chocolate flavor base. If you want to get creative, you can absolutely swap some of that measured sugar for maple syrup or even a liquid stevia substitute until you hit your desired sweetness level. It gives you so much control over your easy iced mocha recipe!
Can I use instant coffee instead of brewed coffee or espresso?
You certainly can, especially when you need an ultra-quick summer coffee recipe! Instant coffee is great because it dissolves so easily. The key, though, is strength. Instant coffee granules can be deceiving, so you need to start strong. Typically, I’d recommend about two teaspoons of instant coffee dissolved in a *very* small amount of hot water first, just enough to make a sludge. Then, let that sludge cool completely before mixing it with the cold milk and chocolate. If you use too much instant coffee, it can sometimes leave a slightly bitter aftertaste, so start small and taste-test before you add all your ice!
How do I store leftover iced mocha mixer?
This question comes up a lot when folks try to make a big batch of the liquid part! If you’ve made a big jug of the chocolate, coffee, and milk mix—but haven’t added the ice—it keeps beautifully! Just pour that liquid into an airtight jar or container and pop it in the fridge. It will stay good for about 48 hours. When you’re ready for your next cold coffee chocolate drink, just give the mixture a really good shake or a quick whisk because things might separate a little, and then pour it over fresh ice. Never try to save the melted ice mixture, though—that’s a one-way ticket to sad, watery coffee territory!
Estimated Nutritional Data for This Iced Mocha
Okay, so listen up! Since we are making things from scratch, these numbers are just estimates, right? Every brand of syrup or milk you use is going to change things slightly, especially your fat and sugar counts. But this gives you a ballpark idea of what you’re getting in this glorious, rich chocolate coffee drink.
This data is based on the standard ingredients listed—assuming you used whole cow’s milk and a typical chocolate syrup. If you go dairy free iced mocha with unsweetened almond milk, for example, those calories and fats will drop way down!
For those of you tracking macros or just curious, here’s the breakdown for one serving of this delicious homemade iced mocha:
- Calories: Around 250
- Fat: About 6 grams total (roughly 3g saturated fat)
- Carbohydrates: Approximately 35 grams
- Sugar: Hovering right around 30 grams (this is mainly from the chocolate!)
- Protein: About 8 grams
- Fiber: A little fiber, usually 1 gram
It’s definitely a treat, but it’s a treat you control! If you pair this wonderful quick iced coffee drink with a high-protein side, like my awesome chili recipe, you balance it out perfectly for an amazing afternoon pick-me-up! See the details over here: High-Protein Chili Link.
Share Your Perfect Iced Mocha Creation
Now it’s your turn to be the barista! I’ve shared all my favorite ways to mix up the perfect iced mocha, but honestly, I love seeing what you all come up with. Did you swap oat milk for almond? Did you try adding a little cherry syrup instead of peppermint?
Don’t be shy! Head down to the comments section right now and tell me how this recipe turned out for you. Did it hit that sweet spot you were hoping for? Were you surprised by how easy it was to make compared to going out?
If you snap a picture of your gorgeous, frosty mocha—especially if you did some fun layering or topping—tag me on social media! Seeing those beautiful homemade drinks is the best part of sharing these recipes. It builds such a great community of home coffee lovers!
If you ever need to get in touch—maybe you have a burning question about doubling the recipe or need to tell me about a new hack you discovered—you can always reach out via the contact page!
Send me your questions and feedback right here: Contact Page Link.
PrintSimple Iced Mocha Recipe

Make a rich, cold mocha at home using brewed coffee or espresso. This recipe is quick and easy to follow.
- Prep Time: 5 min
- Cook Time: 0 min
- Total Time: 5 min
- Yield: 1 serving
- Category: Beverage
- Method: Mixing
- Cuisine: American
- Diet: Vegetarian
Ingredients
- 1 cup strong brewed coffee or 2 shots espresso, cooled
- 1/2 cup milk (dairy or non-dairy)
- 2 tablespoons chocolate syrup or 1 tablespoon cocoa powder mixed with 1 tablespoon sugar
- 1/2 teaspoon vanilla extract
- 1 cup ice cubes
Instructions
- If using cocoa powder, mix the cocoa powder and sugar with a small amount of hot water or cooled coffee until a smooth paste forms. If using syrup, skip this step.
- In a glass or shaker, combine the cooled coffee (or espresso), milk, chocolate mixture (or syrup), and vanilla extract. Stir or shake well until fully combined.
- Fill a tall glass with ice cubes.
- Pour the chocolate coffee mixture over the ice.
- Stir again before drinking. For a blended version, combine all liquid ingredients and ice in a blender and process until smooth.
Notes
- For a dairy-free or vegan mocha, use almond, soy, or oat milk.
- Adjust the amount of chocolate syrup or cocoa mixture to control sweetness and chocolate intensity.
- If you prefer a stronger coffee flavor, use espresso or reduce the amount of milk slightly.
- You can make a simple mocha syrup ahead of time by heating equal parts sugar and water with cocoa powder until dissolved, then cooling.
Nutrition
- Serving Size: 1 drink
- Calories: 250
- Sugar: 30
- Sodium: 50
- Fat: 6
- Saturated Fat: 3
- Unsaturated Fat: 3
- Trans Fat: 0
- Carbohydrates: 35
- Fiber: 1
- Protein: 8
- Cholesterol: 15