


Indulge in Delicious Mini Apple Hand Pies
There’s something truly magical about a warm, handheld treat. We’re Eva and Mateo, and we’ve found that these mini apple hand pies are pure joy in every bite. They’re the perfect little parcels of comfort. We first made them on a crisp autumn afternoon. The kitchen filled with the scent of cinnamon and apples. It felt like a hug. Our kids’ eyes lit up when they saw them. They’re so easy to enjoy on the go. These portable apple pies have become a family favorite. They truly capture that sweet apple goodness we all love. They make any day feel a little bit special.
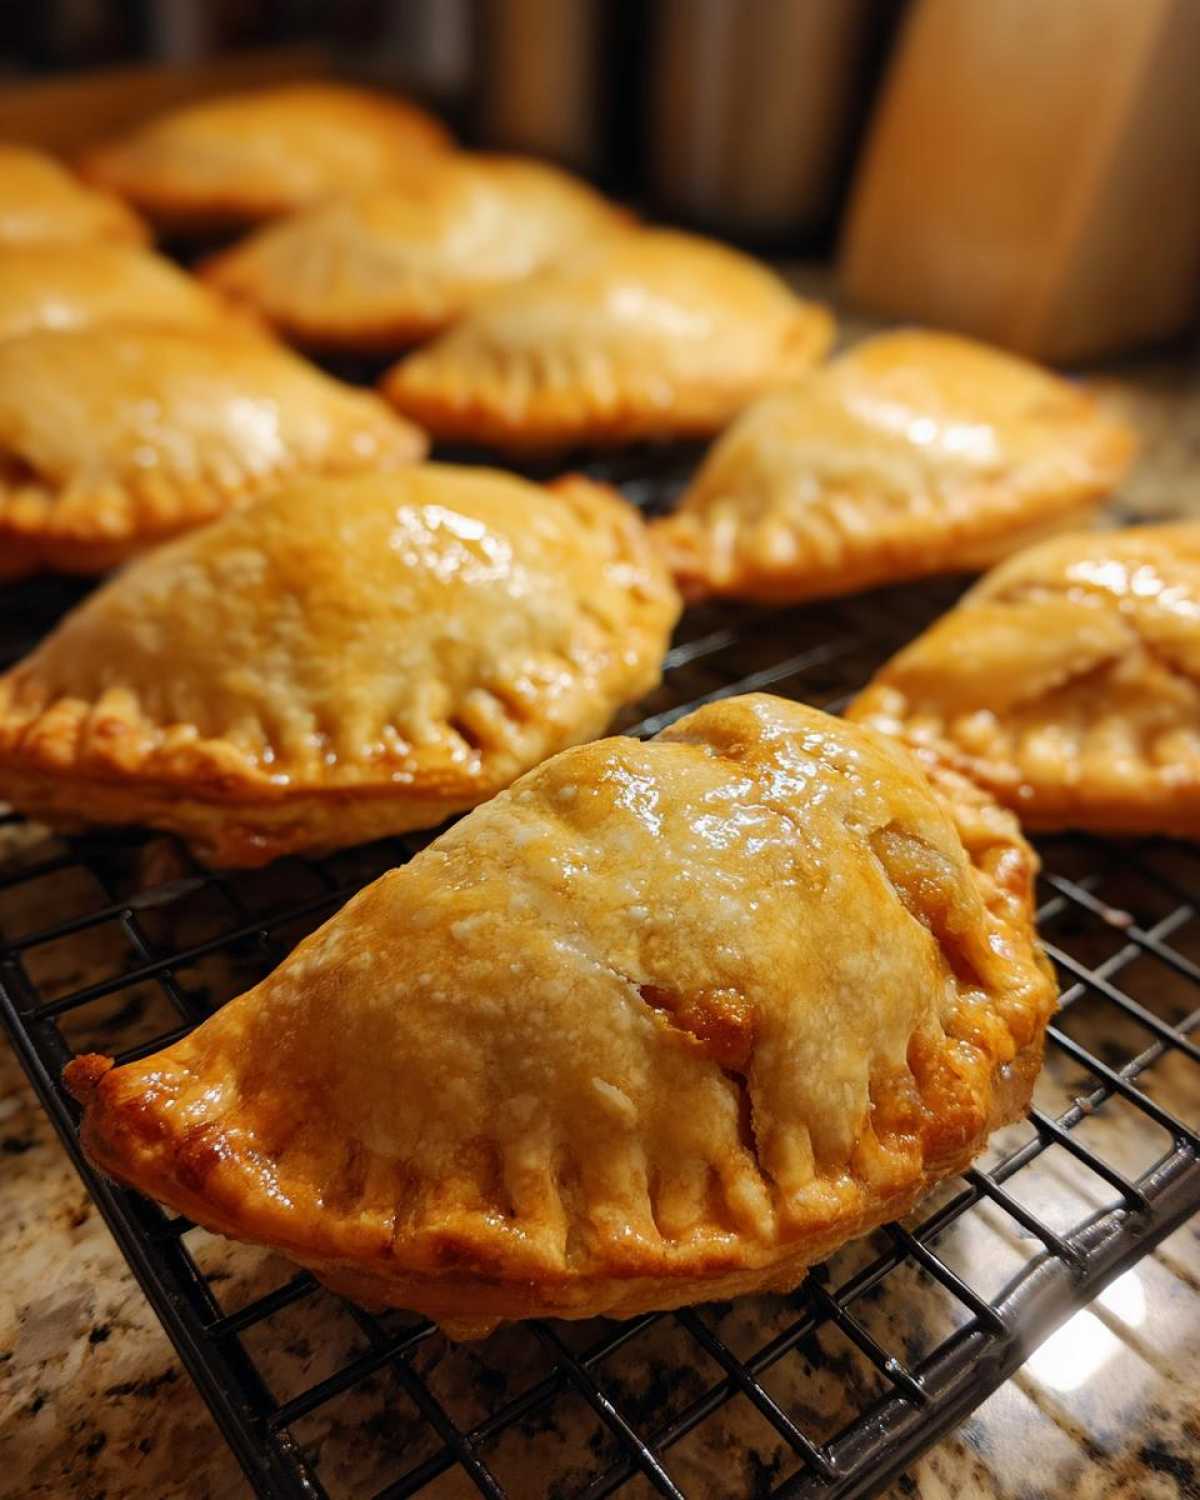
Why You’ll Love These Mini Apple Hand Pies
Get ready to fall in love with these little gems!
- Super simple to make.
- Perfect for taking anywhere.
- Bursting with sweet apple and cinnamon flavor.
- Great for picnics or lunchboxes.
- A delightful treat for any occasion.
- They bring smiles all around.
Gather Your Ingredients for Mini Apple Hand Pies
Let’s get our kitchen ready for some baking magic! To make these wonderful mini apple hand pies, you’ll need a few simple things. Grab one box of refrigerated pie crusts; it comes with two crusts, which is just perfect. For the sweet apple filling, you’ll need about six cups of apples. Make sure they are peeled, cored, and diced into small pieces. You’ll also need half a cup of granulated sugar and a quarter cup of all-purpose flour. For that warm, cozy flavor, get a teaspoon of ground cinnamon, a quarter teaspoon of ground nutmeg, and a pinch of salt. Don’t forget two tablespoons of unsalted butter, cut into tiny pieces. To give our pies a beautiful golden finish, we’ll need one large egg, beaten, and a tablespoon of turbinado sugar for a little sparkle on top. These ingredients come together so easily.
Ingredient Notes and Substitutions
When choosing apples, I find that Honeycrisp, Gala, or Fuji apples work wonderfully. They have a nice balance of sweetness and tartness. If you can’t find turbinado sugar, don’t worry! A little bit of regular granulated sugar sprinkled on top works just fine. You can even skip the topping if you prefer. The key is using apples that hold their shape well when baked. You want those tender, sweet apple chunks inside. This recipe is quite forgiving, so feel free to adjust the spices a tiny bit to your liking!
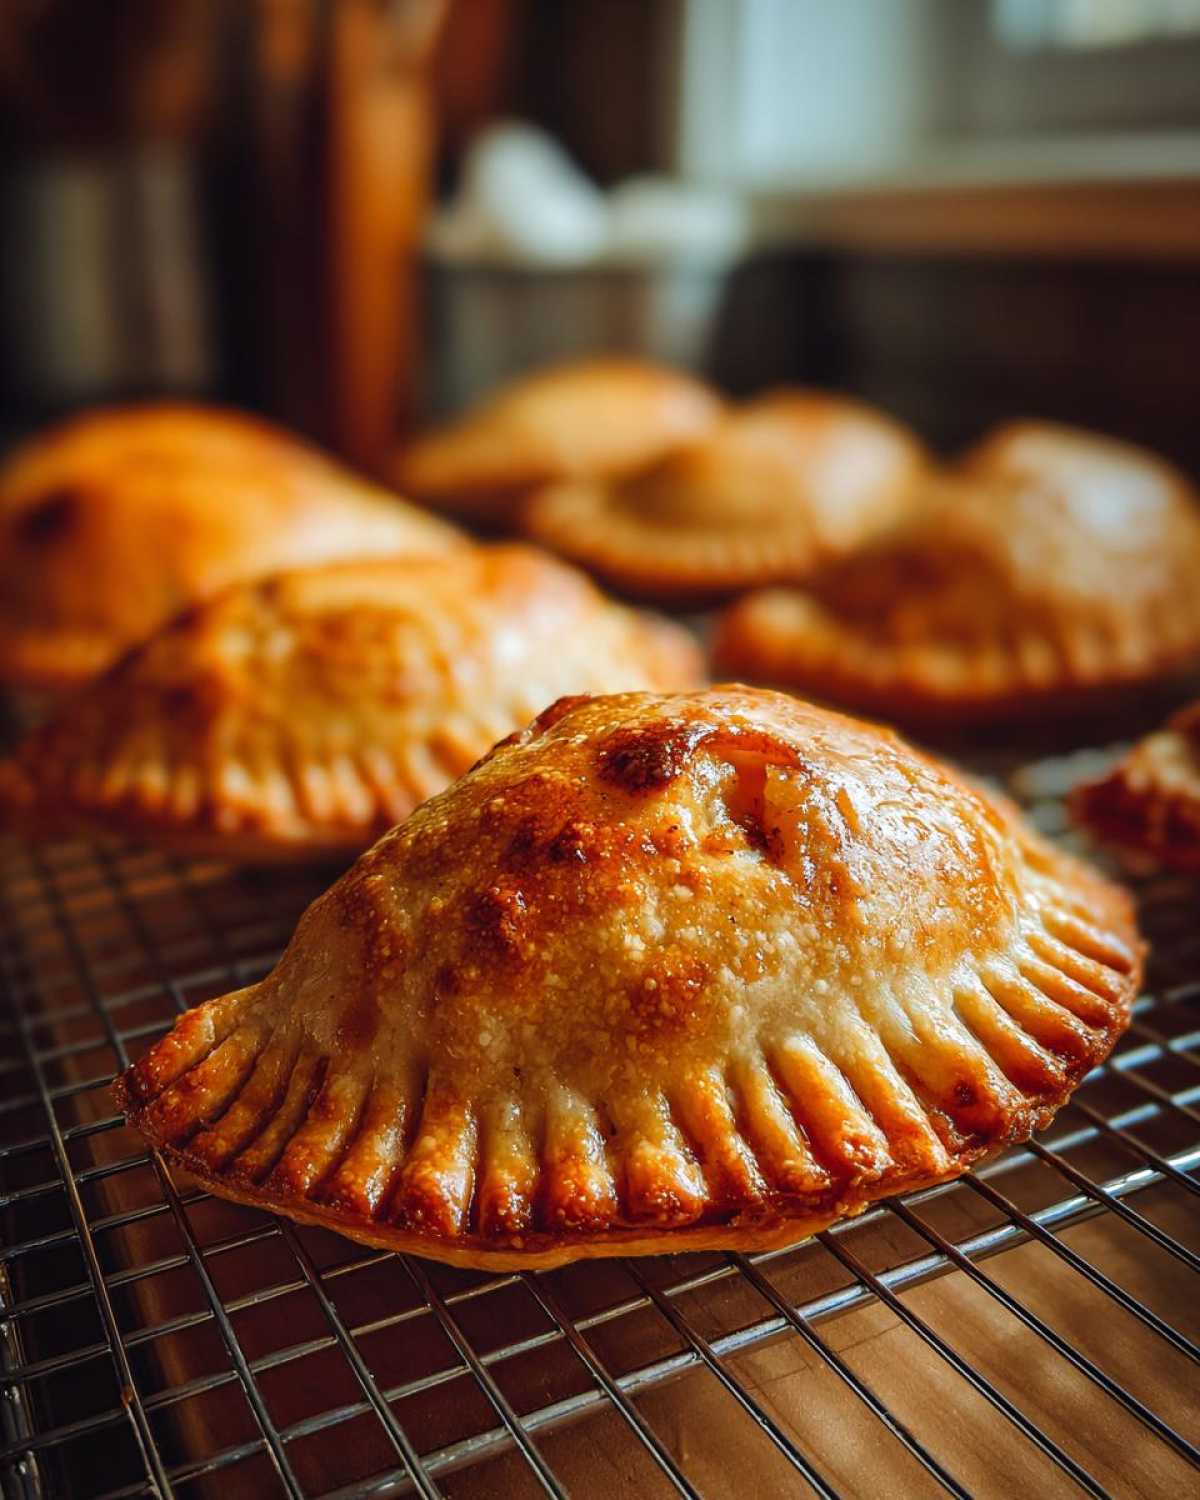
Step-by-Step Guide to Making Mini Apple Hand Pies
Now for the fun part – putting it all together! Making these mini apple hand pies is a joy. It’s where the magic really happens in our kitchen. We’ll walk you through each step. You’ll have delicious, homemade treats in no time. Don’t worry if you’re new to baking. We’ll make it easy for you.
Prepping Your Mini Apple Hand Pies
First things first, let’s get our oven ready. Preheat it to 375°F (190°C). Line a couple of baking sheets with parchment paper. This stops them from sticking! In a big bowl, mix the sugar, flour, cinnamon, nutmeg, and salt. This makes our spice blend. Now, add your diced apples to this bowl. Toss them well. You want every apple piece coated in that yummy spice mix. Unroll your pie crusts on a lightly floured counter. Use a 4-inch round cutter to make circles. You should get about 6 to 8 circles from each crust. Place a spoonful of the apple filling on half of each circle. Dot the apples with those little butter pieces. Brush the edges with your beaten egg. Fold the other half of the crust over. Press the edges to seal them tight. Crimp with a fork. This makes them look pretty!
Baking Your Mini Apple Hand Pies to Perfection
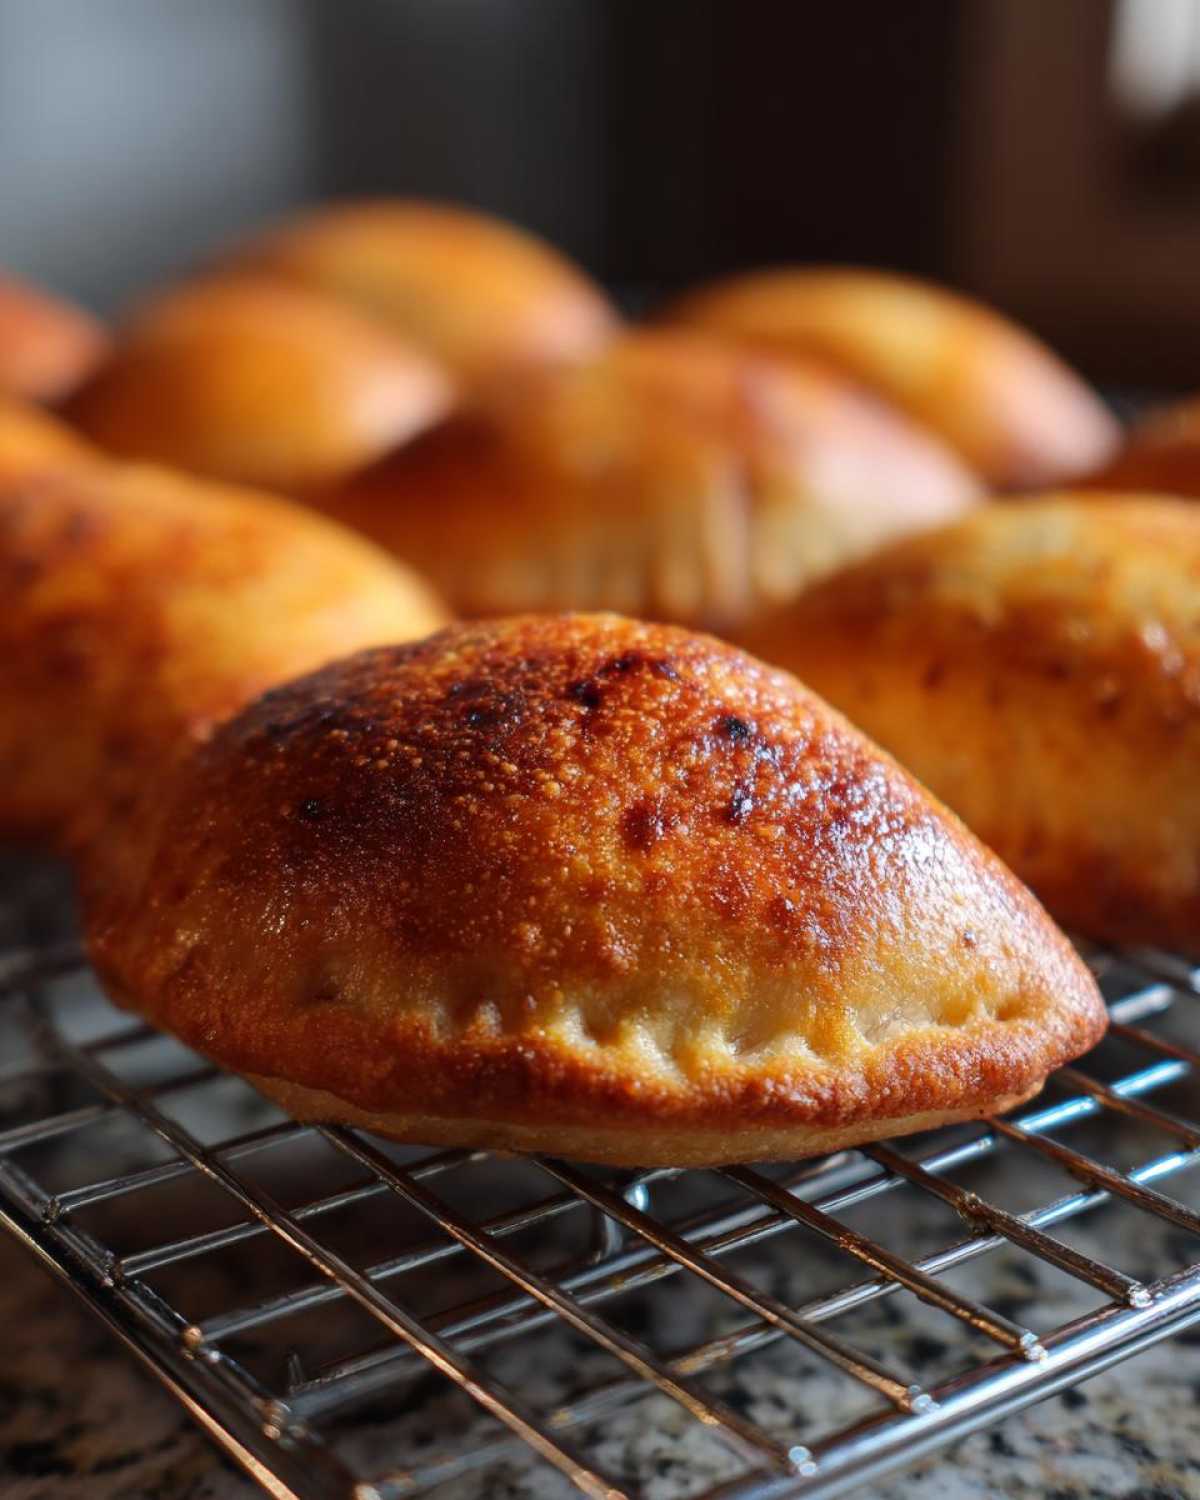
Time to bake these beauties! Place your prepared hand pies on the lined baking sheets. Cut a few small slits on top of each one. This lets the steam escape as they bake. It stops them from getting soggy inside. Now, brush the tops with the remaining egg wash. Sprinkle them with turbinado sugar. This gives them a lovely sparkle and a slight crunch. Bake for about 20 to 25 minutes. Keep an eye on them. You want the crust to be a beautiful golden brown. The apple filling should be bubbling nicely. It smells amazing when they’re almost done! Let them cool on the baking sheets for just a few minutes. Then, carefully move them to a wire rack to cool a bit more. They are wonderful when they are still a little warm.
Tips for Success with Mini Apple Hand Pies
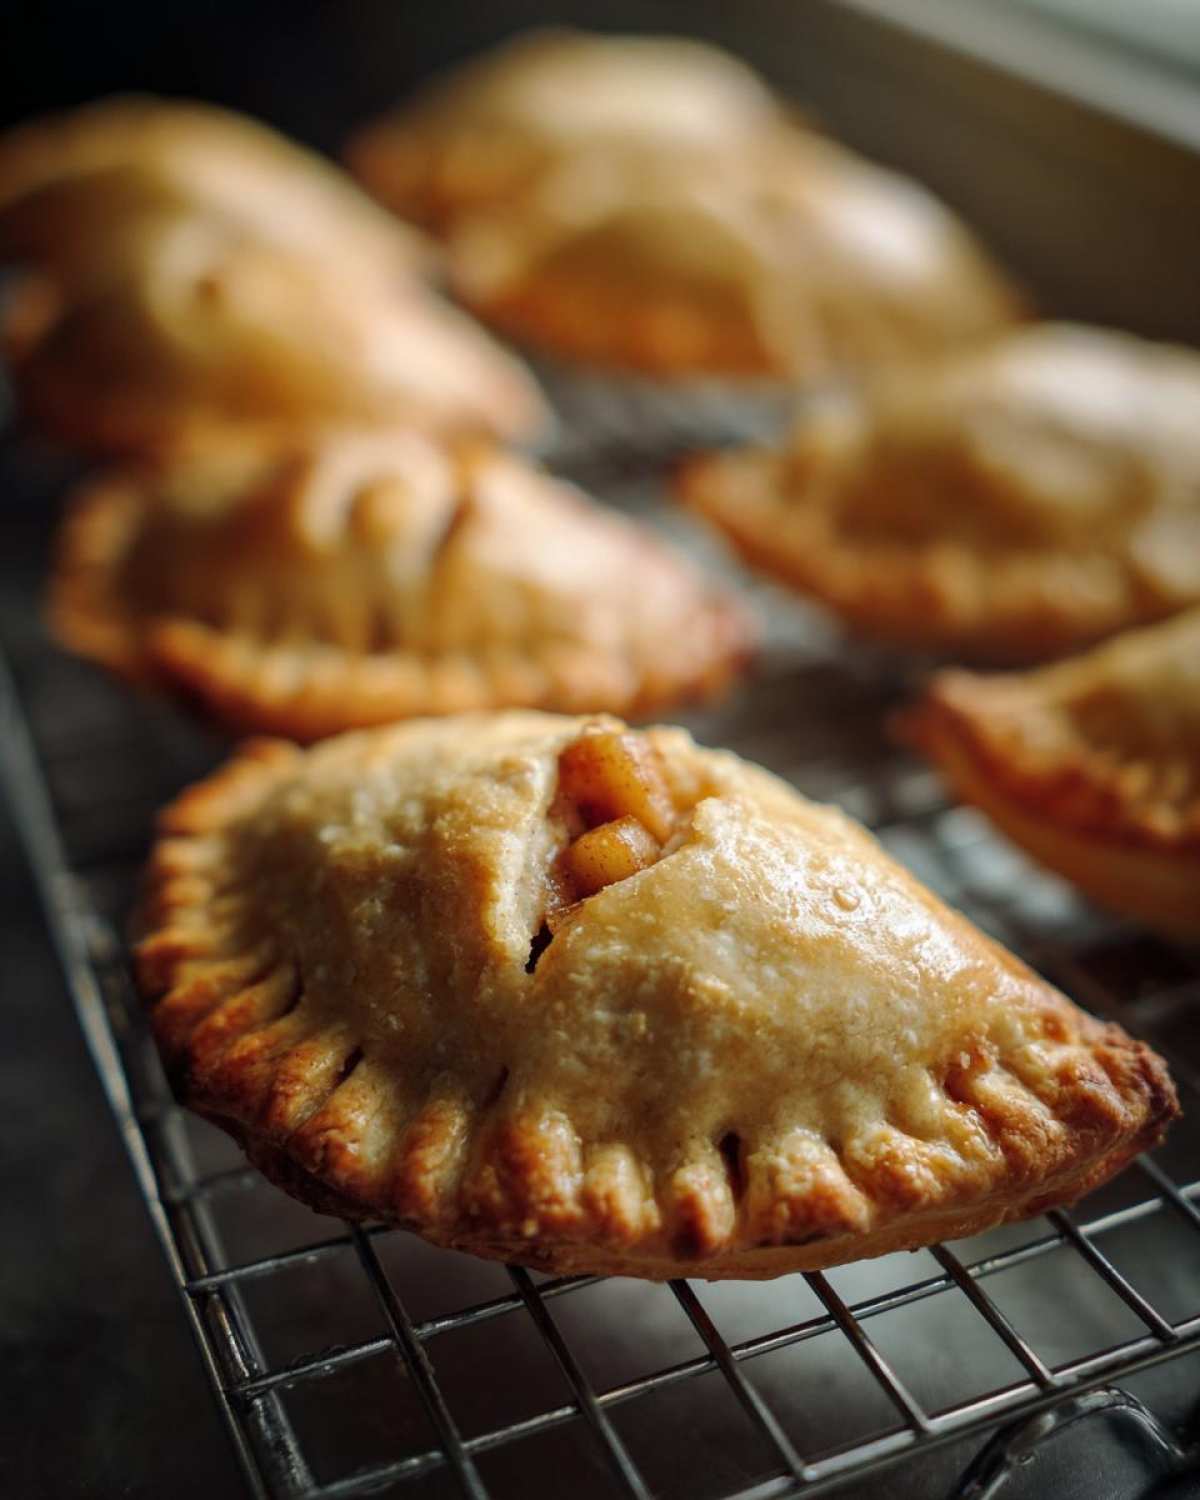
Want your mini apple hand pies to be absolutely perfect? I’ve learned a few tricks along the way! Make sure your pie crusts are well-chilled before you start cutting your circles. This helps them hold their shape beautifully. Don’t overfill the pies; too much filling can make them hard to seal properly and might cause leaks during baking. When crimping the edges with a fork, pressing down firmly is key to ensuring they stay sealed. Also, cutting those steam vents on top is super important! It prevents the crust from puffing up too much and bursting. These little details really make a difference in the final outcome. Happy baking!
Serving and Storing Your Mini Apple Hand Pies
These apple pastries are divine served warm! A little dusting of powdered sugar or a dollop of vanilla ice cream makes them extra special. If you have any leftovers, which is rare in our house, let them cool completely. Store them in an airtight container at room temperature for up to two days. For longer storage, pop them in the fridge. To reheat, simply pop them in a toaster oven or a regular oven at 300°F (150°C) for a few minutes until warmed through. They taste almost as good as fresh!
Frequently Asked Questions About Mini Apple Hand Pies
Got questions about these portable apple pies? I’ve got answers!
Can I make the apple filling ahead of time? Yes, you absolutely can! Prepare the apple filling a day in advance and store it in an airtight container in the refrigerator. This can save you some time on baking day.
What if I don’t have a 4-inch round cutter? No problem! You can use a small bowl or even a wide-mouthed glass to cut out your circles. Just aim for a size that’s easy to fold over.
Can I use fresh apples instead of refrigerated pie crusts? While this recipe uses store-bought crust for ease, you can certainly make your own pie dough from scratch if you prefer. Just ensure it’s well-chilled before cutting.
How do I prevent the bottoms from getting soggy? Baking on parchment paper helps. Also, make sure your oven is fully preheated, and don’t overfill the pies. The steam vents are also crucial for this!
Nutritional Estimate for Mini Apple Hand Pies
Here’s a general idea of what’s in each tasty hand pie. Keep in mind these are estimates, and your actual values might shift a bit. We’re looking at about 250-300 calories per serving. You’ll find roughly 30-35g of carbohydrates and about 12-15g of fat. Protein is around 2-3g. These numbers can change based on the exact ingredients you use!
PrintMagic Mini Apple Hand Pies: 6 Amazing Bites

Enjoy these delightful mini apple hand pies, perfect for a portable and delicious dessert. They are easy to make and filled with sweet apple goodness.
- Prep Time: 25 minutes
- Cook Time: 25 minutes
- Total Time: 50 minutes
- Yield: 12-16 hand pies
- Category: Dessert
- Method: Baking
- Cuisine: American
- Diet: Vegetarian
Ingredients
- 1 box refrigerated pie crusts (2 crusts)
- 1/2 cup granulated sugar
- 1/4 cup all-purpose flour
- 1 teaspoon ground cinnamon
- 1/4 teaspoon ground nutmeg
- 1/4 teaspoon salt
- 6 cups peeled, cored, and diced apples (about 4-5 medium apples)
- 2 tablespoons unsalted butter, cut into small pieces
- 1 large egg, beaten (for egg wash)
- 1 tablespoon turbinado sugar (for sprinkling)
Instructions
- Preheat your oven to 375°F (190°C). Line baking sheets with parchment paper.
- In a large bowl, whisk together the granulated sugar, flour, cinnamon, nutmeg, and salt.
- Add the diced apples to the bowl and toss to coat them evenly with the sugar mixture.
- Unroll the pie crusts onto a lightly floured surface. Cut out 4-inch circles from each crust. You should get about 6-8 circles per crust, depending on their size.
- Place about 2-3 tablespoons of the apple filling onto one half of each pie crust circle, leaving a small border. Dot the filling with a few pieces of butter.
- Brush the edges of the pie crust with the beaten egg wash. Fold the other half of the crust over the filling to create a half-moon shape. Press the edges firmly to seal, then crimp with a fork.
- Place the hand pies on the prepared baking sheets. Cut a few small slits in the top of each pie to allow steam to escape.
- Brush the tops of the hand pies with the remaining egg wash and sprinkle with turbinado sugar.
- Bake for 20-25 minutes, or until the crust is golden brown and the filling is bubbly.
- Let the hand pies cool on the baking sheets for a few minutes before transferring them to a wire rack to cool further.
Notes
- You can use your favorite type of apples for this recipe, such as Honeycrisp, Gala, or Fuji.
- If you don’t have turbinado sugar, you can use granulated sugar or skip this step.
- These hand pies are best enjoyed warm, but they are also delicious at room temperature.
Nutrition
- Serving Size: 1 hand pie
- Calories: Approximately 250-300
- Sugar: Approximately 15-20g
- Sodium: Approximately 150-200mg
- Fat: Approximately 12-15g
- Saturated Fat: Approximately 5-7g
- Unsaturated Fat: Approximately 7-8g
- Trans Fat: 0g
- Carbohydrates: Approximately 30-35g
- Fiber: Approximately 2-3g
- Protein: Approximately 2-3g
- Cholesterol: Approximately 15-20mg