

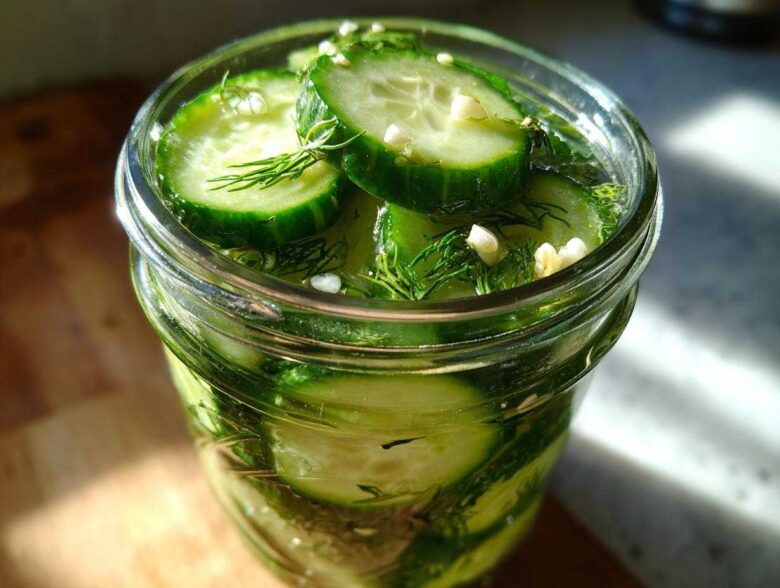
Oh man, you know that sound, right? That satisfying *crunch* when you bite into a pickle that tastes incredibly fresh? I used to be completely intimidated by canning; I tried it once and ended up with soft, weirdly flavored refrigerator pickles that were just sad. So, I figured out the secret to making killer refrigerator pickles that are ready in less than 24 hours without heating up the house with a water bath. Seriously, these Ultra-Crispy Garlic Dill pickles are my go-to snack anytime I need that tangy bite. Trust me, you deserve this easy win in the kitchen!
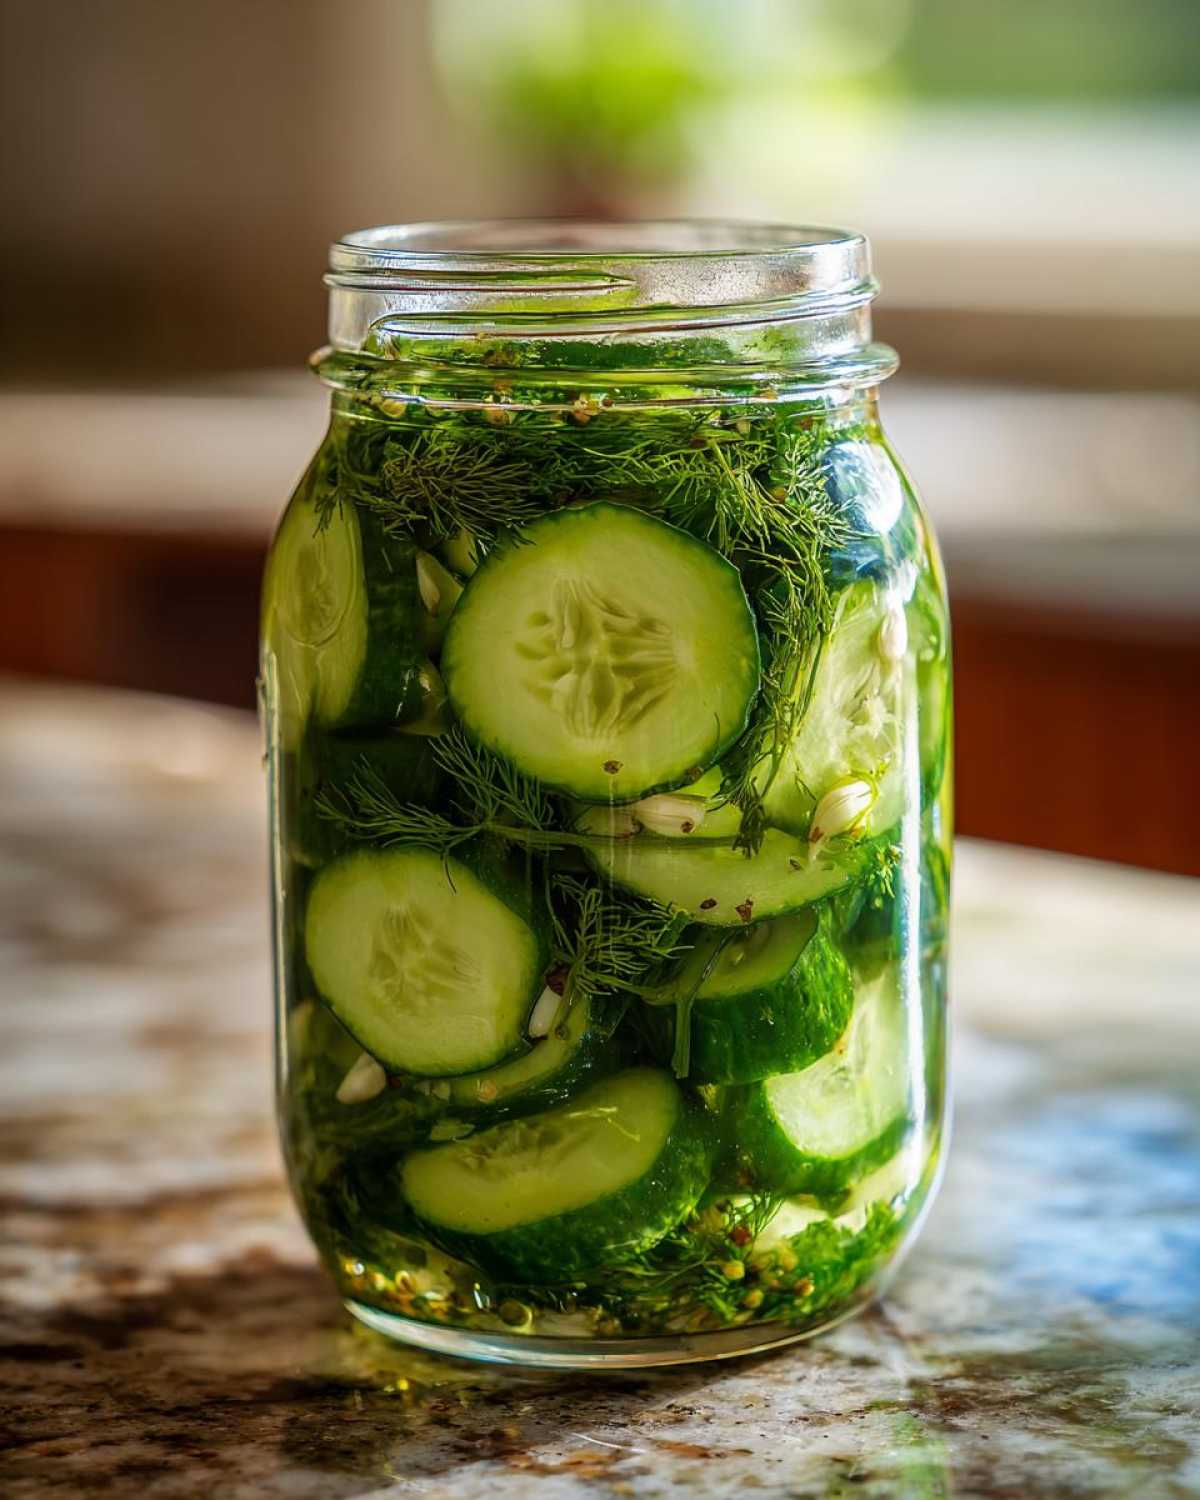
We are skipping all the complicated sealing steps. These are fast, they are packed with smashed garlic and dill, and they are unbelievably crisp. You’ll be snacking on them tomorrow—I promise! We believe everyone should be able to make great pickles.
Why This is the Best Refrigerator Pickles Recipe (Quick, Crispy, Flavorful)
When you’re craving pickles right now, waiting for a boiling water bath to seal jars is torture. That’s why these refrigerator pickles rule the roost! They hit all the sweet spots: amazing flavor, lightning speed, and zero canning stress. My favorite part is that they are basically ready the next day. No fuss, no fancy equipment, just pure crunchy goodness.
- Ready to eat in just 24 hours—sometimes I can’t even wait that long!
- Bright, punchy flavor thanks to the fresh garlic and dill.
- The absolute simplest brine mixture you’ll ever whip up.
This recipe is proof that you don’t need complicated preservation methods to get fantastic results. The refrigerator does all the heavy lifting for us here!
Achieving Maximum Crispness in Your Refrigerator Pickles
Soggy pickles are an absolute tragedy, and I will not stand for it! The difference between a great pickle and a mushy disappointment usually comes down to three things we handle right here. First, use Kirby or Persian cucumbers; they are denser than the big slicing ones. Second, make sure your brine cools down a bit before it hits the cukes; extreme heat softens them instantly. Finally, if you are truly obsessed with staying crunchy—and I am—toss in a grape leaf or just a tiny pinch of pickling lime along with your peppercorns before jarring. Those go directly into the fridge, and that cold shock locks in that beautiful snap!
Gathering Ingredients for Ultra-Crispy Garlic Dill Refrigerator Pickles
Okay, let’s talk supplies for these refrigerator pickles. The ingredient list is short, which is just another win in my book! You’ll need about two pounds of pickling cucumbers, ideally Kirbys, sliced nice and uniform, about a quarter-inch thick. Make sure you have four cloves of garlic, and give those a good smash to wake up the flavor. For the brine, we need half a cup of white vinegar and half a cup of water, along with a tablespoon of salt—please try to use pickling salt or basic kosher salt; avoid iodized table salt if you can! Don’t forget that teaspoon of sugar for balance, the whole peppercorns, and those fresh dill sprigs. That’s it! See? So simple.
Ingredient Notes and Simple Substitutions for Refrigerator Pickles
If you go to the store and they don’t have those perfect little Kirby cukes, don’t panic! You can absolutely use Persian cucumbers; they stay pretty crisp already. If you grab those big slicing cucumbers, though, you’ll definitely want to use my trick—add a grape leaf or even a tiny bit of ice in the brine while it’s cooling to help keep them firm.
The vinegar absolutely needs to be 5% acidity; that’s the standard stuff, don’t grab specialty vinegars here unless you’re adjusting volumes later. As for the dill, if you can’t find fresh sprigs, 1/2 teaspoon of dried dill seed works like a charm, though the fresh stuff really sings in this recipe. These slight adjustments ensure your refrigerator pickles are always flavorful!
Step-by-Step Instructions for Easy Homemade Pickles
Now for the fun part! Because we aren’t canning, the process for these refrigerator pickles is so forgiving. First up: take your washed and sliced cucumbers—I like them about a quarter-inch thick—and toss them right into your clean glass jar, along with those smashed garlic cloves. Don’t worry about layering them perfectly, just get them in there!
Next, we handle the brine, which is where all the delicious, tangy flavor comes from. You want to put your water, vinegar, salt, and sugar into a small saucepan. You are heating this just enough to dissolve everything. Seriously, do not let it come to a rolling boil; we just want those solids gone so the brine is perfectly smooth.
Preparing the Brine for Quick Refrigerator Pickles
Once the salt and sugar have completely vanished into the liquid, take that saucepan right off the heat! This is an important step. Add in your peppercorns and dill right while it’s hot, letting those aromatics steep for about ten minutes, which is just enough time for them to cool down so they don’t cook your poor cucumbers.
If the brine is still steaming hot when you pour it over the cucumbers, you might end up with soft pickles, and we simply can’t have that! Let it cool down on the counter so it’s only warm to the touch before moving on. That little pause helps lock in the crunch.
Assembling and Chilling Your 24 Hour Pickles
Carefully pour that warm, seasoned liquid over your cucumbers and garlic until they are totally submerged. Make sure you leave a little space—about half an inch—at the top of your jar. Cap it up tightly! The first resting period is on the counter for about an hour until it cools down to room temperature. After that hour, move them to the fridge. Resist the urge to peek for a full 24 hours; that’s the minimum wait time for these refrigerator pickles to develop that sharp flavor and incredible texture!
Tips for Success with Your No Canning Pickles Recipe
Even though we aren’t dealing with pressure canners, cleanliness is still king when we make these super fast refrigerator pickles! Before you even wash the cucumbers, make sure your jar is sparkling clean. I just run mine through the dishwasher, but if you’re washing by hand, give it a quick rinse with very hot, soapy water right before you start assembling them.
My biggest success tip is making sure every single cucumber slice is under that brine. If you have pieces floating near the top once the jar is sealed, those pieces are going to get soft and weirdly white! Gently press down on the cucumbers before you add the final splash of liquid and seal the jar. You should see the liquid right up near the lid.
Since these are refrigerator pickles and not shelf-stable, just remember that the texture changes slightly after the first week. They are absolutely best in that 24-to-72-hour window, but keeping them cold ensures they stay tangy and crunchy for weeks. Don’t forget to check out our full disclaimer on food safety just in case you have questions on storage lengths!
How to Make Pickles Without Canning: Storage and Shelf Life
Because we are making these wonderful, tangy cucumbers without the full canning process, storage is super straightforward—but you must obey one iron-clad rule: they *must* stay cold! You can’t leave these jars sitting on the counter once the brine has cooled down at all. Think of them like a fresh juice or homemade salsa; they need that constant chill to keep everything perfectly preserved and safe.
If you keep them diligently refrigerated, these quick pickled snacks will last you a solid two, maybe even three weeks. They usually go right into the crisper drawer in my fridge once they’ve been chilling for that initial 24 hours! But here’s a little secret I learned the hard way: they reach their absolute flavor peak around day two or three.
After about a week, you will notice the texture relaxing just a little bit. They won’t be as aggressively crunchy as they were on day one, but they are still far better and tangier than any store-bought jarred option. If you notice them becoming soft or slimy, that’s your sign to toss them, but honestly, they usually disappear long before they get to that point around here!
Flavor Variations for Tangy Refrigerator Cucumbers
Once you nail this basic recipe for refrigerator pickles, you should absolutely start playing around! That’s the fun part about quick pickling; you aren’t committing to a months-long process, so if a flavor experiment bombs, you just make a fresh batch next week. I love messing with the vinegar. Swap out half of the white vinegar for apple cider vinegar—wow, that adds a really nice, fruity depth that works beautifully with the garlic.
If you like a little more kick in your refrigerator pickles, toss in about a teaspoon of mustard seeds when you add the peppercorns. For a totally different vibe, skip the dill and add thinly sliced jalapeños and half a teaspoon of coriander seeds instead. That makes for killer spicy chips for your sandwiches! These simple adjustments let you create your own perfect batch of tangy refrigerator cucumbers every time you go to refill the jar.
Frequently Asked Questions About Refrigerator Pickles
Because the world of refrigerator pickles moves so quickly, people always have little snags when they try it the first time. No worries, I’ve gathered the most common questions I see so we can get you snacking faster!
Can I use regular slicing cucumbers instead of Kirby or Persian for these?
Yes, you can, but I must warn you: they won’t be as ultra-crispy! Regular slicing cucumbers have higher water content and thinner skins, so they soften much faster, even in the cold. If that’s all you have for these easy homemade pickles, chop them a little thicker, around 3/8ths of an inch, to give them a little more structural integrity.
My pickles turned out soft! What went wrong with my no canning pickles recipe?
Ugh, the dreaded mushy pickle! Usually, this comes down to pouring brine that was too hot over the cucumbers, essentially cooking them before they even get a chance to chill. Or, maybe you used too much sugar, which compromises the acid balance! If you want guaranteed crispy dill pickles fridge success, use ice water to rapidly cool the brine down to lukewarm before pouring it in.
Can I make these spicy? What secondary keywords like ‘garlic dill pickles recipe’ can I adapt?
Absolutely, you can make them spicy! Remember I mentioned red pepper flakes in the notes? That’s the easiest route for heat—just toss some in the brine while it’s heating up. You can also swap some of the garlic for thinly sliced Thai chilies if you’re feeling brave! These simple adjustments transform it into a fantastic spicy version of the standard garlic dill pickles recipe.
If you need more help or want to share your results, feel free to reach out and contact us directly!
Serving Suggestions for Your Quick Pickling Snacks
The best part about making easy homemade pickles is that you get to eat them immediately, and frankly, I rarely make it past eating half the jar with a fork while standing over the sink. But when I show restraint, these garlic dill beauties elevate just about anything!
They are obviously meant to be sliced thick and piled onto a perfect cheeseburger. That cold, sharp crunch cuts right through the richness of the beef and cheese in a way nothing else can. Seriously, skip the jarred chips and use these!
But don’t limit yourself to sandwiches! These also make fantastic quick pickling snacks all on their own. I love chopping them up finely and folding them into a potato salad; it gives the whole dish this incredible, bright zing that wakes everything up.
For a real treat, serve a spear alongside some slow-cooked BBQ or pulled pork. The vinegariness is the perfect foil for smoky, fatty meats. Keep a jar next to the cutting board when you’re setting out appetizers—they are always the first thing to disappear, I guarantee it!
Estimated Nutritional Data for These Refrigerator Pickles
Since these are refrigerator pickles and we aren’t using any crazy additives, the nutrition profile is wonderfully simple! I pulled the numbers below based on the recipe ingredients, but remember, this is just an estimate. Don’t stress too much about the little things when you’re making something this fresh and simple, okay?
This data is based on a serving size of 1/2 cup of these delicious, tangy cucumbers. It’s good information to have, especially if you’re watching your sodium intake, as salt is a big player in any pickle!
- Serving Size: 1/2 cup
- Calories: 15
- Fat: 0g
- Carbohydrates: 3g
- Sugar: 2g (mostly from the teaspoon added to the brine)
- Protein: 0g
- Sodium: 350mg (This is the biggest one, thanks to the pickling salt!)
I always feel good about these numbers because the calories are so low, and you’re getting fiber from the cucumbers themselves. If you are trying to cut back on sodium, you can slightly reduce the salt in the brine, but you might notice a tiny difference in how firm they stay! For more technical details on how we run our site, please review the privacy policy.
Share Your Experience Making These Simple Pickling Recipe
Alright, that’s it! You’ve got the keys to the kingdom for the refrigerator pickles that will ruin you for store-bought forever. Please, please come back and let me know how they turned out!
Did you go for the extra garlic? Did you try the apple cider vinegar swap? Drop a comment below, give this recipe a rating, and tag me if you snap a picture of your crunchy haul. We love seeing your creations! If you are curious about our site rules, check out our terms and conditions. Happy pickling, friends!
PrintUltra-Crispy Garlic Dill Refrigerator Pickles Ready in 24 Hours (No Canning Required)
Make quick, crispy garlic dill refrigerator pickles at home without any canning. These simple pickles are ready to eat in just 24 hours.
- Prep Time: 15 min
- Cook Time: 5 min
- Total Time: 20 min
- Yield: 4 servings
- Category: Side Dish
- Method: Quick Pickling
- Cuisine: American
- Diet: Vegetarian
Ingredients
- 2 lbs pickling cucumbers (Kirby or Persian), sliced 1/4 inch thick
- 4 cloves garlic, smashed
- 1/2 cup white vinegar (5% acidity)
- 1/2 cup water
- 1 tablespoon pickling salt (or kosher salt)
- 1 teaspoon granulated sugar
- 1 teaspoon whole black peppercorns
- 1 teaspoon fresh dill sprigs (or 1/2 teaspoon dried dill seed)
Instructions
- Wash and slice the cucumbers into uniform 1/4-inch thick rounds. Place the sliced cucumbers and smashed garlic cloves into a clean, quart-sized glass jar or container.
- In a small saucepan, combine the water, vinegar, salt, and sugar. Heat the mixture over medium heat, stirring until the salt and sugar completely dissolve. Do not boil.
- Remove the brine mixture from the heat. Stir in the peppercorns and dill. Let the brine cool for about 10 minutes.
- Carefully pour the warm brine over the cucumbers and garlic in the jar, making sure the cucumbers are fully submerged. Leave about 1/2 inch of headspace at the top.
- Seal the jar tightly with a lid. Let the jar cool to room temperature on the counter for about 1 hour.
- Transfer the jar to the refrigerator. Chill for a minimum of 24 hours before eating for best flavor and crispness. Pickles will last up to 3 weeks in the refrigerator.
Notes
- For extra crispness, you can add 1/2 teaspoon of pickling lime or grape leaves to the jar before adding the brine.
- Adjust the garlic amount to your preference. For a stronger flavor, slice the garlic instead of smashing it.
- If you prefer a spicier pickle, add 1/4 teaspoon of red pepper flakes to the brine mixture.
Nutrition
- Serving Size: 1/2 cup
- Calories: 15
- Sugar: 2
- Sodium: 350
- Fat: 0
- Saturated Fat: 0
- Unsaturated Fat: 0
- Trans Fat: 0
- Carbohydrates: 3
- Fiber: 1
- Protein: 0
- Cholesterol: 0