

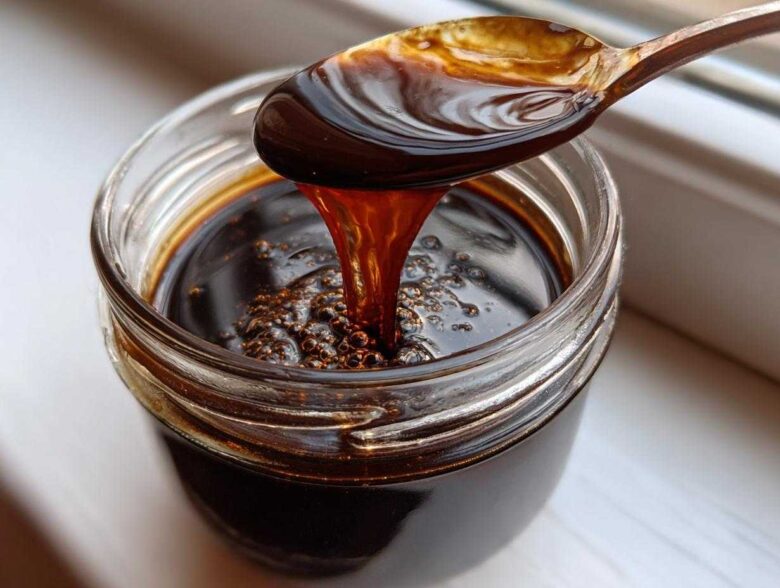
Okay, listen up! If you’re still buying that stuff in the squeeze bottle from the grocery store, we need to talk. Mateo and I used to do that too, until one night when we realized we were out right when we desperately needed a topping. That chaos led to this recipe, and honestly, it changed everything! This isn’t just another recipe in our Flavor Zine; it’s proof that the easiest things are often the best. We developed this chocolate syrup recipe because it’s ridiculously fast—under 10 minutes!—and uses three or four simple kitchen staples. It’s smooth, it’s decadent, and it reminds us that our best stories happen when we cook from the heart, not the pre-packaged aisle. You absolutely need this in your life. If you love this kind of quick pantry magic, you absolutely have to check out our recipe for the best chocolate chip cookies next, too!
Why This Homemade Chocolate Syrup Recipe is Superior to Store-Bought
Honestly, there is just no comparison between the stuff we make here and what you find bottled up on the shelf. When you make your own chocolate syrup, you control every single note of flavor! Store-bought stuff is often heavy on corn syrup, which gives it that weird, almost plasticky aftertaste, and the flavor doesn’t really sing. Here? We get that deep, dark, rich chocolate topping flavor right from quality cocoa powder.
I remember the first time Mateo tasted this. He made a cup of cocoa, poured a huge slug of this fresh batch in, and his eyes went wide. He actually said, “Eva, this tastes like melted chocolate bars, not chocolate *flavoring*.” That’s because it’s so purely chocolatey and develops into a gorgeous, velvety chocolate sauce as it cools.
Achieving That Perfect Rich Chocolate Topping Texture
The magic here is the ratio of sugar to water and cocoa. We skip the corn syrup entirely, which keeps the taste pure. Instead, the specific amount of granulated sugar, combined with that quick simmer, dissolves perfectly and creates the structure needed for that beautiful, decadent chocolate drizzle consistency. It’s thicker than the thin stuff, but wonderfully smooth, never gritty.
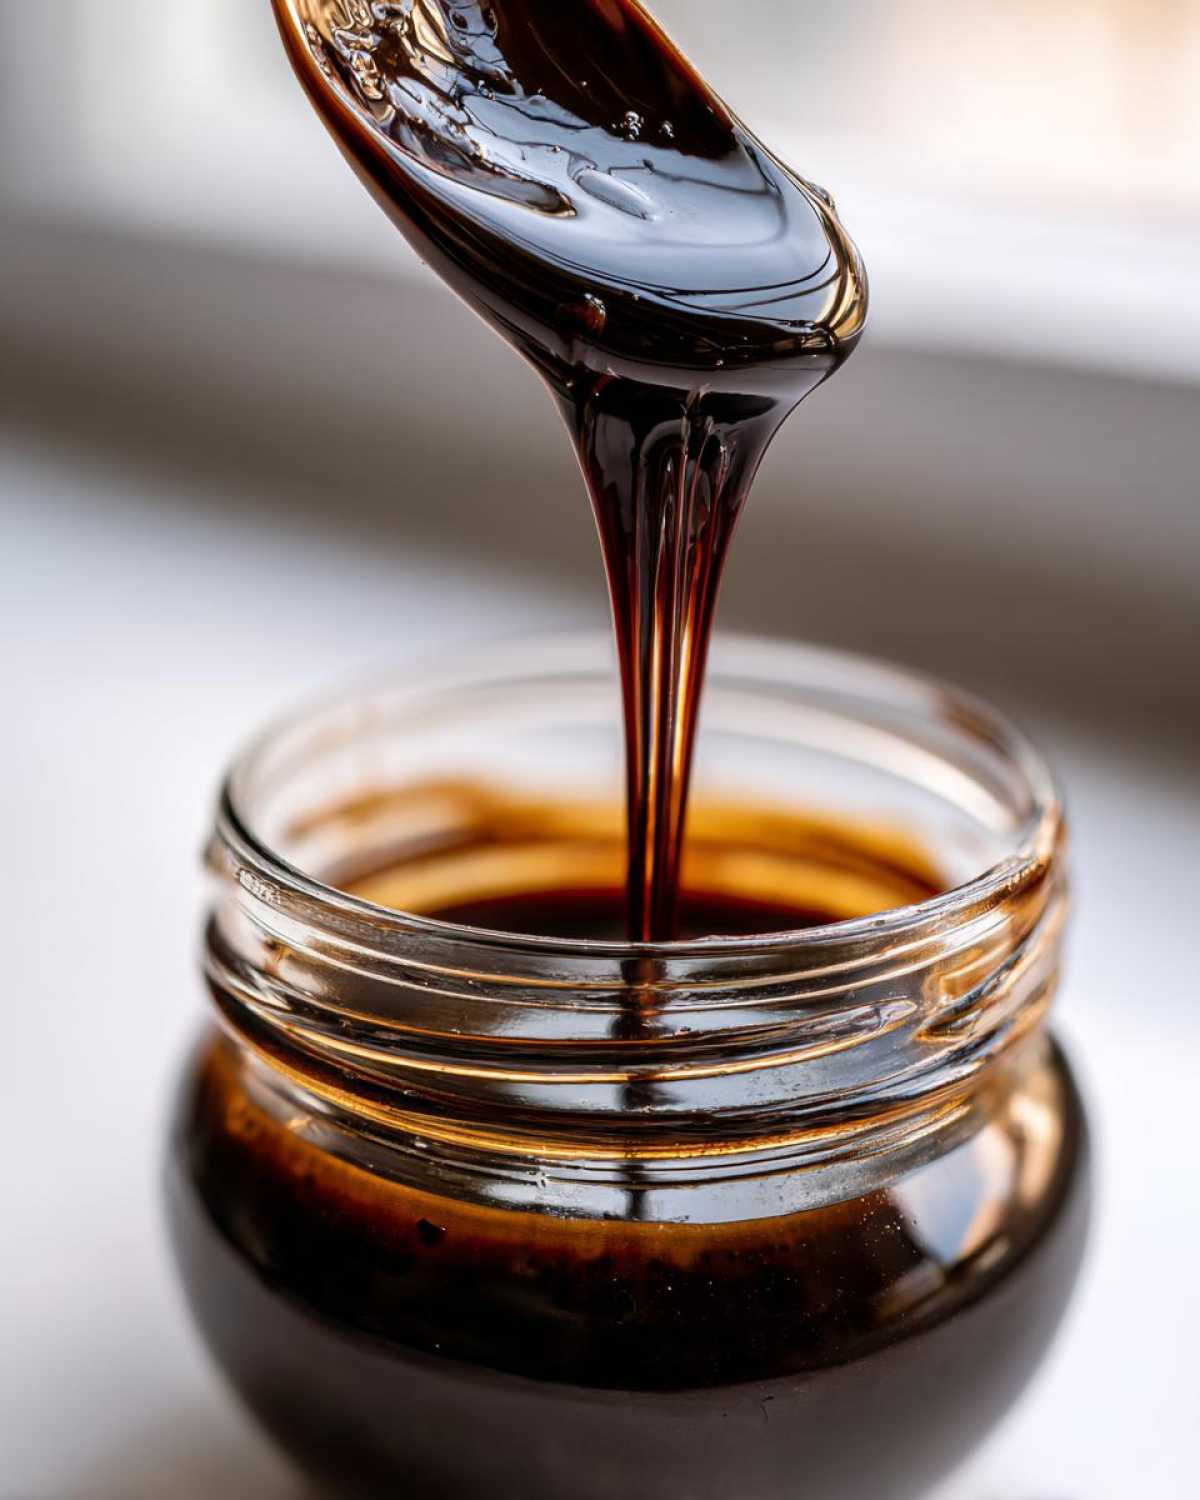
Ingredients for Your Quick & Easy Homemade Chocolate Syrup
When you’re making something this good in under ten minutes, you want to know you have everything ready to go. Forget hunting around for specialty items; this recipe is built around those simple kitchen staples recipe components you probably already have sitting in the pantry. That’s how we roll here at Flavor Zine!
For about a cup and a half of this amazing topping, just gather these few essentials. Make sure your cocoa powder is good quality—it makes a huge difference in the final flavor profile!
You will need:
1 cup granulated sugar
1/2 cup unsweetened cocoa powder
1 cup water
1/4 teaspoon salt (don’t skip this, it wakes up the chocolate!)
1 teaspoon vanilla extract
We keep this recipe simple, but of course, if you’re looking for other ways to use what’s in your cupboard stock, check out my post on pantry staple recipes for more inspiration!
How to Prepare This Cocoa Powder Chocolate Syrup From Scratch
This is where the magic happens, and folks, it happens *fast*. Seriously, have your ice cream bowl ready before you even turn the stove on. We are making this chocolate syrup using the stovetop method, and it really only takes about ten minutes total!
First thing, grab a small saucepan—nothing too wide, we want to keep the ingredients concentrated. Add your sugar, your cocoa powder, and the water right into that pan. Now, put it over medium heat. You have to whisk this mixture constantly until you see it just starting to simmer. You’ll notice the sugar melts away and the mixture looks darker, richer, and smooth. This constant whisking is non-negotiable to avoid those nasty clumps!
Once it hits that simmer, that’s your cue to count! Let it cook while stirring often for just one minute—no more! We aren’t trying to reduce it down too much here; that thick, super-set texture comes later. After that minute, yank that pan off the heat immediately. Stir in your salt and that tiny splash of vanilla. Now, the hardest part: you have to let it cool completely. That cooling process is what turns our super-quick liquid into that perfect, luscious topping. If you need another deep dive on making sauces from scratch, check out my tutorial on a homemade brown gravy that also relies on timing!
Crucial Tip for Making the Best Chocolate Syrup
Remember how I mentioned avoiding corn syrup earlier? Well, the constant whisking while heating is what prevents scorching and gives it that silky, velvety texture without needing any bulky fillers. Just keep that whisk moving until the mixture is fully homogeneous *before* it simmers. If you see bits scratching the bottom of your pan, you aren’t whisking enough! This attention to detail ensures you get that ultimate better than store-bought quality every single time. It’s simple technique, honestly.
Tips for Perfect Homemade Chocolate Syrup Consistency
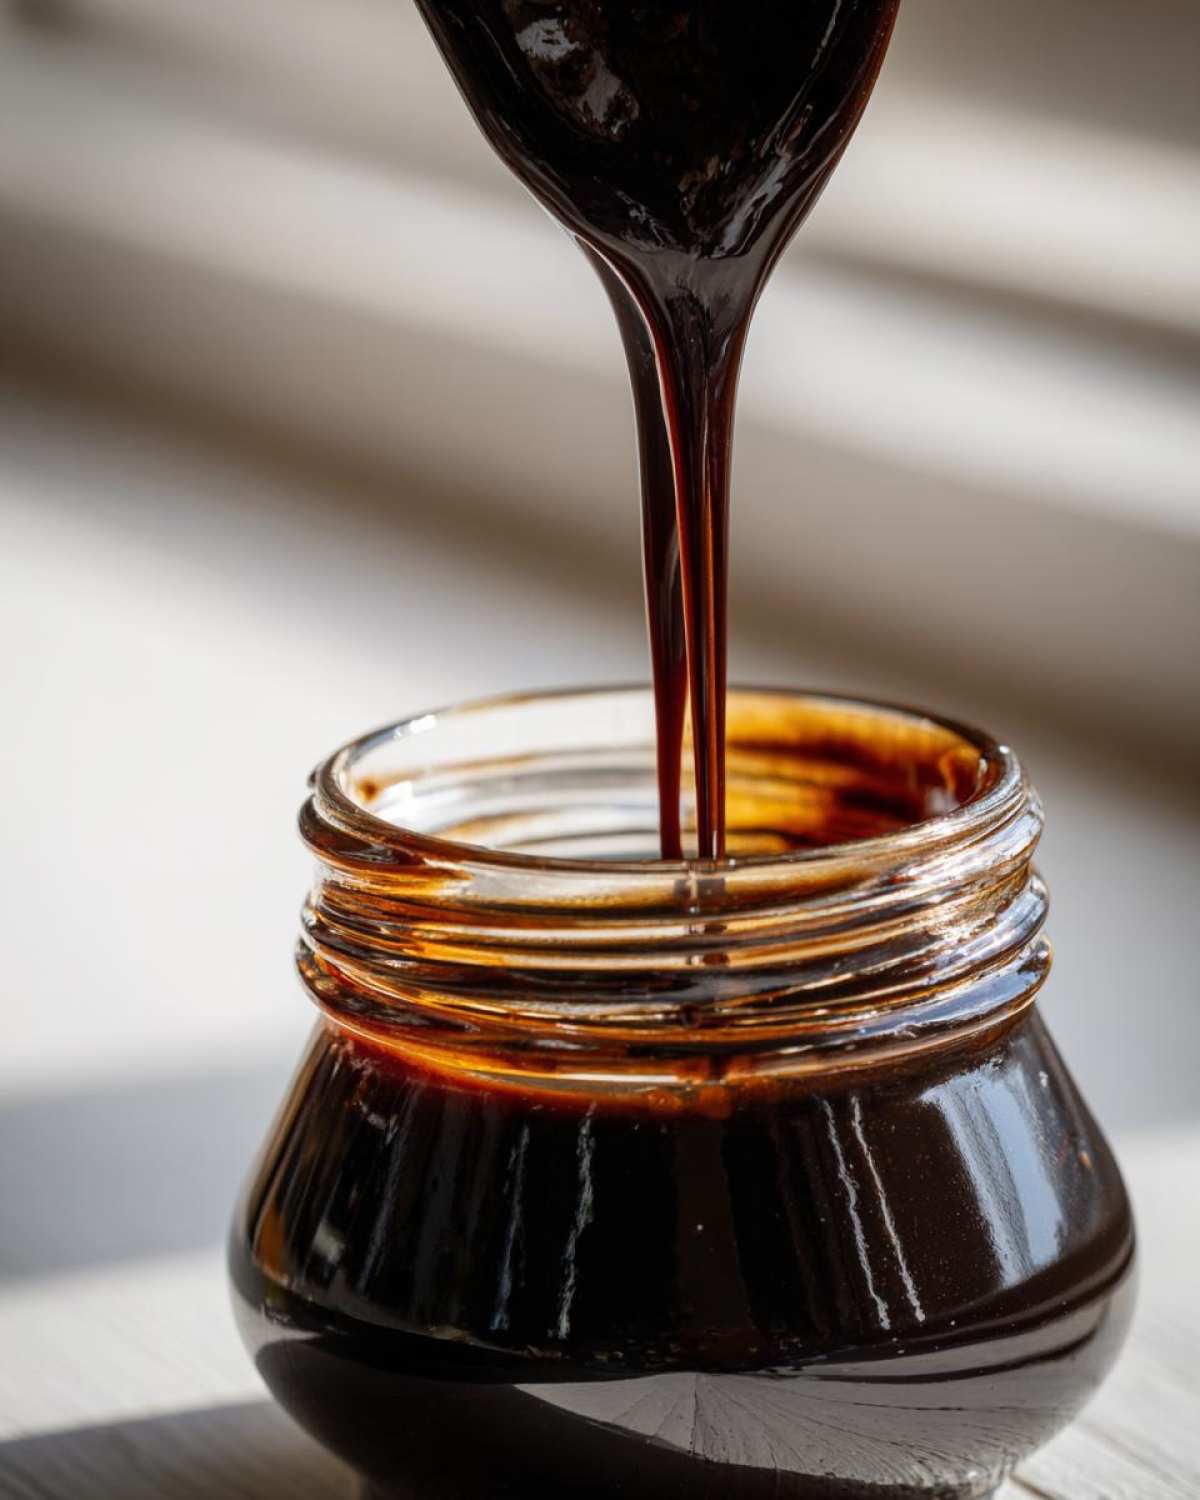
The biggest surprise people have when making this smooth delight is how much it changes after it leaves the heat. When you first pour this chocolate syrup out, it’s going to look a little thin, almost like thin cocoa water. Now, don’t panic! That’s exactly what we want when it’s hot. The sugar structure hasn’t set up yet, and it needs room to breathe and settle down.
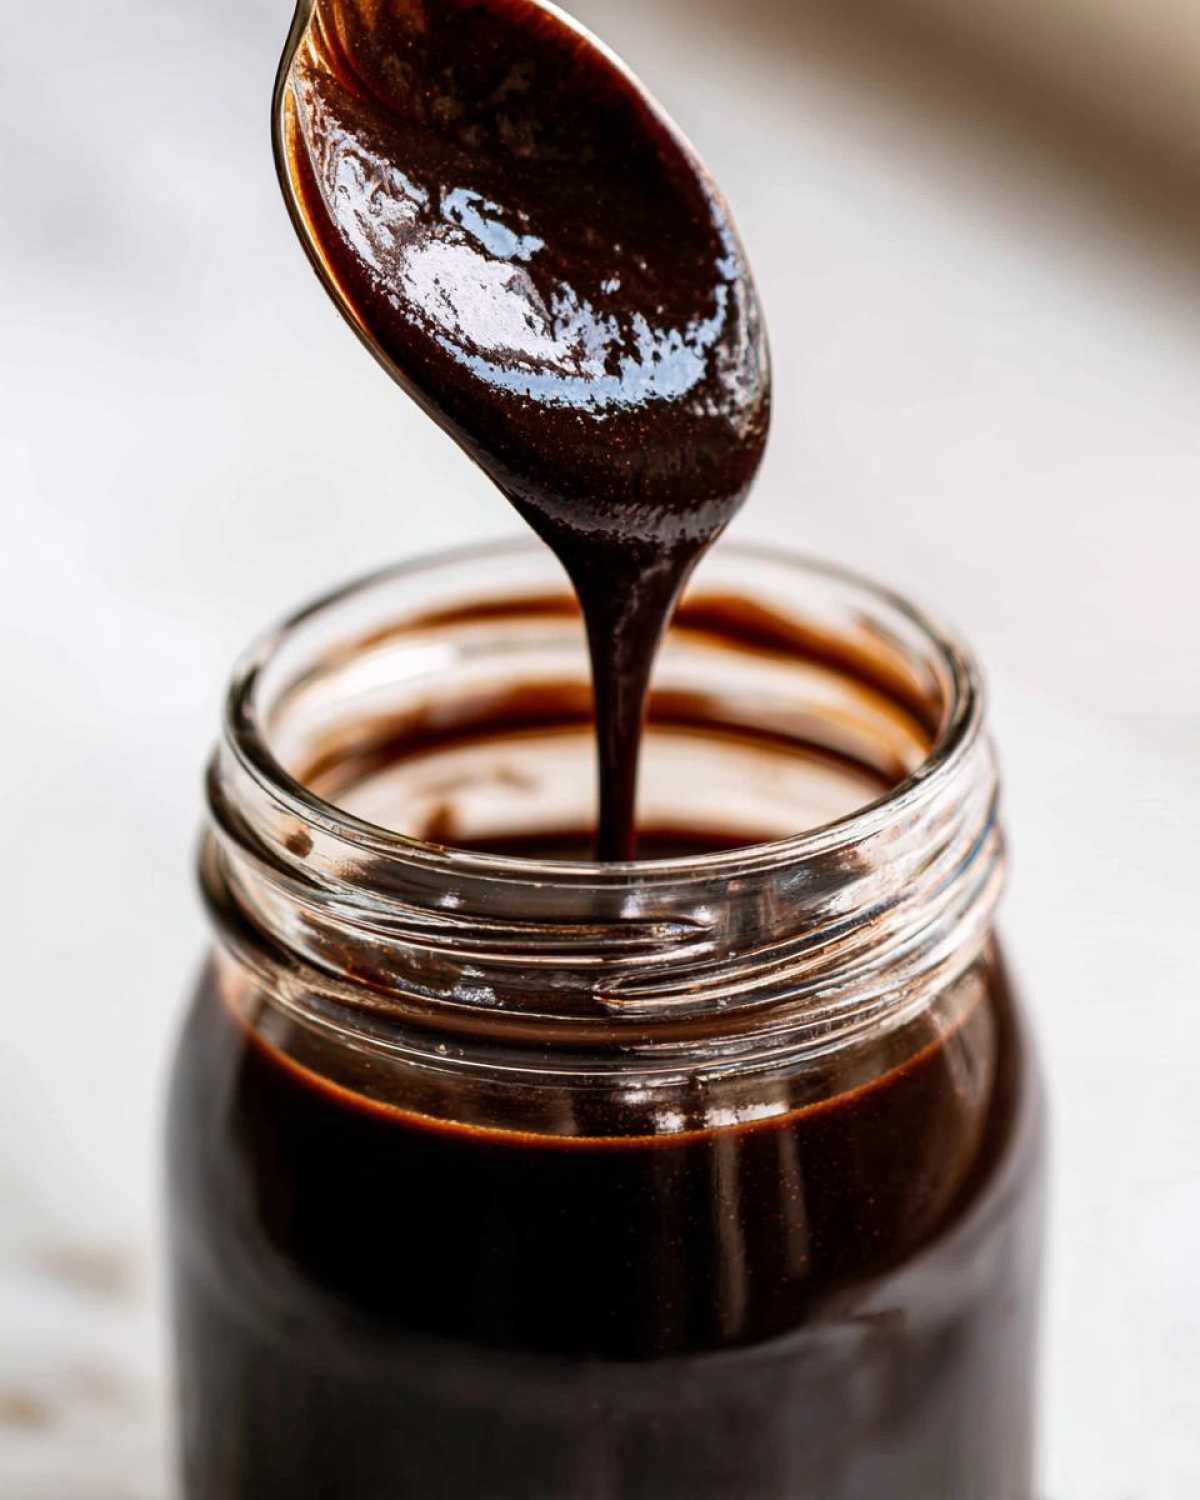
Seriously, put it in the fridge or just let it sit on the counter for a good 45 minutes. You’ll come back, and it will have transformed into that thick, luxurious topping that drips perfectly off a spoon. If, after cooling, you find you’ve gone a little too thick—maybe you let it simmer a touch too long—don’t worry! Just gently warm up a small portion and quickly whisk in a teaspoon or two of warm water until you hit your sweet spot.
This is especially important if you are using it heavily in beverages. For things like making a killer latte or specialty chocolate syrup for coffee, you might want it thinner from the start. If that’s the case, just mix in an extra tablespoon or two of warm water right after you take it off the stove. It’s your sauce, Eva and Mateo always say, so you get to publish the final texture!
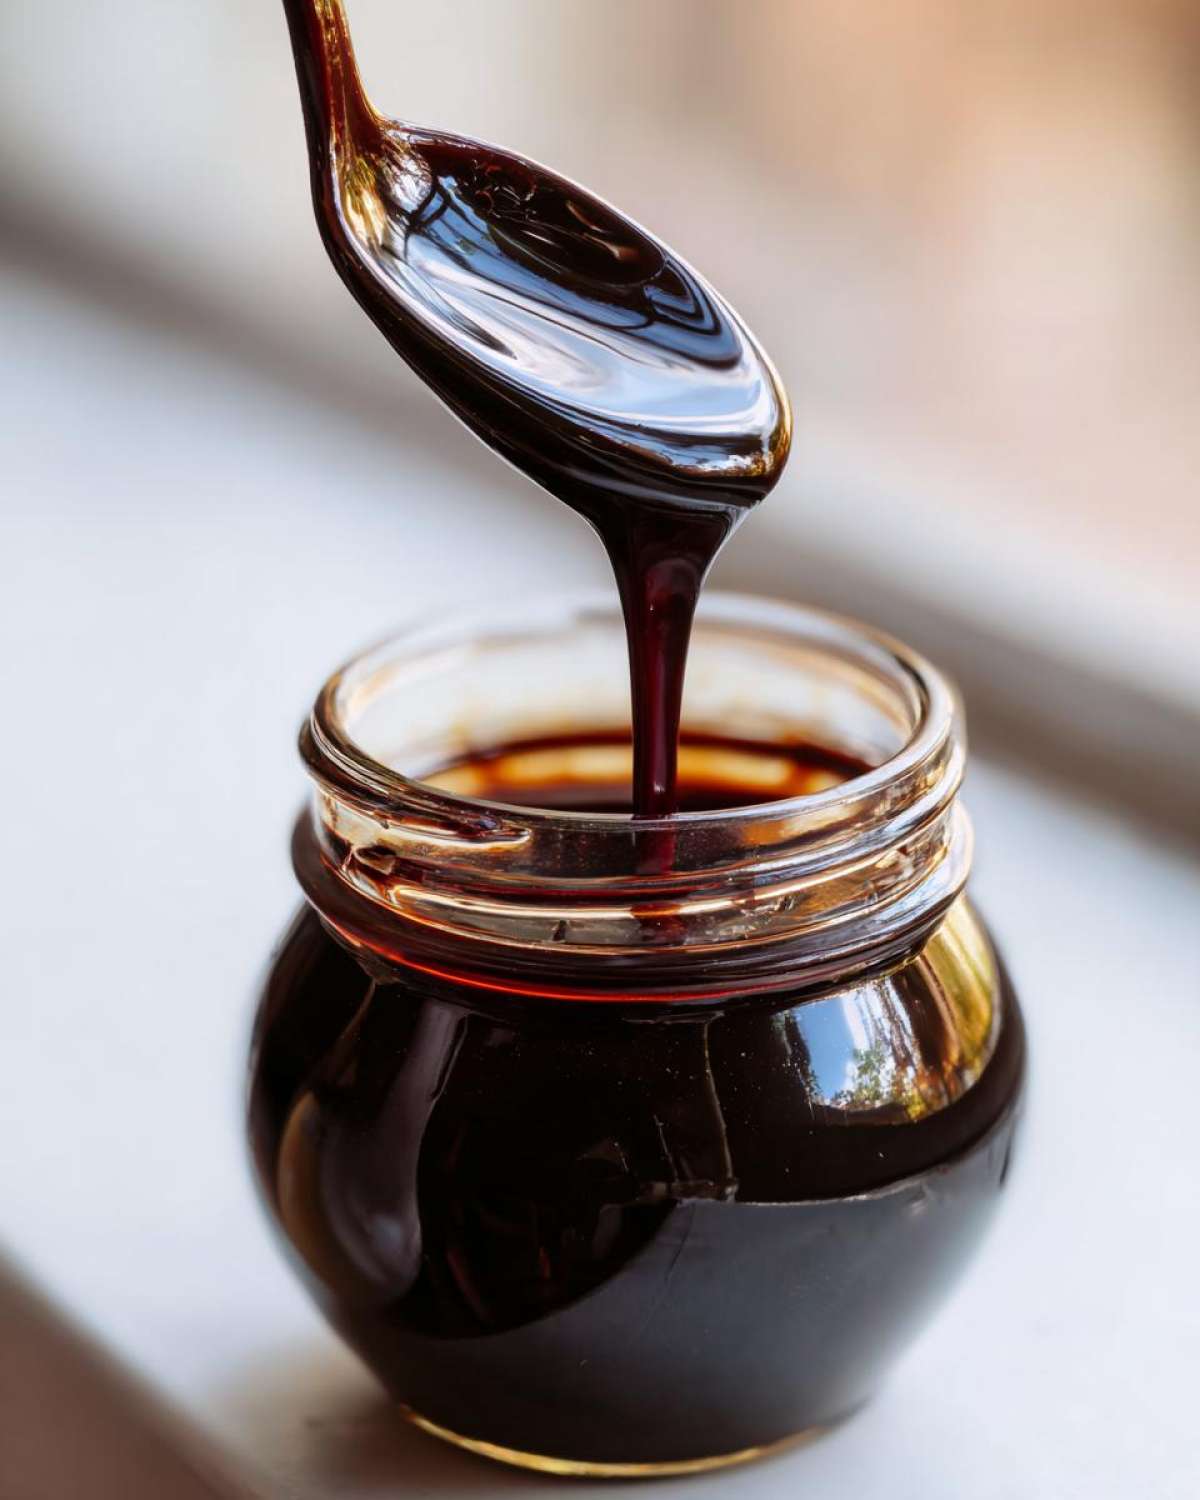
For more easy dips and sauces where consistency is key, you should check out our tips for the quick, creamy olive dip!
Creative Ways to Use Your Rich Chocolate Topping
So, you’ve made this incredible, no-fail batch of chocolate syrup, and now you’re staring at the jar wondering where to deploy your decadent creation. Trust me, this sauce deserves a starring role! The most obvious, and perhaps best, use is as a homemade ice cream topping. A generous drizzle right before serving makes even the most basic vanilla scoop feel gourmet. Mateo uses his leftover bits to swirl into our morning coffee—it makes the best mocha, instantly!
But you absolutely must try it in milk. Forget those chalky powders; using two or three tablespoons of this fresh sauce mixed into a glass of cold milk creates the richest, deepest chocolate milk recipe you’ve ever had. Seriously, it’s game-changing for kids (and tired adults!).
And don’t forget breakfast! It’s spectacular over a stack of our fluffy buttermilk pancakes, making them feel like a special occasion breakfast. If you want to go all-out dessert mode, try swirling some into a bowl of homemade strawberry ice cream! It’s the perfect finishing touch for practically anything sweet.
Storage and Shelf Life for Homemade Chocolate Syrup
Okay, now for the part everyone asks about: how long does this magic last? Because we skipped all those weird preservatives found in the store stuff, this amazing chocolate syrup needs a little refrigeration love. Here’s the deal: pop it into any airtight container—a mason jar is my favorite—and stick it straight into the fridge. When you keep it properly chilled, it stays fantastic for up to two full weeks. If you notice it getting really stiff, just let it sit on the counter for five minutes before using it, and it’ll be perfect again!
Variations: Vegan Chocolate Syrup Homemade and Sugar Free Chocolate Syrup Recipe
When we first published this basic recipe, I got a flood of emails asking, “Eva, how can I make this fit my specific needs?” And that’s the beauty of having a simple, from-scratch recipe! You have total control over the ingredients, making it easy to tweak for different dietary needs. You asked about making this a vegan chocolate syrup homemade batch, and it’s delightfully simple!
Since the base recipe only uses sugar, cocoa, water, salt, and vanilla, it’s already vegetarian. To make it fully vegan, you just need to ensure your sugar source follows vegan guidelines (some white sugars are processed with bone char, though most granulated sugar is fine these days). If you are keen on learning more about vegan pantry swaps, check out my guide for vegan chocolate chip cookies for other ideas!
Now, for those looking for a sugar free chocolate syrup recipe—this requires a bit more work, usually substituting the granulated sugar with a granulated alternative like erythritol or monk fruit blend. You’ll need to adjust the liquid content slightly because sugar substitutes interact differently with heat and water, so test that consistency carefully.
And remember that richer note I mentioned? If you want to skip the water substitution and just boost the flavor profile for anyone, swapping out half the water for strong, brewed coffee makes an incredibly deep, almost bitter-sweet sauce perfect for lattes or just stealing a spoonful. For specific sugar strategies, I often point people toward the excellent work done by people like those at The Big Man’s World for precise sweetener ratios!
Frequently Asked Questions About Making Chocolate Syrup
I know you might still have a few lingering doubts, which is totally normal when moving from a bottle to scratch cooking! We get asked the same things all the time. Here are the quick answers to the biggest questions we hear about whipping up this homemade chocolate syrup so you can get stirring!
How do I make sure my homemade chocolate syrup doesn’t get clumpy?
That’s the number one worry! The trick is twofold: make sure you whisk the cocoa powder and sugar together *before* you add the water. Then, incorporate the liquid slowly while heating, whisking constantly until it simmers. If any lumps form, just take it off the heat for a second and vigorously whisk that area until it smooths out, then return it to the heat. Patience here pays off big time for that smooth texture!
How long does this easy chocolate sauce recipe really last?
Because we aren’t loading it up with preservatives, it won’t last forever like the store brand, but two weeks in the fridge is completely doable if kept in a sealed container. If you see any cloudiness or off-smell, toss it—better to waste a little syrup than risk it! For us, two weeks is plenty of time since we use it up on everything from sundaes to morning coffee.
Can I use this easy chocolate sauce recipe for hot chocolate?
Oh, yes, you absolutely can! This is fantastic because it’s already rich, so you don’t get that chalky residue you sometimes get with plain cocoa powder. It melts beautifully into hot milk. Now, if you’re planning on making a huge pot, know that this recipe is designed to be a thick drizzle. If you want a thinner base for lots of servings of regular hot cocoa, just mix 2-3 tablespoons of the cooled syrup with a small splash of hot water first before adding your milk. It works just as well as specialized flavoring syrups for your hot chocolate cupcakes, too!
What if my syrup got too thick after cooling?
Don’t panic! It just means the sugar set up a bit more than expected. Take a small portion of the hardened syrup, warm it gently on the stovetop or for a few seconds in the microwave, and mix in a teaspoon of warm water. Whisk until you reach that perfect, pourable consistency you desire for drizzling or mixing into drinks.
Estimated Nutritional Snapshot for Your Chocolate Syrup
Okay, I know we cook with love and joy here, but sometimes it’s good to know what’s in the jar! Since this is a homemade chocolate syrup made from scratch, these numbers are just an estimate based on the standard ingredients we used. This is just a snapshot for transparency, remember that brands can change things up!
For a serving size of 2 Tablespoons, here is what you are looking at:
- Calories: 85
- Sugar: 18g
- Sodium: 15mg
- Fat: 0.5g
- Protein: 0.5g
It’s surprisingly low in fat for such a rich sauce! For more on how we protect your data and maintain transparency around our published recipes, you can always check out our official privacy policy. Happy drizzling!
PrintQuick & Easy Homemade Chocolate Syrup (Better Than Store-Bought)
Whip up this rich, smooth homemade chocolate syrup in under 10 minutes using simple pantry staples like cocoa powder. This easy recipe makes a decadent drizzle perfect for ice cream, chocolate milk, or coffee drinks.
- Prep Time: 5 min
- Cook Time: 5 min
- Total Time: 10 min
- Yield: About 1 1/2 cups
- Category: Dessert Topping
- Method: Stovetop Cooking
- Cuisine: American
- Diet: Vegetarian
Ingredients
- 1 cup granulated sugar
- 1/2 cup unsweetened cocoa powder
- 1 cup water
- 1/4 teaspoon salt
- 1 teaspoon vanilla extract
Instructions
- Combine the sugar, cocoa powder, and water in a small saucepan.
- Place the saucepan over medium heat. Whisk the mixture constantly until the sugar dissolves and the mixture begins to simmer.
- Continue to cook, stirring often, for about 1 minute after it starts simmering. Do not let it boil rapidly.
- Remove the saucepan from the heat. Stir in the salt and vanilla extract.
- Allow the syrup to cool completely. It will thicken as it cools.
- Pour the cooled chocolate syrup into an airtight container for storage.
Notes
- For a richer flavor, substitute half of the water with strong brewed coffee.
- If you want a thinner consistency for coffee drinks, add 1-2 tablespoons more water after cooling.
- Store this homemade chocolate syrup in the refrigerator for up to two weeks.
- To make chocolate milk, mix 2-3 tablespoons of syrup with 1 cup of cold milk.
Nutrition
- Serving Size: 2 Tablespoons
- Calories: 85
- Sugar: 18
- Sodium: 15
- Fat: 0.5
- Saturated Fat: 0.3
- Unsaturated Fat: 0.2
- Trans Fat: 0
- Carbohydrates: 21
- Fiber: 1
- Protein: 0.5
- Cholesterol: 0