

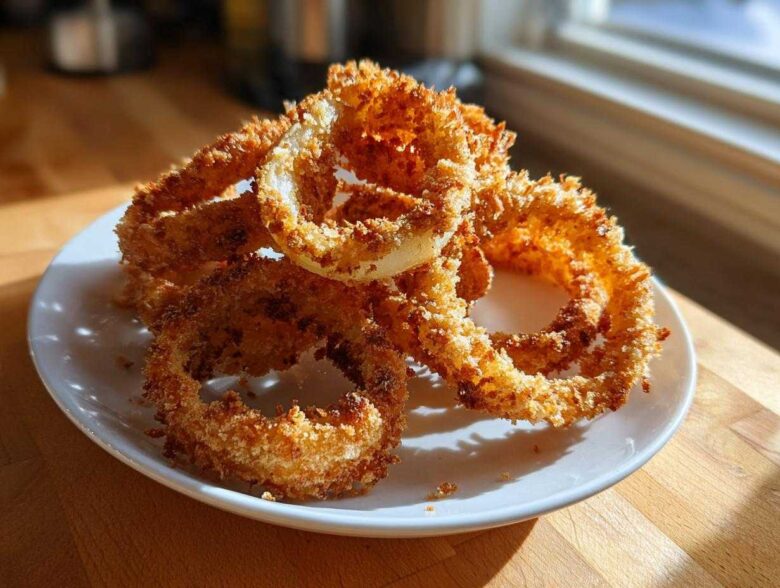
You know that craving, right? That desperate need for a pile of deeply golden, shatteringly crisp onion rings, but you look at the deep fryer and just sigh. Forget that oily mess! I spent way too many weekends wrestling with splattering hot oil before the air fryer changed everything. Trust me, achieving that perfect restaurant crunch with just a tiny bit of spray is not a myth. The secret to these sensational Air Fryer Onion Rings is really about the breading technique—it’s simple, but you have to do it right. I cracked the code after about six messy batches, and now we have a nearly guilt-free side dish ready in under 35 minutes. If you’re looking for the best way to cook these in your basket, you’ve absolutely landed in the right spot!
If you want to know more about how we approach recipes here, you can check out our story over at our ‘About Us’ page. We’re all about making real food for real kitchens!
Why These Air Fryer Onion Rings Are the Best Air Fryer Onion Ring Recipe
Honestly, I’ve tried every sad, floppy onion ring recipe out there, and this method consistently delivers. We aren’t messing around with soggy centers or burnt edges. This is hands-down the Best Air Fryer Onion Ring Recipe because it focuses intensely on achieving a truly robust crust. We tested these dozens of times just to make sure the breading sticks!
Why should you trust my process for these Air Fryer Onion Rings? Because we guarantee that satisfying crunch you usually only get from a restaurant deep fryer, but we use barely any oil.
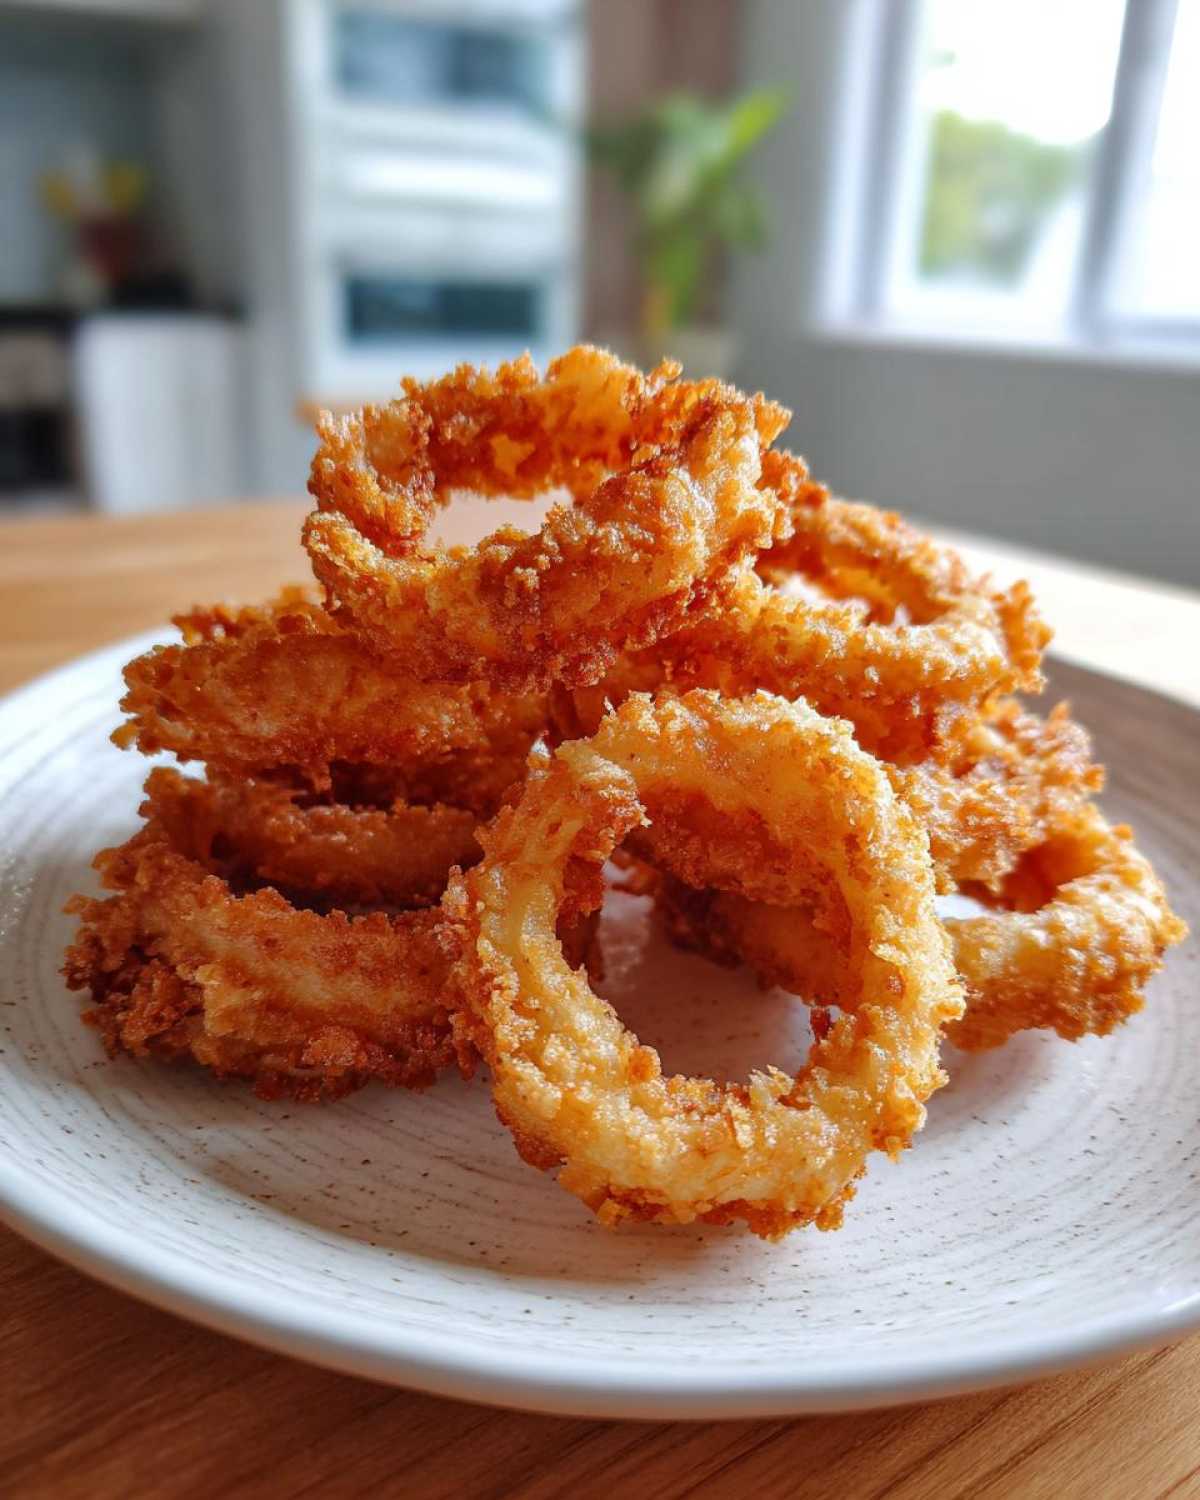
Key Benefits of Our Perfect Air Fryer Rings
- Guaranteed Crispness: Thanks to the Panko and our specific spray technique, sogginess is a thing of the past.
- Speedy Side Dish: They go from raw onion to golden masterpiece in about 30 minutes total. It’s lightning fast!
- Less Mess: No massive pots of oil to deal with later. Just wipe down the basket!
- Flavor Packed: The light spice blend in the flour wakes up the natural sweetness of the onion.
Ingredients for Crispy Air Fryer Onion Rings
Okay, gathering your supplies is crucial! If you want those perfect Air Fryer Onion Rings, you need the right players on your team. As you can see below, these are simple things, but the quantities matter. I always slice my onions about 1/4-inch thick—if they are too thin, they evaporate, and if they are too thick, the center stays raw. Don’t forget to separate those rings after slicing!
- 2 large yellow onions, sliced into 1/4-inch thick rounds, separated
- 1 cup all-purpose flour
- 1 teaspoon salt (seriously, don’t skip this!)
- 1/2 teaspoon black pepper
- 1/2 teaspoon paprika (sweet or slightly smoked—your choice!)
- 2 large eggs
- 1/4 cup milk (any kind works)
- 1 1/2 cups Panko breadcrumbs (this is our secret weapon!)
- Cooking spray (must be oil-based, like avocado or canola oil spray)
Ingredient Notes and Substitutions
Let’s talk Panko. Regular breadcrumbs just don’t cut it here; Panko is what gives us that flaky, shatteringly crisp texture. It absorbs the light spray of oil perfectly, helping us achieve that Homemade Onion Rings Air Fryer No Oil look without deep frying. When you spray, you need a genuine oil-based cooking spray, not the non-stick baking spray—that stuff can damage your non-stick basket over time! If you absolutely can’t use spray, you can very lightly brush the tops of them with melted coconut oil, but the spray gives much better coverage.
How to Make Crispy Onions in Air Fryer: Step-by-Step Instructions
This is where the magic happens, and honestly, paying attention during cleanup is what separates successful Air Fryer Onion Rings from sad, naked onions! The whole process is built around creating layers of crunch that stay put when they hit that hot air. Before you even wash your onion slices, get three shallow bowls lined up. We are building our dredging station!
First bowl gets the flour blend—this is your base coat, helping the wet stuff stick. The second bowl is your egg wash. The third bowl needs all those Panko breadcrumbs. Dredge one ring at a time! Don’t just dip it lightly. You need to coat it in flour first, knock off any big clumps, then dip it in the egg, letting the excess drip off completely. Then, press that wet ring firmly into the Panko. Press it! That light physical pressure is key to getting those tasty crumbs to adhere properly.
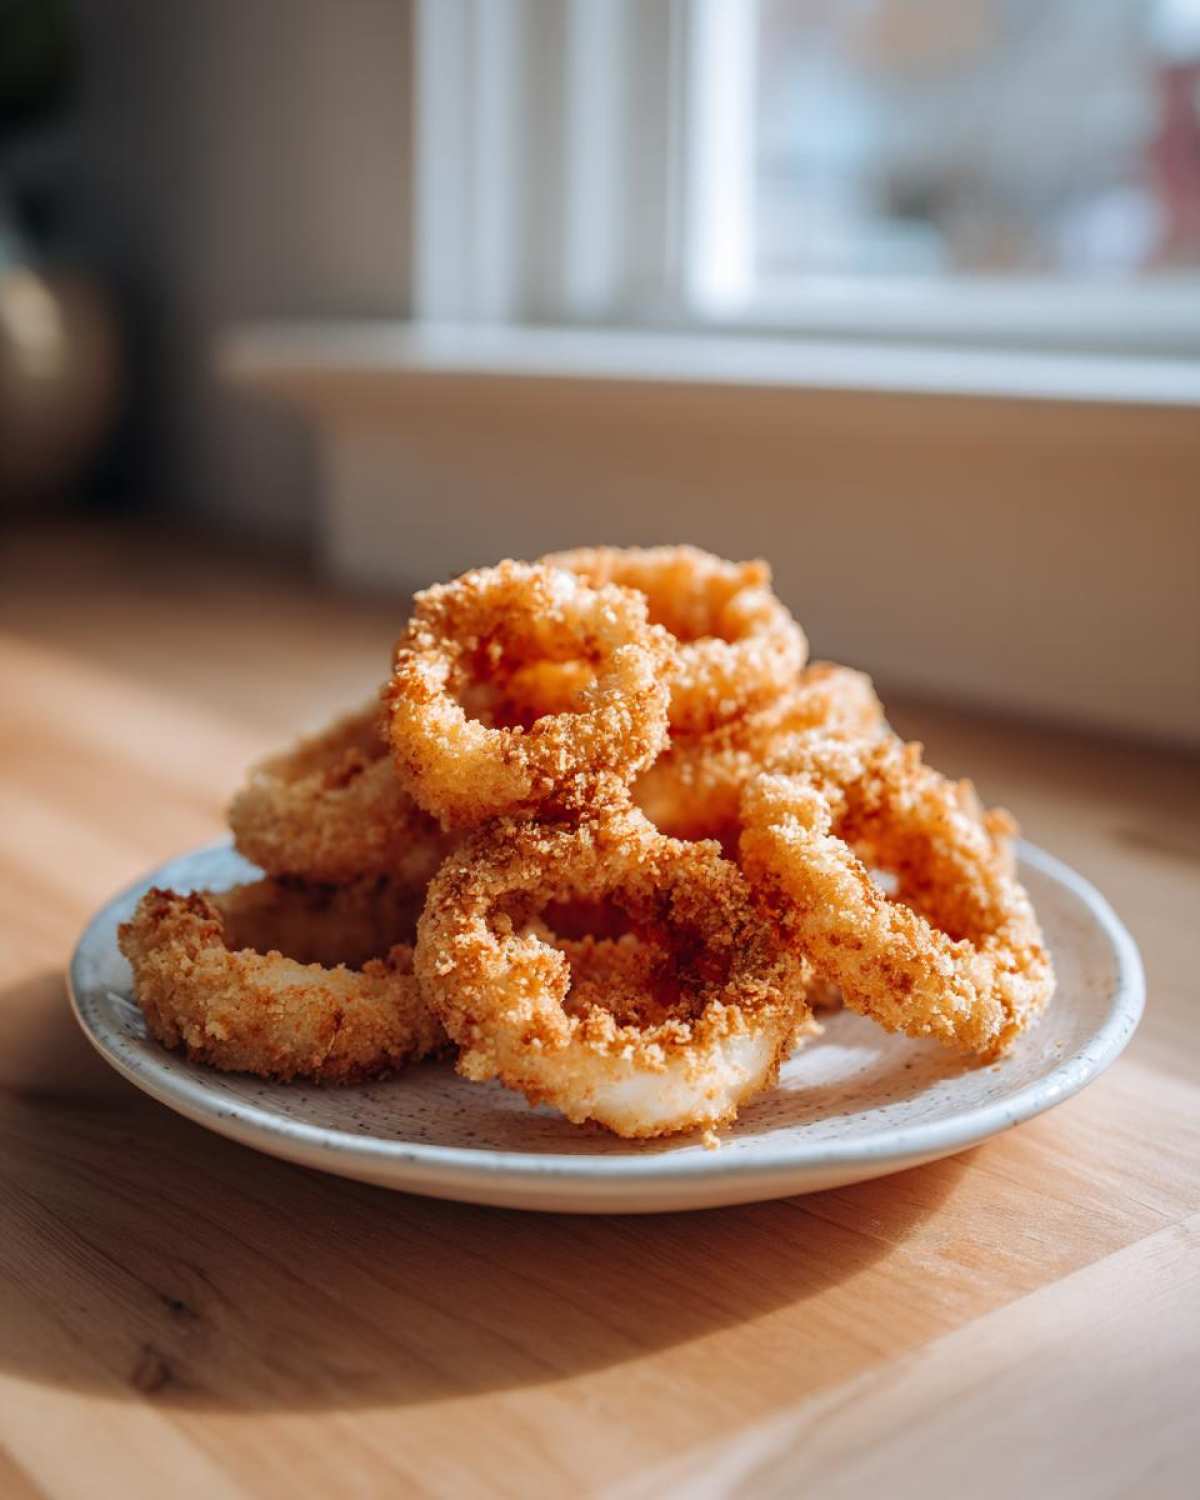
Once coated, lay them on a wire rack. If you have loose breading falling off right now, go read our tips below! It usually means you skipped pressing firmly enough. Once you’ve coated a perfect batch, remember to always preheat your air fryer! It needs to be screaming hot—set it to 380°F (195°C) for five minutes before the onions even think about going in. Check out all our air fryer wisdom over at our main blog page.
Mastering Air Fryer Breading Techniques
If you’ve ever had breading fallout, usually it’s because you didn’t shake off the flour well enough, or you didn’t give the Panko something wet enough to stick to. If you notice a ring looks patchy after the egg dip, dip it *back* into that egg mixture briefly before hitting the Panko again. Think of the egg as the glue! Pressing the Panko on—and I mean really pressing it with your fingers—ensures that when those rings start tumbling around in the air current, the crust stays perfectly intact. This technique has saved me so many times when I thought I was going to end up with plain, sad rings!
Air Fryer Onion Ring Cooking Time Temperature Guide
Preheating to 380°F (195°C) is non-negotiable. It shocks the coating, setting it instantly so it crisps up instead of steaming. Load your basket with the breaded rings, but listen to me: you must stick to a single layer pattern. Overcrowding is the number one killer of crispy food in these machines. If they are stacked, they will be soggy where they touch!
Cook for 10 to 12 minutes total. Around the six-minute mark, you need to pull the basket out, flip every single ring over, and then give the new top side a light little spritz of oil spray. This ensures your Crispy Air Fryer Onion Rings brown evenly on both sides. They are done when the Panko is deep golden brown and feels firm to the touch!
Tips for Success with Your Air Fryer Onion Rings
Achieving success with these rings is all about controlling airflow, which is probably the most important thing to remember about using an air fryer for anything breaded. When I first started, I’d dump way too many rings in, thinking I could crank the temperature higher to compensate. Oops! That just traps steam, and guess what? Soggy bottoms!
My big breakthrough moment happened when I committed to three small batches instead of trying to rush one giant batch. It takes maybe three extra minutes, but the payoff is incredible. Make sure those rings aren’t touching, and always use that light spray just before flipping. If you’re struggling with the glue factor, definitely go back and review the Air Fryer Breading Techniques section above—pressing that Panko on really makes all the difference.
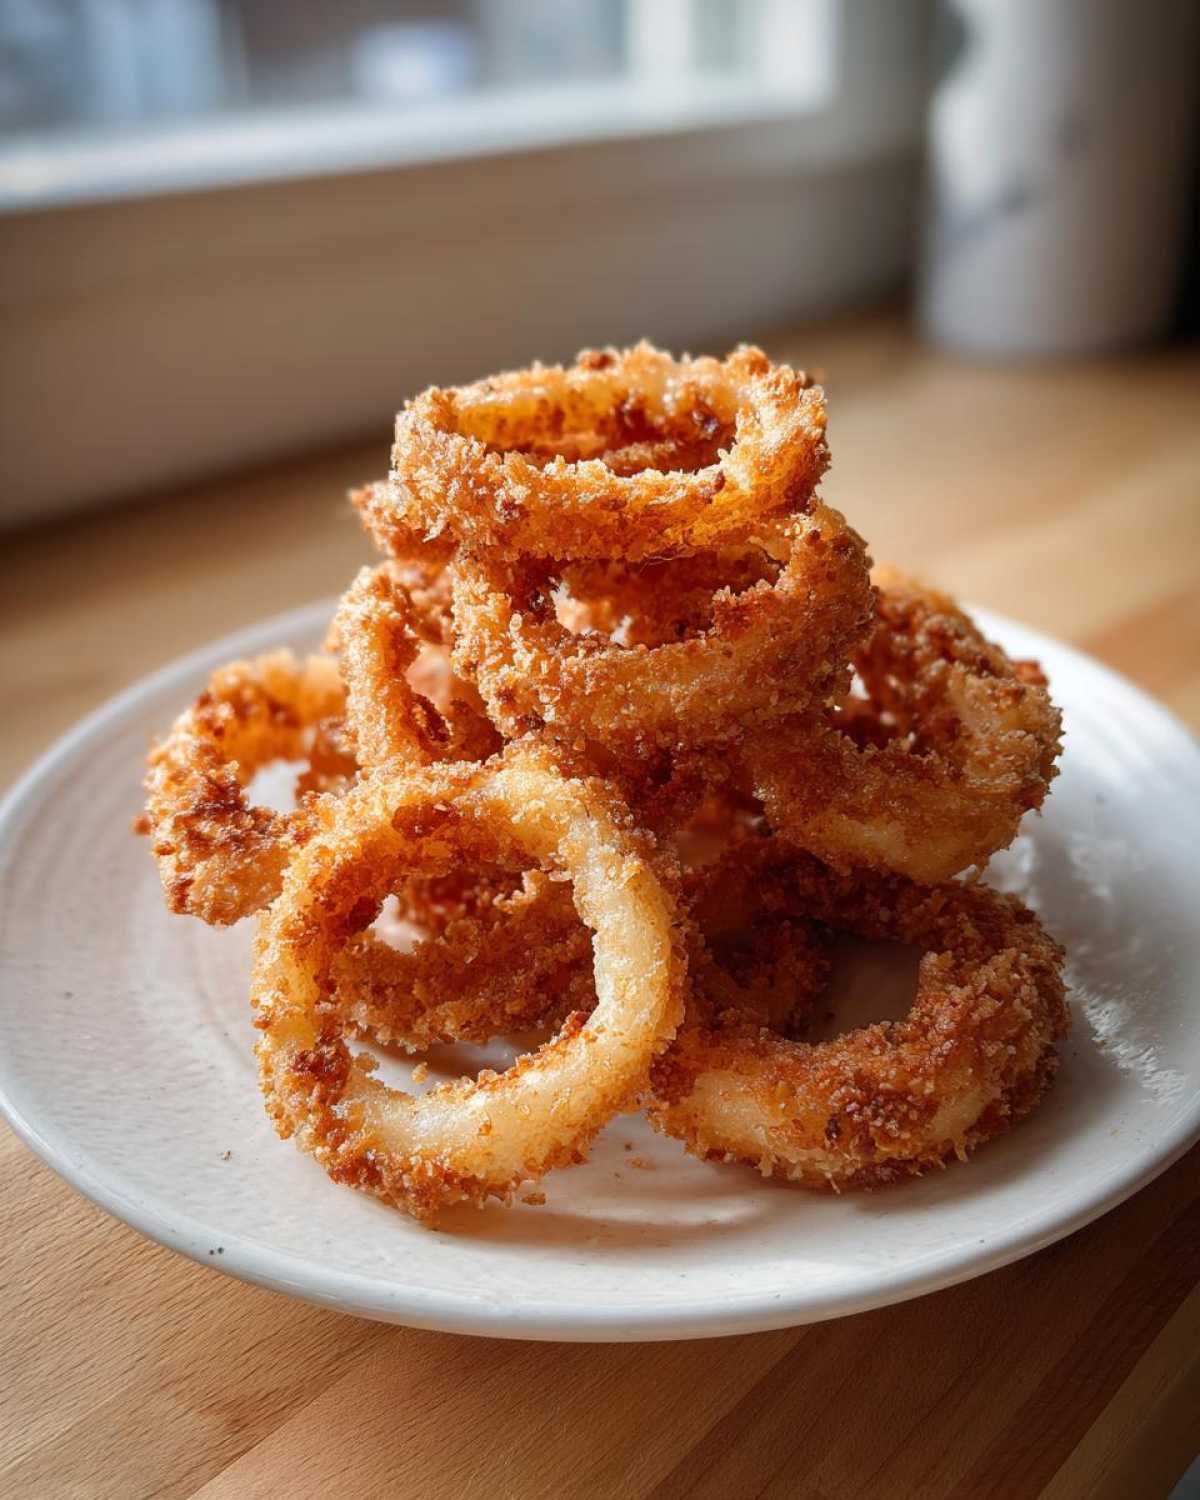
If you want another amazing, fast side dish, you should absolutely check out my favorite quick French toast recipe. It teaches similar principles about fast cooking and getting a good exterior crust quickly! Seriously, sticking to the single-layer rule is the number one, non-negotiable tip for that perfect texture every time.
Serving Suggestions for This Easy Air Fryer Appetizer
Look, I know we made these amazing Air Fryer Onion Rings to be the star, but even stars need a supporting cast! Since these are so light and crispy, they beg for a really cold, zesty dip right next to them. My family is obsessed with a combination of ranch seasoned with a little extra garlic powder. If you are hosting a party, you absolutely have these covered as an Easy Air Fryer Appetizer.
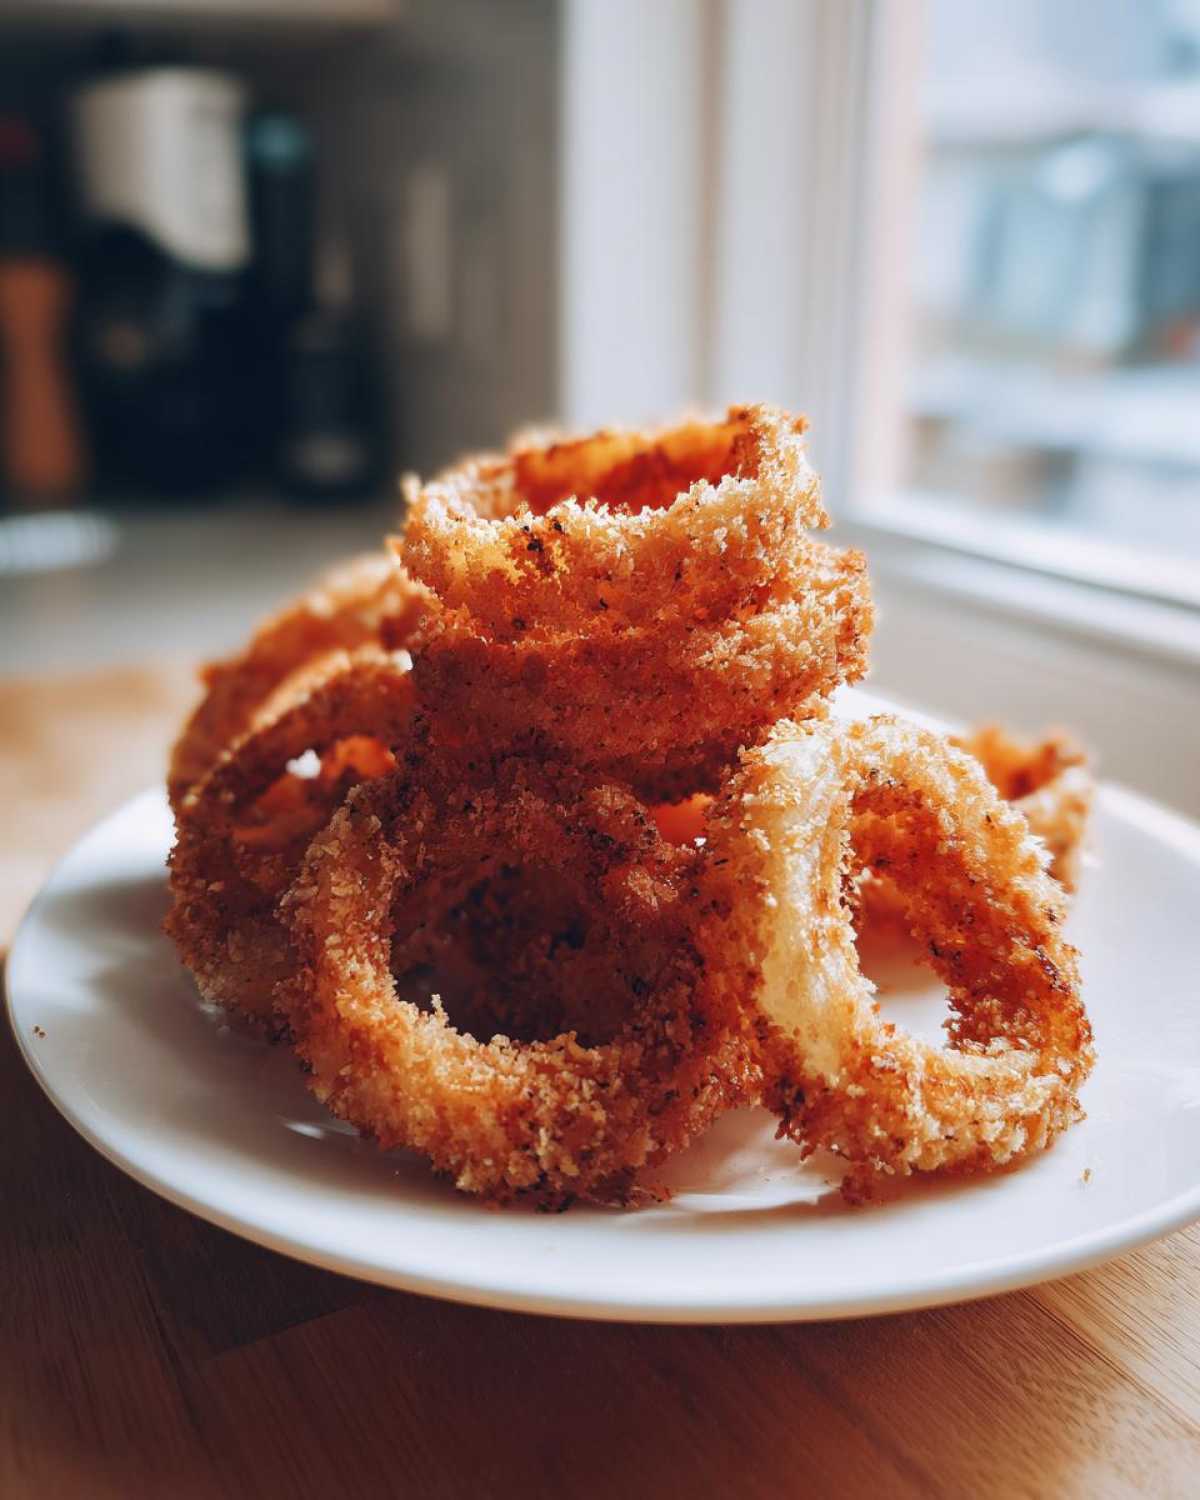
If you’re serving these as a side dish instead of just a snack, they go perfectly well with things where you might normally sneak in some fries. Think about a big, hearty main course. If you need a rich, savory counter for your rings, you should check out my recipe for homemade brown gravy. Trust me, dipping a crispy ring into warm gravy is unbelievably good!
Storage and Reheating Perfect Air Fryer Rings
It’s rare we have leftovers, because these go too fast! But if you do manage to save some of those lovely Air Fryer Onion Rings, don’t even think about the microwave—that guarantees mushiness. The air fryer is your best friend for reheating them, too!
Store any extras in a container lined with paper towels to wick away humidity, and keep them in the fridge for up to two days. When you’re ready for round two, pop them back into the air fryer basket. Keep the temperature low, around 350°F (175°C), for just 3 to 4 minutes. They heat up fast and honestly taste almost as crispy as they did the first time around!
Troubleshooting Common Air Fryer Onion Ring Issues
Don’t you hate it when a recipe seems perfect on paper but fails in the machine? It happens to everyone, especially with tricky breaded items in the air fryer! I’ve faced all these hiccups, so let’s get you past them quickly so you can enjoy your batch of Air Fryer Onion Rings without drama.
The most frequent complaint I hear is about the breading just… abandoning ship. If you’re finding your breading is falling off mid-cook, nine times out of ten it’s one of two things. First, you didn’t press hard enough into the Panko to create a good seal. Second, you skipped shaking off the excess flour after the first dip. That white powder residue acts like sand, stopping the egg glue from sticking. Give those rings an aggressive shake after the flour coating!
What about an undercooked center, especially if you used really thick onion slices? This happens because you overloaded the basket. The air needs a clear path to circulate around every single ring to cook the middle properly. If they are touching or stacked, the bottoms steam instead of crisping. If your centers are still raw after 12 minutes, just pull the basket, separate the pieces as best you can, and give them another minute or two at 380°F. You might need to take the most well-done rings out early!
Lastly, sticking! If your rings are welded to the basket bottom, it’s almost always because you didn’t spray the basket itself before loading the food. Remember, we are spraying the rings, but the bottom layer needs a little barrier protection too. If you are working in batches, give the basket another quick spray between loads. If you want to see other ways I tackle tricky air fryer cooking, especially when baking things like potatoes, check out my air fryer potato wedges guide; the airflow rules are the same!
Estimated Nutrition for Healthy Onion Rings Air Fryer
Now, I know so many of you are looking for that tag that says “healthy” when you pick up an appetizer, and I love that! Because we aren’t deep-frying these amazing Air Fryer Onion Rings, they are definitely a lighter option than the greasy takeout versions. But I have to keep it real with you, just like I do on our full disclaimer page.
The nutrition information you see online can vary wildly based on the exact brand of Panko you use, the size of your onions, or even how vigorously you spray them with oil. So, please treat these numbers as a helpful ballpark estimate only. My goal was to create a Healthy Onion Rings Air Fryer version, and I think we achieved that by cutting down the fat significantly, but always use your best judgment based on the ingredients you personally bring into your kitchen!
Share Your Experience Making Air Fryer Onion Rings
Whew! That’s it! You now have everything you need to create the crispiest Air Fryer Onion Rings this side of Chicago. I truly hope your kitchen smells amazing right now. I’m always so excited when people try this straightforward method because I know how much better they are than the soggy freezer bags!
I really, really want to hear about your results! Did you manage to get that Panko sticking perfectly? Did you serve them with a homemade ranch or go classic ketchup? Don’t leave me hanging—jump into the comments below! Rate the recipe with stars so others know this technique works, and if you snap a picture of those beautiful golden beauties, tag me on social media! It makes my whole week to see what you’re cooking up in your own kitchens!
If you have any questions that popped up while you were dredging or spraying, please ask them further up in the FAQ section, or feel free to send me a direct note through the contact page. Happy air frying, everyone!
PrintAir Fryer Onion Rings
Make crispy homemade onion rings using your air fryer with this straightforward recipe. This method uses minimal oil for a healthier result.
- Prep Time: 20 min
- Cook Time: 12 min
- Total Time: 32 min
- Yield: 4 servings
- Category: Appetizer
- Method: Air Frying
- Cuisine: American
- Diet: Vegetarian
Ingredients
- 2 large yellow onions
- 1 cup all-purpose flour
- 1 teaspoon salt
- 1/2 teaspoon black pepper
- 1/2 teaspoon paprika
- 2 large eggs
- 1/4 cup milk
- 1 1/2 cups Panko breadcrumbs
- Cooking spray (oil-based)
Instructions
- Slice the onions into 1/4-inch thick rounds. Separate the rings and set aside.
- Set up a dredging station with three shallow dishes. In the first dish, mix the flour, salt, pepper, and paprika.
- In the second dish, whisk the eggs and milk together.
- Place the Panko breadcrumbs in the third dish.
- Dredge each onion ring first in the flour mixture, shaking off excess.
- Dip the floured ring into the egg mixture, allowing excess to drip off.
- Coat the ring thoroughly in the Panko breadcrumbs, pressing gently to adhere. Place coated rings on a wire rack.
- Preheat your air fryer to 380°F (195°C) for 5 minutes.
- Lightly spray the air fryer basket with cooking spray. Arrange the onion rings in a single layer; do not overcrowd the basket. Work in batches if necessary.
- Lightly spray the tops of the onion rings with cooking spray.
- Air fry for 10 to 12 minutes, flipping the rings halfway through the cooking time. Spray the second side lightly with cooking spray before flipping.
- Remove when golden brown and crispy. Serve immediately.
Notes
- For best results and maximum crispness, ensure the onion rings are in a single layer in the air fryer basket.
- If the breading seems loose, dip the ring back into the egg mixture briefly before coating with Panko again.
- Serve with your favorite dipping sauce, such as ketchup or ranch dressing.
Nutrition
- Serving Size: 5 rings
- Calories: 250
- Sugar: 6
- Sodium: 350
- Fat: 7
- Saturated Fat: 1
- Unsaturated Fat: 6
- Trans Fat: 0
- Carbohydrates: 40
- Fiber: 3
- Protein: 7
- Cholesterol: 65