

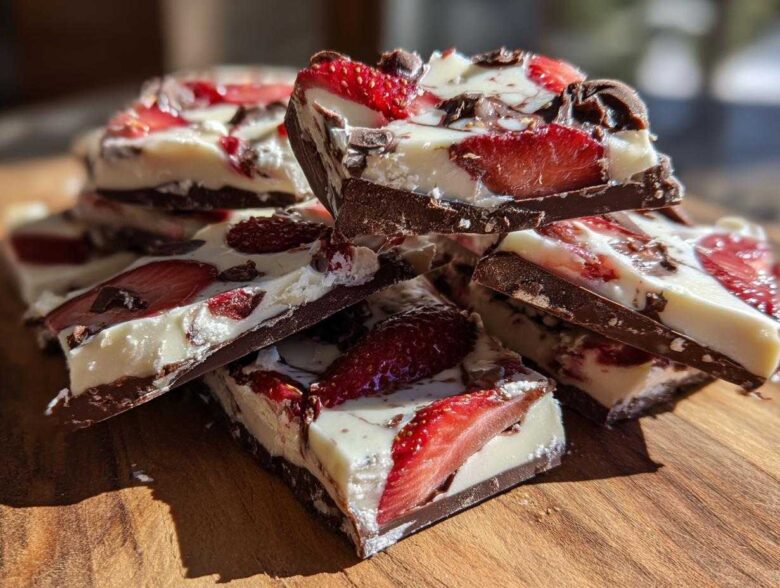
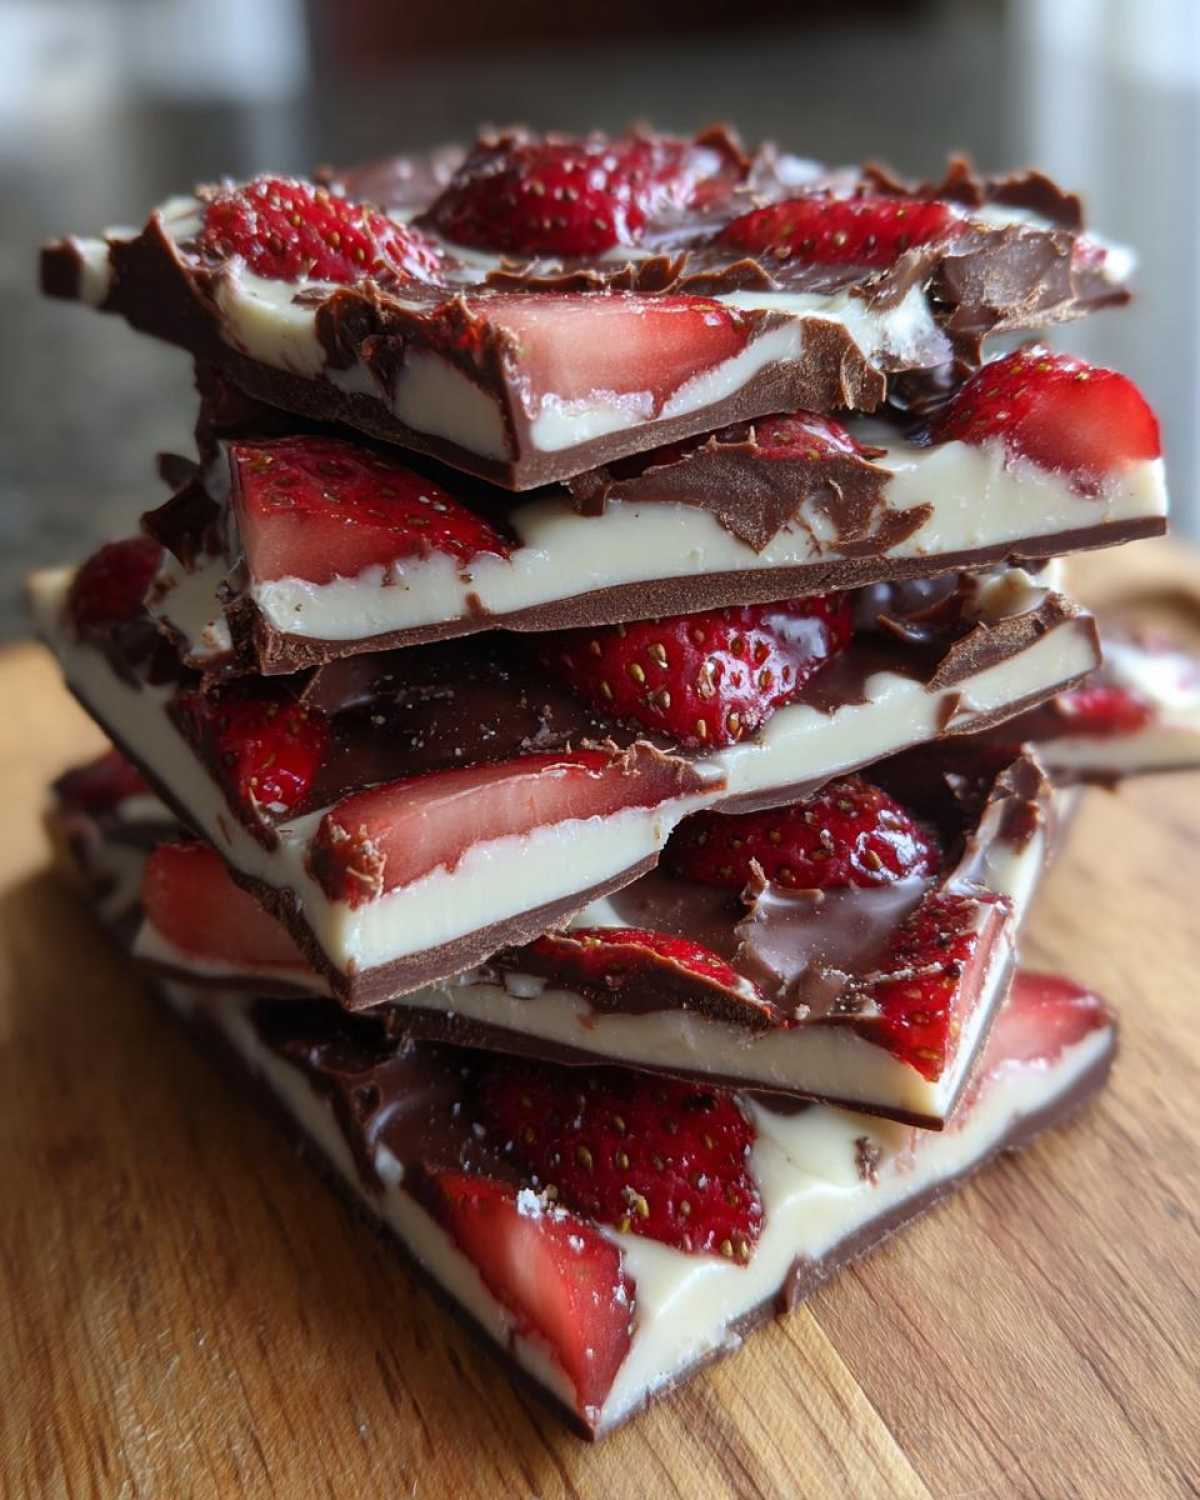
Listen, between you and me, the holidays—or any time I need a seriously impressive DIY chocolate gift—always catch me running low on time. That’s where this **Chocolate Covered Strawberry Bark** saves the day, every single time. Forget complicated molds or tempering agony; this is pure magic with almost zero effort. It’s the quickest way I know to make something that looks like it came from a gourmet candy shop, especially when you swirl that dark chocolate over the white base. Trust me, you won’t believe how simple this no-bake recipe is!
Why This Chocolate Covered Strawberry Bark is Your New Favorite Quick Dessert Bars
Honestly, when I need an emergency dessert that looks like I spent hours prepping, this is my go-to. It checks every single box for stress-free candy making. You don’t even need to turn the stove on!
- It’s completely no bake strawberry dessert—just melt, spread, and chill.
- The visual impact is huge, making it perfect Valentine’s Day candy or little Christmas bark recipes.
- The sweet and tart contrast from the fresh fruit makes it feel way more gourmet than it actually is.
- It sets up fast, meaning you can whip this up an hour before guests arrive. This recipe seriously cuts down my holiday kitchen time. If you enjoy quick treats, you should check out my recipe for easy no-bake sugar cookie truffles too! These little slabs are just irresistible.
Essential Ingredients for Perfect Chocolate Covered Strawberry Bark
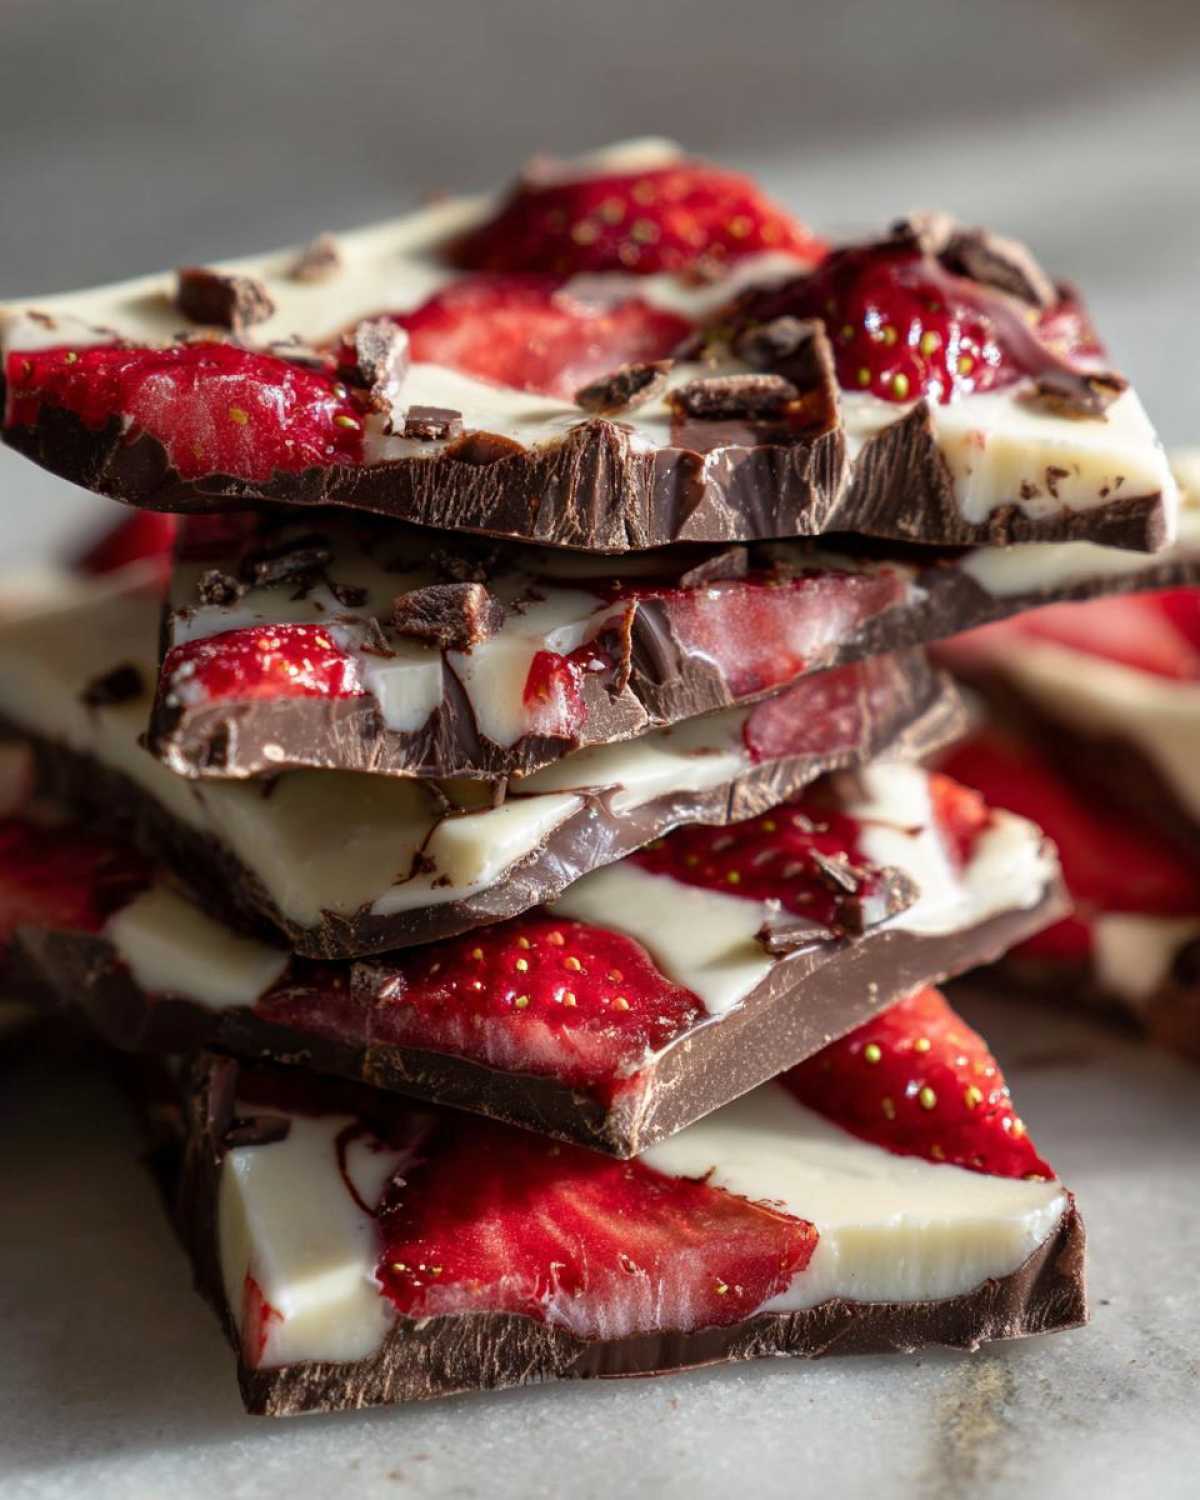
When you’re making something this simple, the quality of what you put in really shows up in the final product, you just can’t fake good chocolate! For this easy chocolate bark recipe, you need two types of chocolate chips for that gorgeous contrast, plus our star fruit.
Here’s what you’ll need lined up before we even think about melting:
- 12 ounces of white chocolate chips—I find these melt the smoothest.
- 8 ounces of dark or milk chocolate chips—whatever you prefer for the swirl!
- 1 cup fresh strawberries, and please, they MUST be sliced thinly and dried completely.
- 1 teaspoon of coconut oil, and this is optional, but I throw it in because it makes the chocolate so wonderfully silky when it melts.
Ingredient Notes and Substitutions for Gourmet Flavored Bark
Let’s talk about chocolate for a second. For homemade candy making, you really do need to look for quality chocolate, not just standard baking chips if you can manage it. Couverture chocolate is the dream, but good quality, high-cocoa chips work great for this slab candy.
The strawberry moisture is our biggest enemy for a clean look. If your berries are super juicy, even after patting them down, try giving them a quick 15-minute rest in the freezer. That chilling stops the water from bleeding into the white chocolate layer. If you only have one kind of chocolate, that’s fine! You can skip the swirl and just mix everything together for a solid white chocolate strawberry bark—it’s just as delicious.
Step-by-Step Guide: How to Make Chocolate Covered Strawberry Bark
Okay, this is where we stop talking and start making! Don’t let the two layers intimidate you; making this bark is really just two very simple steps we learned in the last section. You’ll want to have your parchment paper ready right away because once that chocolate melts, you need to move fast! I always set my workspace up like a little assembly line before I start melting anything.
Preparing the Base Layer for Your Easy Chocolate Bark Recipe
First things first, grab that baking sheet—a rimmed one is better so nothing drips off the sides! Line it with parchment paper; this is non-negotiable for easy cleanup and release. Next, you absolutely must dry those sliced strawberries. I mean *really* dry them. Blot them firmly between several layers of paper towels until you feel like you’ve wrung every drop of moisture out. If they are even slightly damp, the moisture will make your beautiful white chocolate seize up or, worse, bleed pink everywhere! Melt your white chocolate slowly, maybe 30 seconds at a time in the microwave, stirring well between each zap. Pour that smooth white layer onto the paper and use an offset spatula to spread it evenly—aim for about a quarter-inch thick for a sturdy slab. You can look up more details on general candy bark techniques if you want to get super technical, but honestly, spreading it out is all you need here.
Layering and Swirling the Dark Chocolate Strawberry Swirl
Once the white chocolate is spread, immediately arrange those bone-dry strawberries over the surface, pressing them down ever so gently into the soft chocolate so they stay put. Now, melt your second chocolate—the dark or milk one—using the same careful, short bursts of microwave heat. When it’s silky smooth, drizzle it artfully all over the top. I like using a fork or a skewer to just gently drag through the two layers to create that lovely marbled, twisted look we are going for. Don’t over-mix, or the colors will merge! Pop that sheet tray straight into the fridge for at least a full hour. You need that time so the chocolate gets that perfect shatter when you break it! It’s worth the wait, trust me, especially when you’re whipping up something like these amazing chocolate covered cherries too!
Tips for Success When Making Chocolate Coated Fruit Slabs
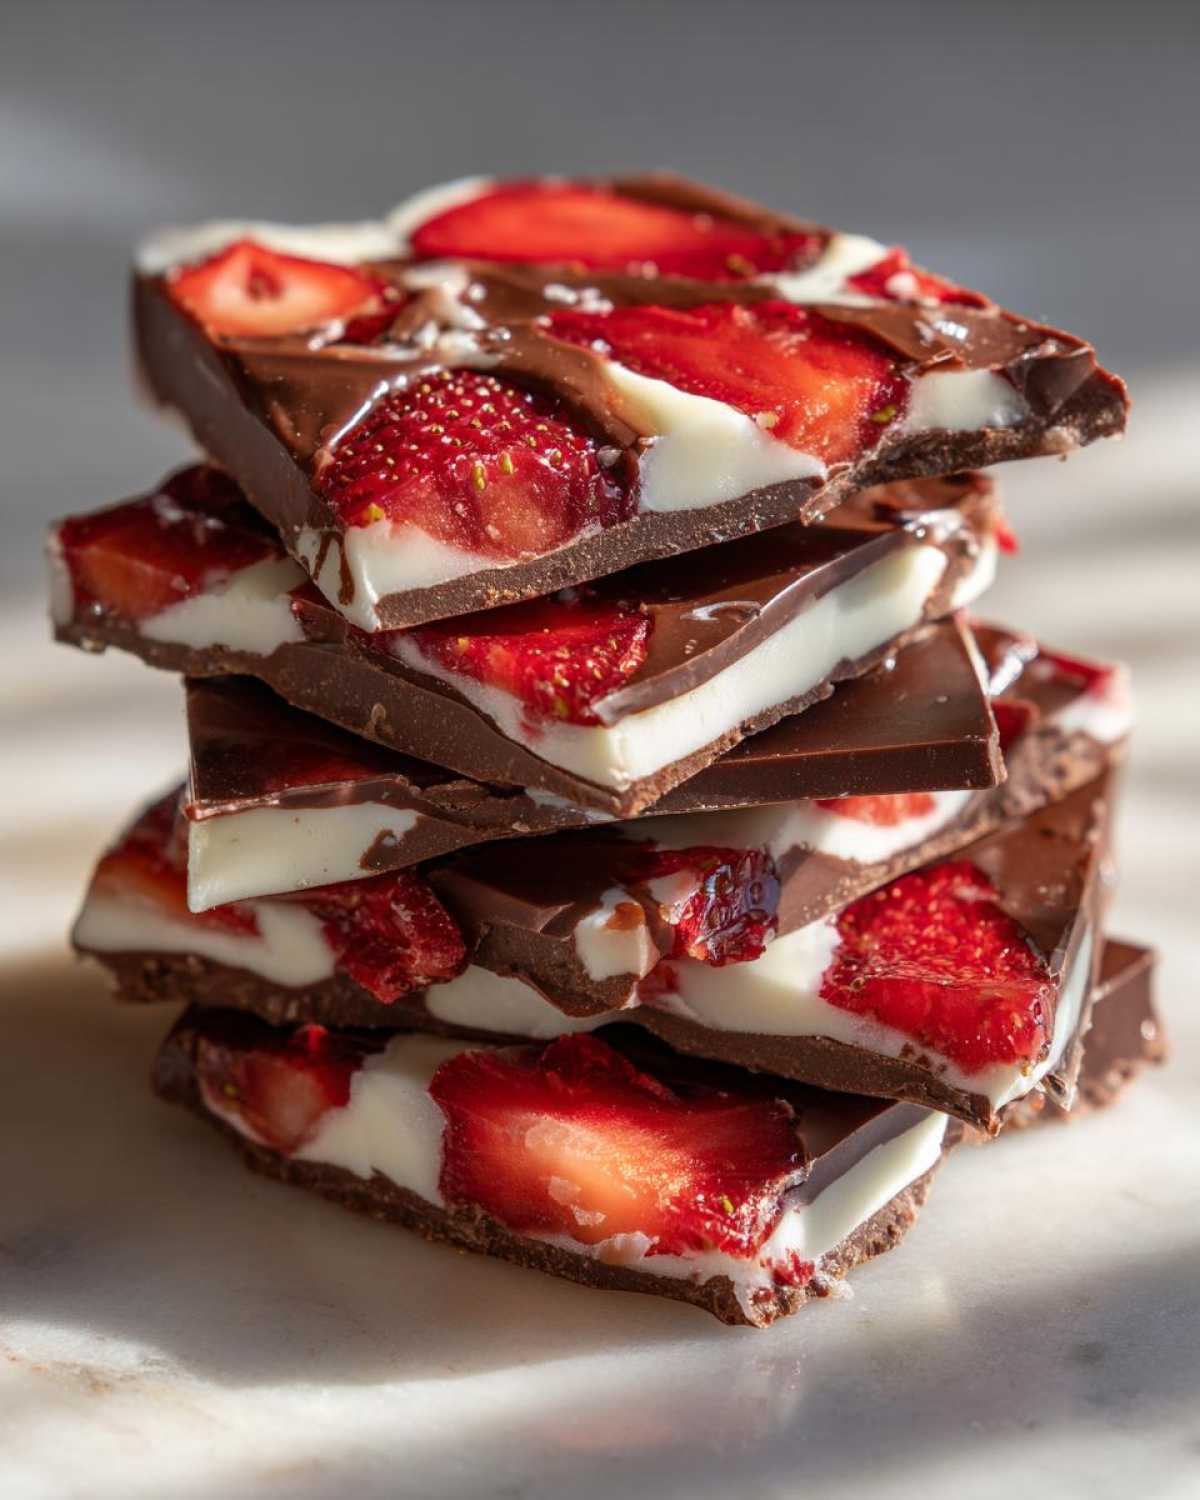
If you want that picture-perfect snap every time, temperature control is your best friend here. The biggest rookie mistake people make with this kind of homemade candy making is rushing the chill time. If the chocolate is even slightly soft when you try to break it, you just get sad, floppy pieces instead of glorious, sharp shards.
Seriously, give it a full hour in the fridge, or even pop it into the freezer for about 20 minutes if you’re in a huge hurry, but watch it closely! The coconut oil helps keep things smooth, but it’s the cold that gives you that fantastic, clean break. When it’s time to break it up, just take that whole slab out, flip it over, and hit the back of the parchment paper gently with your knuckles. It should crack beautifully into those irregular, stunning pieces! For anyone who wants to dig deeper into the science of great confectionary, I highly recommend reading up on general candy making tips!
Storage and Make-Ahead Tips for Your Chocolate Covered Strawberry Bark
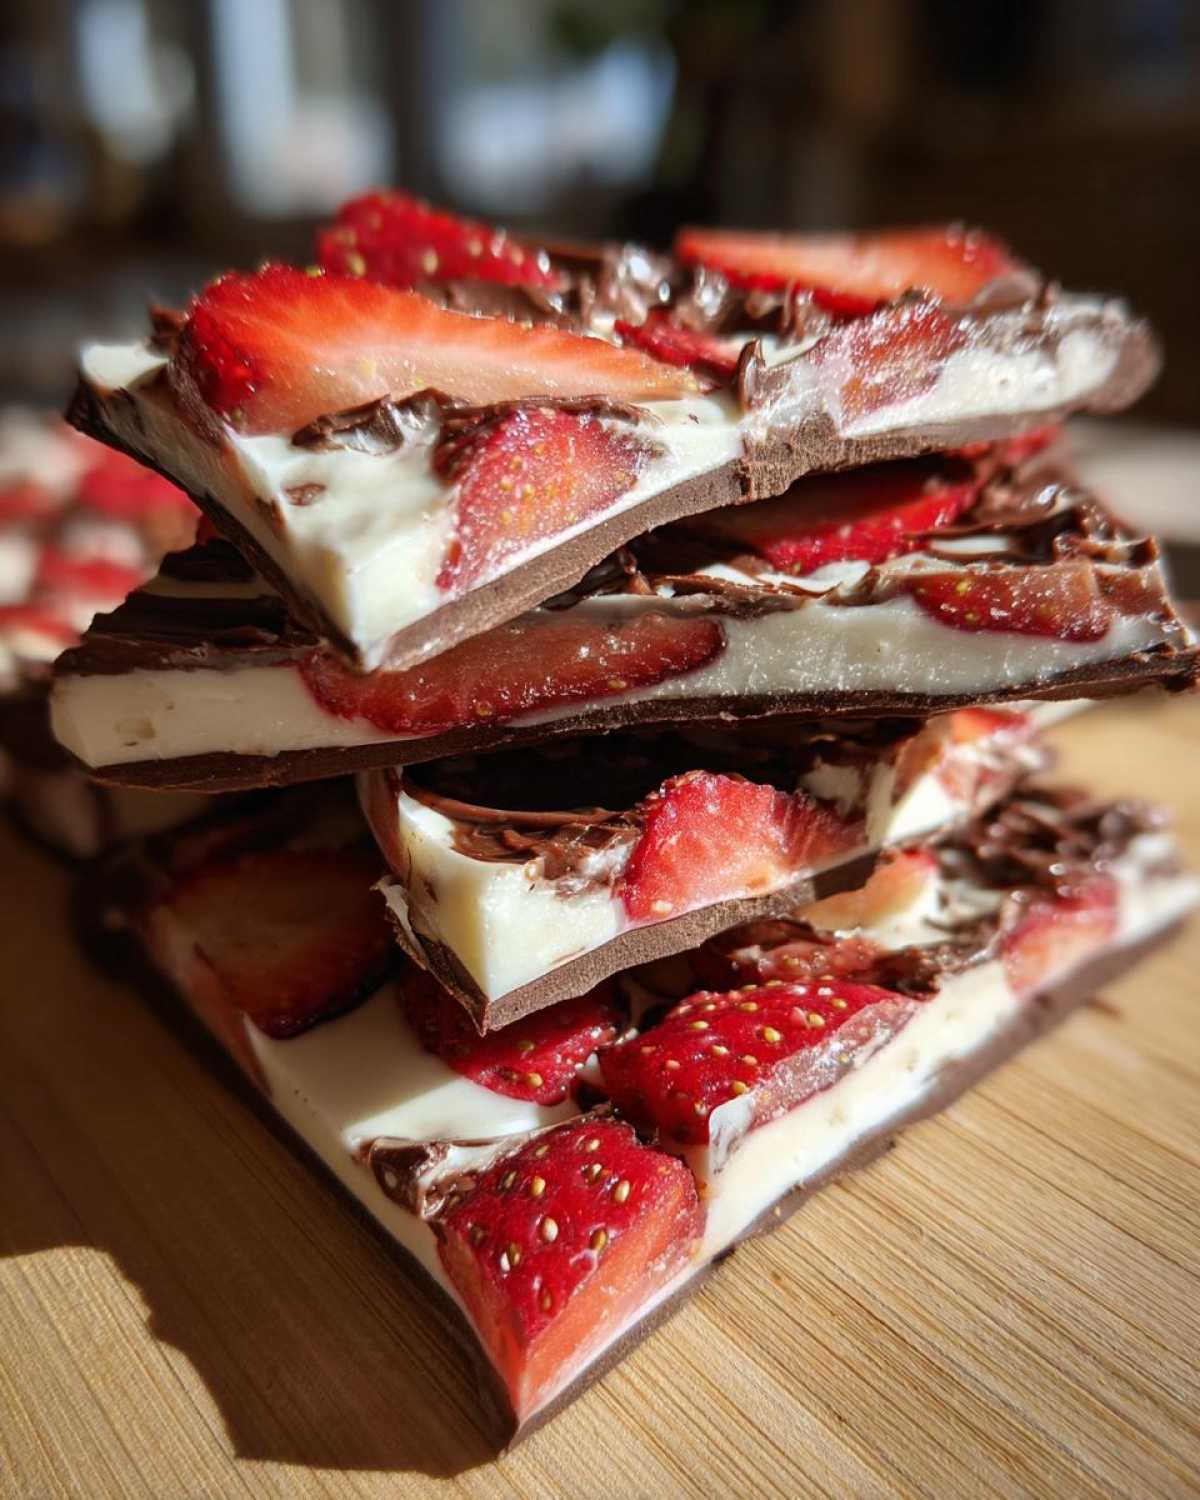
Since we always have this recipe prepped for holidays or as last-minute gifts, knowing shelf life is crucial! You absolutely need to keep this bark chilled. Don’t leave it sitting on the counter, especially if your kitchen runs warm—the fruit might soften or the chocolate could get that weird powdery look. Store it in a truly airtight container.
I love making this two days ahead of time, which is a lifesaver! Keep it in the fridge, and it stays perfect for about a week. If you’re gifting it, just layer pieces between sheets of wax paper inside a nice little tin. Speaking of make-ahead treats, you should totally check out how simple my no-bake pecan pie balls are for pairing with this bark!
Variations for Your Chocolate Covered Strawberry Bark
Listen, once you master the basic swirl, you have to start experimenting, right? That’s the fun part of any good chocolate slab recipe! If you want to give your Chocolate Covered Strawberry Bark a little something extra, I have tons of ideas. You can absolutely toss in some chopped, toasted pecans or walnuts right before chilling for a nice crunch.
A tiny splash of almond extract into the white chocolate layer really elevates the flavor, or even a whisper of vanilla in the dark chocolate! If you’re feeling adventurous and your store carries it, try looking for ruby chocolate chips instead of one of the others—that vibrant color makes for stunning candy. For even more festive fun, you could look at my recipe for Christmas puppy chow for inspiration on color combinations!
Serving Suggestions for This Chocolate Dessert Tutorial
Once your stunning bark is broken into those perfect jagged pieces, what do you do with them? They look gorgeous just sitting on a simple white platter, honestly. But if you’re serving them alongside a warm drink, they are absolute perfection.
I always make a big batch of fluffy whipped hot chocolate when I serve this, since the warm cocoa and the cool, tart berries just sing together. Check out how simple that whipped topping is! It’s also fantastic as the centerpiece on a dessert grazing board when paired with some salty pretzels or crunchy shortbread cookies. Presentation is everything with this gorgeous hot chocolate pairing!
Frequently Asked Questions About Chocolate Covered Strawberry Bark
We all have those little niggles when we try a new easy chocolate bark recipe, especially when involving fresh fruit! I get asked the same few things all the time, so let me clear those up right now so your batch comes out perfect.
Can I use frozen strawberries for this recipe?
This is a tricky one! I strongly advise against using fresh-out-of-the-freezer strawberries. They release way too much water when they thaw, which is guaranteed to give you that pink bleed effect on your white chocolate layer. If you absolutely must use them, you have to thaw them completely first, then slice them, and then dry them with paper towels until they feel like suede. Honestly, it’s usually easier to just stick with fresh for this one!
How do I get that beautiful, shiny finish on the chocolate?
The key to a good shine, especially for making beautiful chocolate coated fruit slabs, is temperature control and making sure your chocolate doesn’t get any water contamination! Also, that tiny bit of coconut oil I suggested helps emulsify the chocolate mixture beautifully, resulting in a smoother, shinier result when it hardens. Avoid over-stirring once melted, too; too much agitation can dull the shine.
Can I make this a dairy-free or vegan treat?
Oh, absolutely! This is a fantastic no bake strawberry dessert for adaptations. You can easily swap out the white and dark chocolate chips for good quality vegan chocolate chips, which are very easy to find now. Just double-check the ingredients label! If you do this, you’ve instantly got a fantastic DIY chocolate gift that caters to more dietary needs.
My chocolate seized up while melting—what did I do wrong?
Oops! We’ve all been there with homemade candy making. Seizing happens when even one tiny drop of water or moisture gets into the melted chocolate. It thickens up instantly and gets gritty. For this recipe, it’s almost always due to not drying the strawberries thoroughly enough. Next time, try melting the chocolate in a completely dry bowl over a double boiler instead of the microwave, which gives you more gentle heat control.
If you’re looking for other great recipes that use fruit and chocolate, you have to try my strawberry cheesecake sweet rolls sometime!
Estimated Nutritional Data for Chocolate Covered Strawberry Bark
Now, I’m not a nutritionist, so take these numbers with a big grain of salt—they are just my best guess based on the ingredients list provided! Since this is rich chocolate candy, it’s best enjoyed in moderation, which is easy because we break it into small pieces!
- Serving Size: 1 ounce
- Calories: 150
- Fat: 10g (including 6g Saturated Fat)
- Carbohydrates: 15g
- Protein: 2g
- Sugar: 15g (Yes, it’s sweet!)
These estimates are based on standard measurements for the white and dark chocolate chips, so your actual numbers might wiggle a bit depending on the brands you grab for your chocolate dessert tutorial creation.
PrintEasy Chocolate Covered Strawberry Bark
A simple, no-bake recipe for making layered chocolate bark featuring fresh strawberries.
- Prep Time: 15 min
- Cook Time: 0 min
- Total Time: 1 hour 15 min
- Yield: About 1 pound
- Category: Dessert
- Method: No Bake
- Cuisine: American
- Diet: Vegetarian
Ingredients
- 12 ounces white chocolate chips
- 8 ounces dark or milk chocolate chips
- 1 cup fresh strawberries, thinly sliced
- 1 teaspoon coconut oil (optional, for smoother melting)
Instructions
- Prepare a baking sheet by lining it with parchment paper.
- Dry the sliced strawberries thoroughly with paper towels. This step helps prevent the chocolate from seizing or bleeding color.
- Melt the white chocolate chips with the coconut oil (if using) in a microwave-safe bowl in 30-second intervals, stirring until smooth.
- Pour the melted white chocolate onto the prepared baking sheet and spread it into an even layer, about 1/4 inch thick.
- Arrange the dried strawberry slices evenly over the white chocolate layer. Press them down slightly.
- Melt the dark or milk chocolate chips in a separate bowl using the same method as the white chocolate.
- Drizzle or swirl the melted dark chocolate over the strawberries and white chocolate base. You can use a knife or skewer to create a marbled effect.
- Place the baking sheet in the refrigerator for at least 1 hour, or until the bark is completely firm.
- Once set, break the bark into irregular pieces.
Notes
- Use high-quality chocolate for the best flavor and texture.
- For a firmer bark, you can briefly freeze the strawberries before placing them on the white chocolate layer.
- Store the finished bark in an airtight container in the refrigerator for up to one week.
- If you prefer a solid color bark, use only one type of chocolate and mix the strawberries directly into the melted chocolate before spreading.
Nutrition
- Serving Size: 1 ounce
- Calories: 150
- Sugar: 15
- Sodium: 10
- Fat: 10
- Saturated Fat: 6
- Unsaturated Fat: 4
- Trans Fat: 0
- Carbohydrates: 15
- Fiber: 1
- Protein: 2
- Cholesterol: 5