

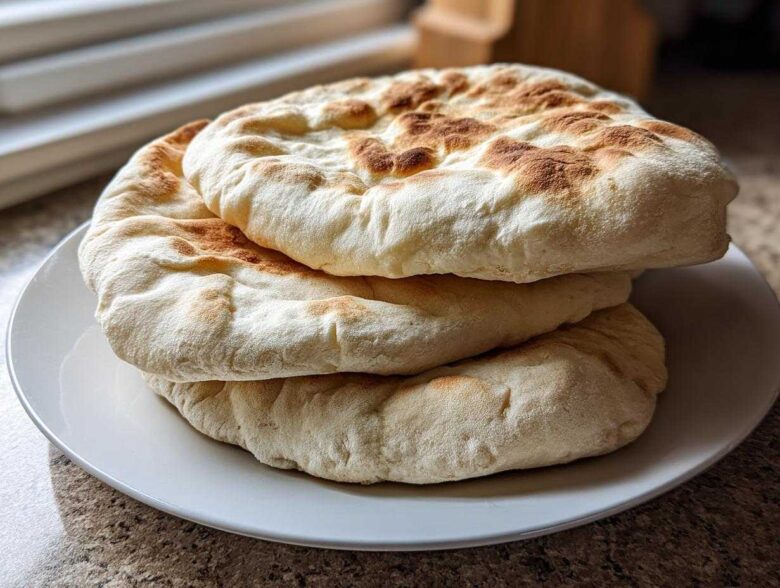
Oh, the sheer disappointment of a store-bought pita that lays totally flat. You know the picture I mean, right? Dry, brittle, zero chance of holding any hummus, let alone stuffing it for a proper gyro. That used to be my reality until Mateo and I figured out the magic of making truly homemade pita bread that puffs up like a dream pouch on the stovetop. Seriously, you won’t believe how simple this is!
We were in the thick of our early “zine” days, trying to nail a Greek feast, and the flat bread nearly ruined everything. That failure sparked this whole obsession. Now, we make this fluffy homemade pita bread recipe all the time. It’s fast—seriously fast—and guarantees those gorgeous, airy pockets every single time thanks to our little secret stovetop trick. You’re going to publish a delicious issue with this one, I promise. If you want to read more about our journey capturing life through these recipes, check out our story.
Why This Homemade Pita Bread Recipe Works So Well
It’s not just luck, I promise! This technique beats everything else we’ve tried because we focus on two main things: steam and gentleness. That’s how we unlock those perfect little balloons instead of sad, flat discs. I’ve referenced some of our other basic bread guides, like our honey whole wheat loaf, to make sure this method uses those same foundational principles.
Achieving the Perfect Pita Pocket Puff
The puff is all about the environment. We rely on the intense, dry heat of a screaming hot skillet. When the dough hits that heat, the moisture trapped inside the dough immediately turns to steam. If the surface seals quickly (which happens on that hot pan), the steam gets trapped and—whoosh!—you get a pocket. It’s pure physics, and it makes for the best pita pockets recipe you’ll ever try.
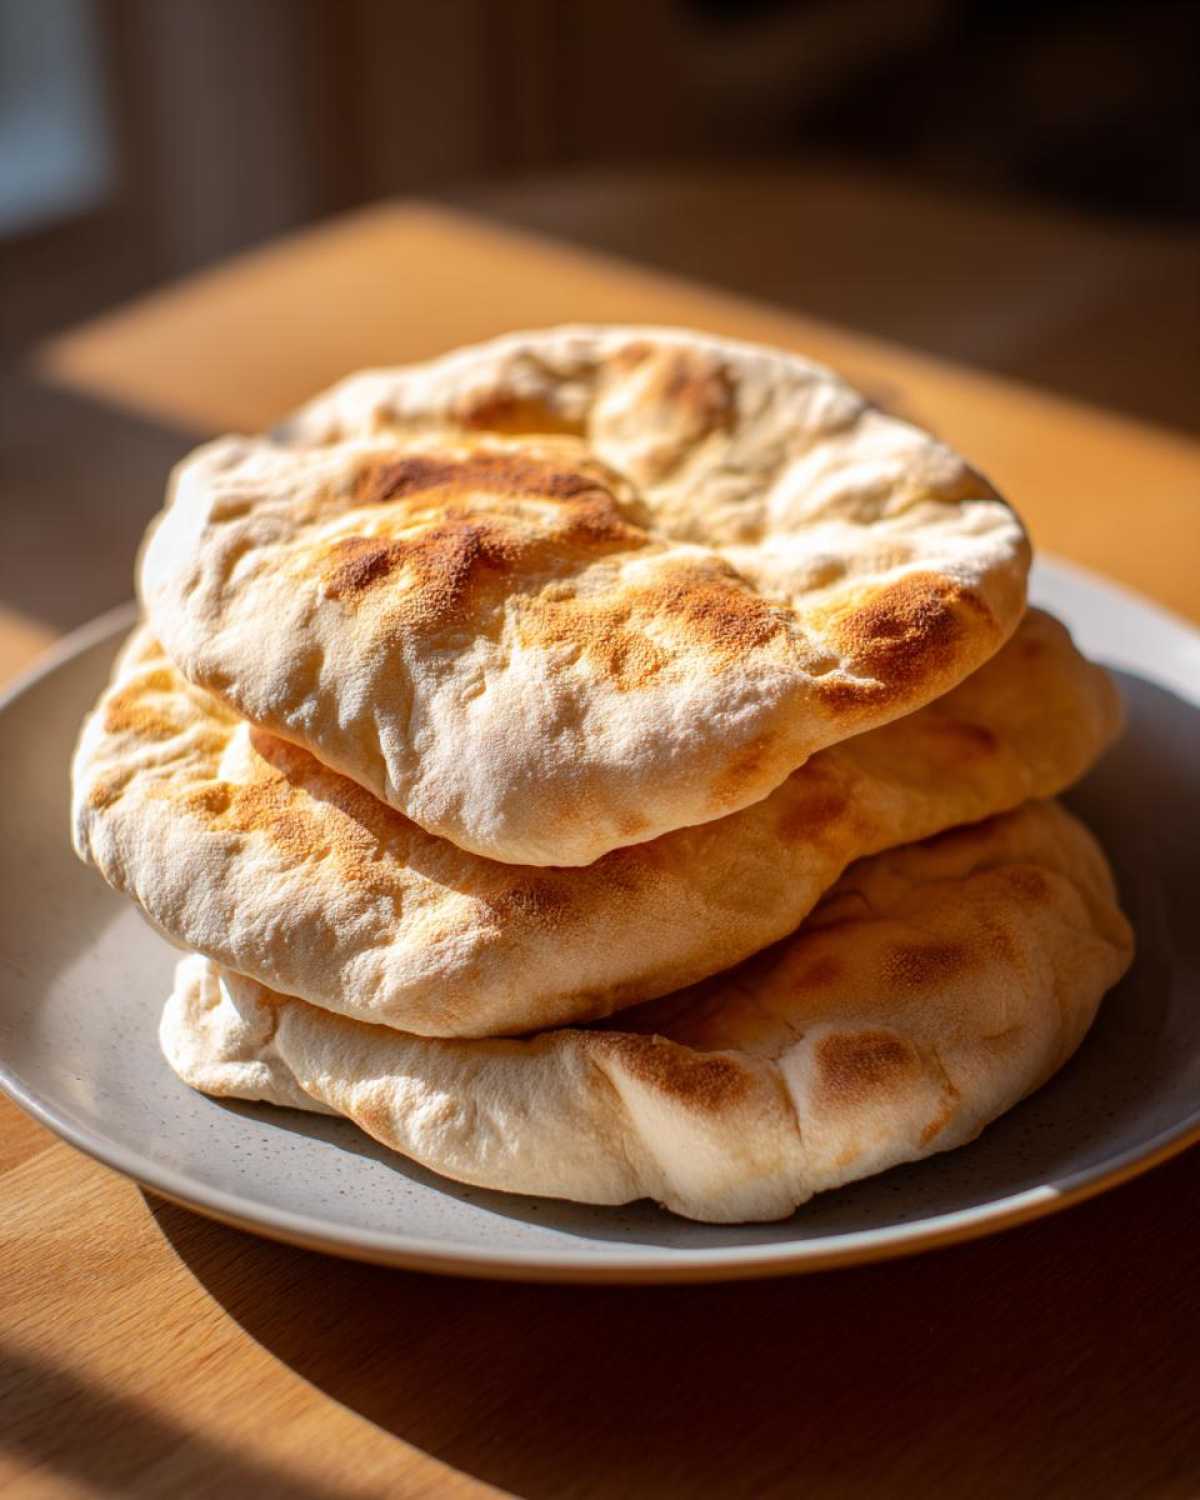
The Secret to Fluffy Pita Bread Texture
Texture is where we get into that cloud-like quality people look for. Getting the water temperature just right during yeast activation is key—too hot and you kill the yeast, too cool and it sleeps! That tiny bit of olive oil, plus that optionally dollop of Greek yogurt we add, coats the gluten just enough to keep the final result truly soft pita bread. That’s how you guarantee it’s not chewy, but beautifully tender.
Gathering Ingredients for Your Pita Bread
Okay, let’s look at what you need! I love this part because when I tell people what goes into making amazing pita bread from scratch, they almost always look surprised. You don’t need some specialty store items; this is truly from the basics of your pantry! We are leaning heavily into simple ingredients here for maximum payoff.
- 3 cups all-purpose flour (the backbone of everything!)
- 1 cup warm water (this needs to be between 105-115°F—careful not to burn your yeast!)
- 2 1/2 teaspoons active dry yeast (it needs a little sugar snack to wake up)
- 1 teaspoon sugar
- 1 teaspoon salt
- 1 tablespoon good olive oil
- Optional: 2 tablespoons Greek yogurt for extra cloud-like softness
Ingredient Notes and Substitutions for Pita Bread
The most critical moment in this whole recipe happens right at the start, so don’t rush the yeast activation! You mix that yeast with the warm water and sugar, and it needs 5 to 10 minutes to get foamy on top. If it gets foamy, the yeast is happy and ready to make your dough rise beautifully. If it stays flat, toss it and try again with warmer water!
The olive oil is mostly for flavor and a little bit of elasticity in the dough itself, though it’s minimal compared to, say, focaccia. If you are making vegan pita bread, skip the optional yogurt! It’s fantastic for texture, but the recipe works perfectly well without it too, keeping everything naturally vegan and simple.
Step-by-Step Instructions: How to Make Pita Bread at Home
Alright, let’s get our hands dirty! This is where the magic actually happens, and trust me, making your own pita bread from scratch is deeply satisfying. I’ve broken this down super clearly because the timing on the rising and cooking is what locks in that beautiful puff. If you’re new to baking anything with yeast, our detailed guide on from scratch bread making might give you a little extra confidence before you start!
Activating Yeast and Mixing the Pita Bread Dough
First up, we need happy yeast. Mix your warm water, sugar, and yeast, and just let it sit. Don’t touch it for maybe 5 to 10 minutes. You are looking for a bubbly, foamy layer right on top—that’s the visual cue that your yeast is ready and raring to go! Once you see that foam, toss it into your flour and salt mix along with the olive oil. Stir it all up until you have a messy, shaggy dough ball. Don’t try to make it perfect yet; that’s what the next step is for!
Kneading and First Rise for Perfect Pita Bread
Now, turn that shaggy mess onto your counter. Knead it with purpose for a solid 5 to 7 minutes. You’re looking for a total transformation here—it needs to feel smooth under your hands, almost silky, and definitely elastic. Place that dough into a lightly oiled bowl, turn it over so it gets coated, and cover it up. I usually put the bowl in my oven right after I’ve turned the light on but kept the oven off. That little bit of warmth helps it double in size nicely in about an hour.
Rolling and Cooking Your Stovetop Pita Bread
When it’s doubled, gently punch the air out, divide it into 8 equal balls, and give those balls a brief 10-minute rest—this is important so the gluten relaxes! Then, you roll them thin, maybe 6 or 7 inches across. Heat up your cast-iron skillet over medium-high heat. Critically: do NOT add any oil to the pan. Place one round on that sizzling bare surface. After a minute or two, it will bubble, then flip! Cook that second side for another minute, and that’s when you watch for the inflation. If it hesitates, gently use your spatula to press the top surface down—this forces the built-up steam to inflate the pocket. Pull it off and keep it covered under a towel while you do the rest of your stovetop pita bread! We’ve seen some folks even use this technique successfully for other flatbreads, but for true pockets, this stovetop approach is king. I even saw a great tip over at Sweet Simple Vegan about making sure your rolling pin pressure is even across the disk.
Tips for Making the Best Pita Bread Recipe
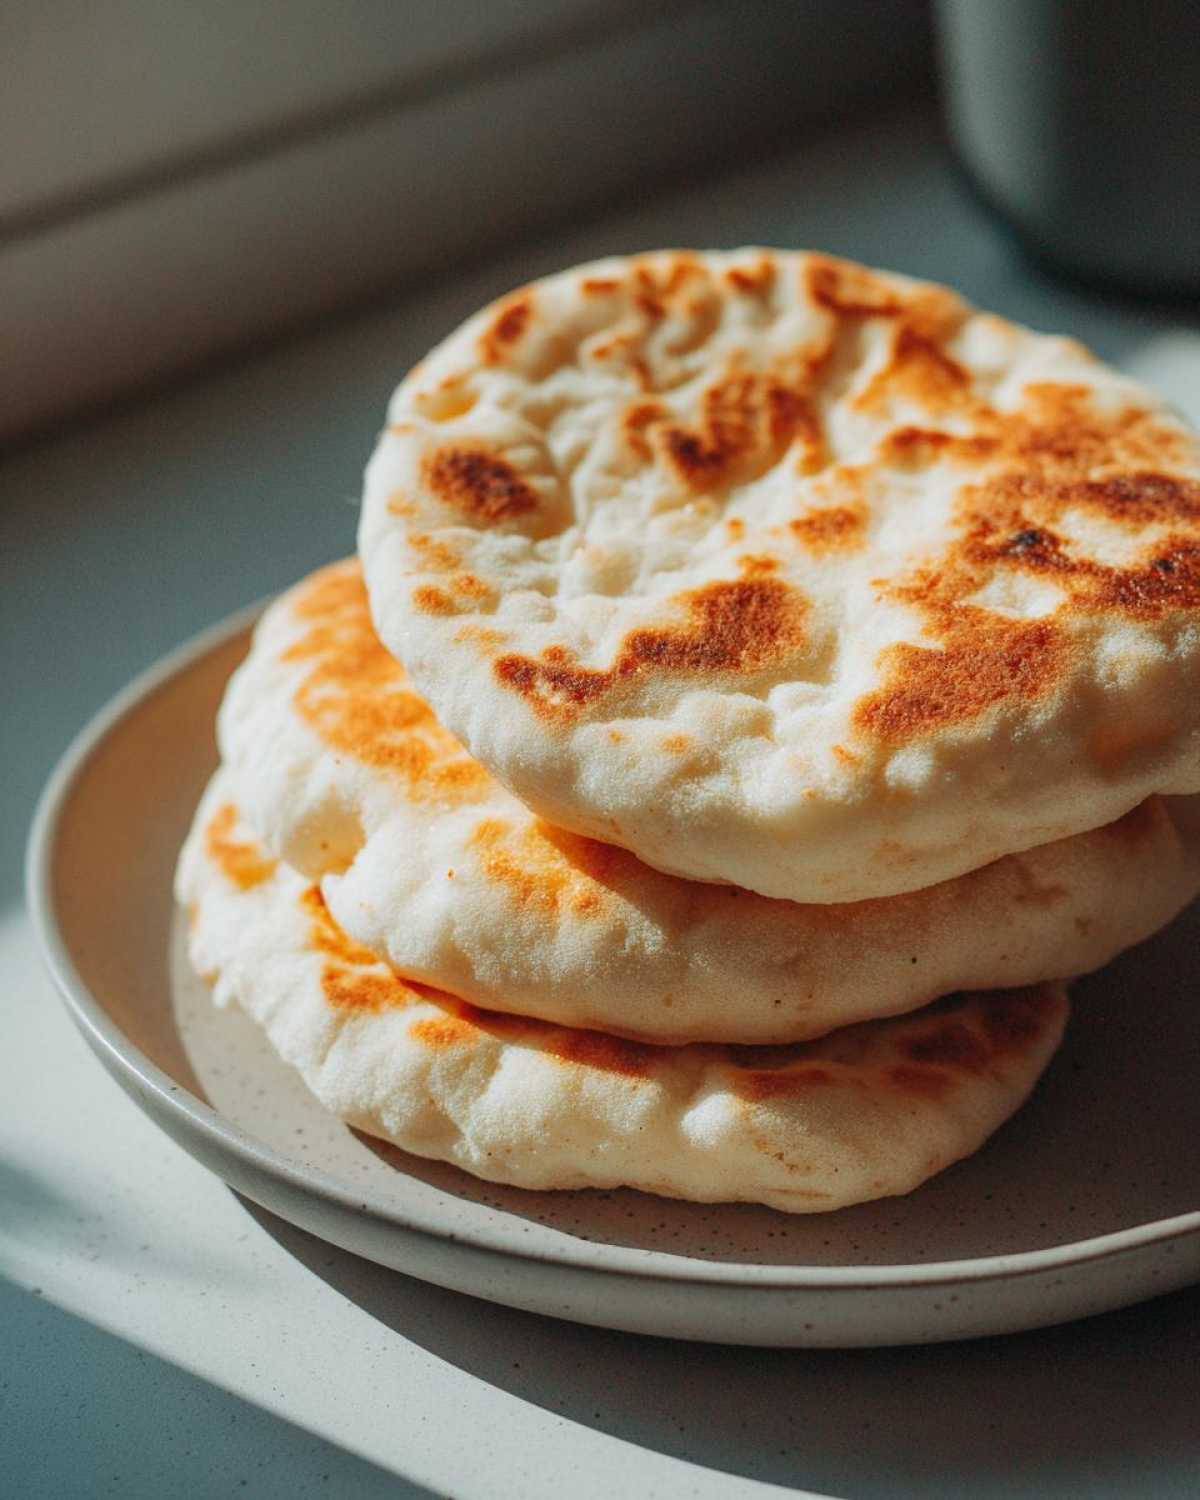
Okay, so you’ve made a batch, and maybe a few didn’t puff up perfectly? Don’t sweat it for a second! That’s just part of the fun of baking, right? Even Mateo has had a few flat ones when he gets distracted by a new project. But usually, the issue is super simple to fix next time you whip up this pita bread. We troubleshoot this stuff constantly in the Flavor Zine kitchen!
Troubleshooting Flat Pita Bread
If your bread is coming out stubbornly flat, we need to check three major things right away. First, was your skillet hot enough? I mean, really hot. If the pan isn’t smoking slightly, the steam won’t form fast enough to inflate the pocket. Second, check how you rolled them; if they are rolled too thick, the yeast gas just can’t push through that dense flour layer. Finally, did you let those dough balls rest for those crucial 10 minutes after dividing them? If the gluten is too tight, it resists the puff!
If you’re ever looking for other dough fixing tricks, I put together some general advice on our pizza dough post that applies here too. If you keep having issues, I heard that the folks over at Recipe CS have some good visual guidance on pan heat!
Serving Suggestions for Warm Homemade Pita Bread
The best part about making bread from scratch isn’t just eating it fresh off the skillet—it’s knowing what delicious things you can do with it afterward! Once you have those perfect, pillowy rounds, the possibilities for dinner, lunch, or just snack time are seriously endless. We try to keep a batch ready most weekends because they elevate everything.
Pita Bread for Dipping and Spreads
Honestly, a slightly thicker pita that puffs but doesn’t fully separate into two layers is my absolute favorite for dipping. They are sturdy enough to handle thick dips without sagging under the weight. Please, please try scooping up some homemade hummus or maybe some smoky baba ghanoush with these. We made the caramelized onions from this recipe the other day to put on top of some soft ricotta, and using the bread for dipping was honestly the highlight of the meal. It’s just unbeatable; you can’t get that texture buying pita bread for dipping at the store!
Stuffing Your Pita Pockets
Now, if you rolled them thin and they puffed up beautifully into those two distinct halves, you’ve got a ready-made sandwich vessel! Forget those sad little store-bought wraps if you are serious about authentic flavor. These are perfect for packing tightly with grilled chicken, fresh cucumber, and that tangy tzatziki sauce. If you’re planning a Mediterranean night, these are the ideal vehicle for falafel or thinly sliced grilled lamb. You won’t need to buy separately; this is truly the ultimate pita bread for gyros!
Storage and Reheating Your Fresh Pita Bread
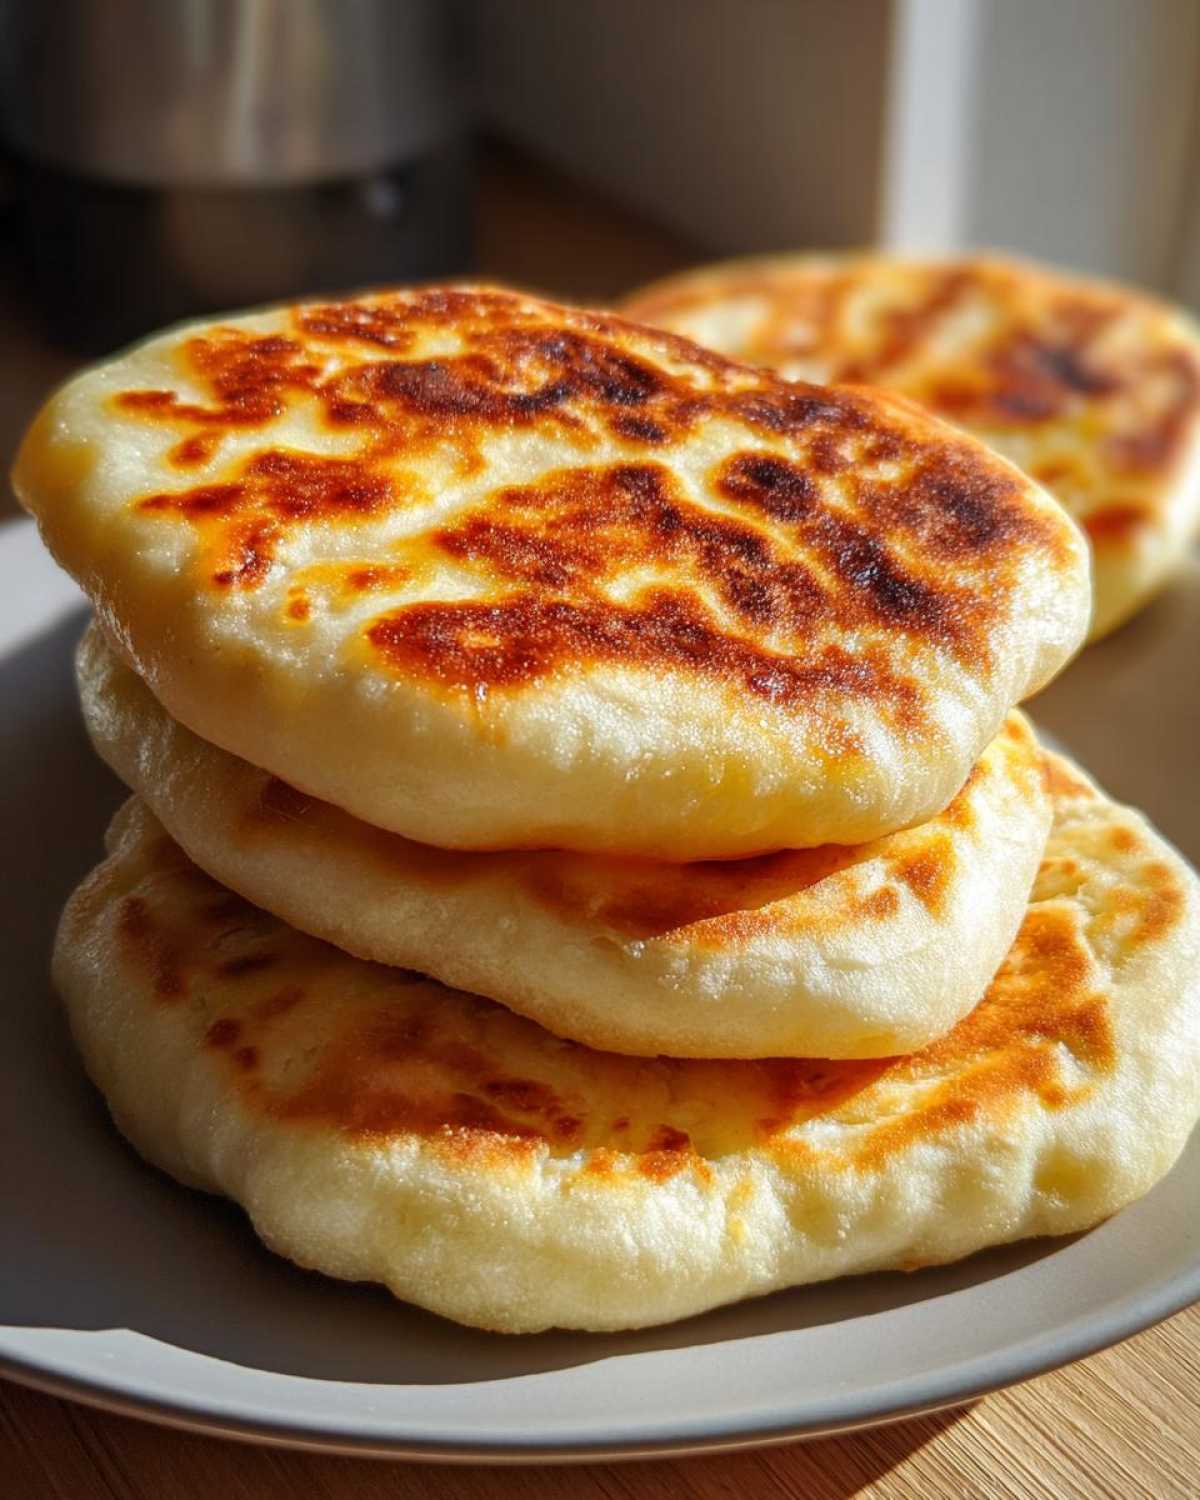
Here’s the tough part about making amazing pita bread: it tastes *best* the second it comes off the hot skillet. I know, I know, it’s brutal having to wait for the next batch! But don’t worry, we’ve got tricks for keeping them soft, even if you have spares left over.
When they come off the pan, stack them up immediately on a clean towel and wrap the whole stack tightly. This traps the residual steam and keeps them pliable overnight. If you need to revive them later, don’t use the microwave; it just makes them chewy.
Instead, throw them directly onto a dry, hot skillet (medium heat) for just 30 seconds per side. They’ll puff up again briefly and warm right through, feeling almost like they were freshly made. That’s the trick to keeping your hard work fresh!
Frequently Asked Questions About Pita Bread
I’ve gathered a few questions I always get when people try making this for the first time. Baking is all about learning as you go, so never feel silly asking questions! We love hearing about everyone’s process over on the main Flavor Zine blog, too.
Can I make this pita bread recipe without yeast?
If you are hoping for that classic big, fluffy pocket, yeast is absolutely essential here. The pockets are created by actively growing yeast releasing carbon dioxide gas during the cooking burst. Without that biological engine, you’ll just end up with a lovely, but flat, Mediterranean flatbread—which is great for dipping, but won’t stuff! If you want inspiration for those flat styles, I saw a great one for Greek pita that focuses on a flatter style, but for the balloon effect, we need the yeast.
How long does it take to make pita bread from start to finish?
Honestly, the hands-on time is super quick, which is what makes this such a fantastic quick flatbread recipe to pull together. You’re only actively working for about 20 minutes for mixing and kneading. The rest of the time is passive rising! If you let the dough rise exactly as directed, the total time clocks in around 1 hour and 35 minutes. Most of that hour is the dough relaxing and puffing up on its own, so you can totally sneak in cleaning the kitchen while you wait!
Nutritional Snapshot of This Pita Bread
I’m not a nutritionist, so please take this as a fun little guide rather than gospel! When we calculate these things out based on the 8 servings listed in the recipe, here’s generally what you get per piece of homemade pita bread. Remember, since we’re using simple flour, yeast, and oil, it’s miles better than the weird preservatives you find in the store-bought stuff!
It’s important to remember that these facts are estimates based on the specific ingredients listed above. If you add that optional Greek yogurt, that will slightly shift the fat and protein counts, so keep that in mind!
- Calories: Around 180 per pita
- Fat: Just over 2 grams (mostly healthy fats from that olive oil!)
- Carbohydrates: About 35 grams
- Protein: Roughly 6 grams
- Sugar: Very low, just about 1 gram (that’s just from the tiny bit of sugar needed to wake up the yeast)
This is a wonderful, simple base for any meal. It gives you good energy without weighing you down, which is perfect if you plan to load it up for gyros or dipping!
Share Your Homemade Pita Bread Creations
Seriously, you guys, this is the part where the zine becomes a community project! We put our heart and soul into perfecting this pita bread, and now it’s your turn to publish your own delicious issue. I want to see those beautiful, fluffy pockets you’ve managed to create in your kitchen. Don’t keep that success a secret!
Did it puff up on the first try? Did you use that optional Greek yogurt and find it made a difference? Tell me everything! Heading over to the contact page is the best way to send us photos of your dinner spread. We absolutely love seeing how our recipes land on your tables.
If you followed these steps and ended up with the softest, warmest bread you’ve ever tasted, please come back here and leave us a rating! Five stars gives us the confidence to keep testing and publishing more exciting, slightly chaotic recipes for you all. We can’t wait to hear how you served your fresh, homemade pitas—were they stuffed? Were they dunked?
PrintFoolproof Fluffy Homemade Pita Bread: Stovetop Pockets in Under 30 Minutes
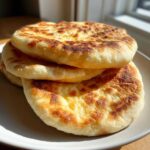
Learn how to make incredibly soft, fluffy homemade pita bread that puffs into perfect pockets right on your stovetop. This easy recipe uses simple pantry ingredients and is ready quickly, making it ideal for gyros, dips, or wraps.
- Prep Time: 20 min
- Cook Time: 15 min
- Total Time: 1 hour 35 min
- Yield: 8 servings
- Category: Bread
- Method: Stovetop Cooking
- Cuisine: Mediterranean
- Diet: Vegan
Ingredients
- 3 cups all-purpose flour
- 1 cup warm water (about 105-115°F)
- 2 1/2 teaspoons active dry yeast
- 1 teaspoon sugar
- 1 teaspoon salt
- 1 tablespoon olive oil
- Optional: 2 tablespoons Greek yogurt for extra softness
Instructions
- In a small bowl, mix the warm water, sugar, and yeast. Let this mixture sit for 5 to 10 minutes until it becomes foamy. This shows the yeast is active.
- In a large bowl, combine the flour and salt. Add the foamy yeast mixture, olive oil, and optional Greek yogurt to the dry ingredients. Mix everything until a shaggy dough forms.
- Turn the dough out onto a lightly floured surface. Knead the dough for 5 to 7 minutes until it becomes smooth and elastic.
- Place the dough in a lightly oiled bowl, turning it once to coat. Cover the bowl with plastic wrap or a clean towel. Let the dough rise in a warm spot for 1 hour, or until it doubles in size.
- Gently punch down the risen dough. Divide it into 8 equal pieces. Roll each piece into a smooth ball.
- Cover the dough balls and let them rest for 10 minutes. This relaxes the gluten, making rolling easier.
- Preheat a heavy-bottomed skillet or cast-iron pan over medium-high heat. Do not add oil to the pan.
- Working with one ball at a time, roll it out into a thin circle, about 6 to 7 inches in diameter. Keep the other balls covered.
- Place one rolled circle onto the hot, dry skillet. Cook for 1 to 2 minutes until you see bubbles forming on the surface.
- Flip the pita. Cook the second side for 1 to 2 minutes. The pita should puff up completely into a pocket. If it does not puff immediately, gently press down on the top surface with a spatula to encourage puffing.
- Remove the puffed pita from the pan and place it on a clean towel. Cover it immediately to keep it soft while you cook the remaining rounds.
- Serve your warm homemade pita bread immediately for the best texture.
Notes
- For the softest pita bread, make sure your water is warm, not hot, to avoid killing the yeast.
- If you want pita bread for dipping, roll them slightly thicker before cooking.
- These pitas are best eaten the day they are made, but you can store leftovers wrapped tightly at room temperature for up to two days.
Nutrition
- Serving Size: 1 pita
- Calories: 180
- Sugar: 1
- Sodium: 250
- Fat: 2
- Saturated Fat: 0.3
- Unsaturated Fat: 1.7
- Trans Fat: 0
- Carbohydrates: 35
- Fiber: 2
- Protein: 6
- Cholesterol: 0