

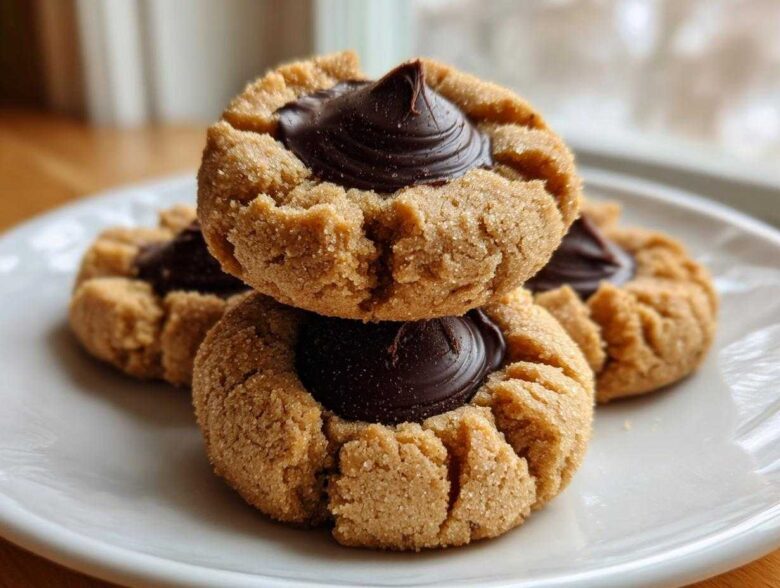
Oh, let’s talk about the cookie that just screams holidays and childhood nostalgia—the Peanut Butter Blossom Cookie! Seriously, is there anything better than that soft, salty peanut butter base meeting that perfectly melted chocolate crater? This recipe isn’t just something I pulled off the internet; this is the version that has stood the test of time in my kitchen. After messing up batches for years trying to get the texture just right—you know, where the side doesn’t crumble when you press the chocolate in—I finally perfected what I think is the most reliable, classic recipe for **Peanut Butter Blossom Cookies** available.
We’re aiming for that signature look with a delightfully chewy inside and edges that just barely crisp up. I developed this recipe over many Easters and Christmases because I needed something absolutely foolproof, especially when the kids started “helping.” Trust me, this method guarantees you those beautiful, iconic cookies every single time. If you’re ready to make the best batch of your life, maybe bookmark this page now! You can explore some other fun baking adventures over at our main baking section while you wait for your butter to soften!
Why This is the Best Recipe for Peanut Butter Blossom Cookies
This recipe truly delivers the goods, folks. We aren’t messing around with complicated steps here; this is designed to be one of those **No Fail Peanut Butter Cookies** you can rely on, year after year. The goal is always that perfect contrast: edges that have just the faintest crunch, locking in a center that stays wonderfully soft enough to accept the chocolate without cracking. That’s why my **Best Peanut Butter Blossoms** always make it onto every cookie platter.
The secret to getting that incredible texture actually starts before you even mix anything! Make sure your butter and eggs are truly at room temperature—not cold, not melted, but perfectly soft. Cold ingredients fight against each other and give you a crumbly, sad cookie instead!
Key Features of Our Classic Peanut Butter Cookies
- Yields about 3 dozen cookies—perfect for sharing (or hiding to eat later!).
- It’s lightning fast! Total time is only about 30 minutes, making it ideal for last-minute baking.
- We guarantee that signature look and the desirable **Soft Center Blossom Cookies** texture you love the most.
If you want to see other reliable favorites, check out how I make my perfect chocolate chip cookies over here—but don’t leave before finishing these blossoms!
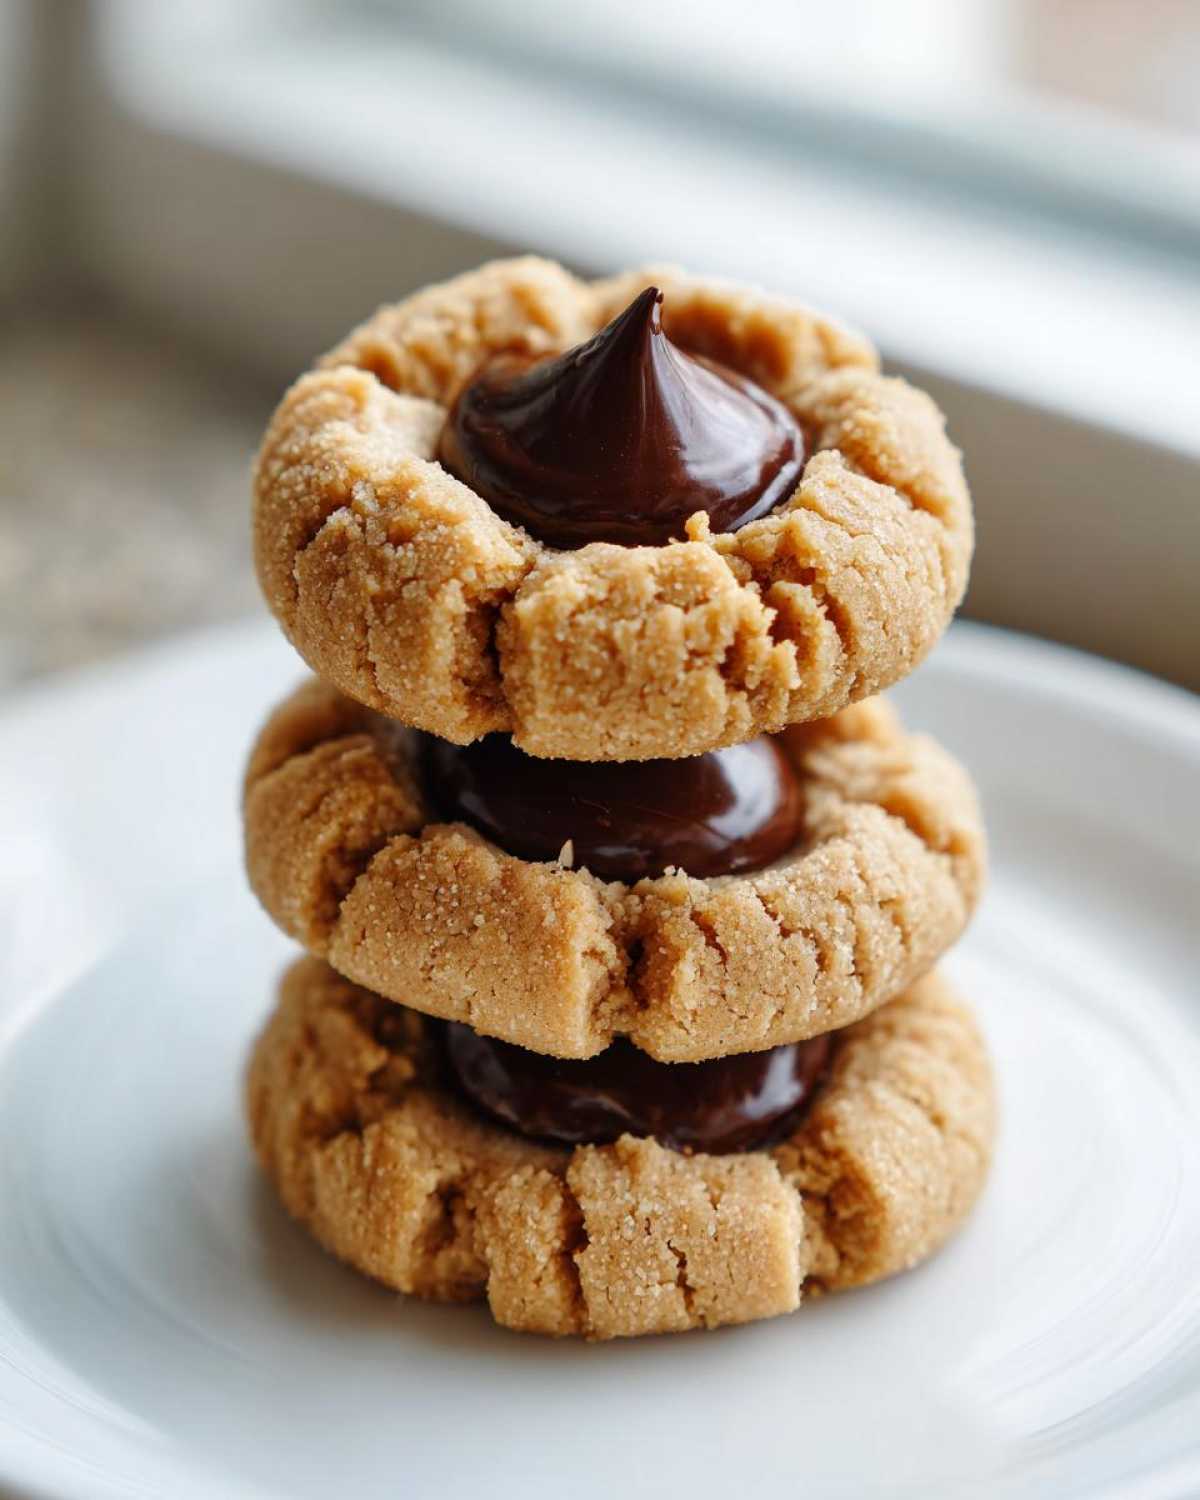
Gathering Ingredients for Perfect Peanut Butter Blossom Cookies
Okay, the real magic starts before we even think about the oven—it starts with getting the right stuff! With simple cookies like these, the quality of your ingredients totally shines through. You absolutely need to grab one cup of unsalted butter, softened just right—seriously, don’t try to cream cold butter, you’ll just frustrate yourself!
We’re using both granulated sugar AND brown sugar because that combination gives us the perfect melt and chewiness. Make sure you have good vanilla, two large eggs, and crucially, creamy peanut butter. I insist on creamy for these because we want a smooth dough foundation for that chocolate pop later on. Also, everything needs to be at room temperature—your butter, the eggs—so they blend into one happy, creamy cloud when you start mixing. This proper creaming gives us that beautiful structure!
And naturally, we need the stars of the show: the chocolate!
Ingredient Notes and Substitution Options
Let’s talk specifics about our stars. For the peanut butter, I love using Jif or Skippy creamy—the standard stuff works best for texture, as natural separation can throw off the wet-to-dry balance. If you prefer crunchy, go for it, but just know the texture will be a little more rugged!
Now, the Kisses! The traditional look demands unwrapped Hershey’s Kisses, and press them in *immediately* after they come out of the oven so they stay perfectly shaped. If you can’t find them or want something different for your **Peanut Butter Candy Center Cookies**, you can try soft caramels like Rolos, but you’ll need to adjust your timing slightly!
Also, don’t skip whisking your dry ingredients (flour, soda, powder, salt) together separately. It really helps distribute the leavening agents evenly. If you want to try something beyond peanut butter, these methods work great for maple brown sugar cookies too, but for blossoms, stick to the plan!
Step-by-Step Instructions for How to Make Peanut Butter Blossoms
Don’t let this look like a complicated recipe; this is truly an **Easy Peanut Butter Cookie Recipe** once you get the rhythm down. We move fast, but we mix smart. Preheat your oven to 375°F right away and make sure those baking sheets are lined with parchment or silicone mats. Trust me, that little bit of prep saves you scrubbing later!
Preparing the Dough Base and Dry Mix
First, tackle the wet ingredients. Get your softened butter, granulated sugar, and that gorgeous brown sugar into your big mixing bowl. Beat them until they look light and fluffy—you want maximum air in there! Then introduce the eggs one at a time, making sure each one is fully incorporated before adding the next, followed by your vanilla and the peanut butter. Mix until it’s all just a uniform, happy mess.
In a separate bowl, we deal with the dry stuff. Whisk the flour, baking soda, baking powder, and salt well. Now, here is where you need to listen to the dough: add those dry ingredients to the wet ingredients slowly, mixing on low speed until you see just the last streaks of flour disappear. Stop! Seriously, stop the mixer! Overmixing develops gluten, and that is the absolute kiss of death for soft cookies. Once it’s combined, move on.
Roll those balls up—about one inch around—and if you want that classic sugary coating that helps keep the edges tidy, give them a quick roll in extra granulated sugar. Place them about two inches apart on the prepared sheets.
Baking and Setting the Chocolate Kiss Center Cookies
Bake time is quick! We are looking for 8 to 10 minutes at 375°F. You’ll know they’re ready because the edges will look set and slightly golden, but when you peek, the *center* needs to look a little soft and puffy. Don’t overbake them, or they will be stiff and won’t take the chocolate correctly!
This next part is critical for that iconic look. As soon as you pull the tray out of the oven, you need to work fast. Take an unwrapped chocolate kiss and immediately press it gently but firmly into the center of each hot cookie. The residual heat melts the chocolate just enough so it stays perfectly shaped and sinks in beautifully without cracking the surface.
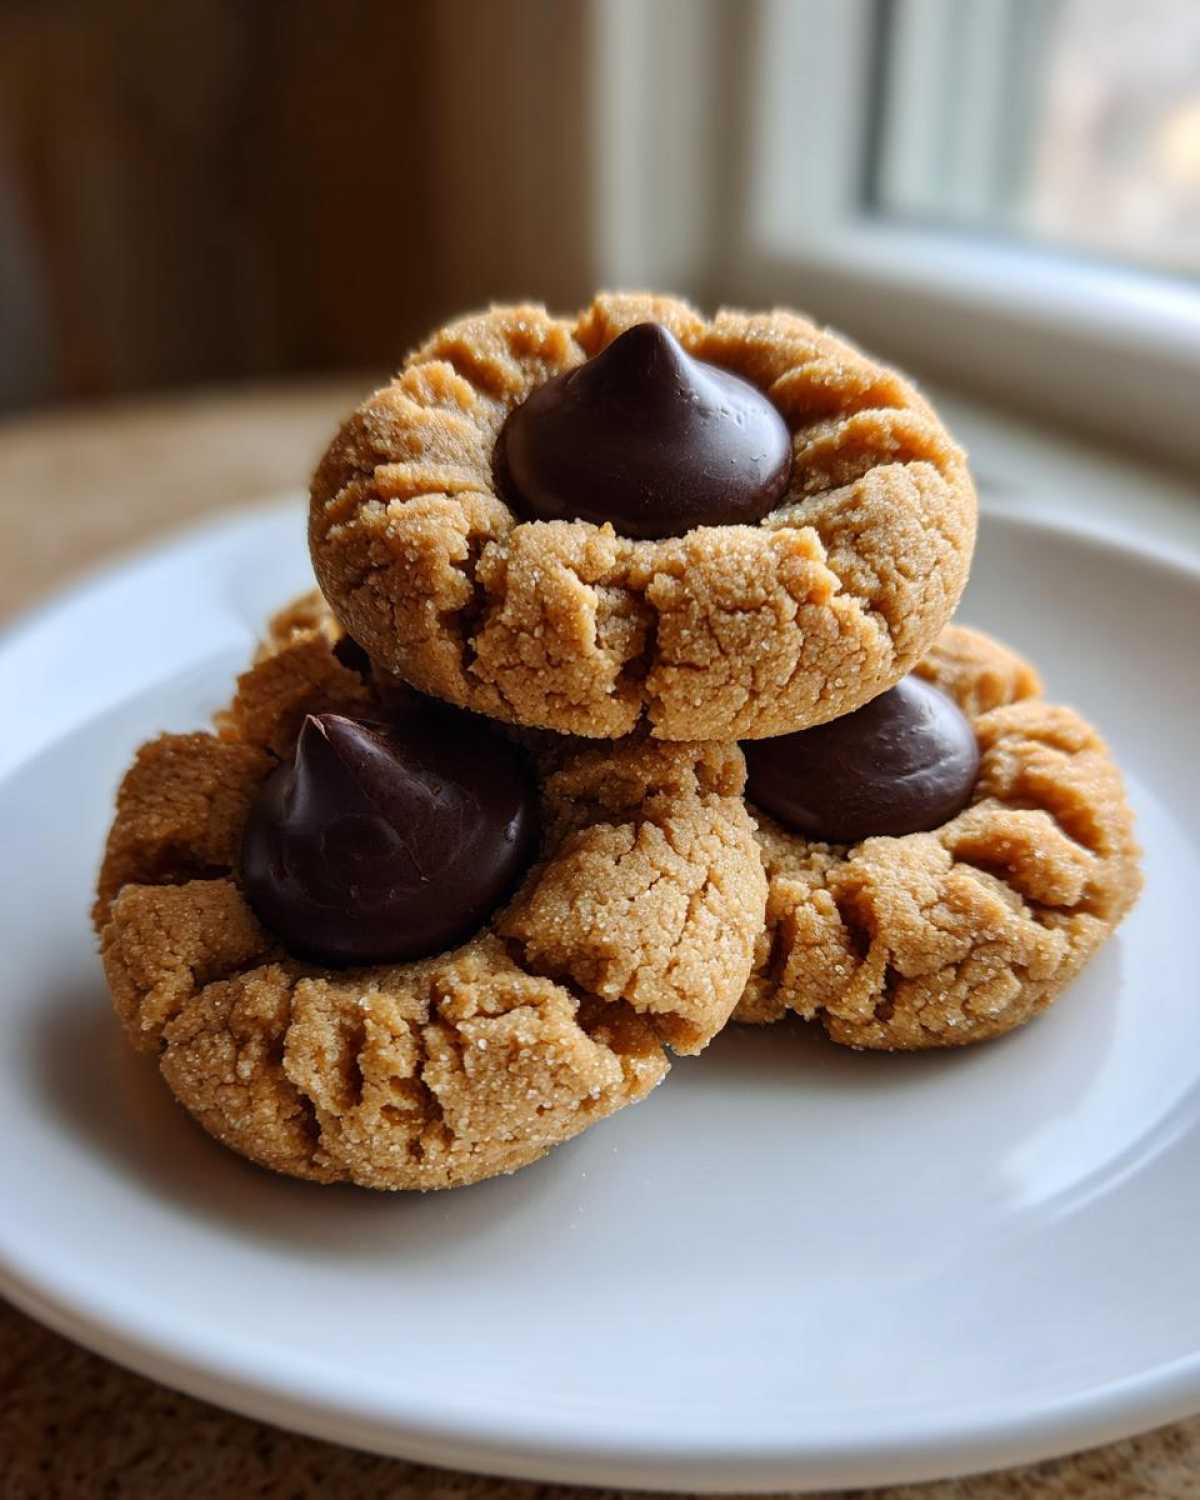
Leave them on the hot pan for about five minutes to firm up before carefully moving them to a wire rack to cool completely. If you move them too soon, they’ll fall apart! If you want to see more ways to perfect your baking game, check out this guide to similar cookie methods right here.
Tips for Perfect Peanut Butter Blossom Cookies Every Time
We’ve hit the main steps, but let me give you a few extra **Baking Tips for Blossom Cookies** that really elevate them from ‘good’ to ‘absolutely requested every year.’ Since this recipe doesn’t use the classic fork criss-cross, our best visual cue, which I mentioned before, is that sugar coating!
If you roll those dough balls perfectly round and give them a good coat of granulated sugar before baking, it gives the cookie structure and a pretty, slightly sparkly exterior. This outer shell is what keeps those edges from spreading too much while keeping the center soft.
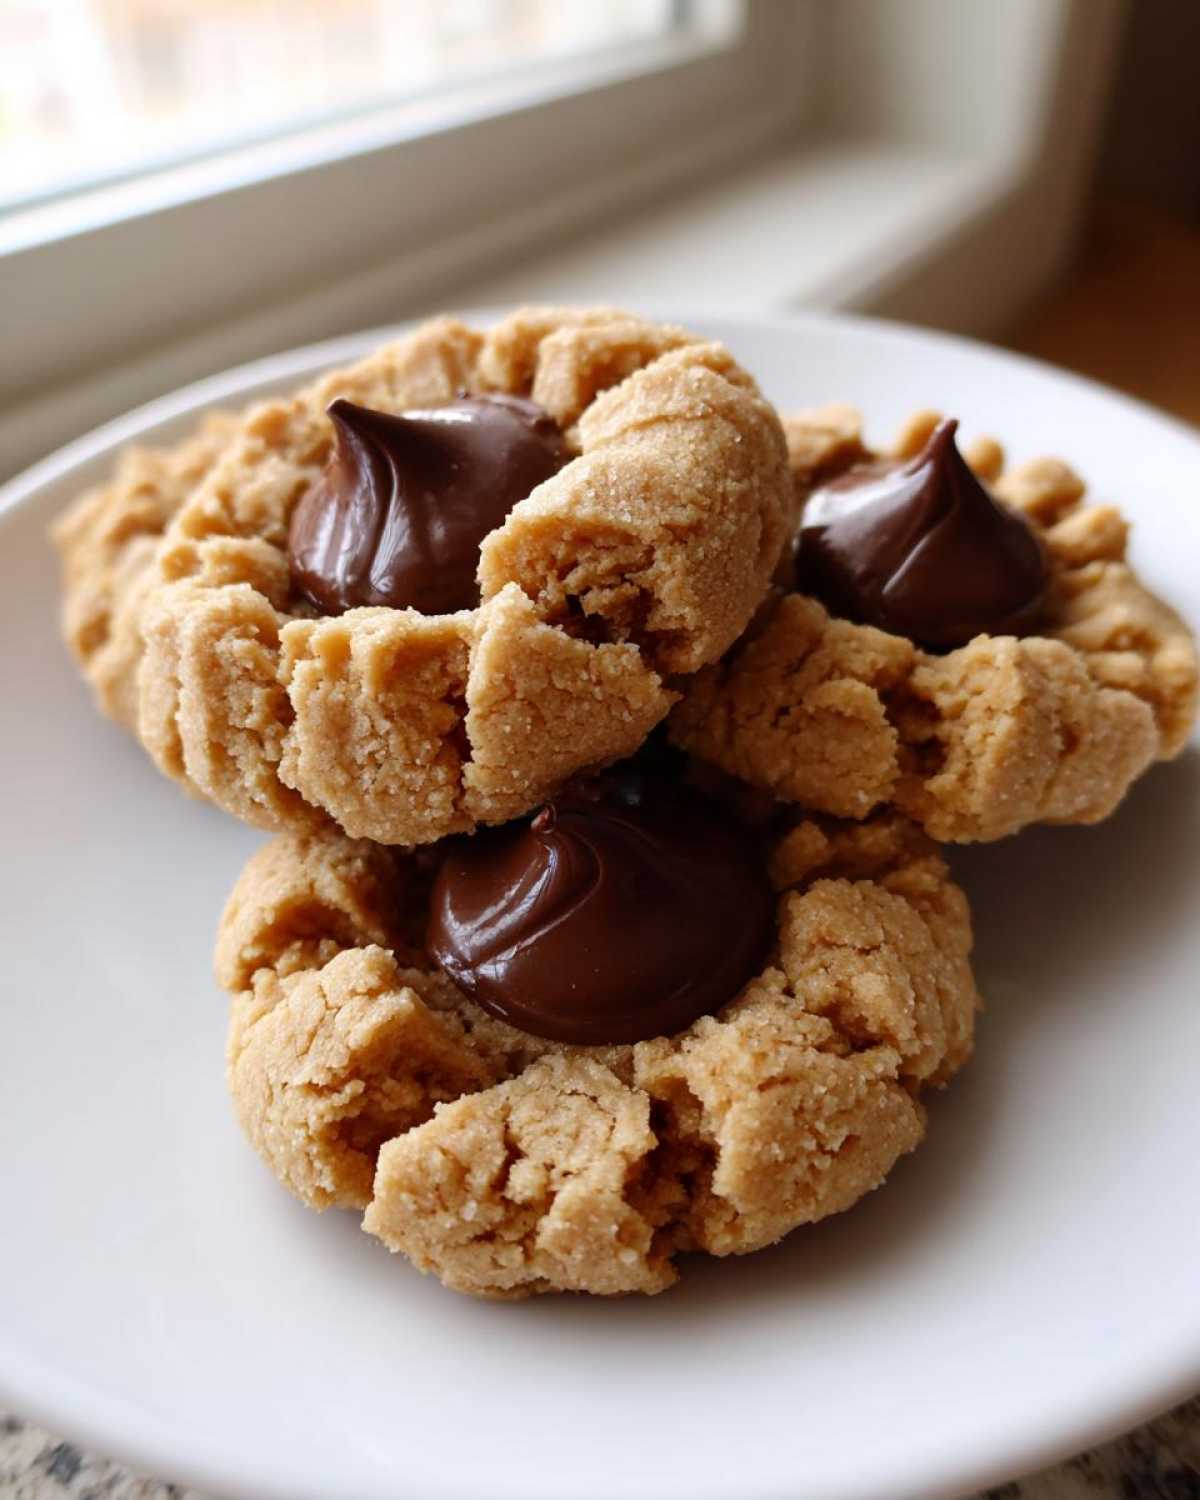
The biggest issue I see readers have is the cracking around the kiss. That’s all about timing! Wait maybe thirty seconds after they come out of the oven, but no more. If you wait too long, the cookie surface hardens, and when you press the chocolate, the whole thing splits. Work quickly, press gently—you want the chocolate to settle in, not smash the cookie flat. If you want more general baking wisdom to apply to all your treats, have a look through our general tips page!
Variations on Traditional Peanut Butter Blossom Cookies
While the classic combination of peanut butter and that chocolate kiss is sacred, sometimes you just need to mix things up, right? These cookies are fantastic for trying out small tweaks, especially when you’re putting together a big platter for **Holiday Cookie Baking Ideas**.
The absolute easiest variation is swapping out the nut butter. If you have a peanut allergy in the house or just want to try something new, the ratios for creamy almond butter or even cashew butter work surprisingly well here. Just make sure whatever you use is creamy and well-stirred so you don’t mess up that crucial dough structure.
Another simple change that smells amazing is adding a little spice! I sometimes whisk about half a teaspoon of ground cinnamon right into my dry ingredients. It gives the cookie an extra warm depth that pairs wonderfully with the chocolate without interfering with the peanut flavor too much. It’s subtle, but trust me, people notice!
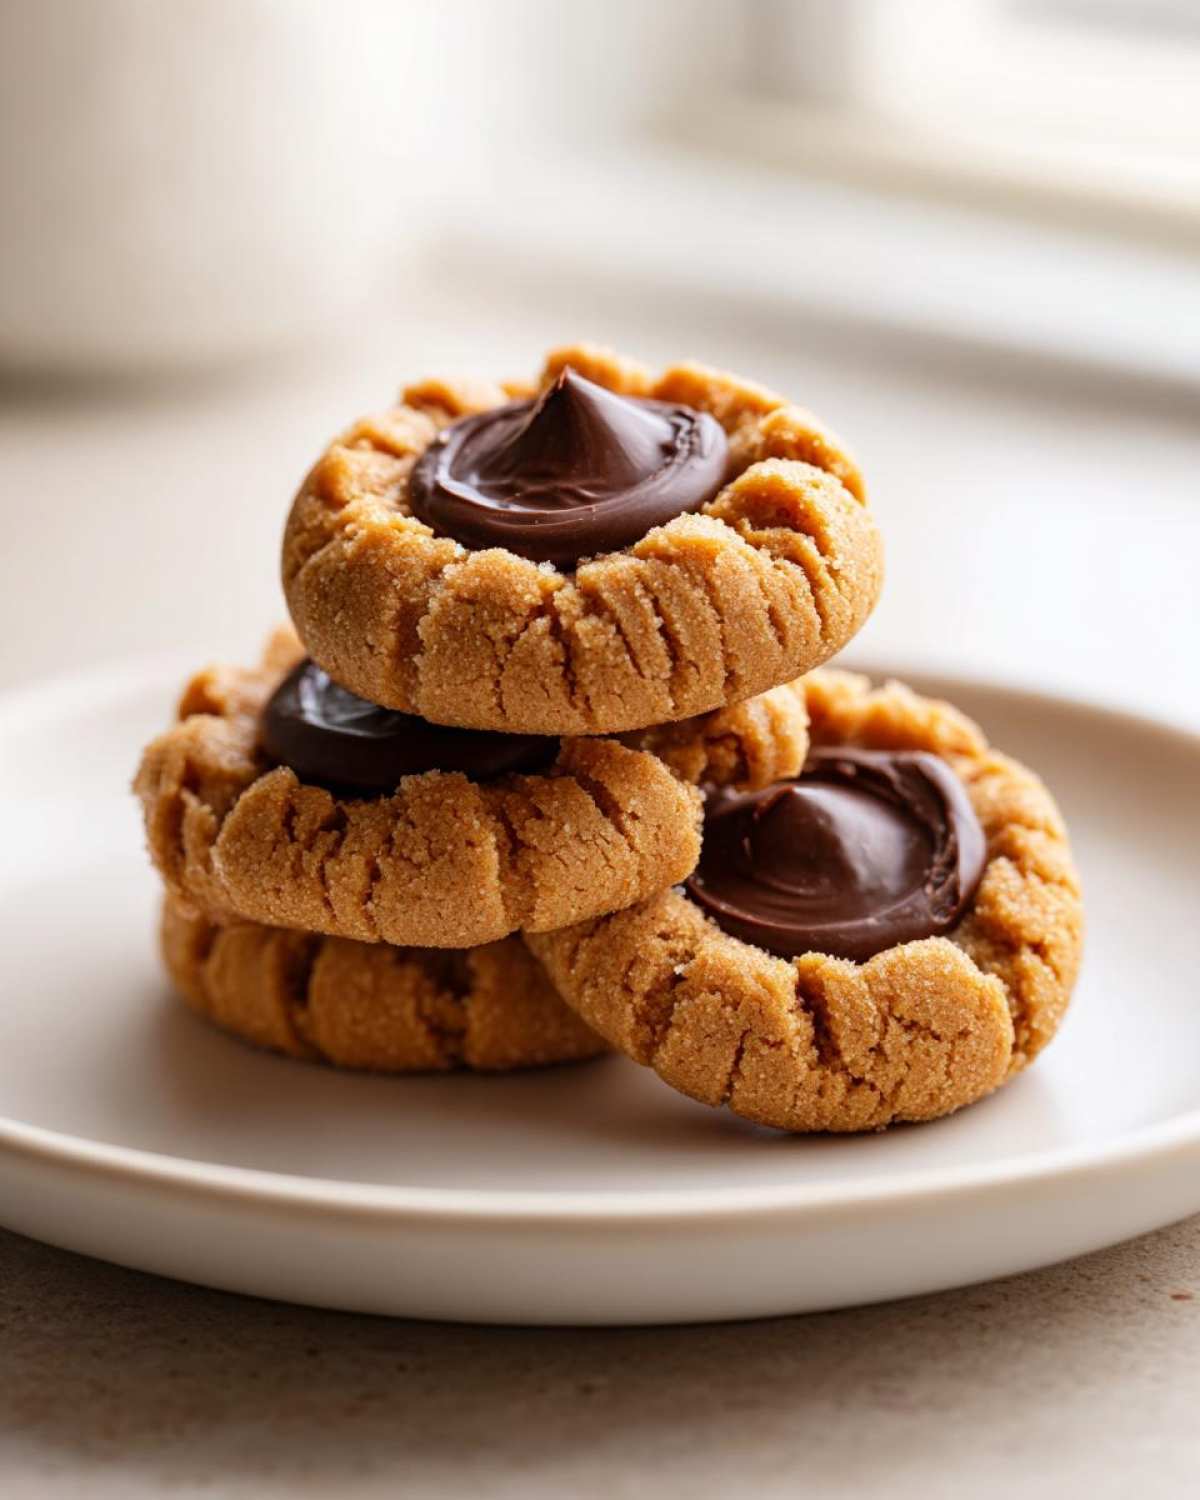
If you want to get really fancy with the center, you can swap out the Hershey’s Kiss for a miniature Rolo candy or even a small white chocolate chip if you’re looking for a different flavor profile. Just remember, whatever you use, press it into the cooling cookie immediately. If you want to see another amazing, slightly different cookie that uses a similar folding technique, you should check out my fudgy crinkle cookie recipe!
Storage and Shelf Life for Your Peanut Butter Blossom Cookies
Whew! You’ve made three dozen perfect cookies. Now what? Keeping these beauties fresh is easy, which is a huge bonus when you’re baking for a crowd or just want snacks throughout the week. The primary rule for preserving the wonderful texture of these **Classic Peanut Butter Cookies** is simple: keep the air out!
Store your cooled cookies in a sturdy, airtight container at room temperature. Seriously, don’t try to leave them out on a plate or in a flimsy bag. If you keep them sealed up tight, they should stay wonderfully fresh and soft for at least a full week. That soft texture we worked so hard for lasts!
If you baked these for a holiday or you just made too many (is that even possible?), you can totally freeze them! I actually prefer freezing the dough balls over the baked cookie, though. Wrap those little 1-inch balls tightly in plastic wrap first, then tuck them into a freezer-safe bag. They last great for about two to three months!
If you decide to freeze the baked cookies, make sure they are completely cool, or you’ll get condensation which makes them soggy. Again, airtight container is your friend. When you want to bake them later, just put the frozen dough balls on the baking sheet—you might need to add a minute or two to the baking time, but they come out just as delicious!
Frequently Asked Questions About Peanut Butter Blossom Cookies
I always get tons of questions when I post these because everyone wants their batch to be perfect! Don’t hesitate to drop your own queries in the comments—but here are a few things I hear most often about making these **Simple Christmas Cookies**.
Can I make these Chewy Peanut Butter Cookies without a Hershey’s Kiss?
Well, let’s be honest, if you aren’t pressing a chocolate kiss into the center, they really aren’t technically Blossom cookies, are they? That chocolate crater is the signature feature! However, if you absolutely cannot use the Kisses—maybe you’re doing peanut butter and caramel, perhaps—you can substitute them. Try pressing in a small soft caramel candy like a Rolo, or even just a scoop of chocolate ganache once the cookie has cooled a bit. Just be aware that you lose that classic melt-in-your-mouth moment!
Why did my Peanut Butter Blossom Cookies crack?
Oh, cracking is frustrating! Usually, this happens for two main reasons. First, you might have overmixed the dough after adding the flour. Remember I said stop when you see the last streaks? If you keep going, the gluten tightens up, and the cookie puffs up and cracks as it tries to spread. Secondly, and this is huge, you might have overbaked them slightly! If the cookie is already too set when you press the chocolate in, it has no give left, and it splits right around the center. Always pull them when the center still looks a little soft; they finish baking on the tray!
If you’re looking for other recipes that might give you trouble with cracking, I have some great troubleshooting tips in my guide on making easy homemade pizza dough—sometimes the science crosses over!
Estimated Nutrition for Peanut Butter Blossom Cookies
Now, I know we bake these treats because they taste like sunshine and happy memories, not because we’re tracking macros, but I always get asked about the nutrition breakdown. Life is about balance, right? So, here are the estimated numbers for just one of these gorgeous cookies.
Please remember, these figures are just guidelines based on using standard, creamy peanut butter and Hershey’s Kisses as listed in the recipe for approximately 3 dozen cookies. If you swap out the sugars or use natural peanut butter, the numbers will definitely change. Bake these with love, and worry about the spreadsheets later!
Here’s the basic rundown per cookie:
- Serving Size: 1 cookie
- Calories: 180
- Sugar: 15 grams
- Fat: 10 grams (with 4 grams as Saturated Fat)
- Carbohydrates: 22 grams
- Protein: 4 grams
- Cholesterol: 20 mg
See? Not terrible for a classic cookie! They’ve got a little protein boost from the peanut butter, which I like to tell myself makes them practically a snack. These are the kind of **Homemade Peanut Butter Cookies with Chocolate** that are worth every single crumb.
Share Your Classic Peanut Butter Cookies Experience
Whew! That’s everything you need to know to make these the best **Classic Peanut Butter Cookies** you’ve ever baked. Seriously, once you master that timing with the Kisses, you’ll feel like a baking superstar!
I put my heart and soul into making sure this recipe holds up, and I really want to hear from you! Did they turn out chewy? Did you try adding that tiny bit of cinnamon I mentioned? Don’t just eat them in silence—tell me how they went!
If you followed these steps and ended up with a perfect batch of **Peanut Butter Blossom Cookies** (and I know you did!), please do me a huge favor and give this recipe five stars right below. It helps other bakers find this reliable guide, and honestly, it makes my day hearing that something I shared helped make your day a little sweeter.
Drop your photos, your questions, or any little tweaks you made down in the comments section below! If you need to reach out privately, you can always use the contact form over here. Happy baking, my friends!
PrintClassic Peanut Butter Blossom Cookies
A straightforward recipe for making traditional peanut butter cookies topped with a chocolate kiss.
- Prep Time: 20 min
- Cook Time: 10 min
- Total Time: 30 min
- Yield: About 3 dozen cookies
- Category: Dessert
- Method: Baking
- Cuisine: American
- Diet: Vegetarian
Ingredients
- 1 cup unsalted butter, softened
- 1 cup granulated sugar
- 1 cup packed brown sugar
- 2 large eggs
- 1 teaspoon vanilla extract
- 1 cup creamy peanut butter
- 2 3/4 cups all-purpose flour
- 1 teaspoon baking soda
- 1/2 teaspoon baking powder
- 1/2 teaspoon salt
- About 1 bag (12 ounces) Hershey’s Kisses, unwrapped
Instructions
- Preheat your oven to 375 degrees F (190 degrees C). Line baking sheets with parchment paper.
- In a large bowl, beat the softened butter, granulated sugar, and brown sugar until creamy.
- Beat in the eggs one at a time, then mix in the vanilla extract and peanut butter until combined.
- In a separate medium bowl, whisk together the flour, baking soda, baking powder, and salt.
- Gradually add the dry ingredients to the wet ingredients, mixing on low speed until just combined. Do not overmix the dough.
- Roll the dough into 1-inch balls. Roll each ball in granulated sugar (optional, for extra coating).
- Place the balls about 2 inches apart on the prepared baking sheets.
- Bake for 8 to 10 minutes, or until the edges are lightly set. The centers should still look slightly soft.
- Remove the cookies from the oven. Immediately press one unwrapped chocolate kiss into the center of each warm cookie.
- Let the cookies cool on the baking sheet for 5 minutes before transferring them to a wire rack to cool completely.
Notes
- For a classic look, roll the dough balls in extra granulated sugar before baking.
- Press the chocolate kiss into the cookie immediately after removing it from the oven so the cookie is warm enough to hold the candy shape without cracking.
- Store cookies in an airtight container at room temperature for up to one week.
Nutrition
- Serving Size: 1 cookie
- Calories: 180
- Sugar: 15
- Sodium: 90
- Fat: 10
- Saturated Fat: 4
- Unsaturated Fat: 6
- Trans Fat: 0
- Carbohydrates: 22
- Fiber: 1
- Protein: 4
- Cholesterol: 20