

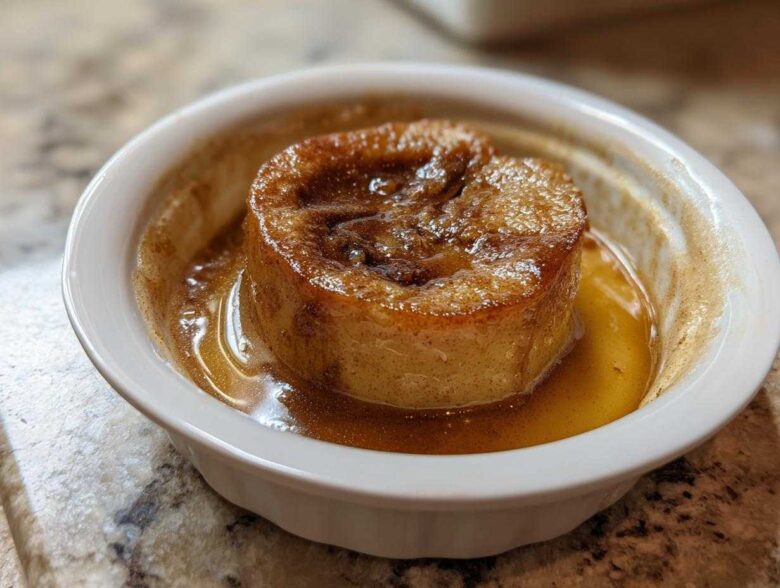
Oh, friends, if you’re anything like Mateo and me, the moment the air gets that first crisp bite, you crave something that smells like nostalgia, butter, and warm spice. That’s why this issue of Flavor Zine is dedicated to simplicity done right: the most comforting, cozy batch of baked apples you’ll ever make. Forget fussy layered desserts! This recipe is genuinely the ultimate simple comfort food, designed for those evenings when you just want the kitchen to smell amazing while you catch up on life. We’ve tested this method—using just water, spice, and butter—until we knew it was a reliably wonderful ‘zine page.’ It’s perfectly tender and ridiculously easy. If you want to know more about how we turn everyday cooking into something special here, check out our story over at Flavor Zine. Trust me, these simple moments are the real stories we want to publish.
Why Our Easy Baked Apples Recipe Is Your New Fall Favorite
Listen, I know you’re busy, and sometimes the best desserts are the ones that don’t require a full afternoon of commitment. That’s why this recipe sings! It hits all the right notes for cozy apple recipes without any drama. It’s truly the most rewarding simple apple dessert you can keep on rotation.
- It’s ready to slide into the oven faster than you can decide what movie to watch!
- The resulting apples are incredibly tender—no tough bites here, promise!
- The aroma that fills the house is just pure fall happiness.
Quick Prep Time for Effortless Baking
Mateo is always amazed that we can get this into the oven in just 10 minutes of actual work. Think about that! Ten minutes standing at the counter and then you just walk away until that beautiful sweet spice smell drags you back to the kitchen.
Perfectly Tender Baked Apples Every Time
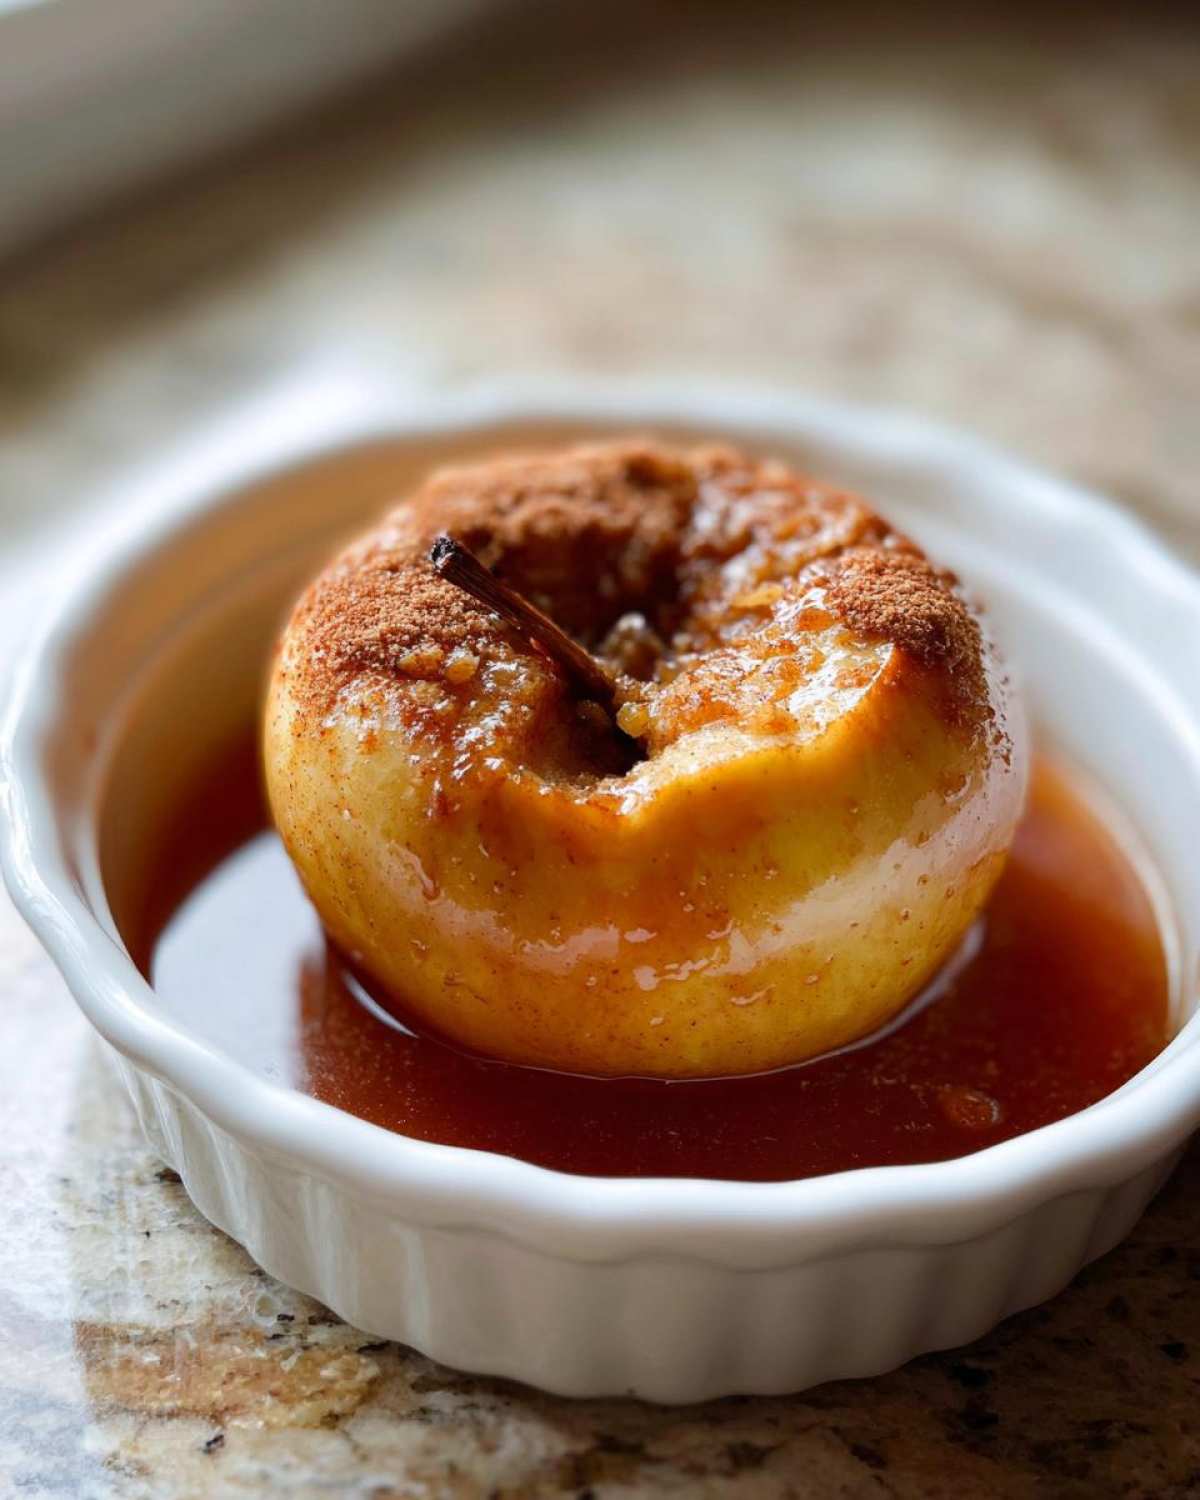
The secret to getting those beautiful, tender baked apples is something so basic, but it’s genius! We always pour a little water in the bottom of the baking dish. That water turns to steam as it heats up, gently coaxing the apples until they are soft and yielding all the way through. No tough cores!
Gathering Ingredients for Perfect Baked Apples with Brown Sugar
Okay, let’s talk about what you need for this version of baked apples with brown sugar. Don’t panic—it’s just a handful of pantry staples, but the quality of the fruit really matters here. We need ingredients that play nicely together, creating that deep, warm flavor. I always lay everything out on the counter first, just like I’m setting up a little baking station. It makes the mixing part so much smoother!
For the filling and the baking magic, you’ll need your apples, of course, a good amount of packed brown sugar, our essential cinnamon and a touch of nutmeg for depth, those little pats of butter that melt into gold, and just a splash of water to get things steaming in the oven.
Apple Selection: Choosing the Best Fruit for Baked Apples
This is crucial for texture! If you use an apple that breaks down too fast, you end up with mushy apple sauce instead of lovely baked apples. We swear by using firm apples here, like Honeycrisp or Fuji. They hold their shape beautifully when they bake, offering that perfect bite that isn’t mushy but isn’t raw either. Granny Smith works fine too if you like a tarter flavor profile, but just know they might soften up a bit quicker than the sweeter varieties.
How to Prepare Easy Baked Apples Recipe: Step-by-Step
Alright, let’s get baking! This whole process is what makes this the best easy baked apples recipe for weeknights. First things first: we need heat! Get your oven cranking up to 375 degrees Fahrenheit and make sure you grease up that small baking dish really well, or you’ll be scrubbing later—and that’s never part of the fun, right?
Now, let’s tackle the apple prep. Wash them up, and then we start coring. You want to carve out the middle but be careful not to go all the way through the bottom! I remember one time, bless my heart, I was rushing and poked clear through the bottom of a Fuji. When I poured the sugar in, it just melted straight into the bottom of the pan. Lesson learned: leave a sturdy little anchor at the base!
Prepping the Apples and Creating the Warm Apple Spice Filling
Once they’re cored, you decide: peel or no peel? I usually leave the skin on because it holds the shape better, but if you prefer that silky texture, go right ahead and peel them first. Next, grab a tiny bowl and mix that gorgeous brown sugar with the cinnamon and nutmeg. That little combination is our signature warm apple spice blend; it’s so intoxicating!
Spoon that perfectly mixed filling right into the hole you made. Then, the magic touch: pop one tiny pat of butter right on top of the sugar in each apple. Don’t skip that part; the butter melts down and creates this luscious little sauce inside the cavity.
Baking Time and Achieving Tender Baked Apples
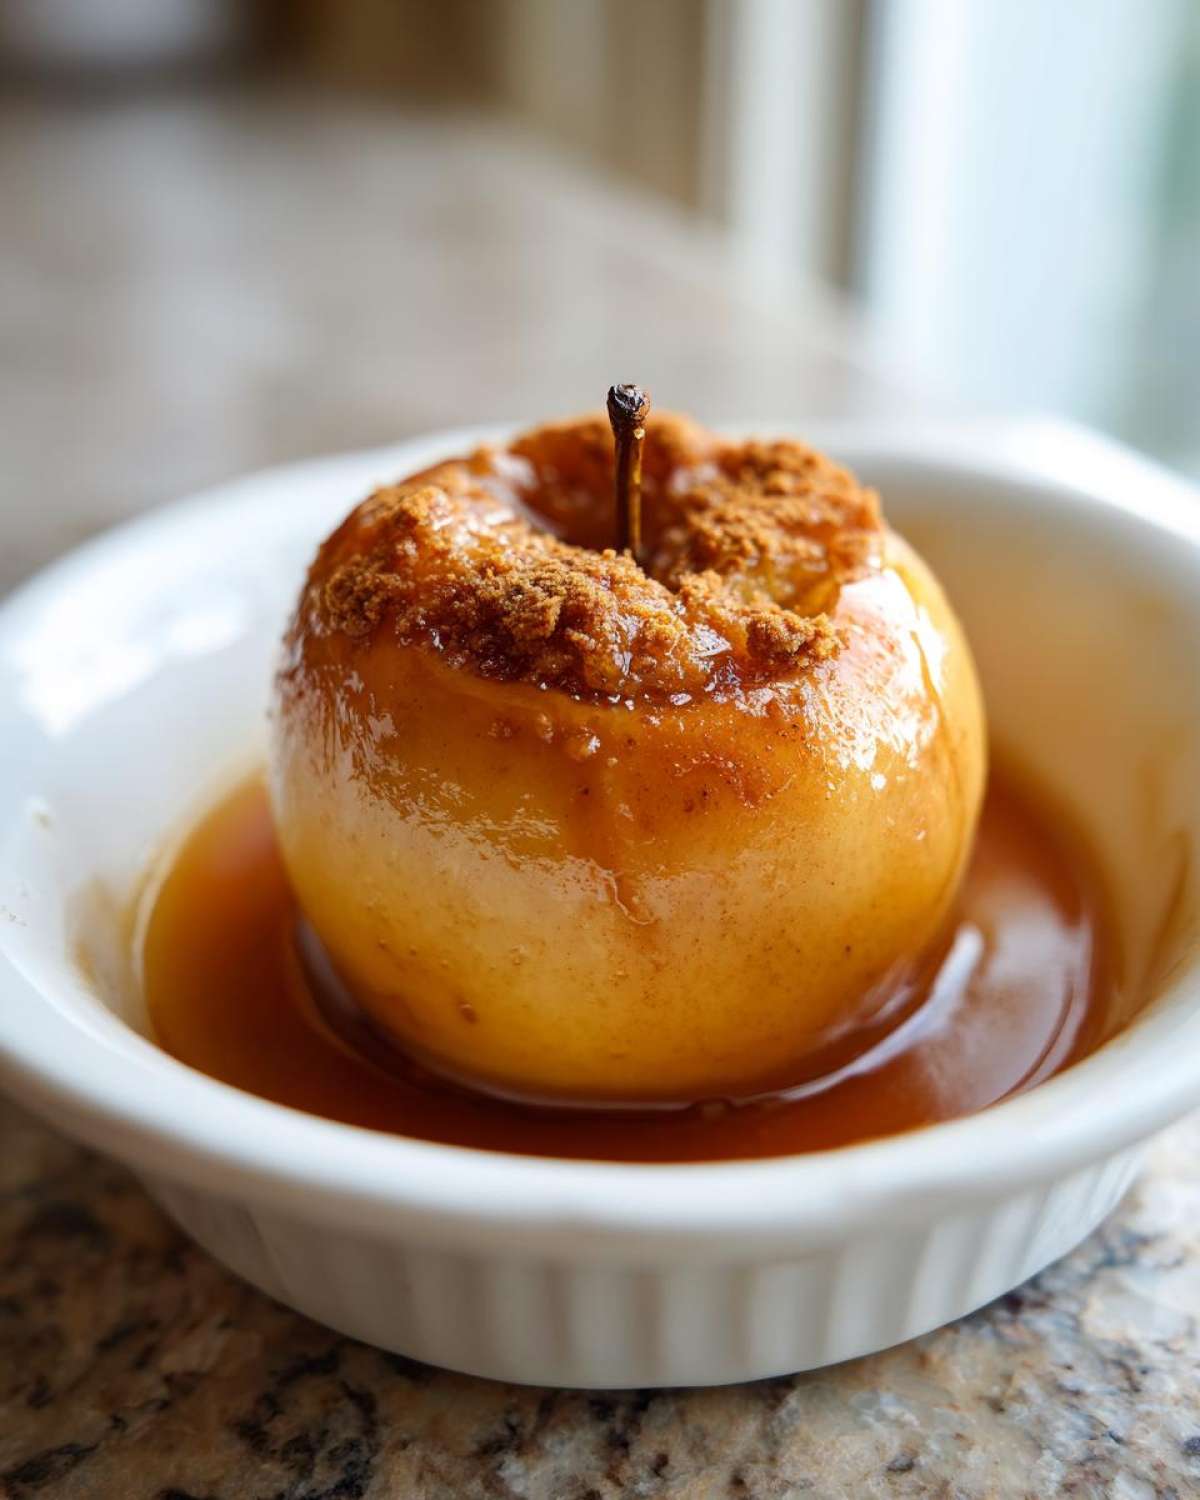
Once those little stuffed beauties are nestled in the dish, pour the water around the bottom—this is key for steam! Bake everything for about 35 to 45 minutes. Seriously, timing depends on how big your apples were, so you always check right around the 35-minute mark. You want them to be totally tender when pierced with a fork.
When they look ready, pull them out carefully. Before you serve them up, go ahead and take a spoon and drizzle any of that buttery, sweet liquid left in the bottom of the pan right over the top of the apples. That last drizzle is what makes them extra special! If you want more tips and stories about our kitchen adventures, feel free to click over to our blog!
Tips for Success with Cinnamon Baked Apples
Even with something as simple as these cinnamon baked apples, a few little secrets can take them from great to unforgettable. We don’t want any failures in your Flavor Zine kitchen! The goal is maximum cozy factor with minimum fuss, so pay attention to these little details about the filling and texture.
The liquid in the pan is your best friend for achieving that perfect soft interior, but also make sure your spice mix is well distributed. A clump of cinnamon on one side means you miss out on that rich warm apple spice flavor on the other side. It’s all about balance, right? Speaking of balance, if you ever want to try balancing savory flavors—which is a fun challenge in itself—we experimented with making caramelized onions recipe how to make, which you can check out!
Variations: Making Stuffed Baked Apples
If you want to upgrade these babies to something really show-stopping, you have to try turning them into proper stuffed baked apples! This is perfect if you’re serving them to company or if you just feel like adding a little crunch. Remember those notes I mentioned? You can mix about 1/4 cup of rolled oats or some finely chopped pecans right into your brown sugar and spice mixture before spooning it in.
The oats absorb some of that melted butter and sugar, creating this delightful, slightly chewy topping that bakes right on top of the apple. It turns it into a mini fruit crisp inside the apple skin! Honestly, even though this version takes maybe two extra minutes of mixing, it’s totally worth the effort for that extra texture.
Serving Suggestions for Your Baked Apples
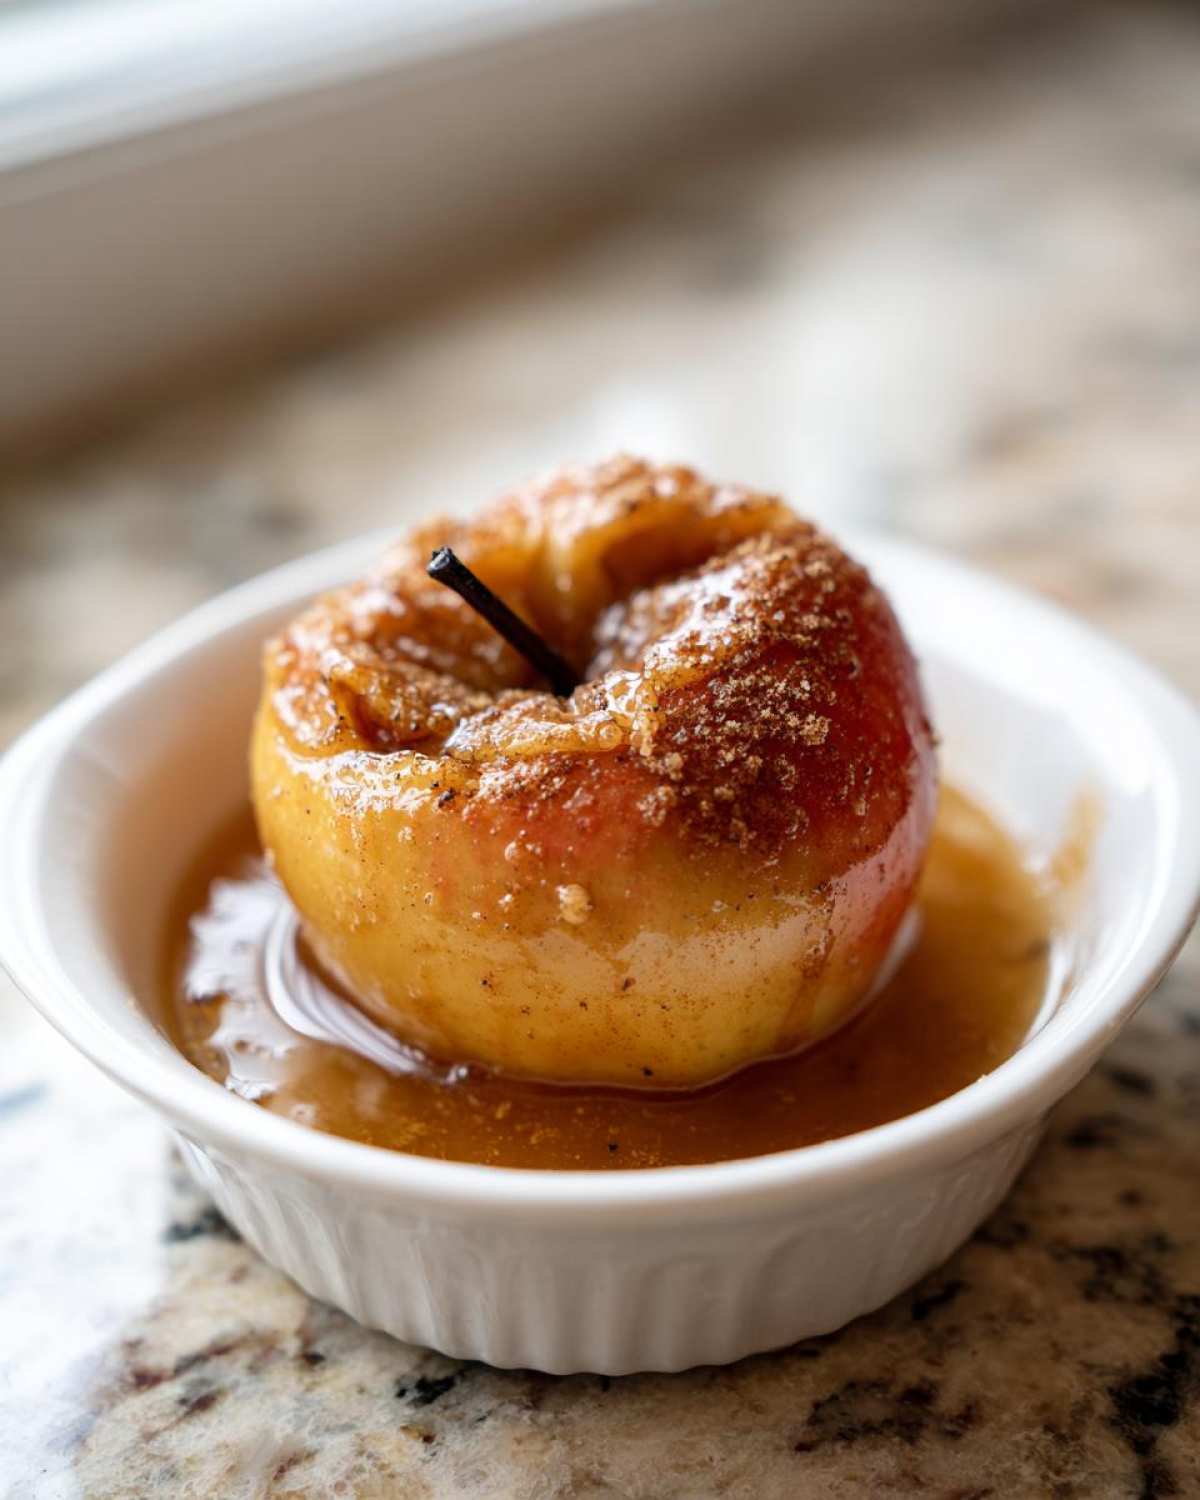
The smell alone is a reward, but we have to present these beautiful things properly, don’t we? The absolute classic way to enjoy these baked apples is served piping hot, right out of that baking dish. It makes for the perfect fall apple dessert!
Mateo insists that these are best enjoyed when we top them with a big, melting scoop of vanilla ice cream. That hot-cold contrast? Divine! You just spoon any extra sugary liquid from the pan over the top right before serving. If you’re looking for other ideas on things that are both cozy and sweet, you should totally check out our recipe for the best chocolate chip cookie recipe later this week. But for now, these apples are calling!
Storage and Reheating Instructions for Leftover Baked Apples
Seriously, there’s almost never any leftovers because Mateo and I inhale them, but if you manage to save any of these luscious baked apples, you need to know how to store them so they taste just as good the next day. We’ve all been there—you warm up a leftover dessert only to find it turned to sad mush, and that’s a tragedy we must avoid!
The best way to keep yours fresh is to cool them completely first. Once they are at room temperature, tuck them into any airtight container. They keep beautifully in the refrigerator for about three to four days. Don’t leave them sitting out for too long, especially if you poured that buttery liquid over them, because we want to keep things safe!
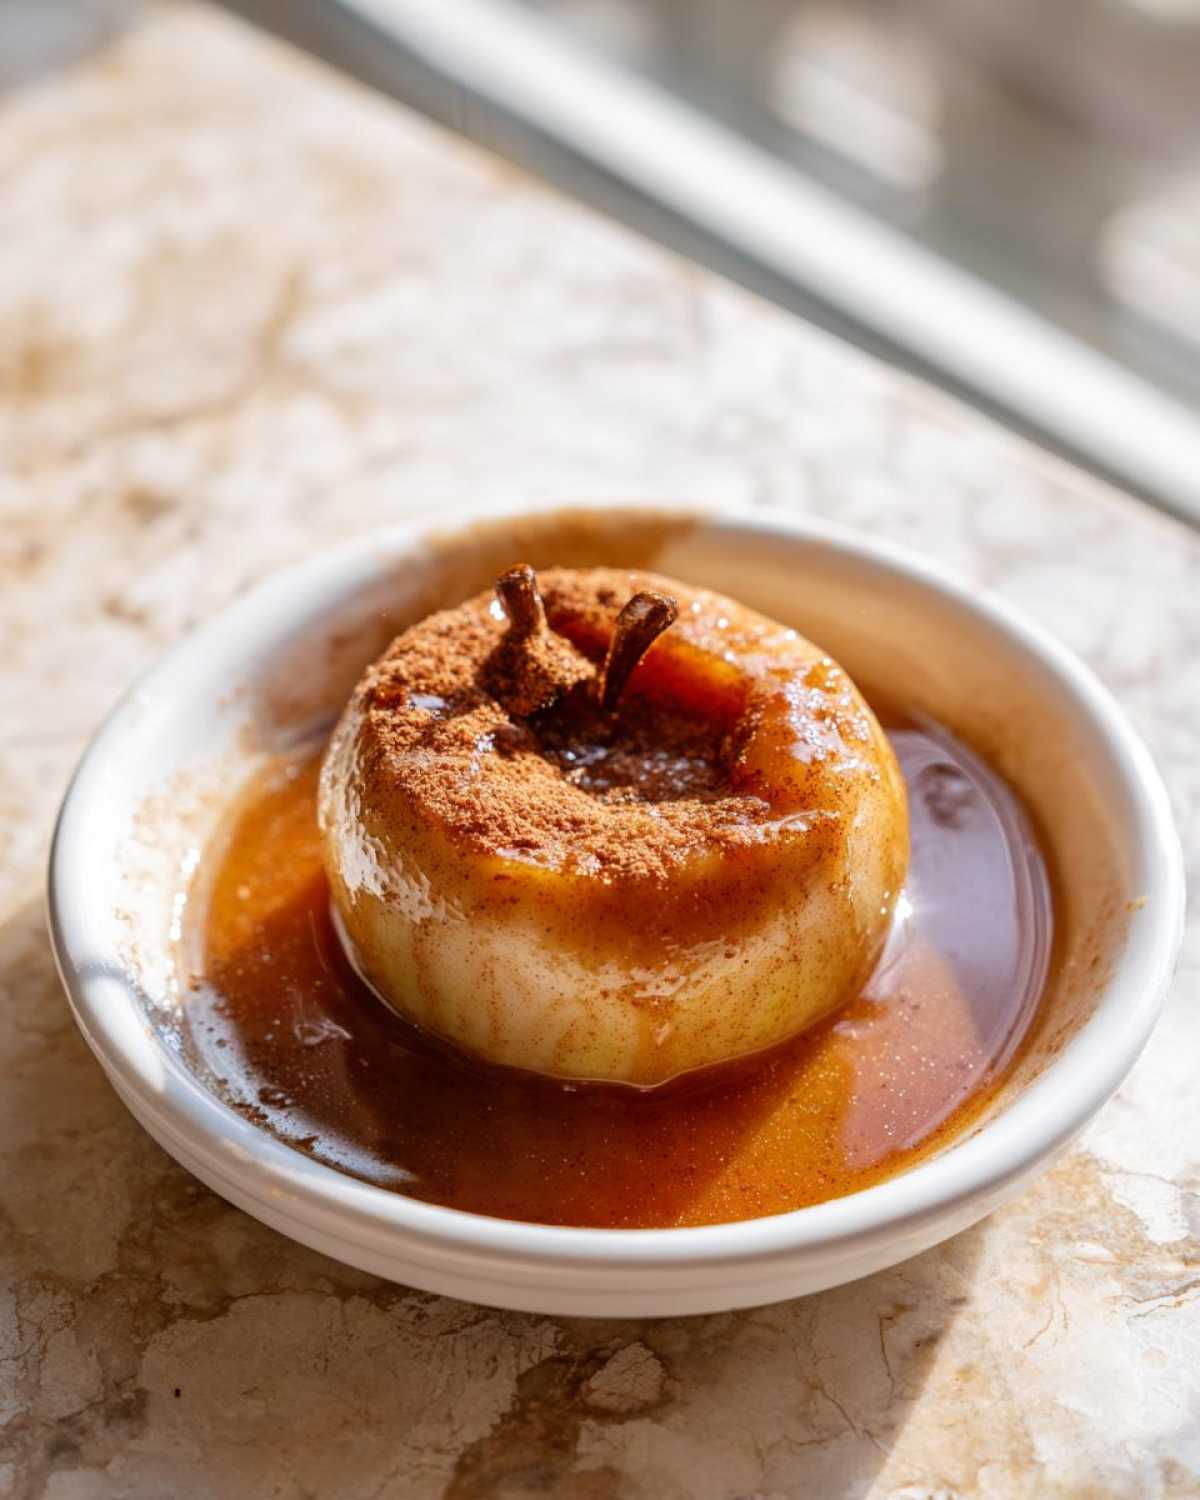
When it’s time for round two, you have options, but one is definitely better for that tender texture we worked so hard for. Reheating them gently in the oven is my preferred method. Pop them back into a small baking dish at about 300 degrees Fahrenheit for about 10 to 15 minutes. This warms them through without turning the outside gummy!
Now, if you are in a real hurry—like, five seconds to the microwave hurry—you can use that. But be warned: the microwave heats unevenly and can sometimes make the apple skin a little rubbery. So, use the microwave sparingly, maybe just 30 seconds at a time until they are warm enough. For the best experience, stick to the oven; it truly keeps that lovely, tender quality intact!
Making Healthy Baked Apples Alternatives
I know that sometimes, even when we want that cozy feeling, we need to think about keeping things a little lighter, right? We always want Flavor Zine to work for every kind of kitchen mood! So, if you’re looking to make healthy baked apples or just cut down on the sugar a tiny bit, I have the perfect swap you can make without sacrificing almost any flavor.
The recipe notes mentioned a little trick, and it’s all about substitution. Instead of using the full 1/4 cup of brown sugar, try cutting that down to just two tablespoons. Then, here’s the fun part: swap out the tablespoon of butter for a tablespoon of pure maple syrup! That maple syrup adds a gorgeous, deep sweetness and moisture that pairs amazingly well with the cinnamon. It’s a winner, trust me. If you love baking with whole grains, we have a recipe for easy soft honey whole wheat bread recipe that might inspire your next light bake!
Frequently Asked Questions About Baked Apples
I always get so many questions when people try one of our cozy apple recipes for the first time! It’s totally normal, especially when baking fruit because nature is never perfectly consistent, right? I try to keep this section updated with what you all are asking so we can all have perfect tender baked apples at home. If you’re feeling adventurous after this, you should definitely check out our recipe for quick creamy chicken chili recipe for a savory break!
Can I make baked apples without peeling them?
Oh, absolutely! That’s one of the things that makes this an easy baked apples recipe. You certainly don’t have to peel them if you don’t want to. I actually prefer leaving the skin on because it gives the apple just a bit more structure while baking, so it doesn’t turn to mush so quickly. If you decide to leave the skin on, just give them a really good scrub first!
What is the best way to core apples for baking?
The key here is leaving that little base intact. You want a nice, deep cup for the brown sugar and butter filling, but you absolutely need that bottom layer there to hold everything in place. I use a standard apple corer if I have one, but if you don’t, just take a small knife and carefully cut around the core structure in a circular motion. Take your time at the bottom—that’s where most folks accidentally poke through and end up pouring all that lovely melted goodness right into the water bath!
Another question I hear a lot is about making baked apple slices instead of whole apples. That’s easy! If you use slices, you don’t need to core them, obviously. Just toss your slices with the butter, sugar, and spice mixture and bake them on a sheet pan for about 15 to 20 minutes, checking frequently so they don’t burn since they have more surface area exposed!
Share Your Flavor Zine Issue
Now that you have all the secrets to making beautiful, cozy, warm baked apples, it’s your turn to publish an issue of Flavor Zine! Seriously, I can’t wait to hear how these turned out for you. Remember what I said? It’s not about being polished—it’s about capturing that moment of comfort.
If you tried the recipe, please drop a rating below! Tell me if you went classic with ice cream, or if you tried adding those oats for a little crunch. Even if the apples ended up a little looser than you planned, that’s part of the story! We love to see the imperfectly perfect bakes that happen in real kitchens.
If you snap a picture of your finished dessert, tag us! We want to cheer you on. And if you have any questions that I missed in the FAQ section, don’t hesitate to reach out to Mateo and me through our contact page. We love hearing from our readers!
PrintEasy Baked Cinnamon Apples with Brown Sugar

Make these simple baked apples for a cozy, comforting dessert. You get tender, spiced apple slices baked in a sweet glaze. This recipe is quick and perfect for fall evenings.
- Prep Time: 10 min
- Cook Time: 40 min
- Total Time: 50 min
- Yield: 4 servings
- Category: Dessert
- Method: Baking
- Cuisine: American
- Diet: Vegetarian
Ingredients
- 4 firm apples (like Honeycrisp or Fuji)
- 1/4 cup packed brown sugar
- 1 teaspoon ground cinnamon
- 1/4 teaspoon ground nutmeg
- 2 tablespoons unsalted butter, cut into small pieces
- 1/4 cup water
Instructions
- Preheat your oven to 375 degrees Fahrenheit. Lightly grease a small baking dish.
- Wash the apples. Core each apple, leaving about a half-inch of the bottom intact so the filling stays inside. You can peel the apples or leave the skin on, based on your preference.
- In a small bowl, mix the brown sugar, cinnamon, and nutmeg together.
- Place the cored apples in the prepared baking dish.
- Spoon the sugar and spice mixture evenly into the center cavity of each apple.
- Place a small piece of butter on top of the sugar mixture in each apple.
- Pour the water into the bottom of the baking dish around the apples. This creates steam to help them soften.
- Bake for 35 to 45 minutes, or until the apples are tender when pierced with a fork. Baking time depends on the size of your apples.
- Carefully remove the dish from the oven. Spoon any remaining liquid from the pan over the apples before serving.
Notes
- Serve these warm baked apples with a scoop of vanilla ice cream for a classic dessert experience.
- If you want a healthier option, reduce the brown sugar to 2 tablespoons and use maple syrup instead of butter.
- For stuffed baked apples, you can add 1/4 cup of rolled oats or chopped pecans to the sugar mixture.
Nutrition
- Serving Size: 1 apple
- Calories: 250
- Sugar: 45g
- Sodium: 2mg
- Fat: 7g
- Saturated Fat: 4g
- Unsaturated Fat: 3g
- Trans Fat: 0g
- Carbohydrates: 48g
- Fiber: 6g
- Protein: 0g
- Cholesterol: 15mg