

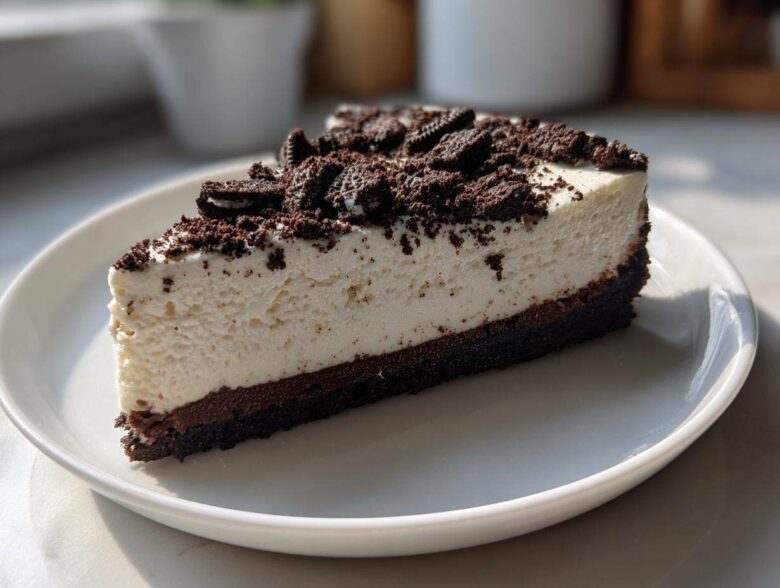
Oh my gosh, you know those days when you are absolutely craving cheesecake? That rich, tangy, creamy heaven, but the thought of turning on the oven just makes you sweat already? I totally get it. That’s exactly why this **No-Bake Oreo Cheesecake** became my lifeline last summer!
Seriously, I developed this recipe after failing to get my oven temperature right one too many times—I swear, my oven has a personality! This recipe cuts out all the drama. It’s the easiest, creamiest cheesecake you will ever make, and it relies 100% on chilling time to get that perfect, sturdy set. Trust me when I say you won’t miss the baking part one bit. You can definitely check out more of my quick tips over on the main blog while you wait for it to set!
If you’re looking for something simple and quick to pull together without sacrificing that intensely chocolatey, decadent flavor we all love, you are in the right place. We’re using Oreos for everything!
Why This No-Bake Oreo Cheesecake Recipe Works So Well
The biggest worry with any no-bake dessert is whether it’ll stay standing when you try to slice it, right? Well, you can ditch that stress for good with this recipe! We’re achieving that luscious, **Creamy Oreo Cheesecake** texture—the kind that melts in your mouth but still holds its shape—thanks to the powerhouse combo of full-fat cream cheese and heavy cream. It’s truly the best **No Oven Needed Cheesecake** formula I’ve perfected.
The magic isn’t in complicated stabilizers like gelatin; it’s in the simple science of whipping that heavy cream into stiff peaks and *gently* folding it in at the very end. That trapped air is what gives us the volume and stability. You’ll see why this method is so popular for **Easy Dessert Recipes for Beginners**!
Quick Preparation Time for Your No-Bake Oreo Cheesecake
You are going to love how fast this comes together. We’re only talking about 20 minutes of active work upfront. That’s the whole prep time! You literally just mix, press, and combine. The rest of the time you see on the total countdown—the six hours and twenty minutes—is pure, hands-off chilling time for your **No-Bake Oreo Cheesecake** to set perfectly firm in the fridge. It’s fantastic for making ahead!
If you want to see other lightning-fast recipes without turning on the heat, don’t forget to check out where I keep all my easy dessert recipes for beginners.
Gathering Ingredients for the Best No-Bake Oreo Cheesecake
Okay, now that you’re convinced this is the simplest **No-Bake Oreo Cheesecake** ever, let’s talk supplies. For any no-bake recipe, especially one that needs to hold its shape perfectly, you absolutely *must* measure things precisely. Don’t eyeball the cream cheese!
A good grocery run is half the battle won here. I’ve tried substituting ingredients before, and the texture just never comes out the same. These ingredients are foundational to why this works so well. If you love seeing these kinds of simple, chocolatey fixes, you have to see my recipe for easy Oreo balls!
For the Oreo Crust Cheesecake Recipe
The crust is the foundation, so we need that solid, pressed-in base. Since we aren’t baking it, we need the butter to do all the heavy lifting when it chills!
- 1 3/4 cups Oreo cookie crumbs (Make sure they are finely crushed! That’s about 30 cookies in their original package.)
- 1/4 cup unsalted butter, melted
For the Creamy Oreo Cheesecake Filling
This is where the real richness comes from! Remember, for the smoothest filling possible—key in all **Cream Cheese No Bake Desserts**—temperature matters!
- 2 (8 ounce) packages cream cheese, fully softened to room temperature (This is crucial, no lumps allowed!)
- 1 cup powdered sugar
- 1 teaspoon vanilla extract
- 1 1/2 cups heavy whipping cream, very cold (Make sure this is straight from the fridge!)
- 1/2 cup Oreo cookie crumbs, for topping (We save these for the very end, like confetti!)
How to Make No Bake Cheesecake: Step-by-Step Instructions
Alright, deep breaths! This is the fun part, and it’s honestly so straightforward. If you can stir things together, you can nail this **No-Bake Oreo Cheesecake**. We need to work quickly but gently, especially once that lovely whipped cream comes into play. I always put on some upbeat music while I tackle this part!
If you want a deeper dive into the general methods, I have a whole post on how to make no bake cheesecake, but let’s walk through this specific Oreo masterpiece right now.
Preparing the Oreo Crust
This is your base layer, so we want it solid! Grab that bowl with your melted butter and crushed Oreos. Mix them up until all those crumbs are evenly moistened—it should feel like wet sand.
Now, dump that mixture into your 9-inch springform pan. Here’s my trick for maximum firmness: grab the flat bottom of a dry measuring cup—a one-cup measure works perfectly—and use it to press the crumbs down evenly across the bottom of the pan. Really pack it in there! You want a nice, firm layer that won’t crumble apart when you try to slice it later.
Once it looks uniform and tight across the base, pop that pan straight into the freezer. It needs to chill while we make the filling so it gets nice and hard *fast*.
Creating the Smooth Filling Base
Time to deal with the cream cheese! Make absolutely certain that cream cheese is nice and soft—if you use it cold, you’ll end up with tiny, annoying lumps, and nobody wants that. Beat the softened cream cheese with your electric mixer until it looks perfectly fluffy and smooth. Seriously, scrape down the sides one time to be sure.
Next, mix in your powdered sugar and vanilla extract until it’s just combined. It should look thick and sweet at this stage.
Now for the air! In a totally separate, *clean* bowl—and I mean, grease-free bowl—whip your cold heavy whipping cream. You must whip this until it holds stiff peaks. When you lift the whisk, the cream should stand up straight without flopping over. This is vital for texture, so don’t cut this short!
Folding and Chilling the No Bake Oreo Cheesecake
This is the technique that seals the deal for a stable dessert. We need to introduce that airy whipped cream to the denser cream cheese mixture without popping all those beautiful air bubbles we just worked so hard to create. You do this by *folding*, not stirring!
Add about a third of your whipped cream mixture into the cream cheese bowl and gently fold it in until it starts to combine. Then add the rest and keep folding carefully until everything is a uniform, pale cloud. Stop mixing the second you don’t see white streaks anymore. Overmixing is the enemy here!
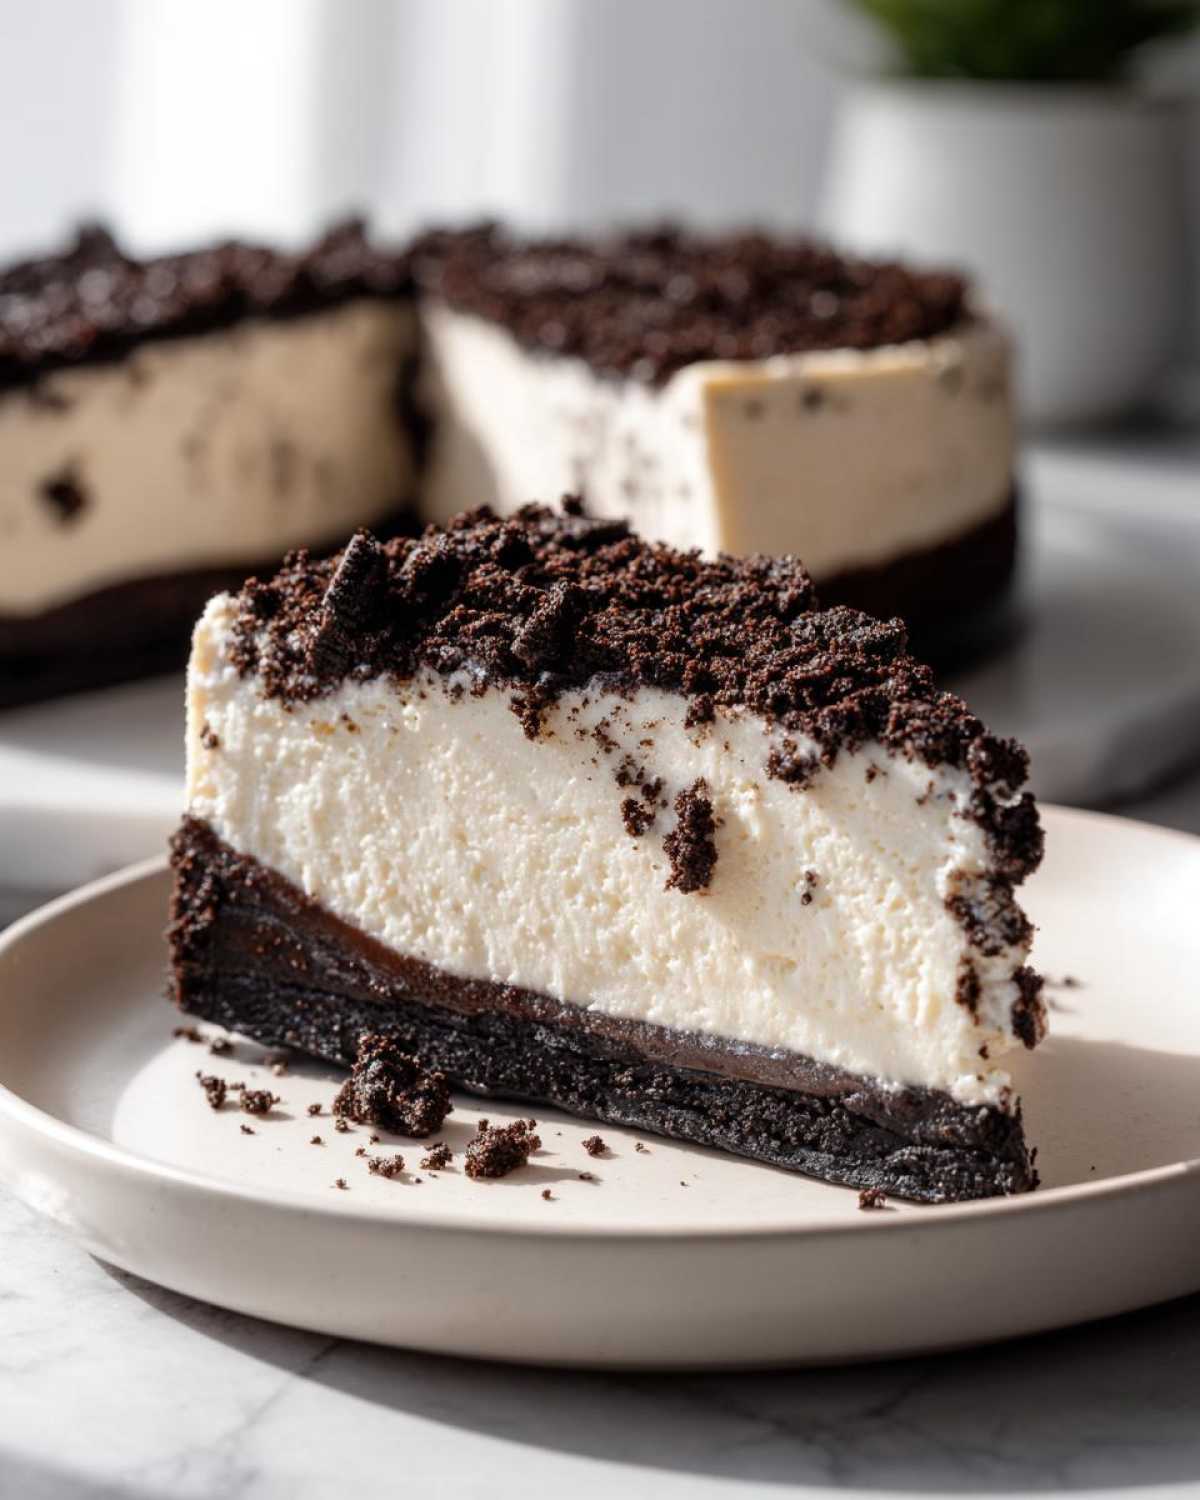
Pour that light, fluffy filling right over your chilled crust and use an offset spatula to smooth the top nicely. Then comes the hardest part: waiting! Cover the pan loosely with plastic wrap. This **No-Bake Oreo Cheesecake** needs at least 6 hours in the refrigerator to set up properly. Overnight is always best, so it’s completely firm and easy to slice.
Tips for Success with Your Quick Cheesecake Recipe
Even though this is a **Quick Cheesecake Recipe**, a few little details make the difference between ‘good’ cheesecake and ‘OMG, I need the recipe now’ cheesecake. You’ve already got the ingredients outlined, so here are the few things I learned the hard way that you absolutely don’t want to skip.
For example, one of the notes I always stick to is making sure my springform pan is treated well. Since this recipe has a high sugar content—and let’s face it, we used a ton of Oreos—it likes to stick if you aren’t careful when releasing it. Don’t forget to follow that vital chilling time! Seriously, rush the chilling, rush the disaster.
We’ve got a few helpful hints you can keep handy, especially for keeping that filling impossibly smooth. If you want to see more of my general success mantras for kitchen wins, check out the tips I use for easy homemade pizza dough recipe—it’s all about technique!
Achieving the Perfect Creamy Oreo Cheesecake Texture
The texture is everything here. We’re aiming for ultra-smooth and light, not heavy or grainy. So, my number one golden rule is about temperature control, especially with the cream cheese. It needs to be fully, completely softened. If your cream cheese is still cold when you start beating it, you’ll end up with little white pebbles floating in your beautiful dark filling. Nobody wants that surprise!
Once you get to the folding stage, you have to remember this: your whipped cream is full of beautiful, delicate air, and you don’t want to deflate it by stirring aggressively. Gently scoop the cream cheese mixture *over* the whipped cream, or work it in thirds, using a big rubber spatula to cut down the center and sweep up the sides. It should feel light, almost like you are folding clouds together. That gentle technique is the real secret to that unforgettable **Creamy Oreo Cheesecake** quality.
Serving and Storing Your No Bake Dessert Ideas
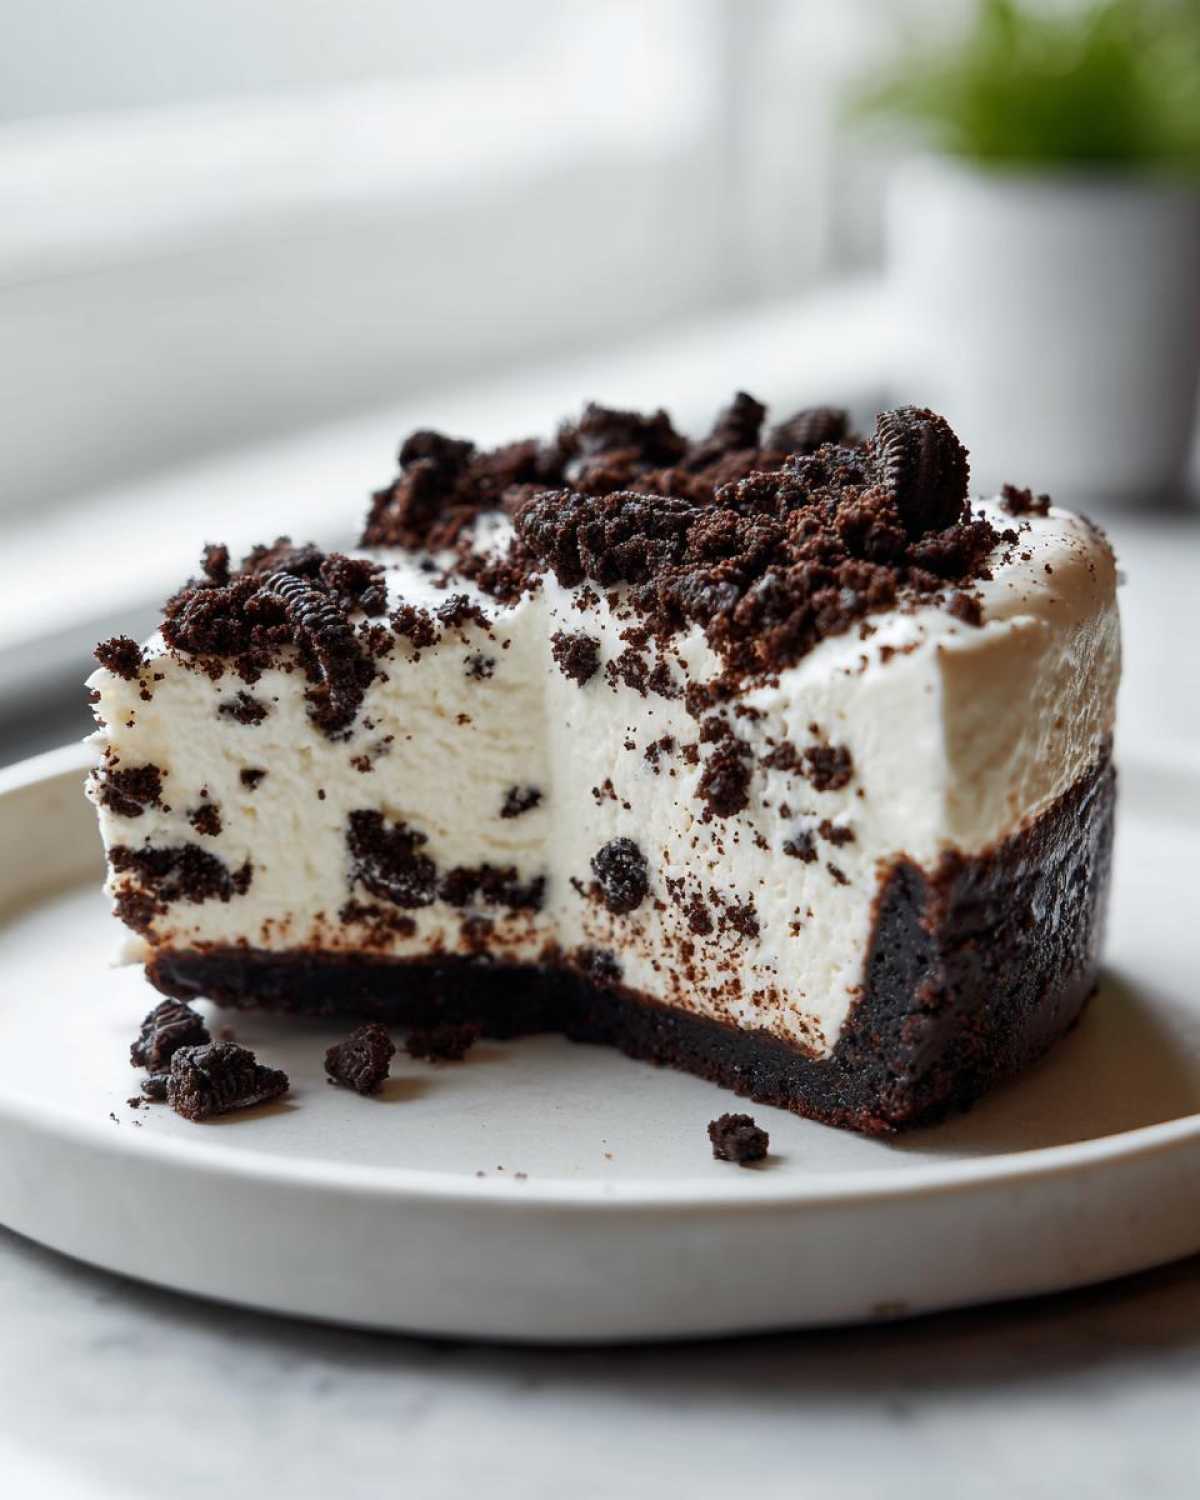
The moment of truth! If you’ve followed those chilling instructions—and congratulations if you did—your **No-Bake Oreo Cheesecake** should be perfectly set after at least 6 hours. To serve it, run a thin, sharp knife around the inside edge of the springform pan *before* you release the latch. This prevents the cake from sticking to the sides when you open it up.
Carefully unlatch and remove the outer ring. Now for the final flourish! Take the reserved half-cup of finely crushed Oreos and sprinkle them artfully right over the top. It gives it that instant professional look!
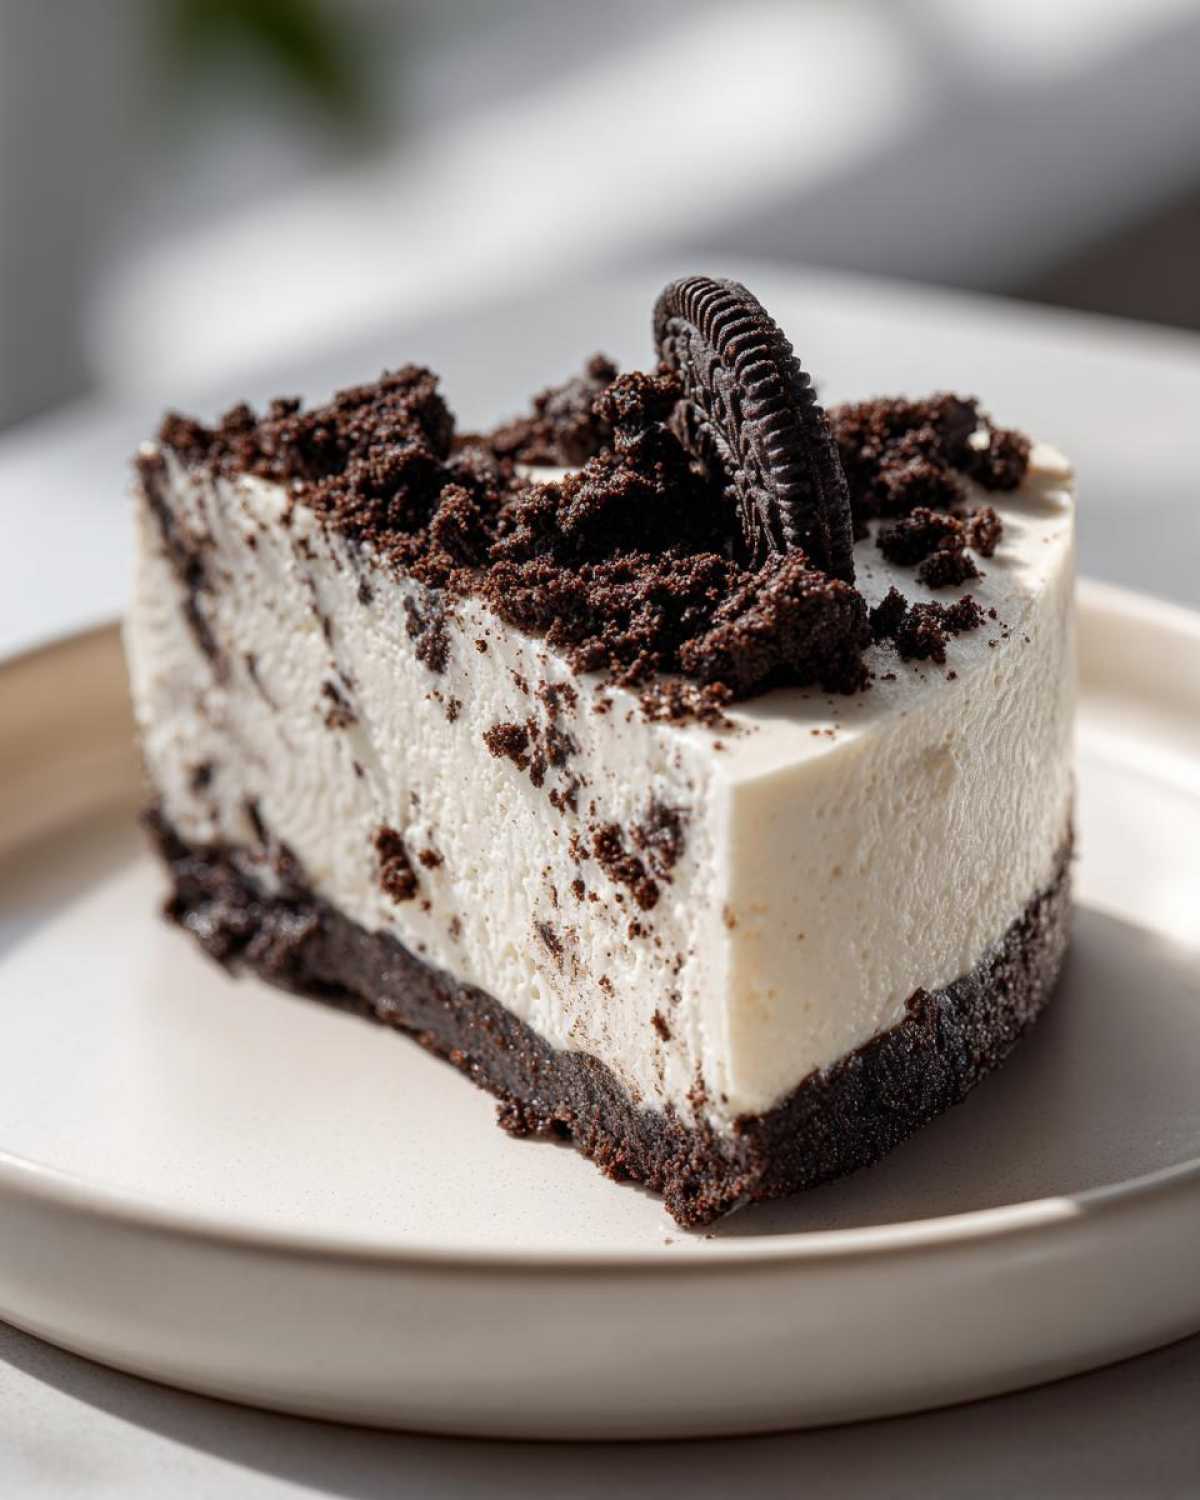
Since this is one of my favorite **Make Ahead Dessert Recipes**, storage is easy. Keep any leftovers tightly covered in the refrigerator. It stays fantastic for four to five days, though frankly, ours rarely lasts that long! It’s such a lifesaver knowing I made this up ahead of time; you can check out more dependable make ahead dessert recipes for planning your week!
Variations for Your No Bake Chocolate Cheesecake
You know me, I love tradition, but once you nail the base **No-Bake Oreo Cheesecake**, you absolutely have to start playing around! This base is so sturdy and reliable; it handles a little extra flair without complaint. It’s just waiting for you to personalize it.
If you are a deep, dark chocolate fanatic like I am, you might want to try turning this into a full-on **No Bake Chocolate Cheesecake**. It’s super simple! Just swap out about half of the regular Oreo crumbs in the filling mixture for chocolate wafer cookie crumbs. You get an extra layer of dark richness that plays off the cream cheese beautifully.
Another fun thing I do, especially when I’m feeling fancy, is adding texture right into the filling. Toss in about a half cup of mini chocolate chips right before you fold in the whipped cream. They stay nice and firm even when chilled, giving you a little pop of chocolatey crunch!
And if you’re tired of the classics, try swapping the Oreos entirely but keeping the technique the same. Think about chocolate peanut butter cups or even those delicious fudge-striped cookies. It all works! If you’re looking for a different kind of cookie adventure, you should see my recipe for soft, fudgy crinkle cookies—totally different vibe, but just as addictive!
Frequently Asked Questions About No-Bake Oreo Cheesecake
I know the first time you try any recipe, you have a million little questions brewing. That’s totally normal! Cheesecake, even the no-bake variety, always makes people nervous about the final set. Don’t worry, I’ve answered a few of the most common things I hear about this recipe so you can move forward with confidence knowing you’re making the *best* **No-Bake Oreo Cheesecake**!
We want you feeling relaxed, even if you’re making one of my super easy slow cooker recipes for dinner later. Here are the final bits of advice!
Can I use a different cookie for the crust in this Easy Oreo Cheesecake Recipe?
Yes, you absolutely can! The beauty of this **Easy Oreo Cheesecake Recipe** is its adaptability. If you don’t have Oreos on hand, graham crackers or plain shortbread cookies make a wonderful substitute for the crust. Just remember that the flavor and color profile will completely change. Graham crackers will give you a more classic, buttery base, while shortbread will be a lighter color and texture. Stick to the same measurements for crumbs and butter, and you’ll be golden!
What is the best way to get clean slices of No Bake Oreo Cheesecake?
Ah, getting those beautiful, restaurant-quality slices when you cut into set cheesecake is a little trickier than slicing into cake. Since this is a chilled, dense dessert, the knife tends to drag the filling a bit. My trick, which I use for all my chilled desserts, is the hot water bath method. You need a long, thin, sharp knife.
Heat a glass of water until it’s very hot—but not boiling aggressively. Dip the knife fully into the water for about 15 seconds to warm the blade. Carefully wipe the blade completely dry with a towel, then make one smooth, firm cut straight down. Before you make your second slice, repeat the process: water, wipe, cut. It keeps the blade clean and warm, so it glides right through that rich, **Creamy Oreo Cheesecake** filling without smearing the beautiful layers.
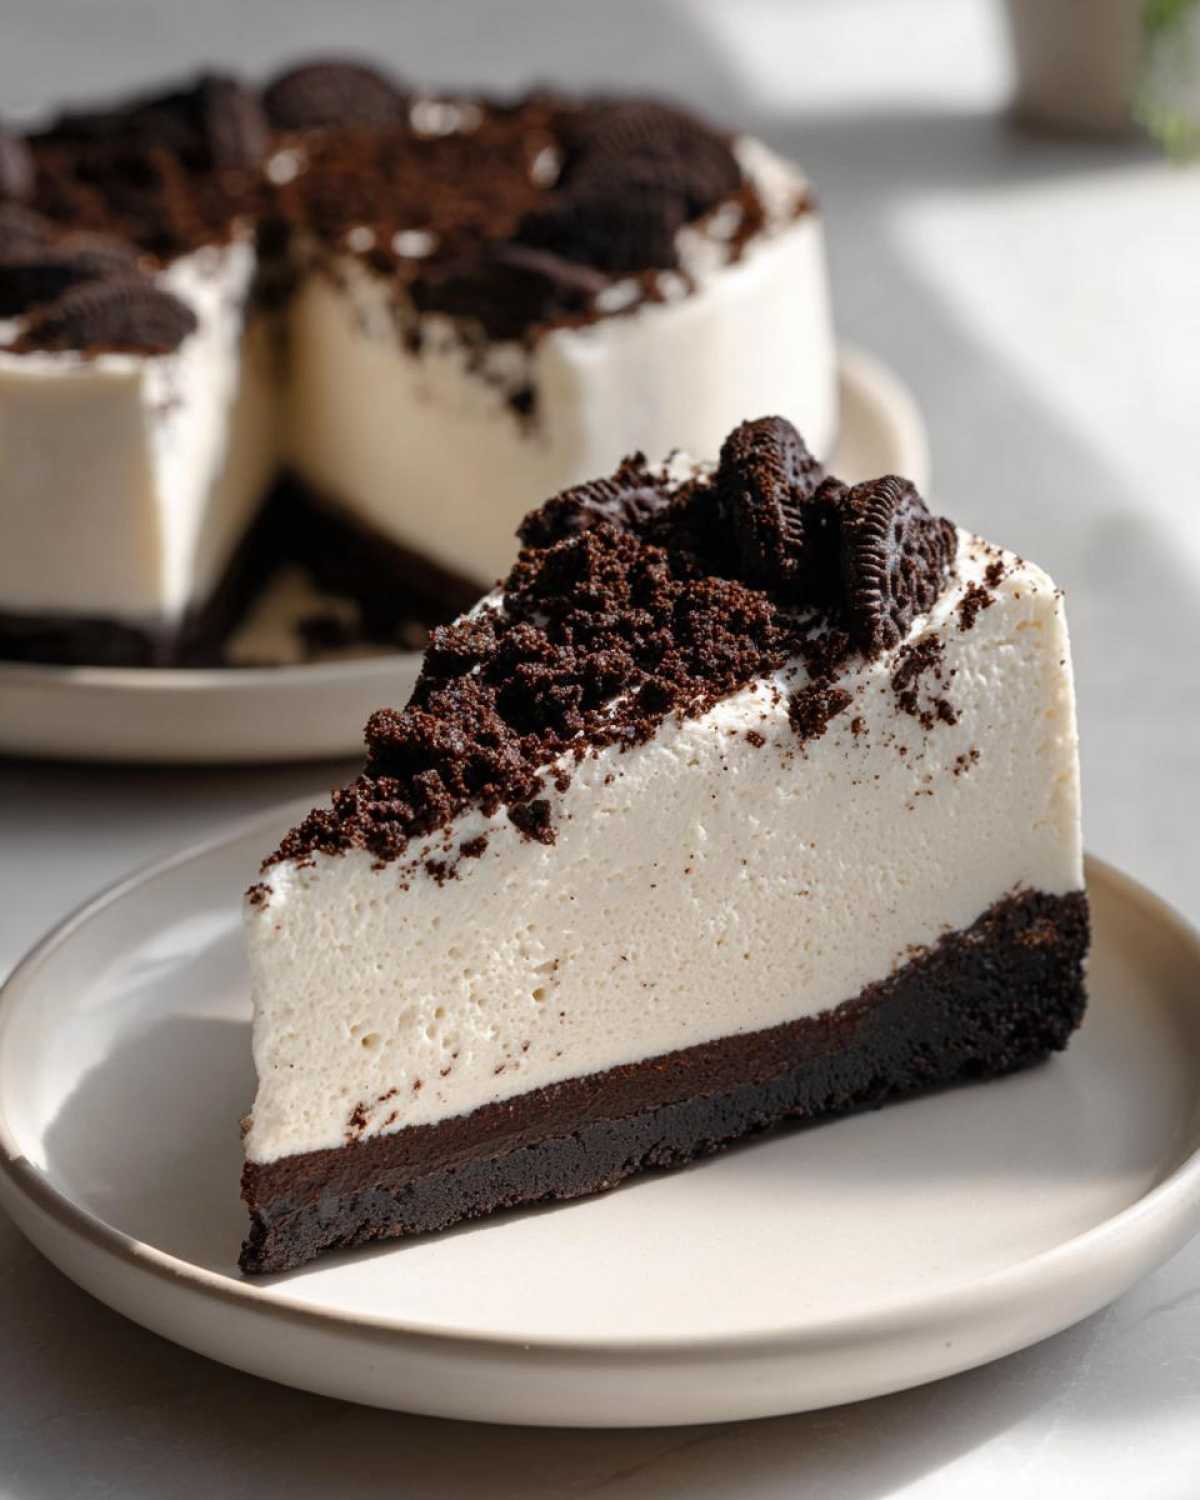
Estimated Nutritional Data for No-Bake Oreo Cheesecake
Okay, my friends, because we threw caution to the wind and made something utterly decadent, let’s have a quick little peek at the numbers. I always say that you should just enjoy the dessert first, but tracking things loosely is just smart cooking!
These figures are based on standard ingredient usage and assume the recipe yields exactly 10 servings, as listed above. Remember, this is just an estimate, but it gives you a general idea of what you’re enjoying!
These numbers might look a little scary if you’re counting macros, but hey, it’s a celebration dessert! It’s worth every single bite of that **No-Bake Oreo Cheesecake** goodness. Honestly, keeping track of precise nutrition is way easier with something like that easy slow cooker meatball recipe I posted last month.
- Calories: 410 per slice
- Total Fat: 28g
- Carbohydrates: 38g
- Protein: 5g
I always focus on the fact that we skipped the oven, which saves on the mental load, if not the calories! Just remember to enjoy this treat responsibly.
Share Your Creamy Oreo Cheesecake Creations
Wow, that’s it! You’ve successfully created the **best No-Bake Oreo Cheesecake** imaginable in your own kitchen without breaking a sweat near a hot oven. Seriously, I want to see what you all came up with!
When you slice into this gorgeous dessert—and remember, we based the yield on 10 perfect slices of that **Creamy Oreo Cheesecake**—please stop for a second and just enjoy the crackle of that cold crust and the fluffiness of the filling.
Did you top it with extra crumbs? Did you add a drizzle of chocolate sauce? Tell me all about your experience in the comments below! Your feedback truly helps me know which **Simple Oreo Dessert** ideas to focus on next. If you run into any snags or have ideas for my next batch, please feel free to reach out via the contact page—I read every note!
Go ahead, leave that rating and let the world know how easy and delicious this oven-free wonder is!
PrintSimple No-Bake Oreo Cheesecake
Make a rich, creamy cheesecake with an Oreo crust that sets perfectly without using your oven. This recipe is quick to assemble and great for beginners.
- Prep Time: 20 min
- Cook Time: 0 min
- Total Time: 6 hr 20 min
- Yield: 10 servings
- Category: Dessert
- Method: Chilling
- Cuisine: American
- Diet: Vegetarian
Ingredients
- 1 3/4 cups Oreo cookie crumbs (about 30 cookies)
- 1/4 cup unsalted butter, melted
- 2 (8 ounce) packages cream cheese, softened
- 1 cup powdered sugar
- 1 teaspoon vanilla extract
- 1 1/2 cups heavy whipping cream, cold
- 1/2 cup Oreo cookie crumbs, for topping
Instructions
- Combine the 1 3/4 cups of Oreo crumbs and melted butter in a bowl. Press the mixture firmly into the bottom of a 9-inch springform pan. Place the crust in the freezer while you prepare the filling.
- In a large bowl, beat the softened cream cheese with an electric mixer until smooth. Add the powdered sugar and vanilla extract, mixing until fully combined and creamy.
- In a separate, clean bowl, whip the cold heavy whipping cream until stiff peaks form.
- Gently fold the whipped cream into the cream cheese mixture in two additions until just combined. Do not overmix.
- Pour the filling over the chilled crust and spread it evenly with a spatula.
- Cover the cheesecake loosely with plastic wrap and refrigerate for at least 6 hours, or preferably overnight, until firm.
- Before serving, carefully remove the sides of the springform pan. Sprinkle the remaining 1/2 cup of Oreo crumbs over the top.
Notes
- For the best crust, use the back of a measuring cup to press the crumbs evenly into the pan bottom.
- Ensure your cream cheese is fully softened to avoid lumps in the filling.
- Chill time is essential for the cheesecake to set properly. Do not rush this step.
Nutrition
- Serving Size: 1 slice
- Calories: 410
- Sugar: 35
- Sodium: 310
- Fat: 28
- Saturated Fat: 17
- Unsaturated Fat: 5
- Trans Fat: 0
- Carbohydrates: 38
- Fiber: 1
- Protein: 5
- Cholesterol: 85