


Oh, when summer hits and the thought of turning on the oven makes you sweat, you need rescuing! I live for those moments when I can pull something amazing out of the fridge and watch everyone instantly cheer. This, my friends, is that dessert. I’m talking about the ultimate No-Bake Lemon Icebox Cake! It’s sunshine in a slice, tart, sweet, and so ridiculously easy.
Honestly, I whipped this up last year when my cousin decided, completely last minute, to host a family barbecue. In less than thirty minutes of active work, I had this beautiful, layered lemon delight chilling away. If you love that bright zest, you should check out my recipe for moist, tangy lemon loaf, but seriously, *this* icebox cake is different—no fire needed!
By dinner time, nobody could believe I hadn’t spent hours slaving over a hot oven. It truly is the best rescue dessert in my arsenal. This layered treat is proof you don’t need fancy equipment or perfect timing to create something memorable. Trust me, this recipe—using simple graham crackers that melt into cake layers—is going to be a regular in your rotation. Seriously, look at this simple recipe and then tell me you aren’t craving a bite!
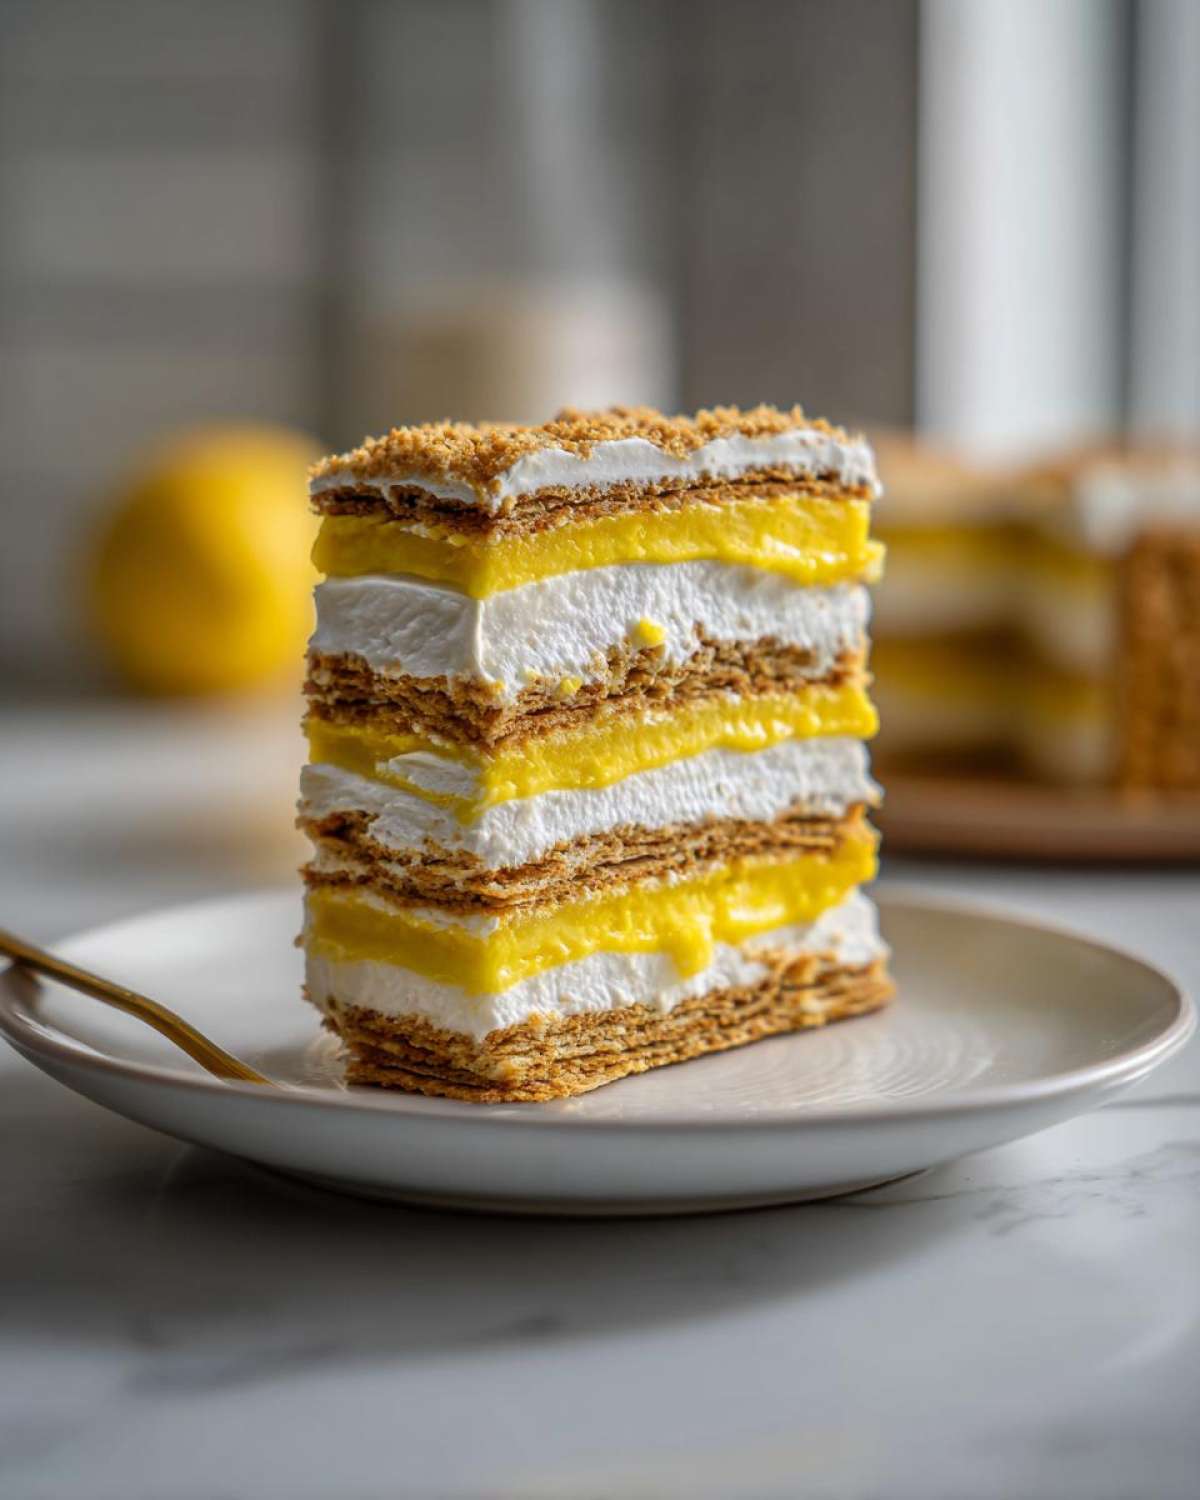
Why This No-Bake Lemon Icebox Cake is Your New Favorite Simple No Bake Dessert
You are going to fall head over heels for how little effort this takes, yet how gourmet it tastes. I keep this recipe handy for those weeks where I just can’t deal with the heat or when unexpected guests drop by. It’s the perfect summer treat because it’s ready right from the fridge! I even made this once when I was rushing to bring a treat to a potluck where someone else was making those easy slow-cooker cranberry meatballs, and it stole the show!
- It is 100% no-bake—seriously, no oven required! That alone scores major points when it’s 90 degrees outside.
- The flavor is intensely bright. That fresh lemon juice cuts right through the richness, making it feel incredibly light.
- It’s one of the most straightforward recipes I have. It’s a wonderful entry point if you’re new to making desserts from scratch!
Quick Assembly for a Quick Dessert Idea
Prep time is just 20 minutes, tops! You’re literally just whisking, folding, and stacking. There is no complicated piping or folding of egg whites involved here. You just lay down the crackers, spread the cream, lay down more crackers, and repeat. It’s layering like a champ!
Achieving That Perfect Creamy Lemon Dessert Texture
This is where the magic happens. When you first mix the filling, it looks pretty fluffy, right? But once this No-Bake Lemon Icebox Cake chills overnight, those graham crackers completely absorb the citrus cream. They soften up into this dense, moist, almost unbelievably cake-like layer. It’s the best part of this Chilled Lemon Cake!
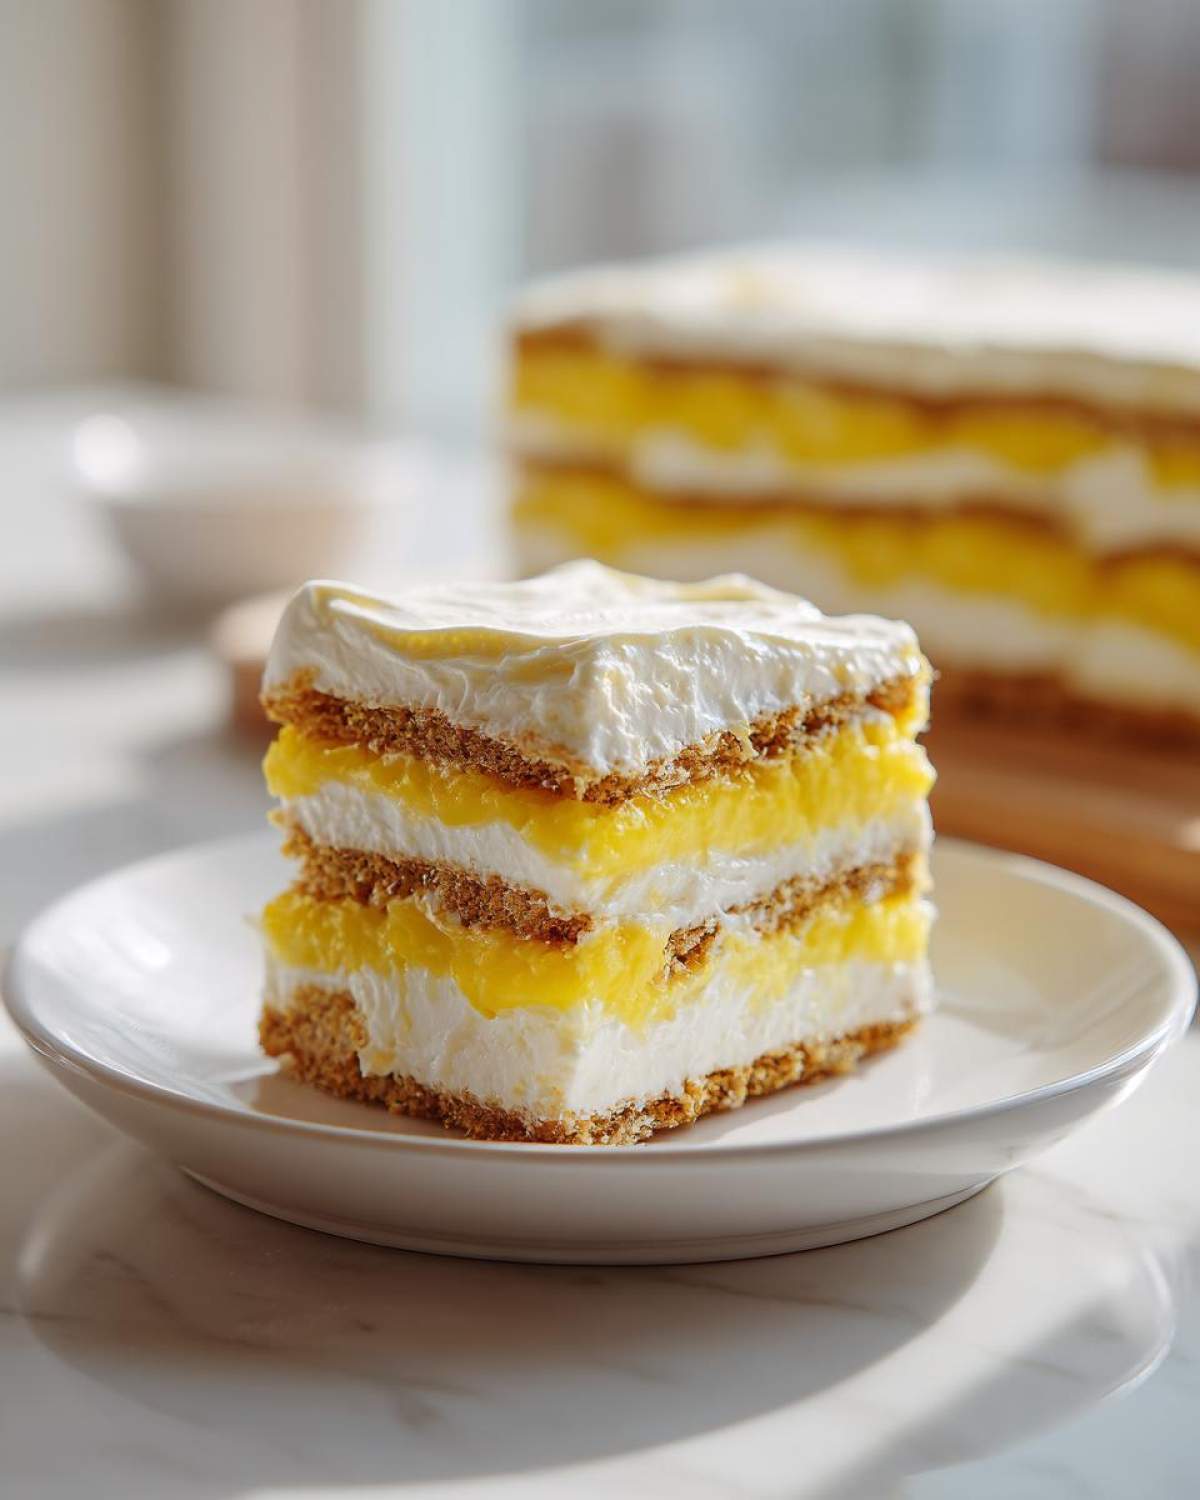
Gathering Ingredients for Your Easy Lemon Icebox Cake Recipe
Okay, you can’t screw this up! That’s the beauty of this No-Bake Lemon Icebox Cake. We are going to use just five basic things, most of which you probably already have in the pantry. The key is having that good, bright lemon juice ready to go. You’ll also need an 8×4 inch loaf pan—that’s the size I use for those perfect, tall layers!
Here is what we need to grab before we start whisking:
- One can of sweetened condensed milk—the full 14-ounce can!
- Loads of fresh lemon juice—we need about half a cup.
- A teaspoon of lemon zest for that major citrus punch.
- One 8-ounce tub of whipped topping, and this must be fully thawed.
- That humble package of plain graham crackers.
We’re keeping this super simple, just like my recipe for easy French toast—it’s all about starting with quality essentials.
Ingredient Notes and Substitutions for Your No Bake Lemon Dessert
Let’s talk specifics! For the crackers, use the standard, rectangular ones. Don’t go for honey or cinnamon flavored, we need that plain, crunchy base to absorb the filling. And listen up: make sure that whipped topping is actually soft, not icy, when you fold it in. If it’s still frozen, you’ll end up with chunks instead of a smooth, creamy filling.
Now, if you want it seriously firm—maybe you’re transporting this to a picnic and you’re nervous about the heat—you can substitute about half of the fresh lemon juice with liquid made from a small packet of lemon gelatin, mixed according to the package directions, but remember that will change the flavor profile just a little bit. For this recipe, though, fresh juice is always my go-to!
Step-by-Step Instructions for the **No-Bake Lemon Icebox Cake**
Alright, let’s get down to the fun part, which is basically just mixing and stacking! This is where we move from ingredients to an actual dessert. The temperature of your ingredients matters here, especially that thawed whipped topping. We want maximum fluffiness, so we need to treat that air gently!
Don’t worry about your kitchen turning into a disaster zone; keep the prep simple. You’ll want to line that loaf pan first, like my instructions say on the recipe card, using plastic wrap so we have handles later to lift this beauty out. It’s a lifesaver when it comes time to unmold the cake! If you’ve ever struggled getting a sticky dessert out, you know why I emphasize this! You can read more about general kitchen hacks like using homemade pizza dough release—a similar concept keeps this cake safe!
Preparing the Lemon Cream Filling for Your **Layered Lemon Delight**
First order of business: the glorious lemon base. Grab your medium bowl and whisk that sweetened condensed milk together with your fresh lemon juice and that gorgeous zest you grated. Whisk it until everything is happy and combined—it will start to thicken up a touch just sitting there. See how your whisk marks disappear slowly? That means the acid from the lemon is doing its work on the milk, which is fantastic!
Now, here comes the expert part. Take your thawed whipped topping and gently, I mean *super gently*, fold it into that lemon mixture. You do not want to use the electric mixer here! Use a spatula and cut down the middle, sweep to the bottom, and fold over. We are trying to keep all that air in there so we get that light texture later. Stop folding the very second the white streaks of topping disappear. Seriously, mixing too much here turns it into a dense puddle, and we want high, fluffy layers for our No-Bake Lemon Icebox Cake.
Assembling and Chilling the **Classic Icebox Cake**
Time to stack! Lay down your first layer of graham crackers right on the plastic wrap lining your pan. Break some to fit the corners, that’s totally fine—there are no perfect squares in this dessert, just layers of creamy goodness! Spread half of that beautiful lemon cream evenly over the crackers. Smooth it out!
Next, another layer of crackers. Then, use up the rest of that amazing lemon mixture on top of those crackers. Finish with one last layer of crackers across the top. My trick for success is pressing down *very lightly* after that final layer, just to make sure everything is touching.
Cover the whole thing tightly with the plastic wrap overhang we left; this prevents any fridge smells from getting into our bright dessert. Now, this is the most important step for a true No-Bake Lemon Icebox Cake: it needs time to chill! You must refrigerate this for a minimum of six hours, but honestly, if you can wait overnight, you’ll be rewarded with the perfect, sliceable texture where the crackers have truly melded into cake. Patience pays off, my friend!
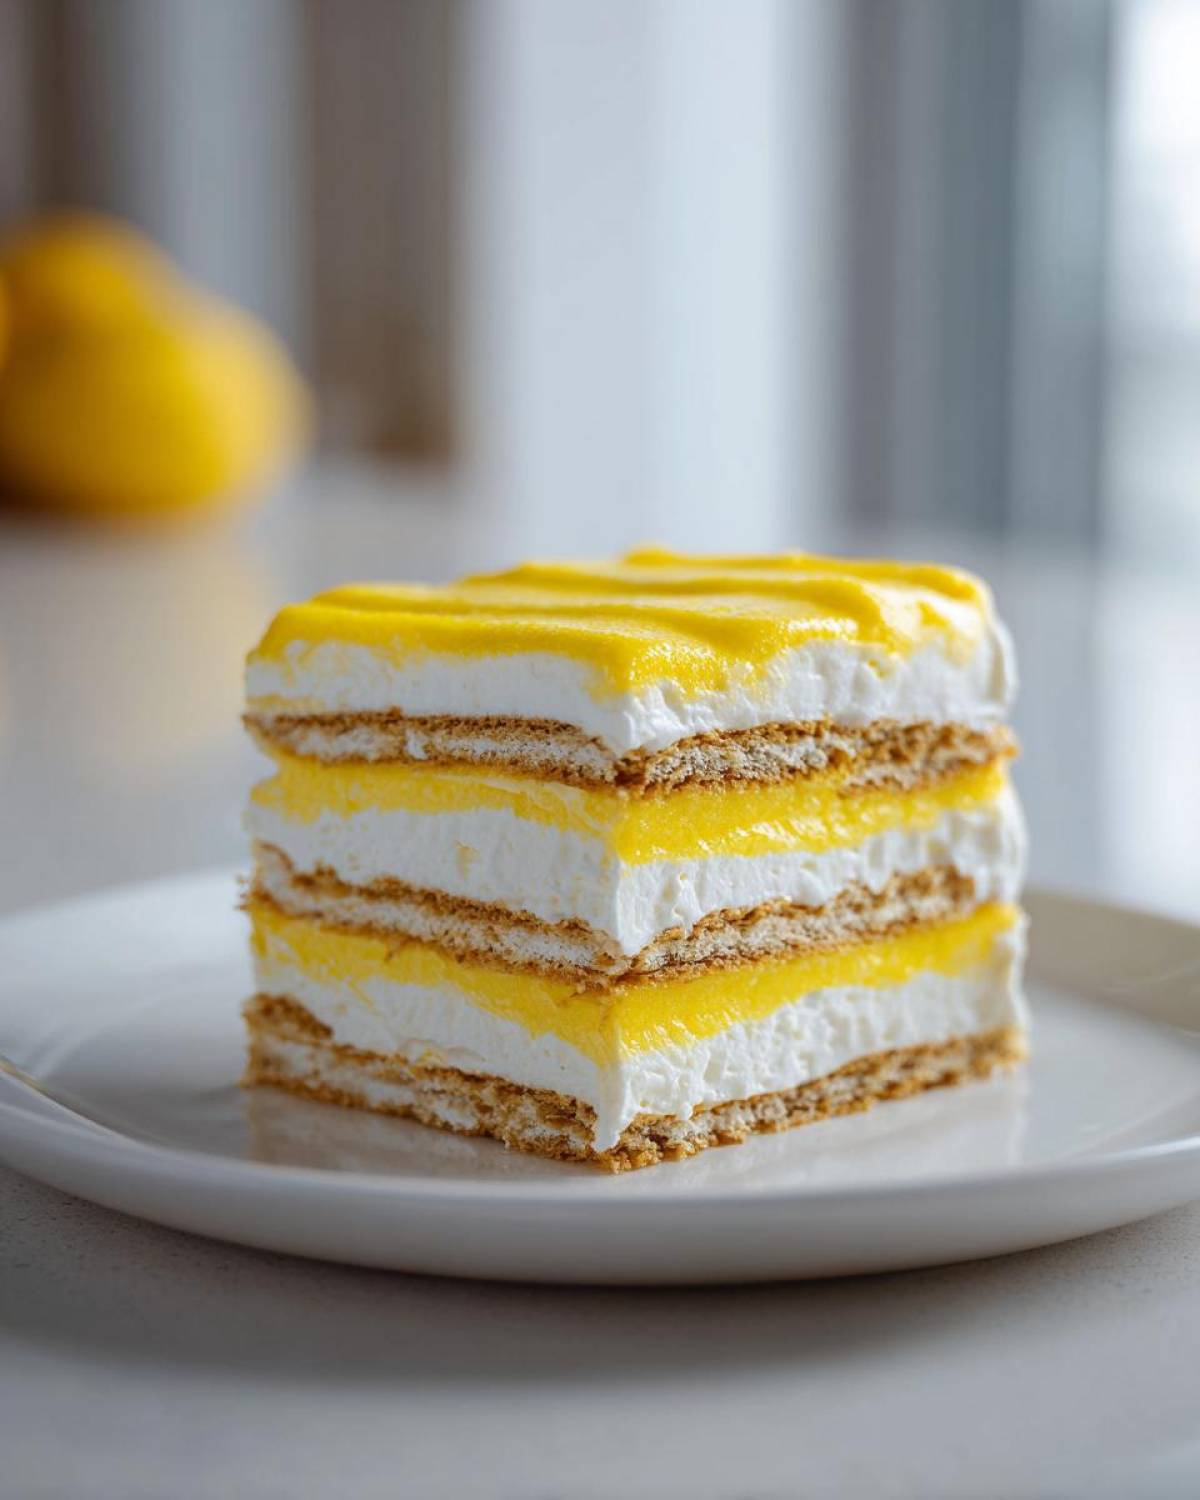
Tips for the Best Summer Lemon Dessert Experience
We want this No-Bake Lemon Icebox Cake to be absolutely perfect when you slice into it. Since we aren’t using flour or eggs to structure this dessert, texture comes entirely from the chilling process and how carefully you handle the filling. My biggest expert tip is letting it chill longer than you think you can stand!
If you cut it after only four hours, you’ll end up with slightly soggy crackers and a floppy layer of cream. When you give it that full overnight rest, the crackers really absorb that creamy lemon goodness and turn soft and cake-like. It’s the best transformation, I promise! Speaking of creamy delights, if you ever want a truly stellar cookie, you must check out my recipe for the best chocolate chip cookie recipe; it teaches you how to treat butter right, which is the secret to a lot of good baking concepts!
For presentation—because we eat with our eyes first, right?—make sure you reserve a tiny pinch of that beautiful lemon zest you grated earlier. Once you lift the cake out of the pan and place it on your serving plate, just sprinkle that zest right over the top layer.
It adds this incredible pop of bright yellow color against the white cream, and it just smells divine. It takes zero extra work, but people will think you fussed over this Refreshing Citrus Dessert for hours. It really elevates the look of this Make Ahead Lemon Treat!
Storage and Serving the Chilled Lemon Cake
Okay, the hard part is over—you waited for it to chill! Now for the reveal. Serving this needs a little finesse, but I promise it’s easy if you remember those plastic wrap handles we left hanging over the sides of the loaf pan. Just grab those ends and gently, steadily, lift the entire cake right out of the pan.
Set it down onto your prettiest serving platter or cutting board. If you didn’t add that zest garnish earlier, now is the time to do it! I usually give it a small dusting of powdered sugar right before I slice it, too. This cake needs to stay cold, obviously.
Keep any leftovers covered tightly—I usually pop the whole plate under a large aluminum bowl or just use the plastic wrap again—and back into the refrigerator. It keeps really well for about three or four days, but frankly, it’s always gone by day two. I’ve also noticed that if you happen to be making my air fryer potato wedges the day after you make this cake, the citrus leftovers taste even more refreshing compared to the savory meal. It tastes absolutely best once it’s had a full night to settle!
Serving Suggestions for Your Refreshing Citrus Dessert
This No-Bake Lemon Icebox Cake really shines on its own, but if you want to dress it up a little bit, keep the additions simple so they don’t fight that bright lemon flavor. I rarely add anything heavy because the whole point is that light, airy feel we worked so hard to achieve!
Fresh berries are my go-to choice. A handful of raspberries or some sliced strawberries on the side adds a gorgeous color contrast and a nice little textural pop against the creamy filling and the softening crackers. A light dusting of powdered sugar right before serving is also gorgeous. For a slightly more decadent feel, you could spoon a tiny bit of that delicious sauce from my easy apple crisp recipe over the top, but just a drizzle!
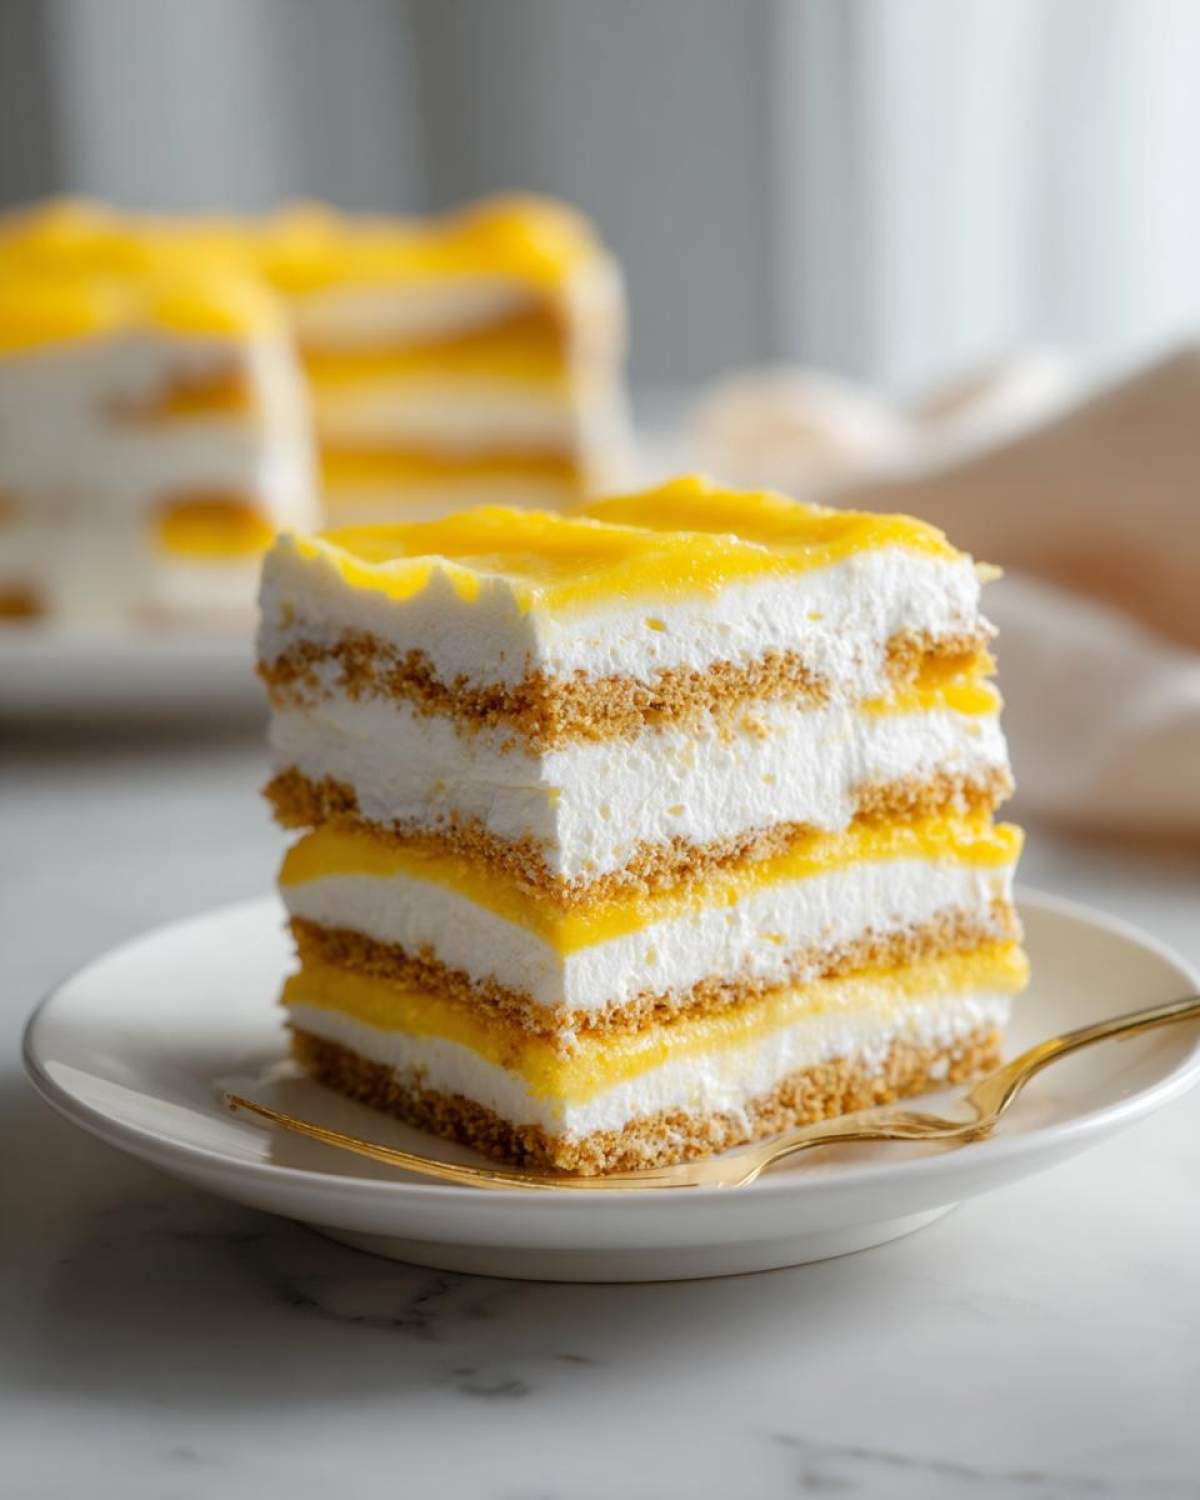
Frequently Asked Questions about Making a No-Bake Lemon Icebox Cake
I get so many great messages about this recipe! It’s one of those desserts people want to make all the time, but they always have one little question about swapping an ingredient or stretching the shelf life. I totally get it; we want this No-Bake Lemon Icebox Cake to be perfect every single time we make it!
Here are the things I hear most often when folks are putting together their ingredients for this Graham Cracker Lemon Cake.
Can I substitute the graham crackers in this No Bake Chilled Dessert?
Yes, you absolutely can try substituting, but you have to know the texture will change a bit because the graham crackers give us that signature melt-down quality. If you use vanilla wafers, the resulting cake will be a little sweeter and maybe slightly firmer, but it’s still totally delicious! Some folks have even tried thinly sliced shortbread cookies for a different flavor profile, but I always steer people back to the classic graham cracker; it just works best with the creamy lemon filling.
How long does this No Bake Lemon Dessert last in the fridge?
I mentioned it above, but I’ll repeat it because it’s important! This cake needs that overnight time to set up properly, but once it’s set, it holds up beautifully. Because of the whipped topping and the condensed milk base, you’re looking at about 3 to 4 days covered in the refrigerator. Just make sure it’s sealed well so it doesn’t dry out or absorb any stray onion flavors from your leftover dinner!
Can I use pre-made lemon pudding or curd instead of the fresh juice mixture?
Oh, using pudding mix sounds like a shortcut, doesn’t it? While you *could*, it changes the whole dynamic! That bright, tart bite comes directly from whisking fresh lemon juice with the sweetness of the condensed milk. If you use pudding, you’re losing that beautiful acidity that really makes this a phenomenal Refreshing Citrus Dessert. Stick to the fresh juice for that authentic pop!
Can I double the recipe to make a larger cake?
You certainly can! When you double the recipe, you should switch to a 9×13 inch baking dish instead of the loaf pan. Just remember the instruction I gave about baking time that I mentioned in the earlier section: larger pans mean you need more time to chill! Instead of just 6 hours, I’d push it to a full 10 or even 12 hours when doubling the batch, just to ensure those center crackers are fully softened before you try to slice it. We want perfect layers, not a sloppy mess when we try to serve up this Classic Icebox Cake!
Do I have to use a loaf pan?
The loaf pan is my secret weapon for serving this—it gives you those lovely, tall slices that look so elegant! You can definitely use a 9×5 inch loaf pan, but your layers will be thinner, and you might need just a few extra crackers to cover the top surface completely. If you use a wide, shallow dish, you’ll end up with more cracker-to-cream ratio, which some people love! It all depends on what texture you’re hoping for in your final creation. No matter the pan, just make sure you line it well so you can lift your finished Easy Lemon Icebox Cake Recipe right out. If you’re looking for other simple sauce recipes, like how to make a savory homemade brown gravy? That’s a whole other area where lining pans saves your sanity!
Nutritional Estimates for This Light and Airy Lemon Dessert
I know, I know! When you’re eating something this delicious and naturally bright, deep-diving into the numbers isn’t usually the first thing on your mind! But since we aim for transparency here, I pulled the general nutritional rundown for a slice of this No-Bake Lemon Icebox Cake. Remember, because this is an icebox cake relying on condensed milk and store-bought whipped topping, the numbers do change depending on the specific brands you pick up at the store.
Think of these figures as a handy little guide rather than gospel—they are estimates for one slice, based on the ingredients listed. It’s certainly on the sweeter side, but gosh, it’s worth every single creamy, tart bite!
- Serving Size: 1 slice
- Calories: Around 380
- Total Fat: About 14 grams
- Saturated Fat: Near 8 grams
- Total Carbohydrates: Roughly 60 grams
- Sugars: About 45 grams (that’s where the condensed milk comes in!)
- Protein: Around 7 grams
It’s definitely a treat, but it’s such a fantastic alternative to heavy baked desserts, especially since it’s so light in texture. If you’re looking for a truly nutrient-dense recipe, maybe skip the condensed milk for something like my apple crisp next time, but for that perfect, no-effort summer dessert? This is the winner, hands down!
Share Your Best No Bake Lemon Dessert Creations
I truly hope this No-Bake Lemon Icebox Cake brings as much easy joy to your table as it does to mine! I put my heart into testing these simple recipes because I want you all to have reliable, delicious results every single time you step into the kitchen.
If you made this dessert and it saved you during a hot afternoon or became a new family favorite, please let me know! Seriously, leaving a quick rating down below helps other bakers trust this recipe, which is so important to me.
And if you snapped a picture of your gorgeous, towering, chilled lemon layers, tag me on social media! I absolutely love seeing your creations and celebrating your kitchen wins. It reminds me that baking—even no-bake magic—is all about connection.
If you’re curious about who I am and why I share these recipes, feel free to check out the About Us page sometime! Happy chilling!
PrintNo-Bake Lemon Icebox Cake

Make this simple, layered lemon dessert that sets up in the refrigerator without any baking required. It features a bright citrus flavor and creamy texture.
- Prep Time: 20 min
- Cook Time: 0 min
- Total Time: 6 hr 20 min
- Yield: 6 servings
- Category: Dessert
- Method: Chilling
- Cuisine: American
- Diet: Vegetarian
Ingredients
- 1 (14 ounce) can sweetened condensed milk
- 1/2 cup fresh lemon juice
- 1 teaspoon lemon zest
- 1 (8 ounce) container frozen whipped topping, thawed
- 1 (10.75 ounce) package graham crackers
Instructions
- In a medium bowl, whisk together the sweetened condensed milk, lemon juice, and lemon zest until fully combined.
- Gently fold the thawed whipped topping into the lemon mixture until just blended. Do not overmix.
- Line an 8×4 inch loaf pan with plastic wrap, leaving an overhang on the sides for easy removal later.
- Arrange a single layer of graham crackers on the bottom of the prepared pan. Break crackers as needed to fit.
- Spread half of the lemon cream mixture evenly over the graham crackers.
- Add a second layer of graham crackers over the cream.
- Spread the remaining lemon cream mixture over the second layer of crackers.
- Top with a final layer of graham crackers.
- Cover the pan tightly with the plastic wrap overhang.
- Refrigerate for at least 6 hours, or preferably overnight, until the cake is firm and the crackers are soft.
- To serve, use the plastic wrap overhang to lift the cake from the pan. Slice and serve cold.
Notes
- For a decorative top, reserve a small amount of lemon zest to sprinkle over the finished cake before serving.
- You can use a 9×5 inch loaf pan, but the layers will be thinner. Adjust cracker amounts slightly if needed.
- This cake tastes best when chilled for the full overnight period to allow the crackers to fully soften into a cake-like texture.
Nutrition
- Serving Size: 1 slice
- Calories: 380
- Sugar: 45
- Sodium: 180
- Fat: 14
- Saturated Fat: 8
- Unsaturated Fat: 6
- Trans Fat: 0
- Carbohydrates: 60
- Fiber: 2
- Protein: 7
- Cholesterol: 30