

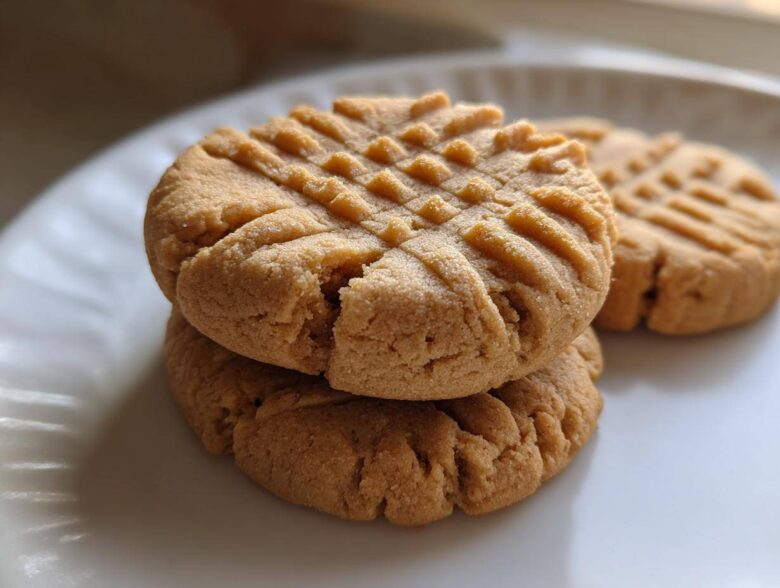
Oh, you know those days where only something rich, comforting, and undeniably nostalgic will do? That’s exactly when I turn to this recipe. Forget those dry, crumbly disasters you sometimes find—we’re making the ultimate **peanut butter cookies** here! This batch delivers that perfect combination: they are incredibly soft, deeply chewy, and honestly, they just melt right in your mouth. This specific version is a required issue in our little Flavor Zine because it’s pure, unadulterated comfort food. If you love this kind of pure comfort, you should also check out my guide to the best chocolate chip cookie recipe! Trust Mateo and me; this is the recipe you’ll keep taping inside your recipe box.
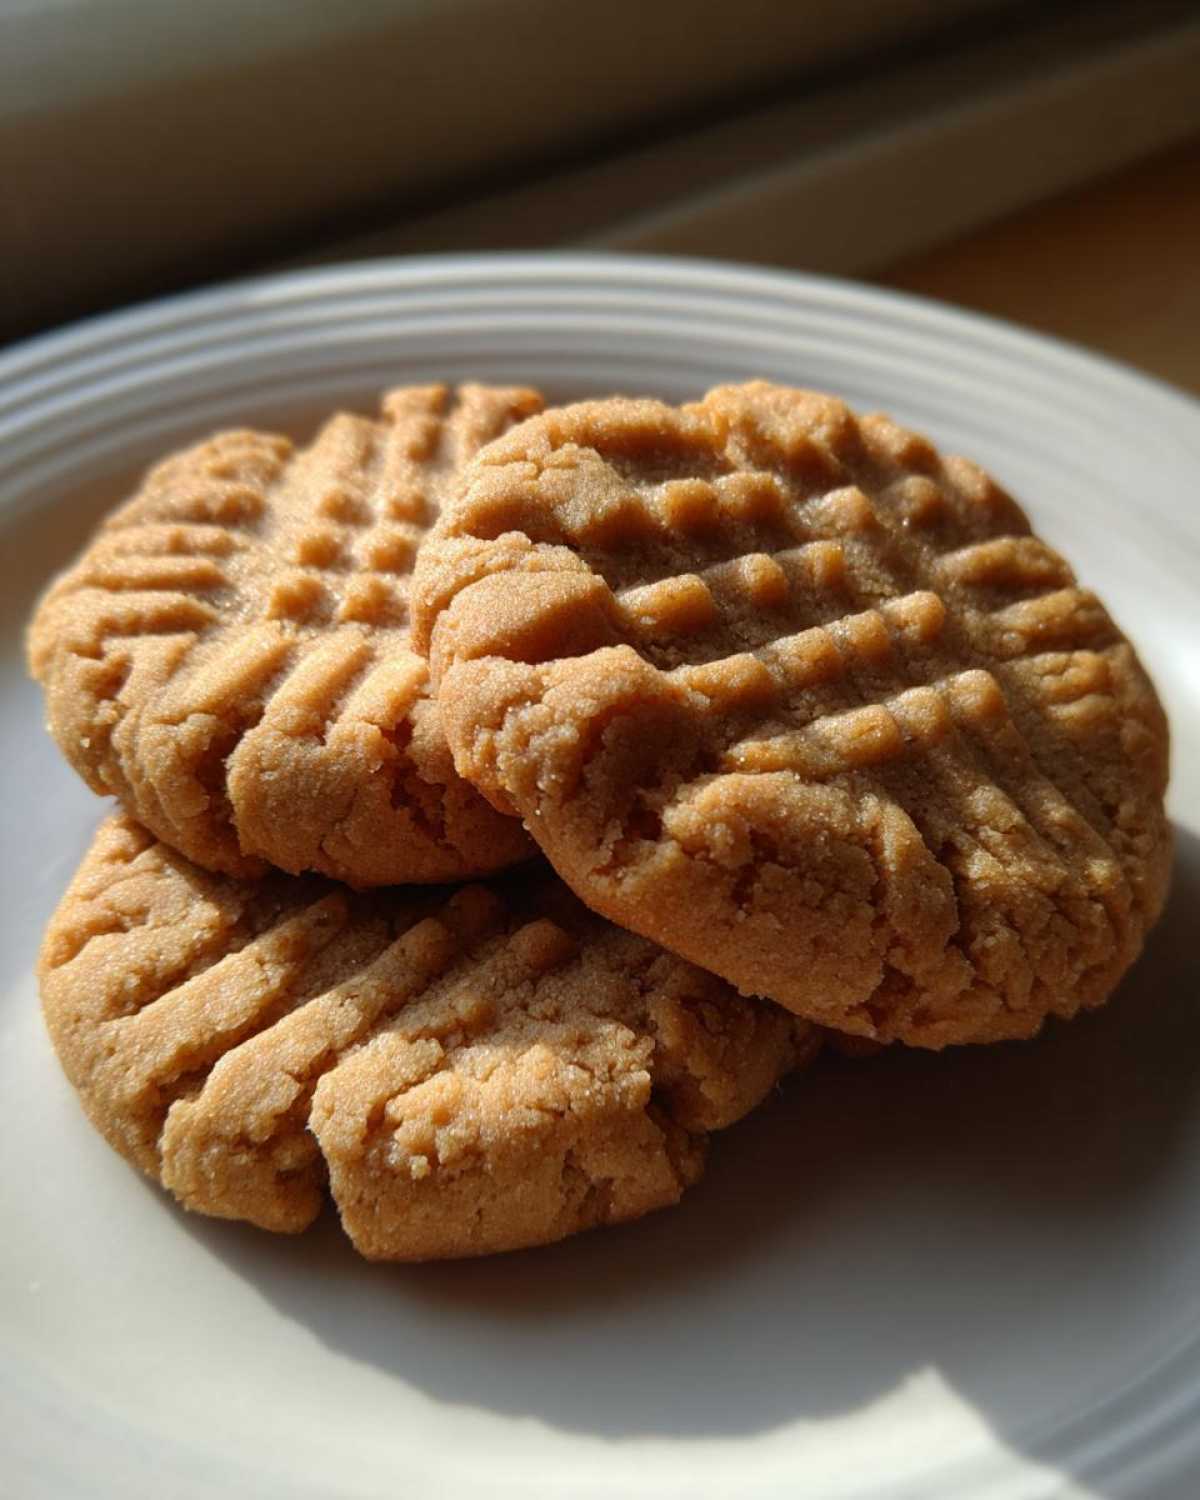
Why This is the Best Soft and Chewy Classic Peanut Butter Cookies Recipe
I know, I know, everyone claims their cookies are the best! But this recipe for classic peanut butter cookies really stands out for one reason: texture. We spent nearly a year tweaking flavors until Mateo declared, “Eva, these are the ones that actually feel like they melt in your mouth.” That’s what happens when you focus on getting the fat ratio *just* right.
- It’s the ultimate **easy peanut butter cookie recipe**—no weird steps, I promise.
- Guaranteed soft and chewy results, even the next day.
- These truly are **melt in your mouth cookies**!
- Perfectly balanced sweet and salty flavor profile.
If you want to see another cookie where texture is key, check out how we nail those soft, fudgy centers in our crinkle cookies recipe!
Quick Prep for Homemade Peanut Butter Cookies
We designed this recipe for real life, meaning maximum reward for minimum effort. We only have 15 minutes of active prep time before these go into the oven! Because everything gets mixed in one bowl—wet, dry, everything—cleanup is a breeze. When you need **quick peanut butter cookies** in your life, this is the one to grab.
Achieving That Perfect Melt in Your Mouth Texture
This is our little secret, so lean in! It comes down to two things. First, we use both granulated and brown sugar, which creates soft pockets. Second, we absolutely refuse to overbake them. They should look slightly underdone when you pull them out; trust me, they firm up beautifully while resting on the warm pan. That slight gooeyness baked right in is what achieves that amazing texture.
Gathering Ingredients for Your Classic Peanut Butter Cookies
Okay, ingredient gathering time! This is the ‘simple’ part of our easy cookie recipe, but precision matters for that perfect texture. Don’t just grab any butter—it needs to be softened, right out of the counter stage. And make sure that brown sugar is packed down firmly when you measure it; that’s how we get the richness!
Here is what you need for about 3 dozen delicious treats:
- 1 cup (2 sticks) unsalted butter, softened
- 1 cup creamy peanut butter
- 1 cup granulated sugar
- 1 cup packed light brown sugar
- 2 large eggs
- 1 teaspoon vanilla extract
- 2 1/4 cups all-purpose flour
- 1 teaspoon baking soda
- 1/2 teaspoon baking powder
- 1/2 teaspoon salt
Step-by-Step Instructions for Soft Peanut Butter Cookies
Now for the fun part! Making these **peanut butter cookies** is straightforward, but Mateo always reminds me that the flow of assembly dictates the final texture. You want creamy, smooth, and evenly combined, not overworked. So take your time when you’re creaming the fats and sugars together, and listen closely for my mixing tip in the next section!
First, pop your oven up to 350°F (175°C) and get those baking sheets lined with parchment paper. Parchment is a lifesaver; I hate scraping stuck cookies off a pan, so don’t skip that part!
Mixing the Wet and Dry Components for Peanut Butter Cookies
Start with all your wet ingredients—the softened butter, the peanut butter, the granulated sugar, and that lovely brown sugar—in your big mixing bowl. Beat them until they look light and fluffy. Then, one by one, introduce the eggs, mixing well after each one joins the party. Vanilla goes in last.
Now, the dry stuff needs a quick whisk in a separate bowl just to distribute the baking soda and powder evenly. Here’s the trick I learned years ago: never dump all the flour in at once! Add it slowly, mixing on low speed. As soon as you see that last streak of flour disappear, stop the mixer. Overmixing the flour develops the gluten, and we absolutely do not want tough cookies; we want that soft, comforting bite. If you want truly thick, amazing, bakery style** texture, this is where you might chill the dough for about 30 minutes, but if you’re in a rush, keep moving!
Forming and Creating the Crosshatch Pattern on Peanut Butter Cookies
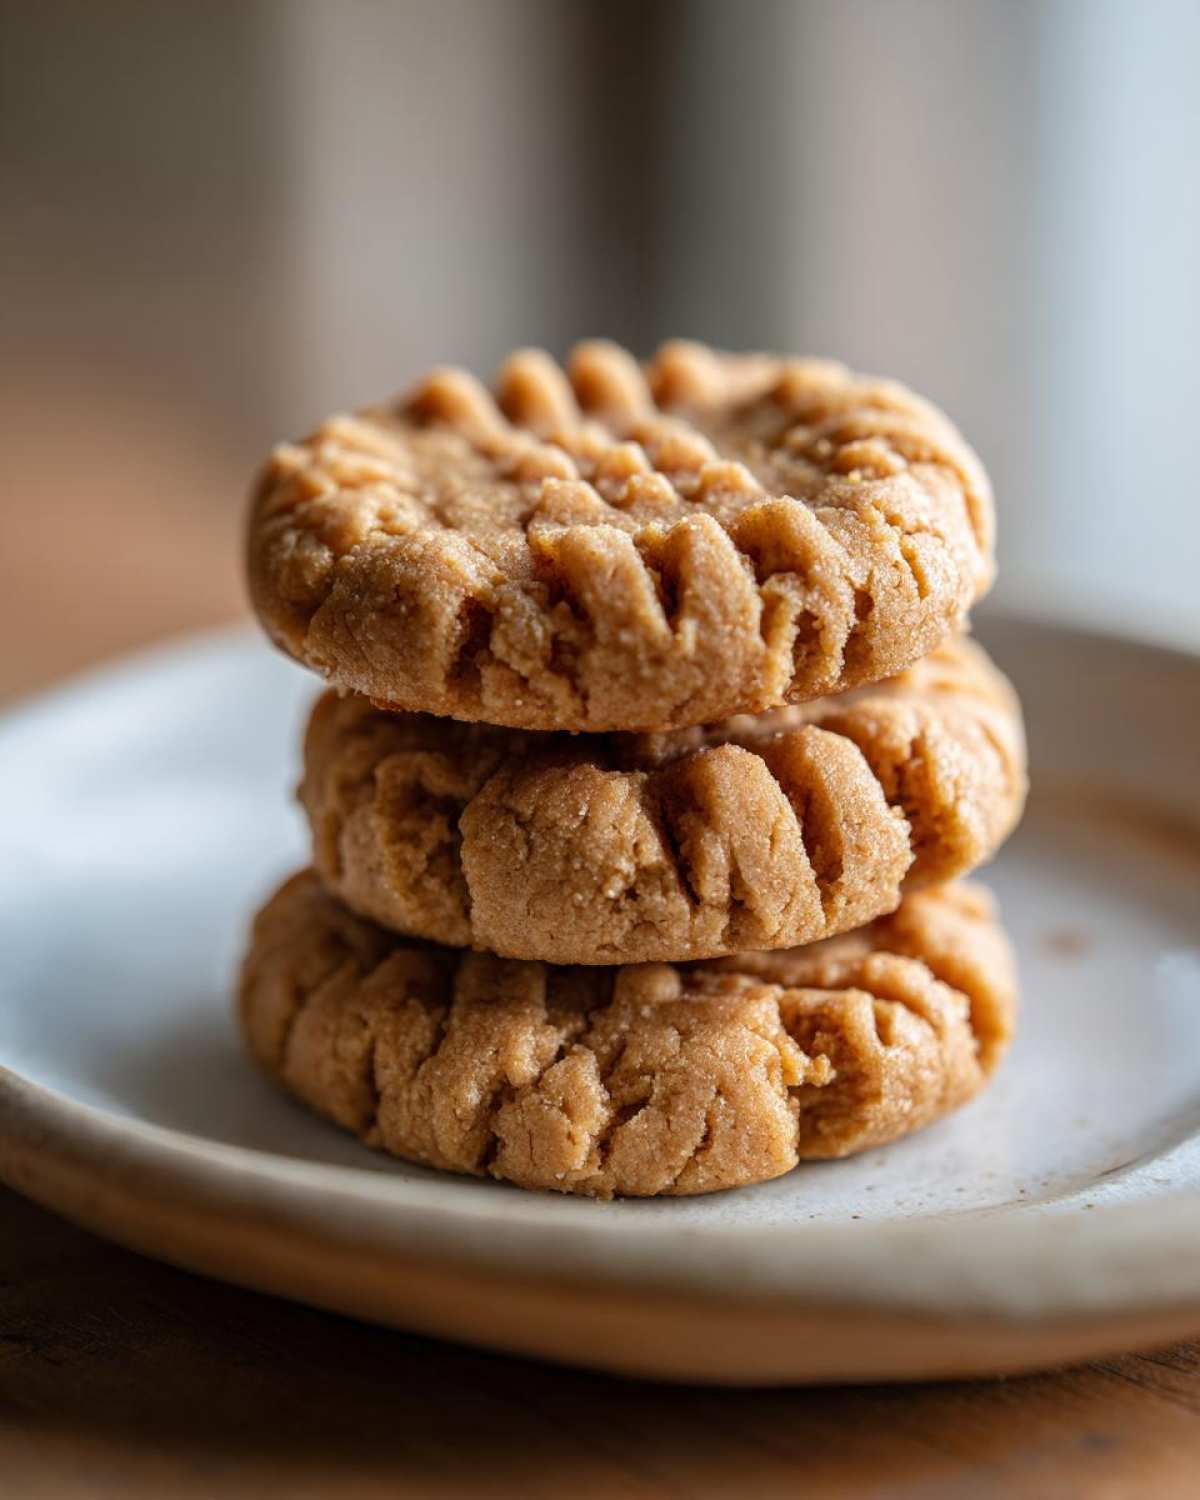
Scoop up balls of dough about the size of a tablespoon and place them on your prepared sheets, leaving a good two inches between them—these babies spread a little! This is the classic moment we all know and love: the crosshatch pattern. Grab a fork, dip it lightly in sugar (so it doesn’t stick!), and gently press down on the top of the dough ball. Do one pass, then rotate your fork 90 degrees and press again. It makes the prettiest little grid marking. Bake these until the edges look set, but the center still looks a touch underdone. Remember my mantra: slightly underbaked equals perfectly chewy!
Tips for Perfect Chewy Peanut Butter Cookies
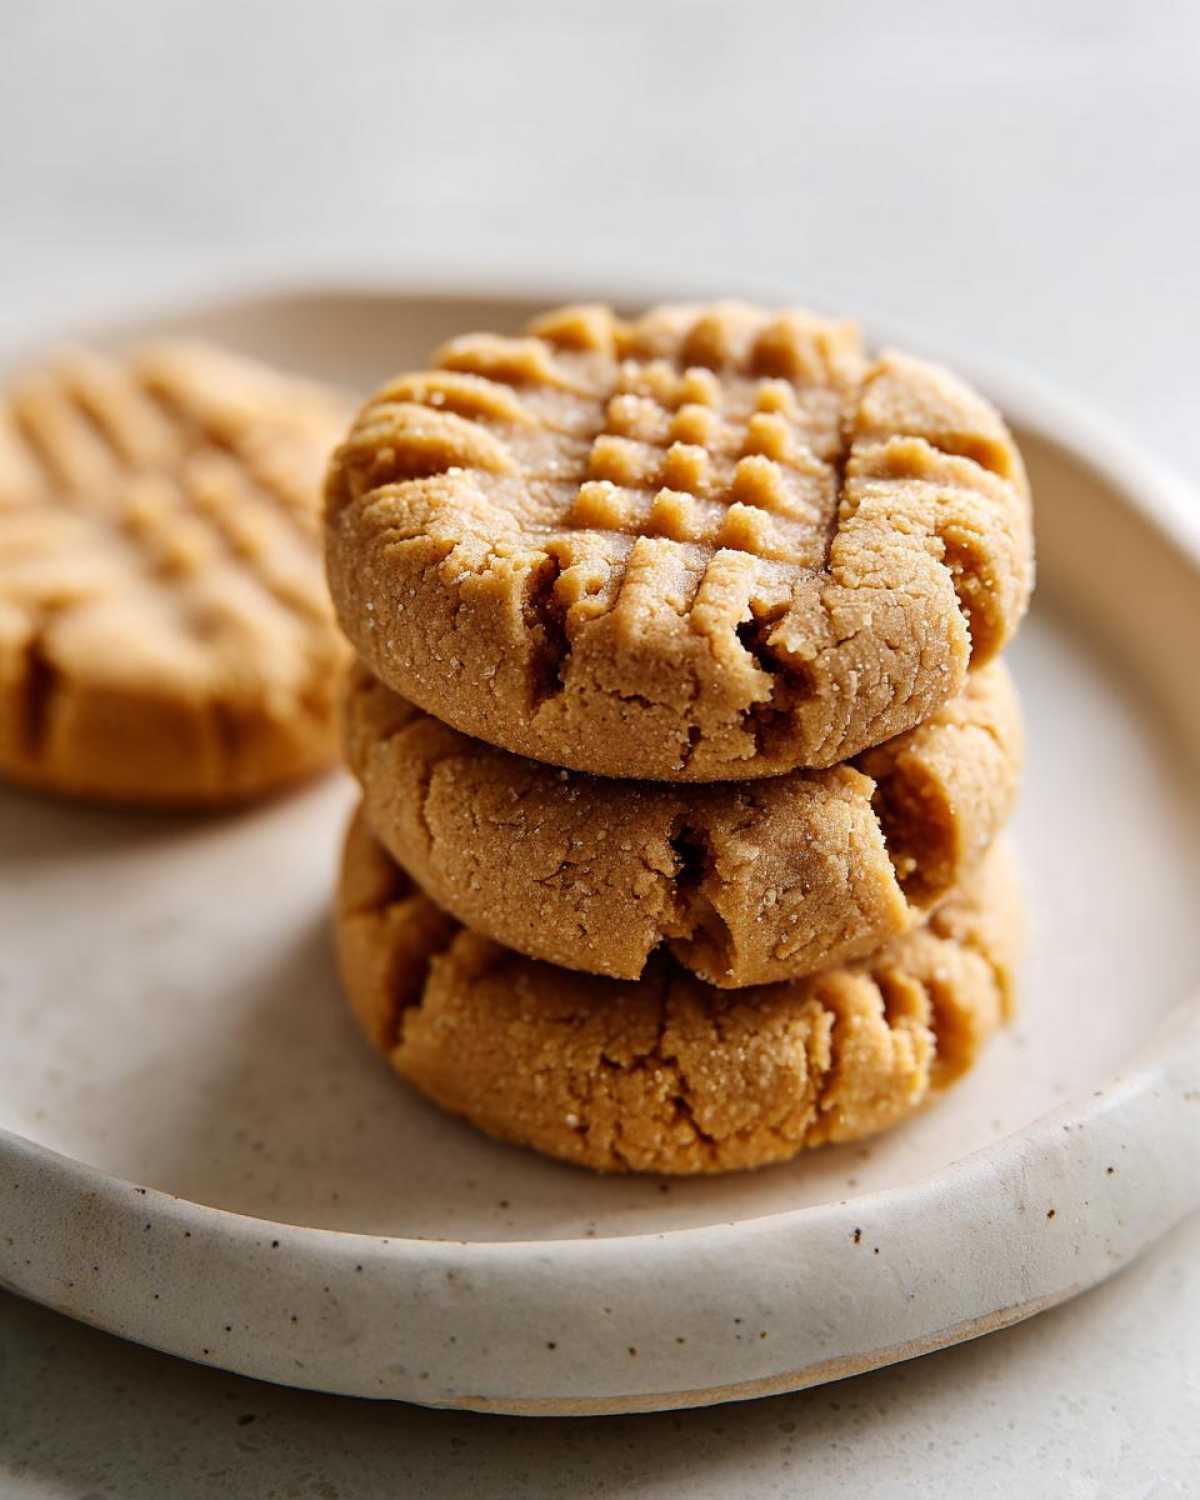
You’ve mixed, you’ve chilled (maybe!), and now you’re pulling them out of the oven. Don’t mess up that hard work! I’ve picked up a few insider tricks over the years of tweaking this recipe to ensure every batch of these **chewy peanut butter cookies** is exactly what you hoped for. Even Mateo agrees these tips are essential for getting that consistently wonderful, nearly bakery style result.
Here are the non-negotiables for cookie perfection:
- Don’t Overbake—Seriously: This is my biggest rule for cookies that are supposed to be soft. Pull them out when the edges are set, but the very center still looks a little soft or maybe even just barely shiny. They continue cooking on the hot pan as they cool, which sets them up for that melt-in-your-mouth experience. If you wait until they look perfectly done in the oven, they’ll be crisp when they cool down.
- The Chill Factor: If you have the willpower (and the time!), chill the dough for at least 30 minutes before scooping. This helps everything firm up slightly, which prevents them from spreading too thin while baking. This is how we get those thicker, amazing, **bakery style peanut butter cookies**!
- Use the Right Peanut Butter: Creamy is generally best for that super uniform, soft cookie structure because the oils blend smoothly. If you try to use a natural peanut butter where the oil separates, your texture might get a little bit greasy or uneven.
- Don’t Rush the Rest: Let them rest on the baking sheet for a full 5 minutes before you even think about moving them to the cooling rack. They are super fragile right out of the oven, and moving them too soon is how you end up with broken cookie halves. We want whole, beautiful cookies to show off!
For other dishes that require tricky timing, check out how we guarantee a perfect rise every time with our guide to Yorkshire Pudding. Good technique saves the day!
Ingredient Notes and Substitutions for Peanut Butter Cookies
I always get questions about the peanut butter choice, and it makes total sense! The type you select really impacts the final texture of these **peanut butter cookies**. Because we are specifically aiming for that soft, melt-in-your-mouth quality, I strongly recommend sticking to a standard creamy peanut butter—you know, the kind that isn’t the drippy, natural style. The stabilizers in the regular kind help keep the dough beautifully emulsified.
If you only have natural peanut butter on hand, you can still make this work! But you might need to add an extra teaspoon or two of the combined dry ingredients just to get the dough to hold its shape when you roll it. Natural peanut butter can sometimes make the batter too slack.
Another quick note: this recipe is inherently vegetarian, which is great for sharing! We aren’t relying on any gelatin or meat products here, just butter, eggs, sugar, and flour. If you happen to be checking out savory, rich recipes, Mateo just posted this amazing guide on how to get perfect caramelized onions, which uses just butter and time!
Storage and Reheating Instructions for Homemade Peanut Butter Cookies
So, you baked 36 of these amazing **peanut butter cookies**! Wow! That’s why I love this recipe—it’s perfect for batch baking and meal prep. You know I love being prepared, and having these on hand for a quick snack or emergency dessert is essential. Now, the real question: how do we keep them perfectly soft and chewy?
Here’s the deal. Because these cookies are so soft, they can dry out faster than a crunchy crinkle cookie if you just leave them on the counter in a regular container. For short-term storage (like 3 or 4 days), just seal them up tight in an airtight container at room temperature. Make sure they are completely cooled first—warm cookies create steam, and steam equals sogginess, which we don’t want!
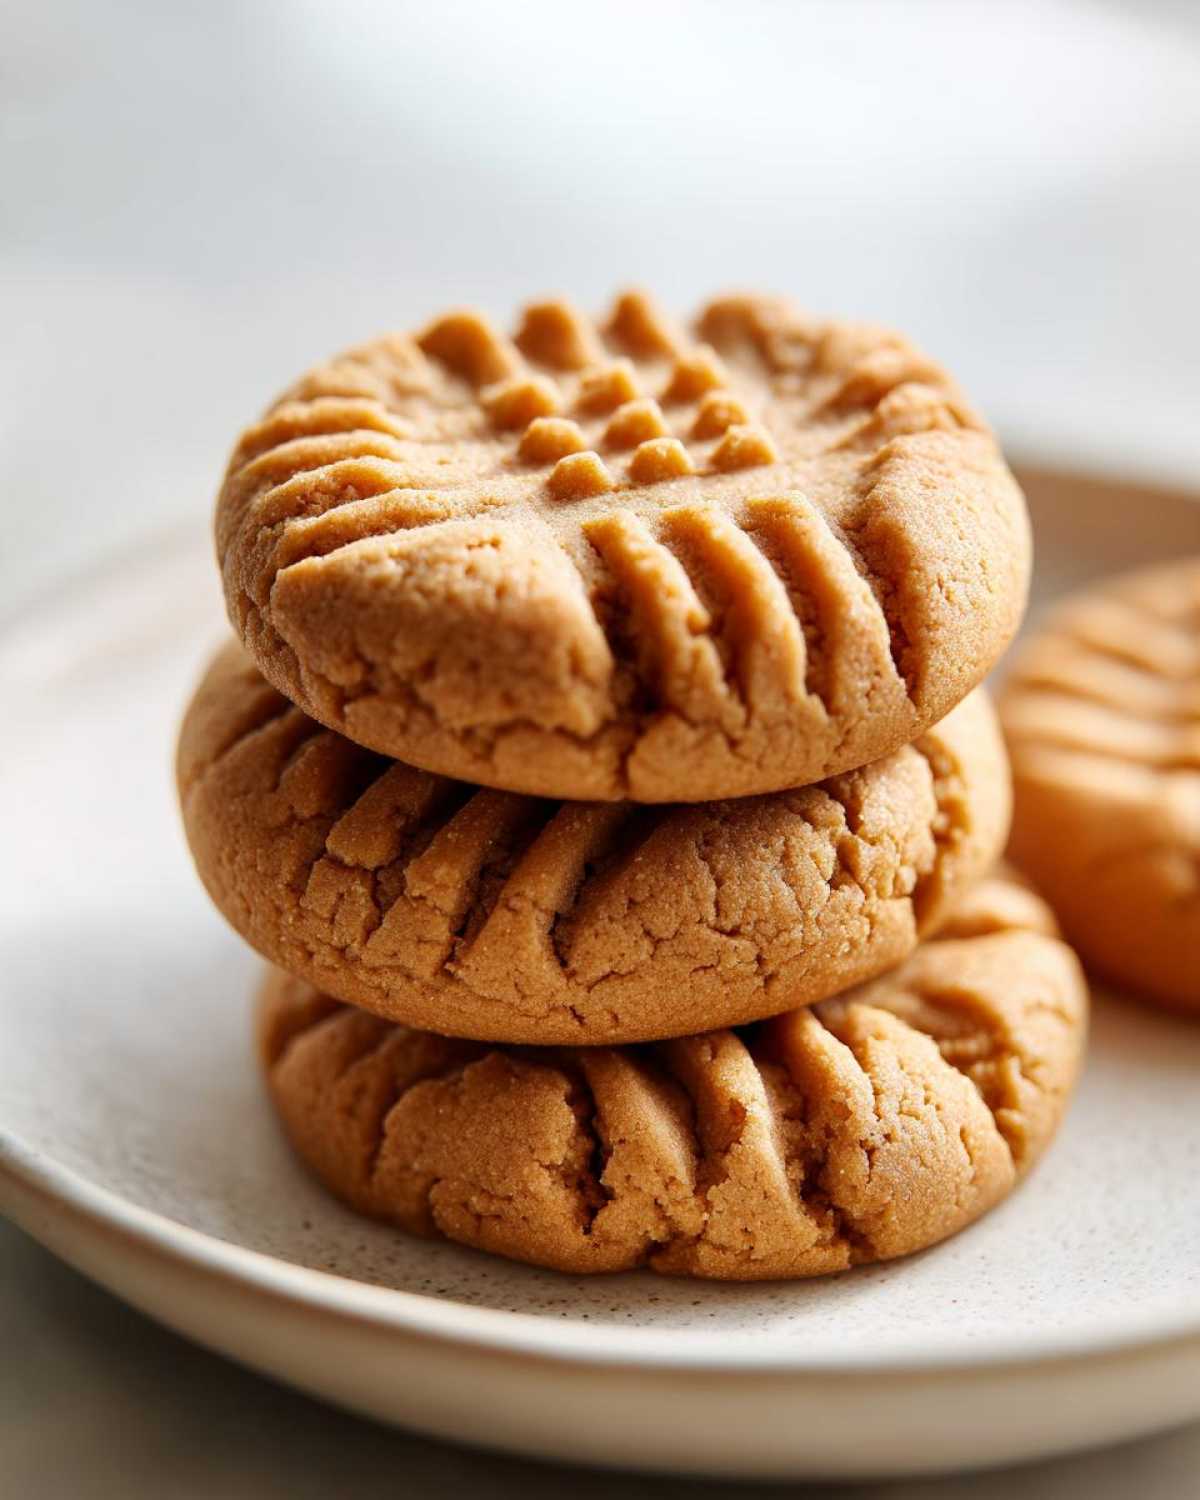
If you made this whole batch for **easy dessert for meal prep** and need them to last longer, freezing is your best friend. You can freeze the baked cookies or the dough balls. For the baked ones, layer them in a freezer-safe container with parchment paper between the layers so they don’t stick together. About 15 minutes on the counter thawing time, and they are good to go!
If you freeze the dough balls (which I often do!), just bake them straight from frozen; they might need an extra minute or two in the oven. This is a great trick if you want fresh cookies anytime without the 15-minute prep. We do something similar with our slow cooker cranberry meatballs—prep ahead when you have time, enjoy later!
Variations on Classic Peanut Butter Cookies
Part of the fun of publishing a new ‘issue’ in Flavor Zine is seeing how we can dress up a classic! This base recipe for our soft peanut butter cookies is so sturdy and delicious, it handles extra ingredients like a champ. You don’t need a whole new recipe to switch things up; just think of these as fun, optional toppings or mix-ins.
My favorite way to change things up without altering the core structure is to add texture or a touch of contrast right at the end. A little something extra makes them feel even more special when you serve them up!
Here are a few ideas Mateo and I are always tinkering with:
- Chocolate Chip Dreams: This is the most requested change! Fold in about 1 cup of semi-sweet or milk chocolate chips right at the end, after the flour is just combined (Step 3 in the instructions). They come out like the meeting of two perfect worlds.
- A Little Salty Sparkle: If you want to bump up that savory-sweet flavor, skip sprinkling sugar on your fork before the crosshatch. Instead, pinch a tiny flake of sea salt onto the very center of each dough ball just before it goes into the oven. It really makes the peanut butter flavor pop!
- Peanut Butter Lovers Only: For the ultimate peanut fanatic, this is a great trick. After the cookies have cooled for just 5 minutes on the pan, gently push half a peanut butter cup (or a small peanut butter kiss) right into the center of each warm cookie. It melts just enough to look decadent but doesn’t totally pool out.
- The Double Dip: Since these are such great comfort food cookies, consider dipping the completely cooled cookies halfway into melted dark chocolate. Let them set on parchment paper. They look incredibly professional!
Speaking of great, easy appetizers you can serve alongside these peanut butter treats, you have to see how we elevate simple ingredients in our stuffed dates recipe. It’s the perfect savory counterpoint to all this sweetness—check out the stuffed dates with bacon and goat cheese!
Frequently Asked Questions About Peanut Butter Cookies
If you’re anything like me, reading recipes always brings up a million little “what ifs” and “how tos.” We want these **classic peanut butter cookies** to turn out perfectly, right? So let’s clear up those last few burning questions you might have about achieving that perfect soft and chewy bite every time. Don’t worry if you’re a beginner; these are all simple fixes!
Can I make these peanut butter cookies gluten-free?
That’s a great question, especially since so many of our *peanut butter treats* are easily adaptable! Since this specific recipe relies on the structure of all-purpose wheat flour—it’s one of our key components for getting that soft texture—it isn’t naturally gluten-free. If you need to keep it GF, I highly recommend swapping the flour for a good quality 1:1 gluten-free baking blend. Those blends are designed to substitute cup-for-cup, so you shouldn’t need to adjust much else in this **easy cookie recipe**. If you’re looking for a true **flourless peanut butter cookies** experience, you’ll need a different formula entirely!
How do I get the signature crosshatch pattern on my peanut butter cookies?
You absolutely *have* to have the crosshatch! It’s the tell-tale sign of a well-made classic cookie. It’s super simple, but timing is everything. After you’ve scooped and rolled your balls of dough, place them on the baking sheet. Take a fork—I usually dust mine lightly with flour or sugar so it doesn’t drag the dough—and press down firmly but gently until the ball flattens out. Then, press again in the opposite direction. That crisscross is what presses the dough down enough so it bakes through evenly while still keeping those wonderfully soft centers. It’s what separates a good batch from the best peanut butter cookies!
If you’re looking for more solid baking fundamentals, I put together some notes on handling yeast that might help with bread baking down the road, especially if you’re enjoying these cookies with a side of homemade bread, like in our soft honey whole wheat bread guide.
Publish Your Flavor Zine Issue: Share Your Peanut Butter Cookies
Alright, my friend, that’s it! You have successfully published a brand new, delicious issue of Flavor Zine right in your own kitchen. I really hope these soft and chewy peanut butter cookies hit the spot and gave you that perfect melt-in-your-mouth moment we talked about. If you loved how easy this one-bowl recipe was and if they turned out perfectly soft, please come back and hit that 5-star rating button for me!
Honestly, the best part of this whole Flavor Zine project is hearing your stories. Did Mateo tease you about your crosshatch skills? Did you sneak a few warm cookies before they even hit the cooling rack? Don’t keep all that wonderful chaos to yourself! Snap a picture and tag me on social media, or better yet, head over to the main Flavor Zine blog page and tell me all about your batch in the comments. Seeing your unique results is what inspires our next experiment. Happy baking, and I can’t wait to see what story you publish next!
PrintSoft and Chewy Classic Peanut Butter Cookies
Bake these classic peanut butter cookies for a soft, chewy treat that melts in your mouth. This easy, one-bowl recipe is perfect for beginners and satisfies any sweet craving.
- Prep Time: 15 min
- Cook Time: 12 min
- Total Time: 27 min
- Yield: 36 cookies
- Category: Dessert
- Method: Baking
- Cuisine: American
- Diet: Vegetarian
Ingredients
- 1 cup (2 sticks) unsalted butter, softened
- 1 cup creamy peanut butter
- 1 cup granulated sugar
- 1 cup packed light brown sugar
- 2 large eggs
- 1 teaspoon vanilla extract
- 2 1/4 cups all-purpose flour
- 1 teaspoon baking soda
- 1/2 teaspoon baking powder
- 1/2 teaspoon salt
Instructions
- Preheat your oven to 350°F (175°C). Line baking sheets with parchment paper.
- In a large bowl, beat the softened butter, peanut butter, granulated sugar, and brown sugar together until the mixture is creamy.
- Add the eggs one at a time, beating well after each addition. Stir in the vanilla extract.
- In a separate medium bowl, whisk together the flour, baking soda, baking powder, and salt.
- Gradually add the dry ingredients to the wet ingredients, mixing on low speed until just combined. Do not overmix.
- Scoop rounded tablespoons of dough onto the prepared baking sheets, spacing them about 2 inches apart.
- Use a fork to press down on each cookie, creating the classic crosshatch pattern. Press once in one direction, then press again perpendicular to the first marks.
- Bake for 10 to 12 minutes, or until the edges are set but the centers still look slightly soft.
- Let the cookies cool on the baking sheets for 5 minutes before transferring them to a wire rack to cool completely.
Notes
- For the softest cookies, slightly underbake them; they will firm up as they cool.
- If you prefer a stronger peanut flavor, use a natural, slightly drier peanut butter.
- This recipe makes about 3 dozen cookies, perfect for meal prep or sharing.
- If you want bakery style cookies, chill the dough for 30 minutes before baking.
Nutrition
- Serving Size: 1 cookie
- Calories: 160
- Sugar: 12
- Sodium: 120
- Fat: 9
- Saturated Fat: 4
- Unsaturated Fat: 5
- Trans Fat: 0
- Carbohydrates: 18
- Fiber: 1
- Protein: 4
- Cholesterol: 25