

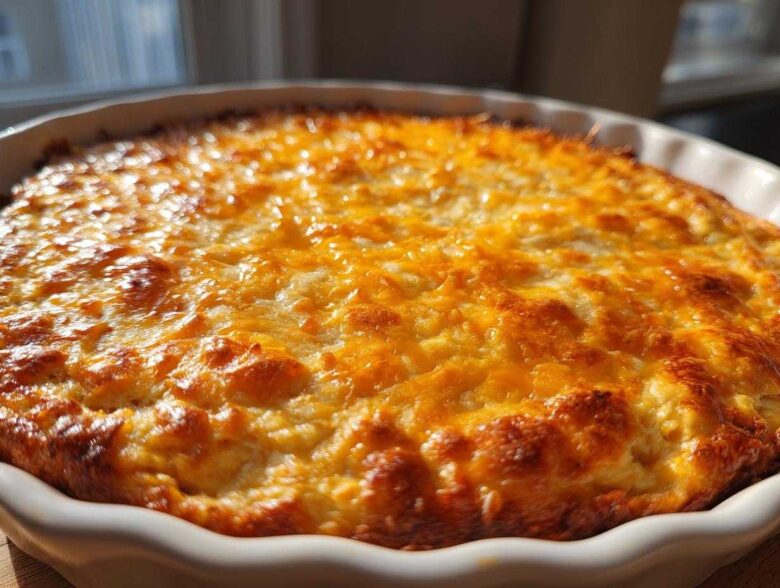
Okay, friends, if you’re hosting a watch party or just trying to survive a Monday with minimal effort, you need a showstopper that requires almost no brainpower. Mateo and I swear by this recipe because it’s the definition of comfort food chaos that tastes like a million bucks. Seriously, forget delicate appetizers; when we bring out the **Texas Trash Dip**, bowls clear faster than we can mix them up! It’s gooey, it’s savory, it’s loaded with taco spice, and it’s perfectly layered. We’ve tested every dip under the sun, and this one, folks, is the ultimate crowd-pleaser. It’s my go-to for making sure I can enjoy the first quarter of the game instead of stressing over plating. If you need more inspiration on our latest kitchen adventures, check out our main blog page!
Why This Creamy Layered Texas Trash Dip is Your New Party MVP
Listen, I get it. Sometimes you want something deeply flavorful without spending hours fussing over tiny ingredients. That’s exactly why this version of the **Texas Trash Dip Recipe** quickly became our absolute favorite—it checks every single box for a stress-free party when you just need some amazing crowd pleasing snacks.
It’s the layers that get you, truly. This isn’t just some scoopable single-texture thing; it’s a proper **cheesy layered dip** where you get the savory beef, the soft beans, and that unbelievable creamy, spiced topping all in one glorious bite. It tastes complex, but honestly, it’s pure simplicity wrapped up in cheddar.
Quick Appetizer Recipe Assembly Time
If you’re scrambling thirty minutes before guests arrive, this is your superhero recipe. We’re clocking in at maybe 15 minutes of active time before it hits the oven. It qualifies as a super **quick appetizer recipe** because most of the effort is just cooking the meat and stirring a few bowls together. It respects your time, which I love!
The Perfect Game Day Dip Texture
Forget that thin, watery bean dip you find sometimes. This thing bakes up so thick and indulgent. It needs to hit that perfect, gooey spot where the cheese is browned just right on top, but the inside is still soft enough to melt onto your chips. It functions perfectly as a super hearty **hot bean dip** that satisfies even the biggest appetites.
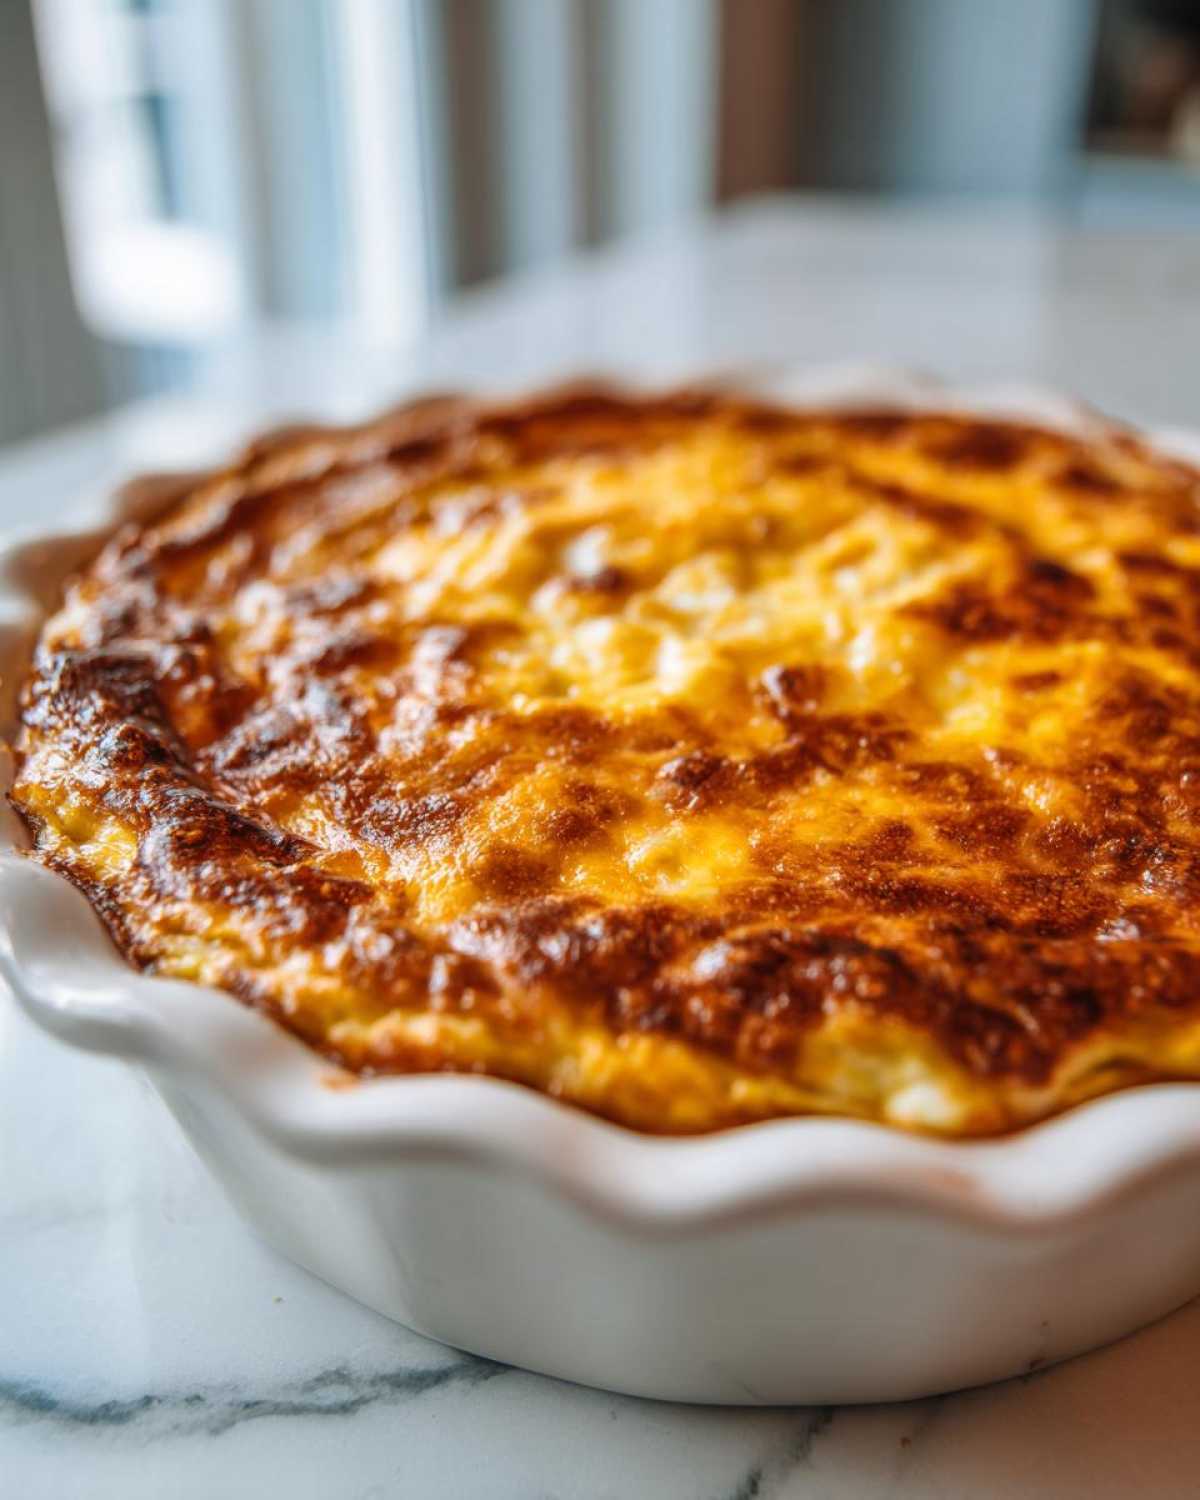
Gathering Ingredients for the Ultimate Texas Trash Dip
Okay, let’s talk supplies! This recipe is straightforward, but every component counts, especially when you are trying to nail that satisfying, savory profile. We need stuff for the smoky base, the creamy binder, and, of course, the melty finish. You’ll see I listed ground beef here, but stick around because in the next section, I’ll tell you how Mateo swapped that out for a vegetarian version!
Now, listen, this is my moment to preach about liquids. If you want a **cheesy layered dip** that stands up proudly on the table and doesn’t bleed out onto the platter, you HAVE to drain everything well. That means the ground beef grease *and* those delicious-but-wet diced tomatoes and chiles. Less liquid means a thicker, much heartier dip. Trust Eva on this one; it stops the whole thing from turning into soup.
Here’s what you need to grab before you start mixing:
- 1 pound ground beef (if you’re following the classic recipe!)
- 1 can (16 ounces) refried beans, undrained (we drain the *other* stuff!)
- 1 package (8 ounces) cream cheese, make sure it’s softened up nicely
- 1 cup sour cream
- 1 packet (1 ounce) taco seasoning mix
- 1 can (10 ounces) diced tomatoes and green chiles (like Ro-Tel), drained really, really well
- 1 cup shredded Monterey Jack cheese
- 1 cup shredded sharp cheddar cheese
- 1/2 cup shredded Mexican blend cheese (reserved for the top layer)
That collection of spices, beans, and cheese is what builds the foundation for the best party dips! You have everything you need for assembly!
Step-by-Step Instructions for Perfect Texas Trash Dip
Alright, let’s get down to business! This is where the magic happens, and I promise, it’s shockingly simple. You want your oven ready before you start mixing the main ingredients, so preheat that baby to 350 degrees Fahrenheit. We want this pan nice and hot when the dip goes in so everything melts evenly.
The whole process flows in two main stages: making the creamy spiced base and then baking it until it’s irresistible. If you’ve been looking for an easy **Football Party Food** route, this is it. If you want more easy party recipes, peek at my guide for garlic parmesan chicken skewers!
Preparing the Meaty Base and Creamy Layer
First things first: your ground beef. Get it cooked up until it’s totally browned, and then—and please listen to me here—drain every last drop of grease out in the sink. We don’t want greasiness in our *creamy* dip! Once that’s done, grab a good, sturdy bowl. In that bowl, you’re going to beat the softened cream cheese, the sour cream, and that whole packet of taco seasoning together until it’s light and fluffy. No lumps allowed in this part! Then, gently fold in your drained beef, the refried beans (remember, the can contents aren’t individually drained, just the can itself), and those drained Ro-Tel tomatoes. This mix right here creates the backbone of our fantastic **Meaty Trash Dip**.
Baking Instructions for Bubbly Perfection
Once your beef and bean mixture is stirred together—gently, don’t whip air into it now!—fold in those two cups of Jack and Cheddar cheeses. Spread that gorgeous, thick mixture evenly into your 9-inch pie plate. Now, top it all off with that final half cup of the Mexican blend cheese. It goes into the 350°F oven and bakes for about 20 to 25 minutes. You’re looking for that perfect moment: the dip is hot all the way through, and that top layer of cheese is totally melted, golden, and just starting to get those beautiful bubbly brown spots around the edge. Five minutes rest, and you’re ready to serve!
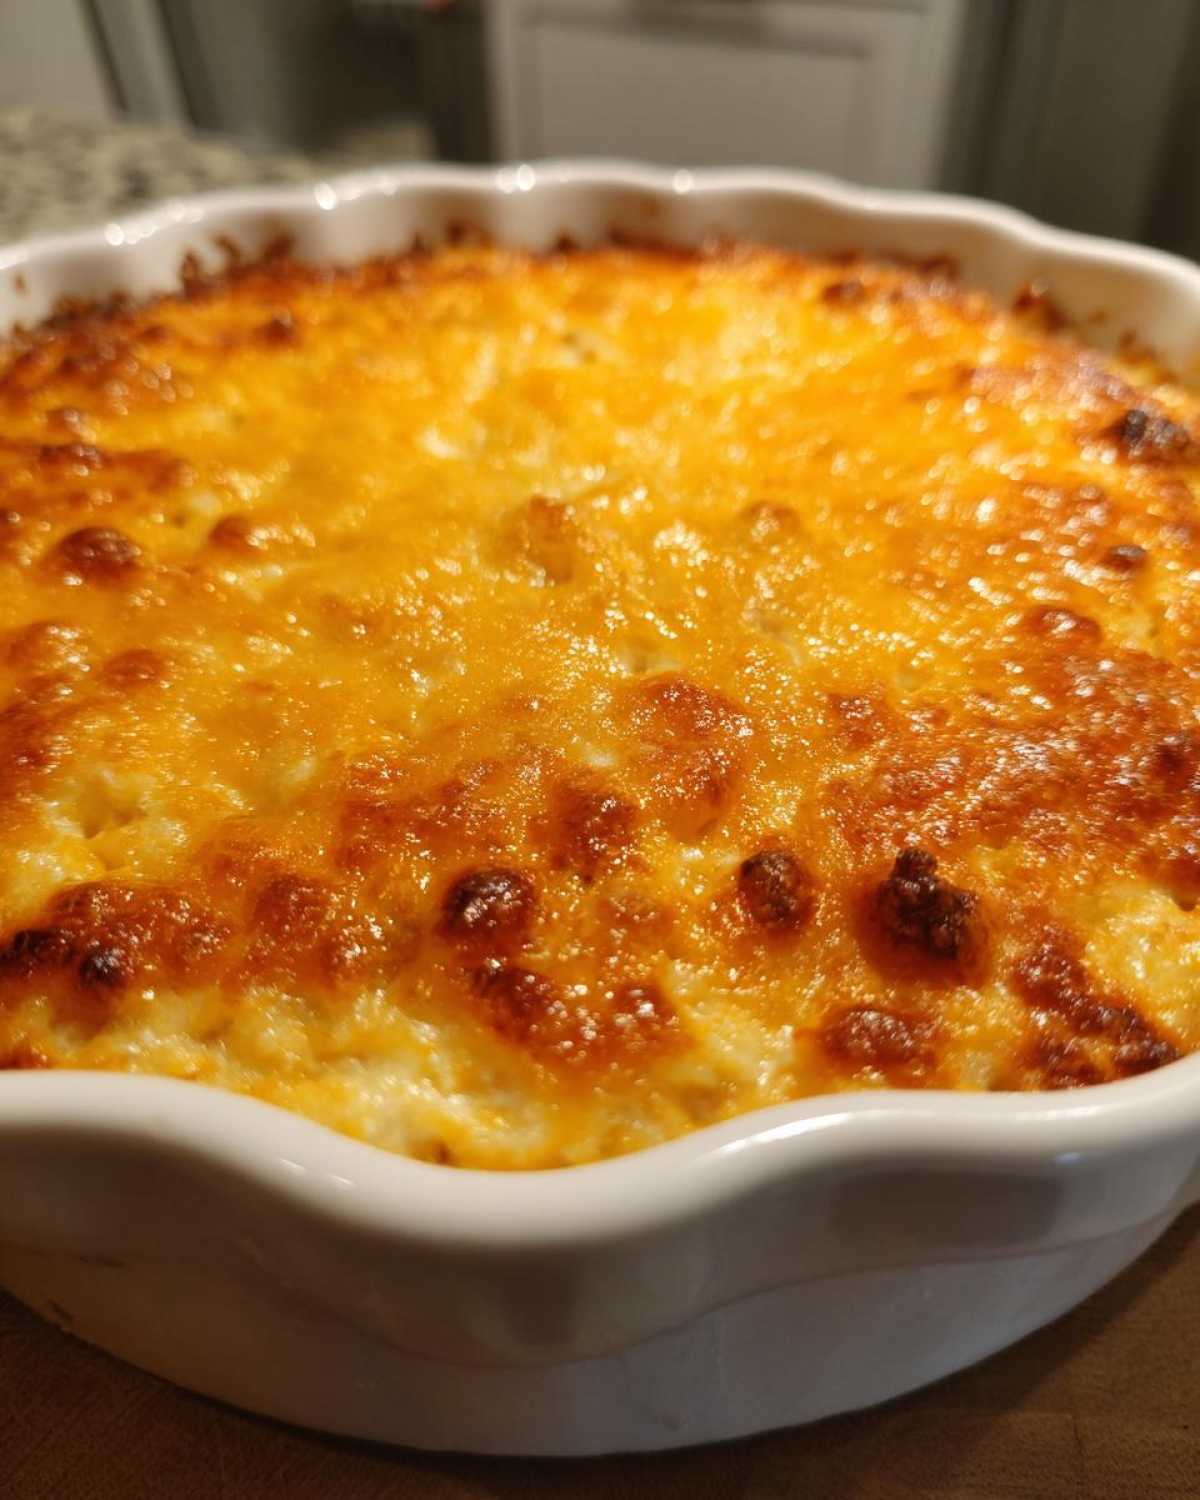
Crockpot Dips Variation for Your Texas Trash Dip
I know, I know. Sometimes even 25 minutes of baking time feels like too much when you’re trying to get ready for the big game or when you’re expecting a huge crowd. That’s why I absolutely love adapting this recipe into one of those perfect **Crockpot Dips** because it just lets everything mingle and get cozy!
The beauty of the slow cooker is that it keeps the dip piping hot for hours, which is a lifesaver if your party lasts all afternoon. If you’re going the slow cooker route, don’t mix it ahead of time like we do for baking. You just dump everything in—except that final topping cheese—stir it just enough to combine the layers, and let the magic happen.
Here’s the temperature breakdown, which is slightly different than the oven instructions. If you set it on LOW, it generally takes about two hours. If you’re running behind and need it fast, you can set it to HIGH, but keep an eye on it; usually, that’s about an hour. I always give it one good stir about halfway through, just to make sure those bottom creamy bits aren’t sticking. Right before you turn off the heat, sprinkle that last half cup of cheese on top and pop the lid back on for 5 to 10 minutes until it’s perfectly gloppy and melted. It’s a fantastic way to serve for tailgates! If you want another great slow cooker option, check out my easy recipe for slow cooker cranberry meatballs.
And if you are curious about another great version of this dip that leans into different textures, take a peek at what my friends are doing over at whyitalians.com!
Tips for the Best Ever Texas Trash Dip
We’ve covered the assembly, but mastering this **Texas Trash Dip Recipe** means knowing the little tricks that elevate it from good to legendary. I call these my ‘Editor’s Notes’ for maximum flavor impact! These small steps, honestly, are what separates a decent party snack from the one people keep asking you about for weeks afterward.
My biggest piece of advice, which I mentioned quickly before but needs its own moment in the spotlight, is conquering the moisture beast. The diced tomatoes and green chiles—that Ro-Tel in the can—are wonderful for flavor and a little bit of texture, but they hold a ton of extra liquid. If you skip draining them thoroughly, when the dip cools even slightly, you end up with a watery moat around your creamy center. Gross, right? Always drain that can really well, guys. Pat it dry if you have to!
Another thing I love doing, especially if I’m hosting a big Super Bowl bash or need to prep the day before, is using the make-ahead potential. This is fantastic for managing stress! You can mix up every single component—the seasoned beef, the cream cheese mixture, the beans—everything goes in the bowl, gets stirred, and goes into the pie plate. Cover it tightly with plastic wrap and pop it into the fridge for up to 24 hours. Truly, the flavors seem to get deeper overnight like a good chili!
When you take it out the next day, just remember to let it sit on the counter for about 30 minutes while the oven heats up. Add the top layer of shredded cheese right before it goes in to bake. This means your morning is free, and all you do is pop this glorious **crowd pleasing snack** into the oven when the first guest rings the doorbell. If you are looking for other favorite make-ahead recipes, you absolutely must try my recipe for the best chocolate chip cookies—they freeze beautifully too!
Serving Suggestions for This Tex Mex Appetizers Classic
So, you’ve got this glorious, bubbling, cheesy, meaty masterpiece ready to go. What are you going to scoop it up with? This is where we elevate this from just a dip to a full-blown party station! While you could probably use a spoon right over the pan (I won’t judge, I’ve been there), the presentation makes all the difference when you’re serving up these incredible **Tex Mex Appetizers**.
My absolute number one go-to? Sturdy, reliable tortilla chips. You need something strong enough to withstand the weight of this thick, gorgeous dip without snapping off halfway through! I always grab a big bag of the sturdy restaurant-style white corn chips.
But don’t just dump the chips in a bowl next to the dip! Try this: arrange the chips in a semi-circle or fan shape around the pie dish. It looks intentional, like you actually planned ahead of time, even if you only mixed the ingredients 15 minutes ago! It’s all about presentation, folks.
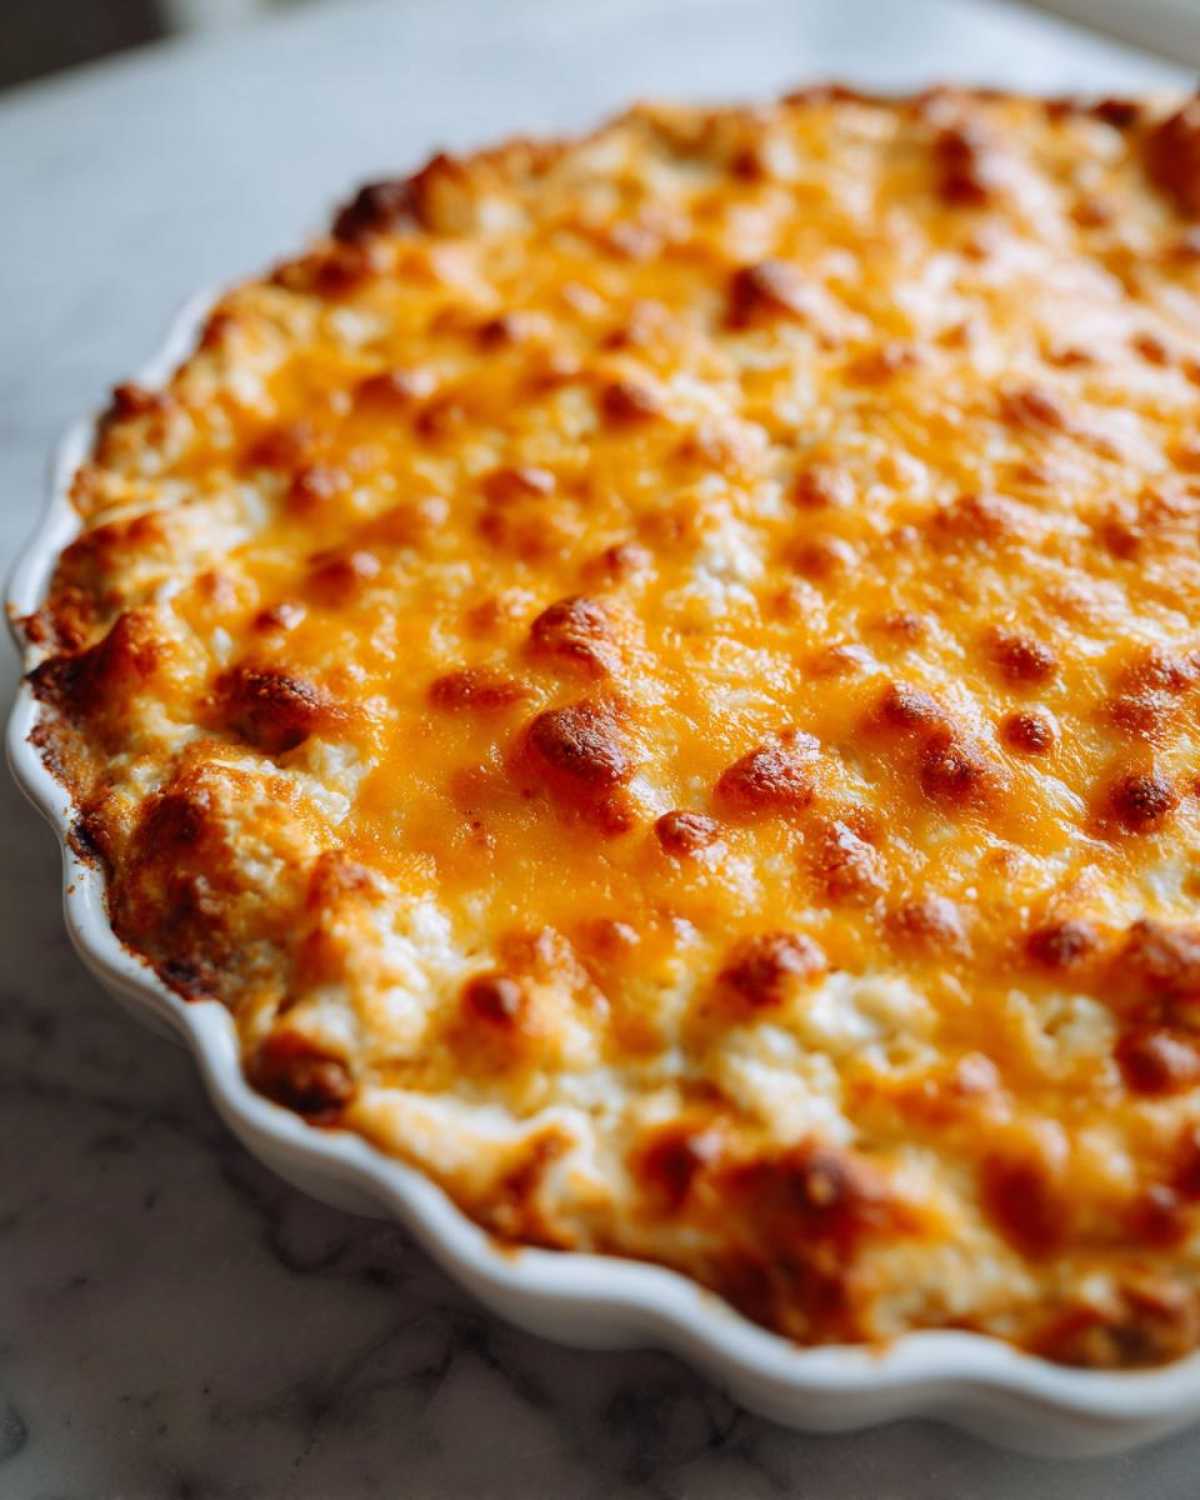
Beyond chips, crackers are a fantastic alternative, especially if you have folks avoiding corn. Look for those hearty wheat crackers or even sturdy pita chips. For a slightly healthier angle—because sometimes we need to pretend we are being balanced—serve this alongside raw veggies like sturdy celery sticks, bell pepper strips, or carrot sticks. Trust me, the cool crunch of a pepper strip dipped into this hot, savory goodness is a flavor combination I never get tired of.
If you’re planning a whole spread, this heavy hitter pairs beautifully with lighter sides. Think about setting up a nice platter of easy homemade pizza dough pinwheels or some fresh salsa on the side to cut through the richness. This **Texas Trash Dip** is the star, but giving guests options is always the mark of a great host!
Storage and Reheating Instructions for Leftover Texas Trash Dip
First off, if you have any leftover **Texas Trash Dip**, consider yourself lucky! This stuff is so good, it rarely lasts in our house, but when we do manage to save some, I treat those leftovers like gold. It’s a true marker of a successful party snack when people are asking you to scrape the bottom of the dish!
Storage is super simple, but sealing it up right is important because of all that creamy dairy goodness in there. You need to let the dip cool down to room temperature first—don’t put a hot dish directly into the fridge, please. Once it’s cooled a bit, cover that pie plate or slow cooker insert tightly with plastic wrap, making sure the wrap touches the surface of the dip as much as possible. If you’re worried about condensation making things soggy, you can carefully scoop the leftovers into an airtight container instead.
It will keep perfectly well in the refrigerator for about three to four days. I’ve often made it ahead for potlucks, and the leftovers were fantastic the next day!
How to Reheat Your Cheesy Dip
When you are ready to bring the party back to life, you have two solid options for reheating. The oven is definitely my preferred method for getting that top layer back to its former gooey glory, but the microwave wins on speed.
Oven Method (Best for Texture): Pop the dip (in an oven-safe dish, obviously!) into a 350°F oven. You’ll want to bake it uncovered for about 15 to 20 minutes, or until it’s hot all the way through and the cheese is melted again. Low and slow ensures you don’t burn the edges while the center is still cold.

Microwave Method (Quick Fix): If you just need a single serving scooped onto a plate, the microwave works fine. Heat it in short bursts—maybe 45 seconds at a time—stirring in between each burst. Be careful, though; microwaving cheese can sometimes make it rubbery if you overheat it. Stirring helps redistribute that creamy texture we worked so hard to create in the first place!
If you need to make a huge batch of something savory to store for later, check out my notes on making homemade brown gravy from scratch—that stores like a dream!
Frequently Asked Questions About Texas Trash Dip Recipe
I totally get it! When you’re planning a big shindig, you need your recipes to be flexible. I’ve collected the questions I hear most often about making this an absolute winner every single time. Don’t worry if your pantry is slightly different from mine; we can usually tweak things to make it work for you!
Can I substitute the ground beef in this Texas Trash Dip Recipe?
Yes, you totally can! If you need to make this a vegetarian dish or just ran out of beef, you have options. You can easily swap the pound of cooked ground beef for a cup of your favorite plant-based crumbles—just cook those according to package directions and drain them well, just like the meat. Another trick Mateo loves is skipping the beef entirely! If you do that, you end up with an amazing, intensely creamy **Refried Bean Dip Recipe** that is still super satisfying. You might want to add a little extra seasoning or some sautéed onions to boost the savory factor if you remove the meat!
How far ahead can I prepare this Creamy Taco Dip?
This is where this recipe really shines as an **Easy Party Appetizer** for busy hosts! You can assemble the *entire* dip mixture—all the beans, beef, cream cheese base, and even the first two layers of cheese—up to 24 hours before you plan to serve it. Just mix it all up in your pie plate, cover it tightly with plastic wrap, and chill it. When guests arrive, you just pull it out, top it with that final sprinkle of cheese, and slide it into the oven. It’s amazing peace of mind!
We’ve also found that even a 30-minute rest on the counter before baking helps bring the temperature up slightly, leading to a more even bake time. If you’re ever in doubt about making great party food, go check out my foolproof guide on air fryer potato wedges for another simple side!
Nutritional Snapshot of This Cheesy Party Dip
Okay, so while Mateo and I are mostly focused on making sure every bite tastes like a flavorful party explosion, I know some of you are tracking things closer than others! We put together the estimated breakdown for one serving of this irresistible appetizer below. Remember, because this is a homemade recipe where brands and specific cuts of meat can change things drastically, these are just guideposts. Think of them as ballpark figures for your high-protein chili recipe comparisons!
When you make this **cheesy party dip**, keep in mind that using lean beef versus regular beef, or a light sour cream versus full-fat, will bump those numbers around. This info is based on the standard ingredient list we use, but it’s always best to input your exact brands if you are counting calories precisely!
- Serving Size: 1/8 of dip
- Calories: 350
- Sugar: 3g
- Sodium: 650mg
- Fat: 28g
- Saturated Fat: 14g
- Carbohydrates: 12g
- Protein: 15g
See? Pretty solid snack that carries its weight across the board! We’re talking real food, real pleasure, and real flavor in every scoop. Enjoy it, and worry about the details later!
PrintUltimate Meaty & Cheesy Texas Trash Dip for Game Day

This Texas Trash Dip recipe delivers a gooey, cheesy, and savory Tex-Mex appetizer perfect for any party or gathering. It layers refried beans, seasoned beef, cream cheese, and plenty of cheddar for a crowd-pleasing snack that disappears fast.
- Prep Time: 15 min
- Cook Time: 25 min
- Total Time: 40 min
- Yield: 8 servings
- Category: Appetizer
- Method: Baking
- Cuisine: Tex-Mex
- Diet: Vegetarian
Ingredients
- 1 pound ground beef
- 1 can (16 ounces) refried beans, undrained
- 1 package (8 ounces) cream cheese, softened
- 1 cup sour cream
- 1 packet (1 ounce) taco seasoning mix
- 1 can (10 ounces) diced tomatoes and green chiles (like Ro-Tel), drained
- 1 cup shredded Monterey Jack cheese
- 1 cup shredded sharp cheddar cheese
- 1/2 cup shredded Mexican blend cheese (for topping)
Instructions
- Cook the ground beef in a skillet over medium heat until fully browned. Drain off any excess grease completely.
- In a large bowl, combine the softened cream cheese, sour cream, and the entire packet of taco seasoning. Mix until smooth and fully combined.
- Gently fold the cooked ground beef, refried beans, and drained diced tomatoes and green chiles into the cream cheese mixture. Mix until just combined; do not overmix.
- Stir in the Monterey Jack and sharp cheddar cheeses into the bean and beef mixture.
- Spread the mixture evenly into a 9-inch pie plate or a small oven-safe dish.
- Top the dip evenly with the remaining 1/2 cup of Mexican blend cheese.
- Bake in a preheated oven at 350 degrees Fahrenheit for 20 to 25 minutes, or until the dip is hot throughout and the cheese on top is melted and bubbly.
- Let the dip cool for about 5 minutes before serving warm with tortilla chips or crackers.
Notes
- For a Crockpot option, combine all ingredients (except the top layer of cheese) and cook on low for 2 hours or high for 1 hour. Stir once, then top with the remaining cheese and cook until melted.
- Drain the diced tomatoes and green chiles well; excess liquid can make your dip watery.
- You can prepare the entire dip mixture (before baking) up to 24 hours ahead of time. Cover and refrigerate, then add the top cheese layer and bake when ready to serve.
Nutrition
- Serving Size: 1/8 of dip
- Calories: 350
- Sugar: 3
- Sodium: 650
- Fat: 28
- Saturated Fat: 14
- Unsaturated Fat: 14
- Trans Fat: 1
- Carbohydrates: 12
- Fiber: 2
- Protein: 15
- Cholesterol: 65