

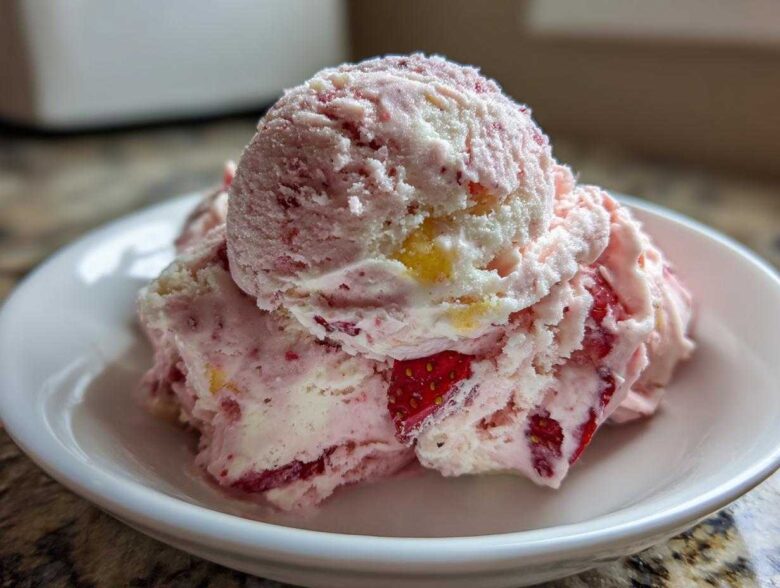
Oh, summer! When the heat hits, nothing beats that cold, creamy hit of ice cream. But honestly, who wants to drag out that big old machine when it’s ninety degrees outside? Me neither! That’s why I’m sharing my absolute favorite secret weapon: the **Best No Churn Strawberry Banana Ice Cream** recipe you will ever try. Trust me, ditch the churning! When I first made this **Strawberry Banana Ice Cream** years ago, I was skeptical—no machine? Impossible! But the combination using just cream, condensed milk, and ripe fruit creates magic. It is so straightforward, and the flavor is pure sunshine in a bowl.
You can check out my thoughts on making perfect pizza dough, but this dessert requires even less fuss, I promise!
Why You Will Love This Easy Strawberry Banana Ice Cream Recipe
You need this in your life, especially when the mercury rises! This recipe is perfect because it skips all the difficult steps. It’s genuinely the Easy Strawberry Banana Ice Cream Recipe everyone dreams about:
- It’s incredibly fast to prep—we’re talking about 15 minutes max!
- No ice cream maker needed whatsoever, making it the ultimate kitchen shortcut.
- The texture is unbelievably dense yet unbelievably smooth—a true Creamy Strawberry Banana Dessert.
- It focuses entirely on that classic, vibrant berry and banana flavor combo.
I know you’ll love getting that amazing homemade taste with hardly any effort. You might want to check out my recipe for buttery oat topping while you’re here!
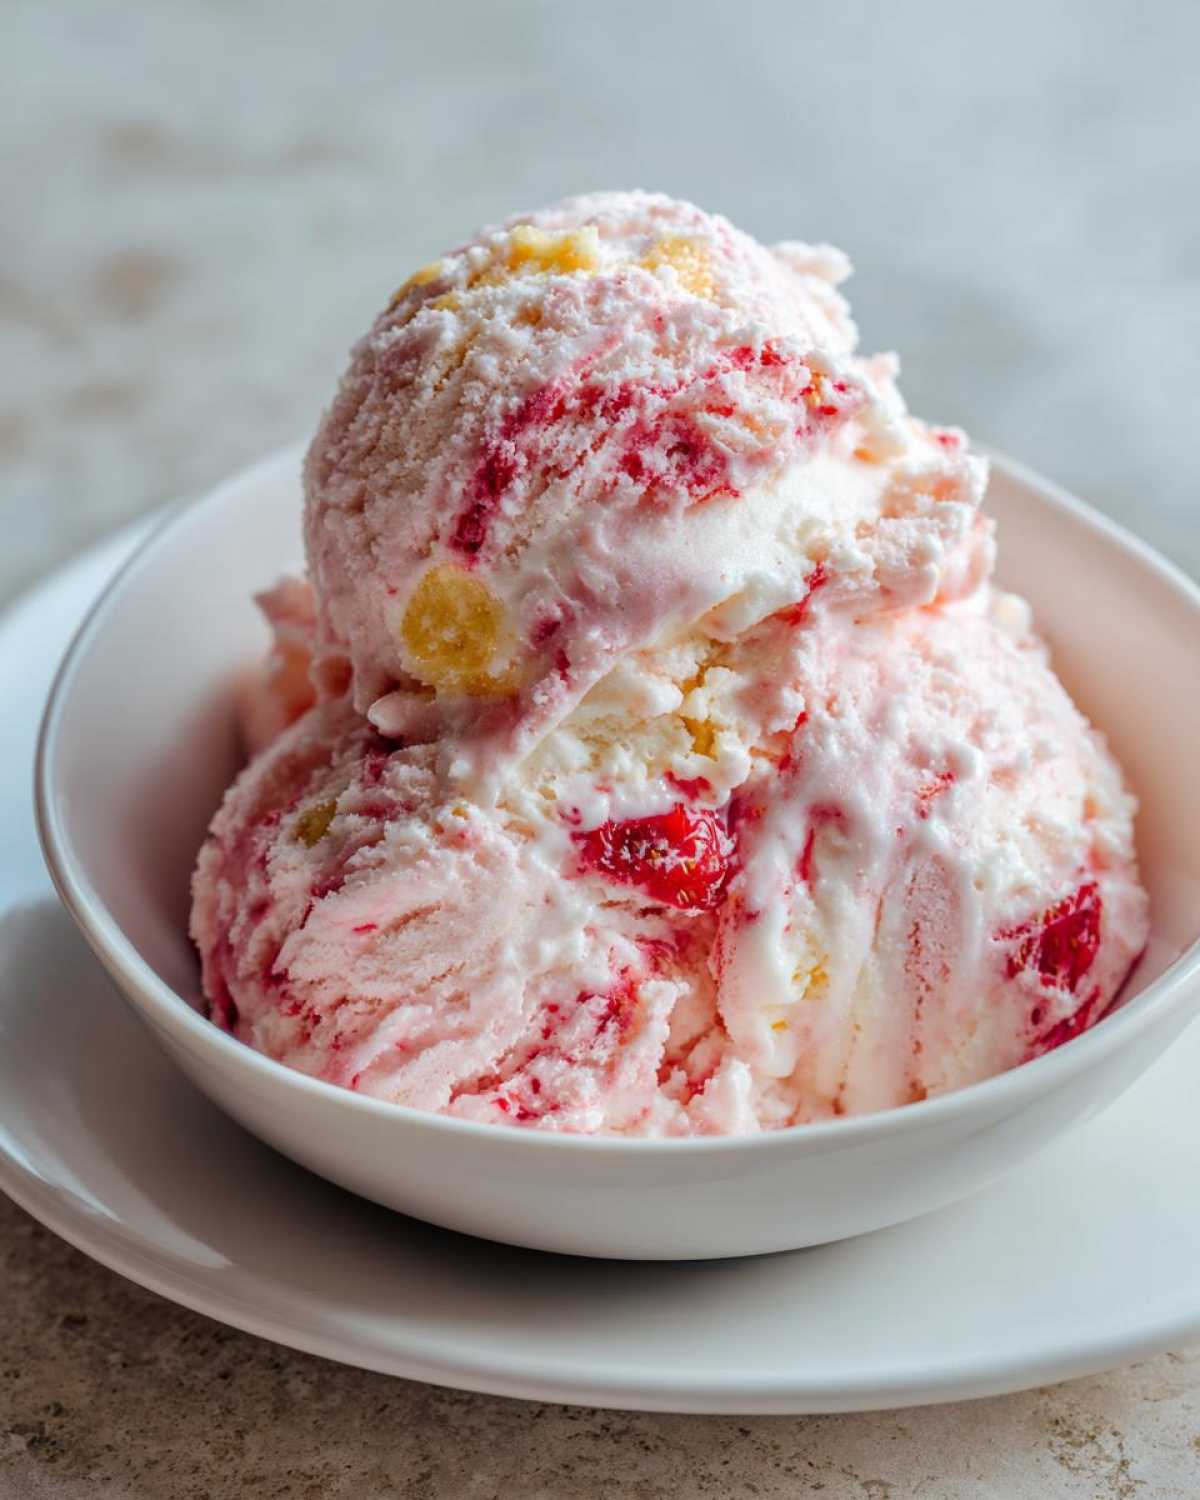
Essential Ingredients for Your No Machine Strawberry Banana Ice Cream
The beauty of any no-churn recipe, especially for this Homemade Strawberry Banana Frozen Dessert, is that the ingredients do most of the heavy lifting! You won’t need any fancy stabilizers here, just a few core items that you might already have chilling in the fridge right now. Make sure everything that needs to be cold is absolutely cold—that’s rule number one!
We start with two cups of heavy whipping cream; this needs to be super cold! Then, you’ll grab one 14-ounce can of sweetened condensed milk, also straight from the fridge. That milk is what makes this dessert rich without the chilling time. Don’t forget a tiny splash of vanilla extract for depth.
For the fruit, you need about two very ripe bananas—the spottier the better! Mash those babies up good. Then, gather one cup of strawberries, hulled and chopped finely—use fresh or frozen, whichever you have on hand. I sometimes toss in a dash of lemon juice, just a tablespoon, to keep the fruit color bright. If you’re making bread, always check out my honey whole wheat bread recipe for a different kind of cozy baking!
Expert Tips for Perfect Strawberry Banana Ice Cream Base
Listen up, because this is where the magic for any no-churn recipe genuinely happens! For this Strawberry Banana Ice Cream to turn out perfectly creamy and scoopable, ingredient temperature is everything. You absolutely have to use your heavy whipping cream and sweetened condensed milk ice-cold. If the cream is room temperature? Forget about it—you’ll end up with sweet, soft muck, not airy peaks!
When those cold ingredients hit the mixer bowl, you trap tons of natural air. That air is what gives you that luxurious texture we want, especially since we aren’t using an ice cream churn!
Achieving Stiff Peaks in Your Whipped Cream
When you start whipping that cream, watch it closely. You want those peaks to stand straight up when you lift the beaters—that’s stiff! If the peaks droop over at all, they’re soft, and you need to keep going. But, I have to warn you, there’s a fine line. If you keep mixing past stiff peaks by even a minute or two, you’ll suddenly hear the mixer laboring, and boom—you’ve got slightly sweet butter! Stop right when they hold their shape perfectly.
Handling Fruit for the Best Strawberry Banana Ice Cream Texture
Don’t worry too much about whether you use fresh or frozen for your berries, but the bananas are important. They *must* be mashed until they are almost liquid. Seriously, mash them until you can barely see any lumps left. This ensures they blend seamlessly into the base. If your strawberries are frozen, just let them hang out on the counter for about 15 minutes before chopping them up. This keeps you from cooling down your glorious whipped cream when you fold in the fruit mix for this amazing Fresh Strawberry Banana Ice Cream.
If you’re debating whipping up some amazing chocolate chip cookies later instead, take a moment and trust the cold ingredients here!
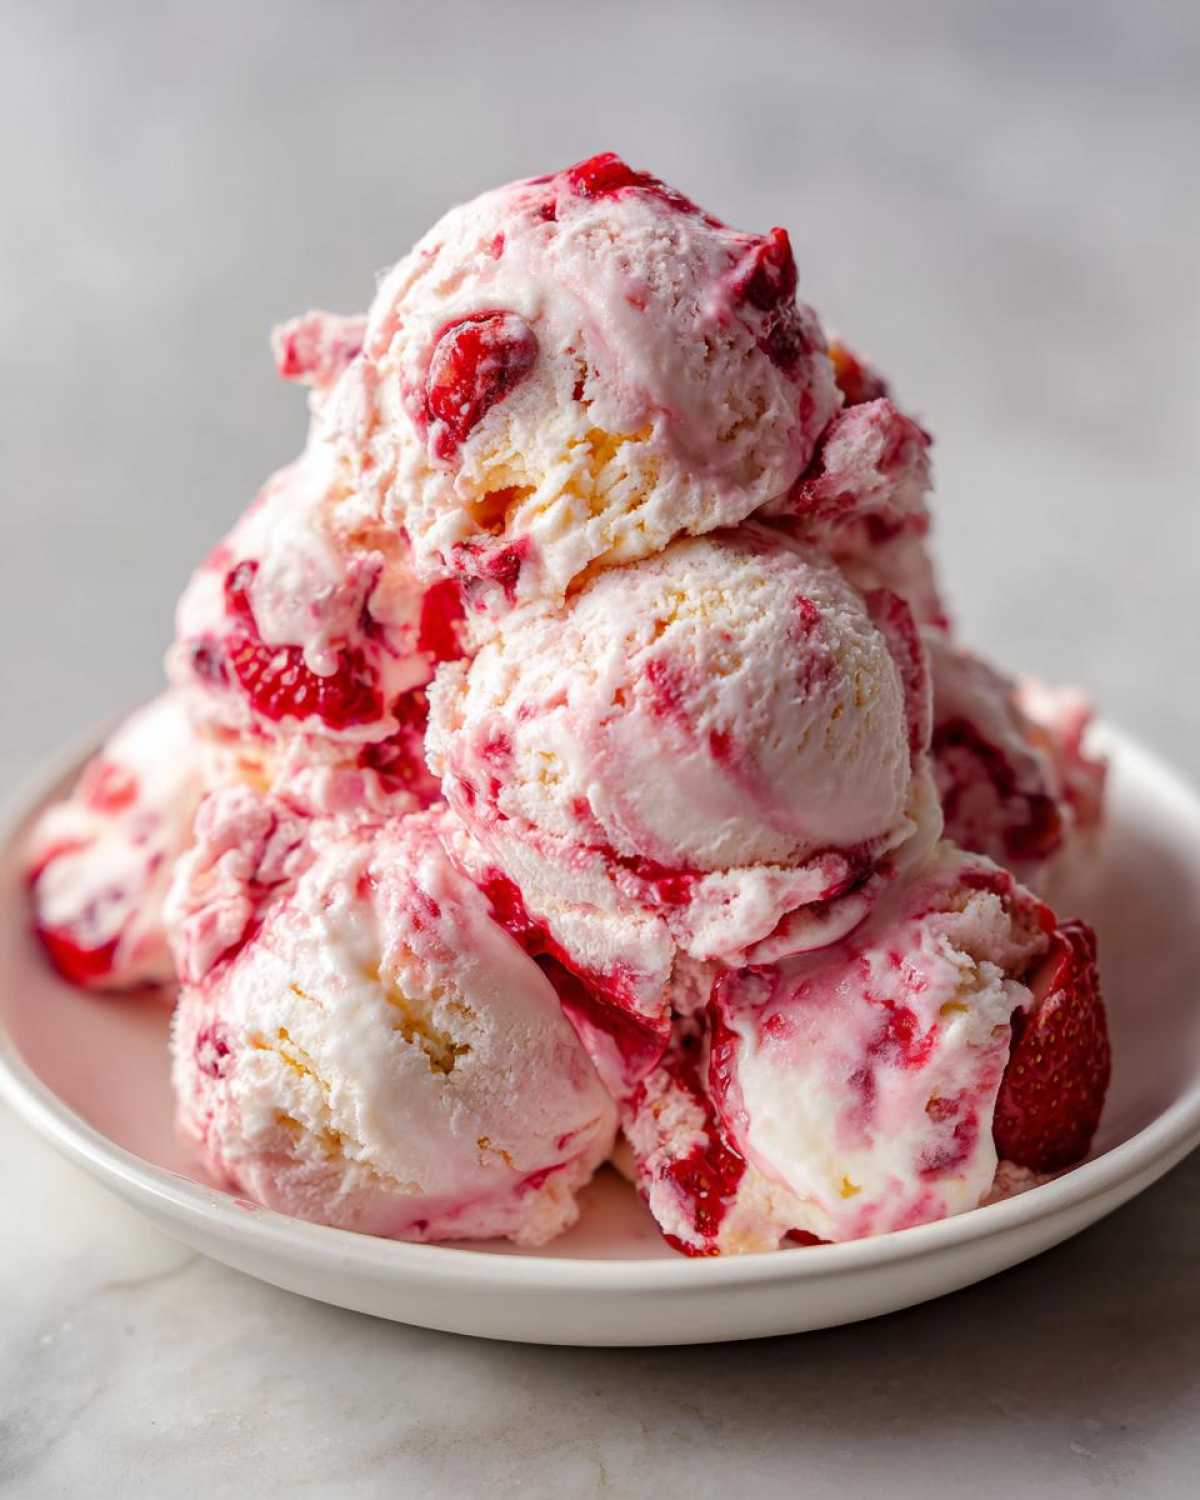
Step-by-Step Instructions for Homemade Strawberry Banana Frozen Dessert
Okay, here’s the fun part! We’ve prepped the fruit and we know our cream is stiff—now we assemble this beautiful future Homemade Strawberry Banana Frozen Dessert. Remember what I said about overmixing? Don’t panic, but take your time on these folding steps. We want to keep all the lovely air we just whipped into that heavy cream.
Follow these steps exactly, and you’ll be scooping in just a few hours. And hey, if you are looking for a great breakfast treat for tomorrow, this easy French toast recipe is phenomenal, but right now, we focus on the cold stuff!
Mixing the Cream and Sweetened Base
Grab your big bowl with the stiff whipped cream. We don’t want to deflate it now! Pour in the cold sweetened condensed milk, along with your vanilla. Using a rubber spatula, start folding these two together. You’re just trying to incorporate them until you see one uniform color—pale, fluffy, white goodness. Don’t switch to the electric mixer here! Stirring or beating will squash all those stiff peaks we worked so hard to create. It should look light and cloud-like right before you add the fruit.
Freezing and Setting Your Strawberry Banana Ice Cream
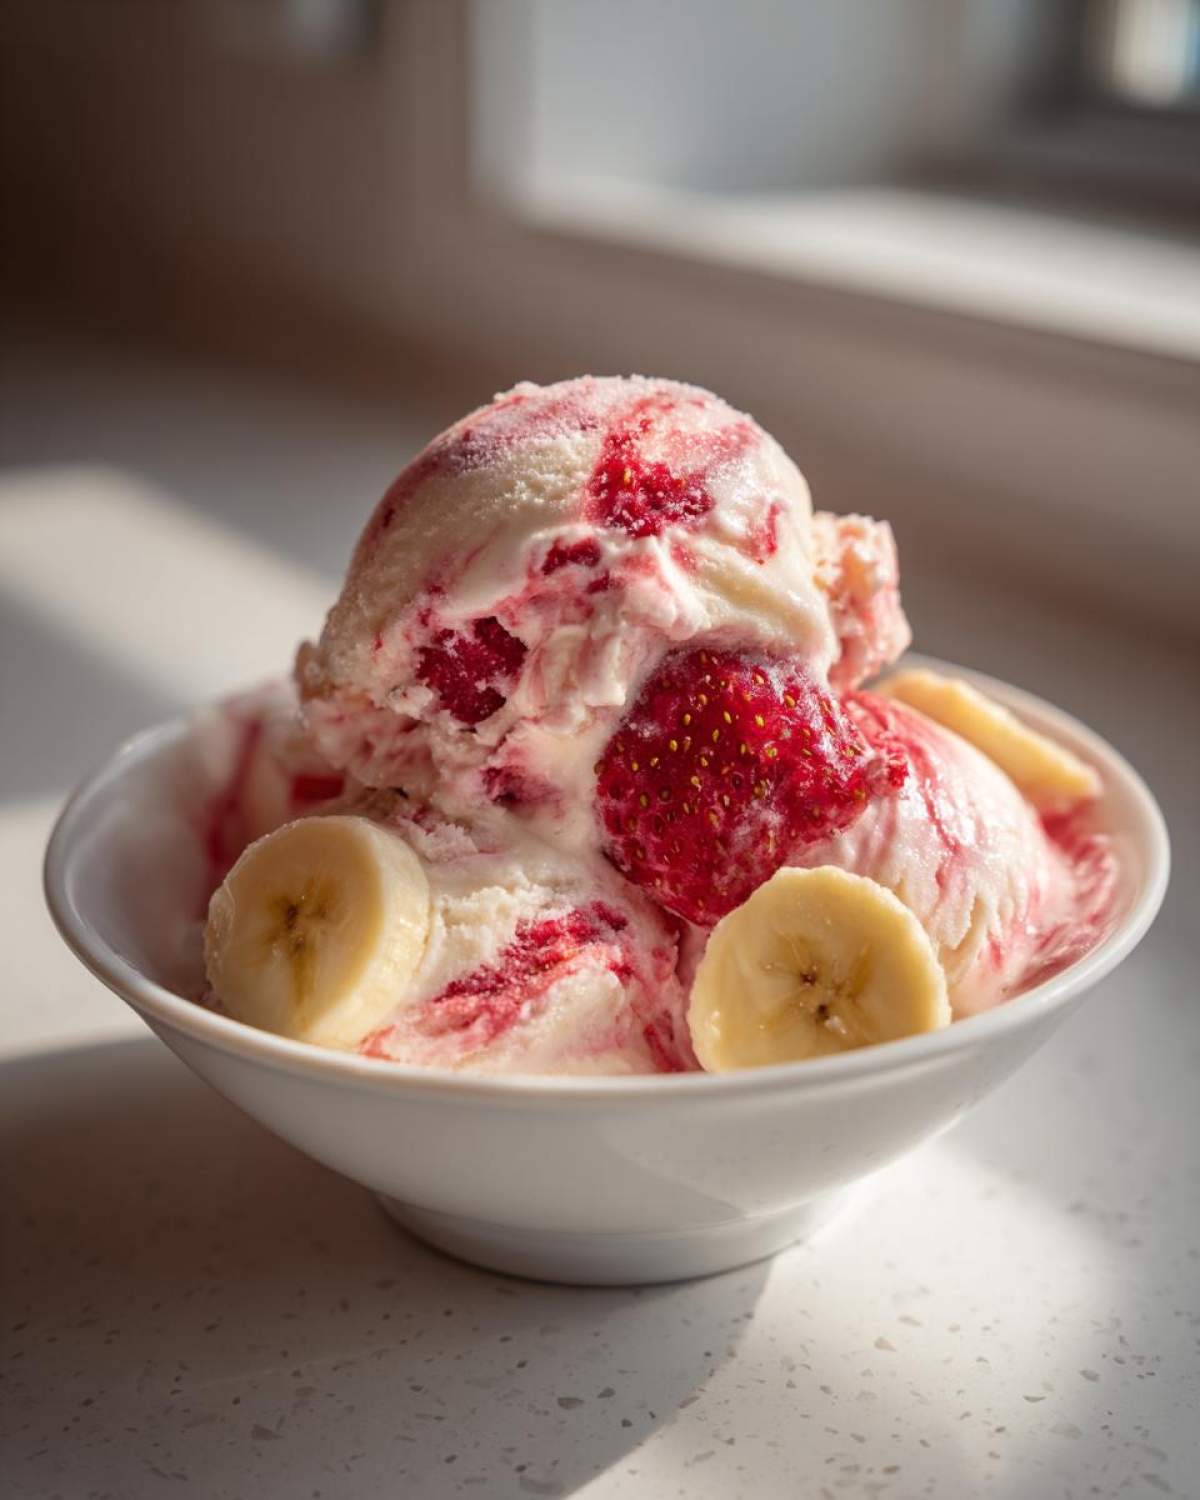
Now, gently fold in that wonderful fruit mash you made earlier. If you want the full swirl effect, only fold it through three or four times—you want streaks of pink and yellow, not a uniform pale-orange color. Pour the whole mixture into your chosen freezer-safe container, like a loaf pan. This is super important: Take a sheet of plastic wrap and press it *directly* onto the surface of the ice cream. This prevents those nasty ice crystals from forming on top!
Cover that container tightly with foil or the lid, and pop it into the deep freeze. You need a minimum of 6 hours before attempting to scoop, but honestly, overnight is even better for the firmest **Strawberry Banana Ice Cream**.
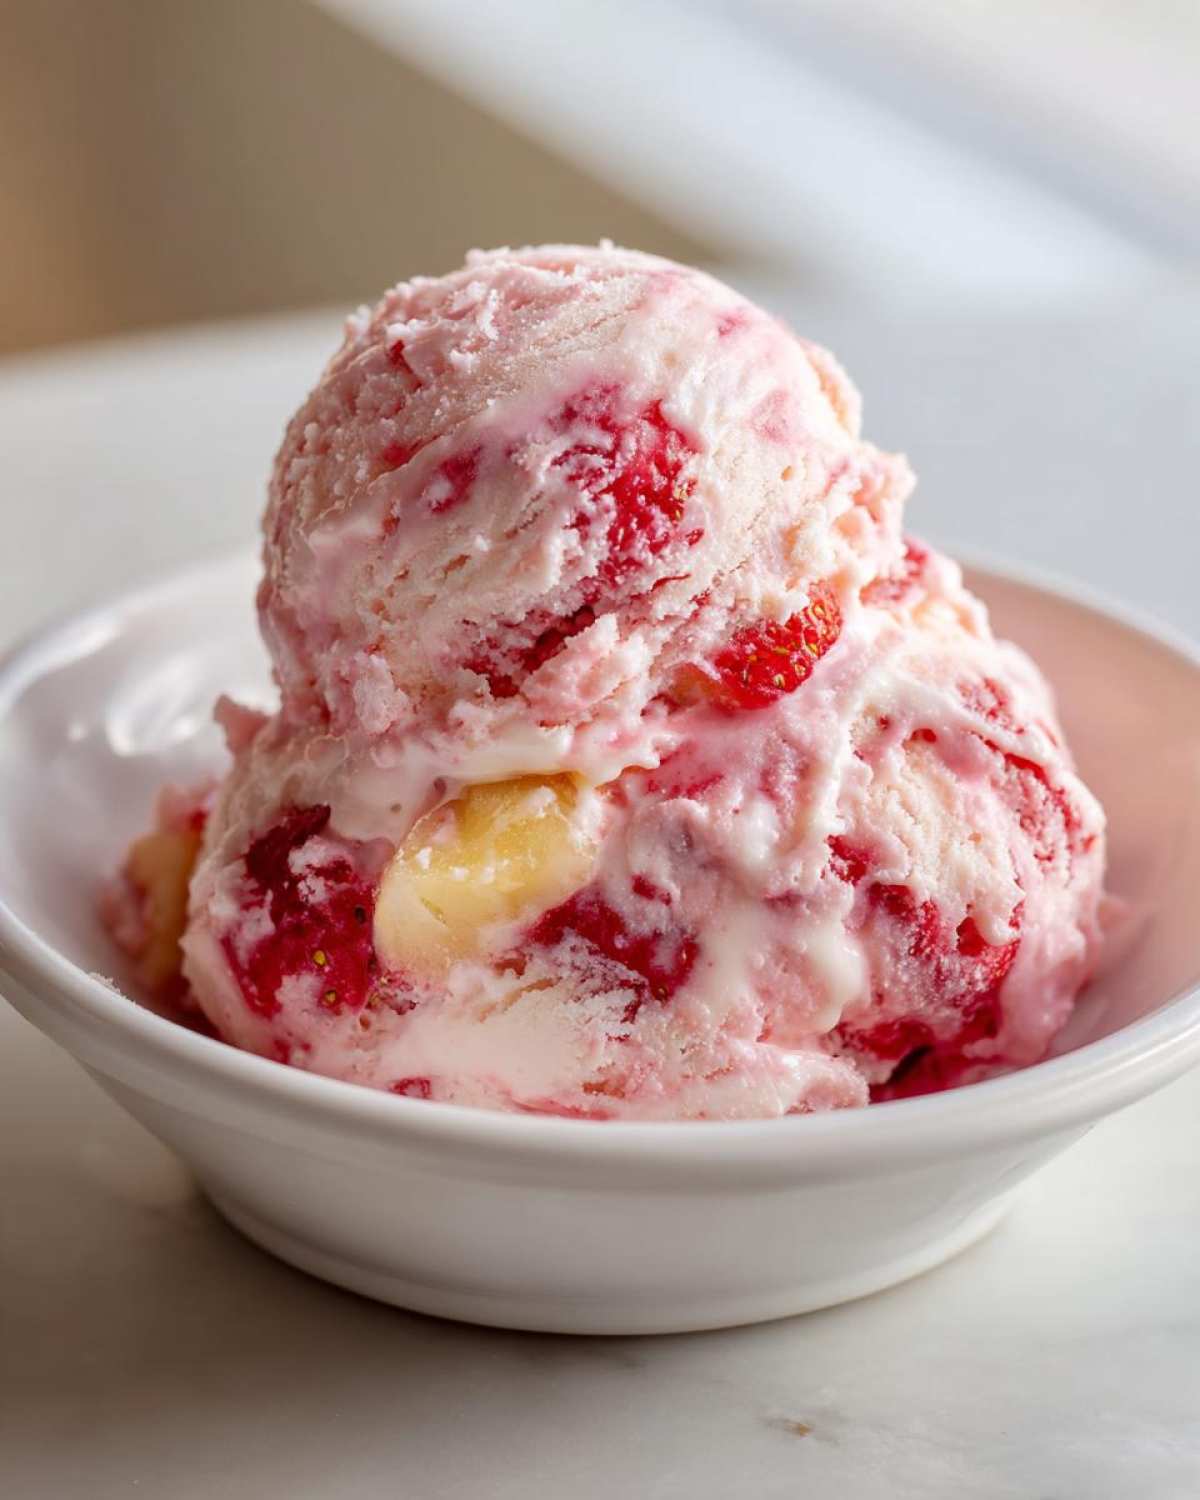
Variations: Making Dairy Free Strawberry Banana Nice Cream
I totally get it—sometimes dairy just doesn’t agree with us, or maybe you just don’t have heavy cream on hand. Don’t stress! This recipe actually has a fantastic, built-in alternative that leans into those super-ripe bananas we love. We can easily pivot this into a thick, wonderful Dairy Free Strawberry Banana Nice Cream.
For this version, we kick the heavy cream and condensed milk to the curb. The star here is frozen banana—they act as the creamy base, providing both the sweetness and the texture. You will need about three cups of frozen banana slices and about one cup of frozen strawberries.
Just toss those frozen fruits into a high-powered blender or a food processor. Start blending slowly, using the pulse function at first. You’ll need a little patience and probably a tamper tool to push everything down toward the blades. Keep going until it looks just like soft-serve ice cream. If it’s too stiff, add a tablespoon of plant-based milk—almond or oat works great—but only add a tiny bit at a time!
Once it’s smooth and creamy, fold in just a teaspoon of vanilla. If you still want a little extra sweetness because your bananas weren’t perfectly ripe, stir in a tablespoon of maple syrup. Then, freeze this nice cream mixture for about an hour to firm it up before scooping. It’s a completely different texture than the cream-based version, but it is unbelievably fruity and refreshing for a hot day. Want to see how I handle making a pure creamy strawberry version? Check out my creamy strawberry ice cream recipe for comparison!
Storage and Serving Tips for Creamy Strawberry Banana Dessert
We’ve made it! Now we have to keep this beautiful batch of Creamy Strawberry Banana Dessert perfect until we’re ready to dig in. The biggest enemy of homemade ice cream is freezer burn, and we absolutely do not want sad, icy spots ruining our creamy texture.
When you put it in the freezer after folding in the fruit, make absolutely sure that plastic wrap we used is pressed right down onto the top layer. Then, seal that container as tightly as you can. If you happen to have one of those tall, narrow loaf pans, that’s great because the ice cream stays insulated. Keep it in the back of the freezer where it stays coldest and where you won’t accidentally knock it around!
For the absolute best experience, you need to give this ice cream a little time-out before scooping. Pull it out of the deep freeze about five to ten minutes before you plan to serve it. That slight softening period makes all the difference between a good scoop and a perfect, easy-to-handle spoonful. If you’re wondering how to get that perfect rise on Yorkshire puddings, take a peek over here, but serving this ice cream right is just as important!
Frequently Asked Questions About Strawberry Banana Ice Cream
I get so many questions about this recipe because people can’t believe how creamy it gets without all that machinery! Here are the things people ask me most often when they are about to mix up their own batch of this fruity frozen delight. Don’t forget to check out my recipe for the best caramelized onions while you’re waiting for this to freeze!
Can I make this Strawberry Banana Ice Cream without sweetened condensed milk?
That is the big question! Sweetened condensed milk isn’t just there for sweetness; it’s a major stabilizer that keeps the texture smooth because it’s low in water content compared to regular milk. If you totally skip it, you risk getting a chunkier texture, even with the heavy cream. If you must substitute, you could try using a homemade simple syrup—maybe two cups of sugar dissolved in one cup of hot water, reduced slightly—and then folding that into the heavily whipped cream. But honestly, it won’t be quite as rich or perfectly creamy. It’ll technically be a delicious Quick Strawberry Banana Sorbet hybrid more than ice cream if you remove both the fat and the stabilizer!
How do I get a perfect swirl in my No Machine Strawberry Banana Ice Cream?
Achieving that beautiful ribbon look is all about restraint! Once you have folded the whipped cream and the condensed milk base together until it’s one light mass, gently dollop the fruit mixture on top. Now, here’s the key part for that perfect swirl feature in your No Machine Strawberry Banana Ice Cream: take your spatula and slice through the batter only about two or three times. You want ribbons, clearly defined streaks of pink and pale yellow, not a fully blended uniform color. Stop right there and get it into the freezer quickly! That gentle folding keeps the fruit looking pretty and makes for a gorgeous scoop.
Nutritional Estimates for This Simple Fruit Ice Cream Recipe
I know some of you are tracking macros or keeping an eye on sugar intake, so I always try to give a rough idea of what’s in a serving. Remember, this is just an estimate based on the standard recipe ingredients—if you used less condensed milk or went heavy on the fruit, your numbers will look slightly different. It’s a guide, not a law! This recipe makes a generous amount, about 1.5 quarts, so that serving size is based on scooping out about half a cup.
We’re using a lot of heavy cream, so the fat content is definitely there because that fat is what makes it so gloriously creamy! If you’re looking for a lighter version, you should absolutely check out the nice cream instructions earlier in the post, which uses bananas as the base instead of the dairy fats.
Here’s the breakdown per standard half-cup serving size:
- Calories: Around 300
- Total Fat: About 16 grams (watch out for that 10g of saturated fat!)
- Carbohydrates: Roughly 35 grams
- Protein: About 5 grams
- Sugar: Approximately 35 grams (Remember, a good chunk of this comes naturally from the fruit and the condensed milk itself!)
- Cholesterol: Around 55 mg
Honestly, who can say no when it tastes this good? Don’t forget to look at my recipe for making homemade brown gravy from scratch if you need a savory dish to balance out all this sweet summer goodness!
Share Your Homemade Strawberry Banana Ice Cream Creations
That’s it—you’ve made a glorious batch! Now I really want to hear about it. Did you manage to keep it swirl-y? Were your bananas ripe enough? Please head straight down to the comments section and give this Strawberry Banana Ice Cream recipe a rating so other readers know how great it turned out for you!
If you snapped a picture of your scoopable summer treat, share it on social media and tag me—I love seeing your kitchen successes! It makes me so happy knowing my favorite summer treats are making it onto your tables.
PrintNo-Churn Strawberry Banana Ice Cream
Make creamy, homemade strawberry banana ice cream without an ice cream maker using a simple no-churn method.
- Prep Time: 15 min
- Cook Time: 0 min
- Total Time: 6 hr 15 min
- Yield: About 1.5 quarts
- Category: Dessert
- Method: No-Churn Freezing
- Cuisine: American
- Diet: Vegetarian
Ingredients
- 2 cups heavy whipping cream, cold
- 1 (14 ounce) can sweetened condensed milk, cold
- 1 teaspoon vanilla extract
- 1 cup fresh or frozen strawberries, hulled and chopped
- 2 ripe bananas, mashed
- 1 tablespoon lemon juice (optional, for brighter flavor)
Instructions
- Prepare the fruit: If using fresh strawberries, chop them finely. If using frozen, let them thaw slightly. Mash the bananas completely in a separate bowl. Mix the chopped strawberries and mashed bananas together.
- Whip the cream: Pour the cold heavy whipping cream into a large bowl. Use an electric mixer to beat the cream until stiff peaks form. This takes about 3 to 5 minutes.
- Combine base: Gently fold the cold sweetened condensed milk and vanilla extract into the whipped cream until just combined. Do not overmix.
- Fold in fruit: Gently fold the strawberry and banana mixture into the cream base. If you want a swirl effect, fold only a few times so the fruit remains somewhat separate.
- Freeze: Pour the mixture into a freezer-safe container, such as a loaf pan or an airtight container. Cover the surface directly with plastic wrap to prevent ice crystals, then cover the container tightly with a lid or foil.
- Chill: Freeze for at least 6 hours, or until firm enough to scoop.
Notes
- For a slightly healthier version, substitute half the heavy cream with plain Greek yogurt, but the texture will be less rich.
- If your bananas are very ripe, you may omit any added sugar, as the condensed milk provides plenty of sweetness.
- Let the ice cream sit at room temperature for 5 to 10 minutes before scooping for the best texture.
Nutrition
- Serving Size: 1/2 cup
- Calories: 300
- Sugar: 35
- Sodium: 65
- Fat: 16
- Saturated Fat: 10
- Unsaturated Fat: 6
- Trans Fat: 0
- Carbohydrates: 35
- Fiber: 2
- Protein: 5
- Cholesterol: 55